Stitching on a crisp piece of linen in a hoop can feel like embroidery on easy mode. Then you try a T-shirt, a tote with loose weave, or a slippery blouse fabric and suddenly your sweet little daisy looks like it is being pulled into a wrinkle vortex.
That is exactly what stabilizers are for. Think of them as a temporary helper layer that gives your fabric the backbone it needs while you stitch. In this guide, I will walk you through tear-away, cut-away, and wash-away stabilizers, plus how to choose and use them for hand embroidery and cross stitch on real life fabrics.
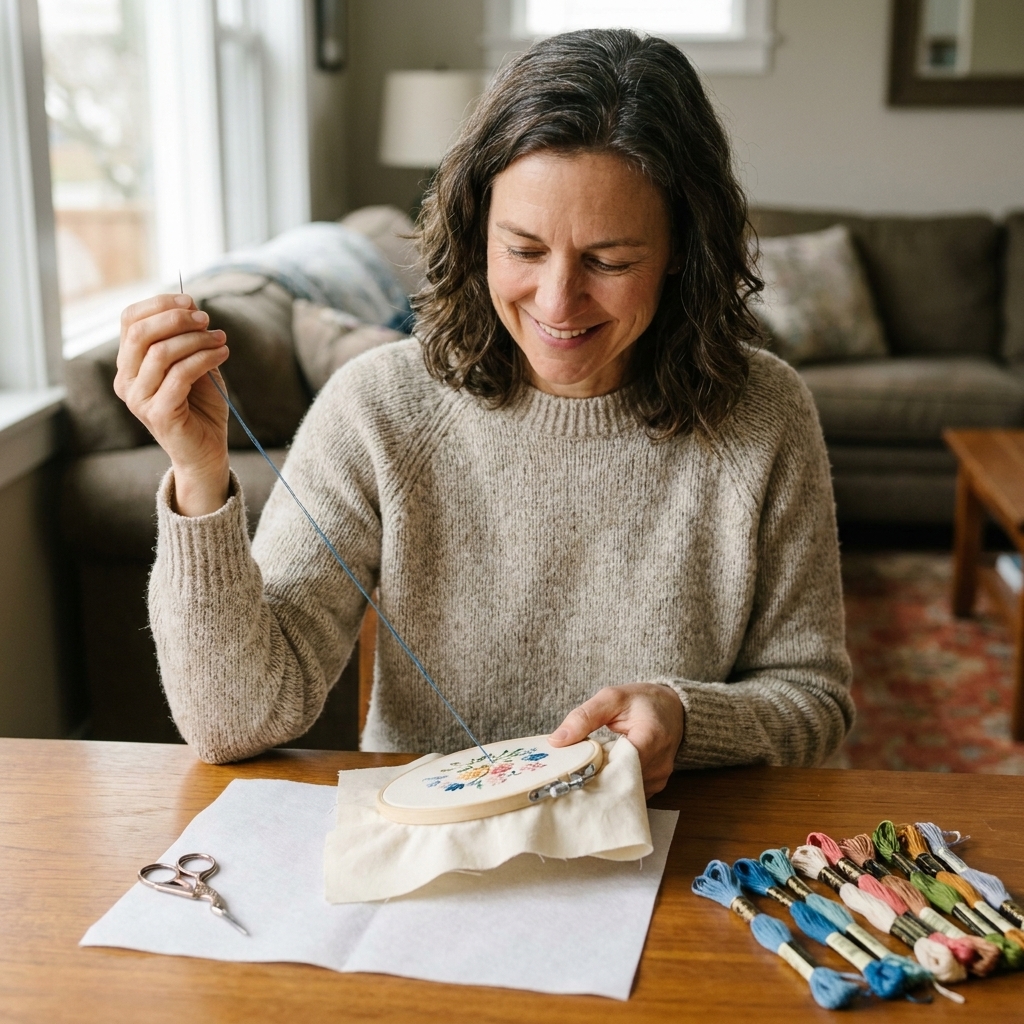
What a stabilizer does
Hand stitching adds tension to fabric. Every time you pull your thread snug, you are asking the fabric to hold its shape while you poke holes into it. Some fabrics can handle that without help. Others stretch, shift, or ripple.
Stabilizers help by:
- Reducing stretch and distortion while you stitch.
- Supporting delicate or open weaves so stitches sit on the surface instead of sinking in.
- Preventing puckering when the design has dense stitching.
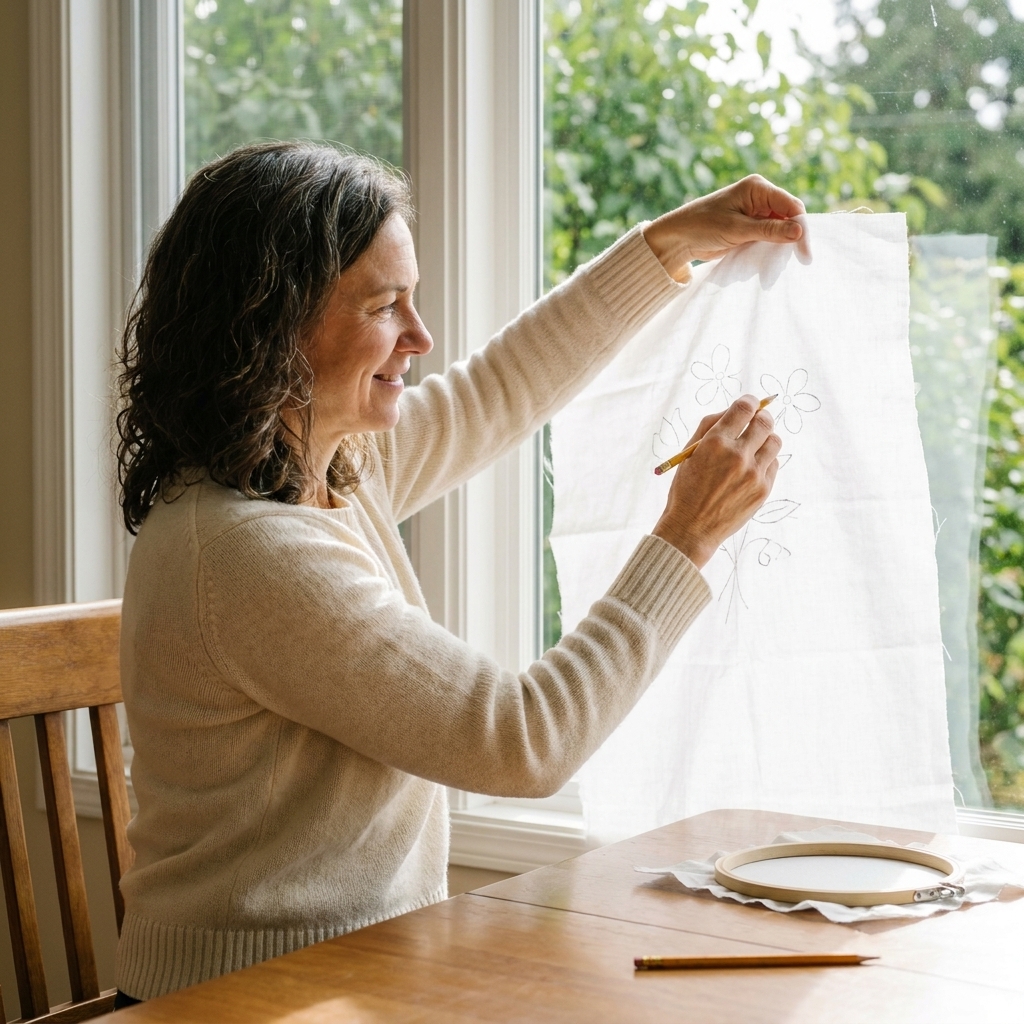
- Making placement easier for patterns you draw or transfer onto the stabilizer.
In machine embroidery, stabilizers are basically non-negotiable. In hand embroidery and cross stitch, you can often skip them on stable fabrics. But the moment you move to knits, thin wovens, or garments that will be worn and washed, stabilizer becomes your best little secret.
Quick pick
If you just want the cheat sheet before we dig in, here is how I decide at the craft table.
| Fabric or project | Best starting choice | Why |
|---|---|---|
| Stable woven (linen, quilting cotton) in a hoop | None, or light tear-away | Fabric already holds tension well. |
| Stretchy knit (T-shirt, sweatshirt) | Cut-away | Keeps stitches from tunneling and waving after wear. |
| Thin or drapey woven (viscose/rayon, lightweight cotton, silk blends) | Wash-away or soft cut-away | Prevents puckers without leaving a bulky edge. |
| Terry cloth or towel embroidery | Cut-away (back) plus wash-away topper (front) | Back supports the pile, topper keeps stitches from sinking. |
| Open weave (some canvases, loosely woven linens) | Wash-away (behind) or cut-away | Stops stitches from disappearing into gaps. |
| Cross stitch on clothing | Waste canvas plus cut-away or wash-away behind | Canvas gives grid, stabilizer supports garment. |
Tear-away stabilizer
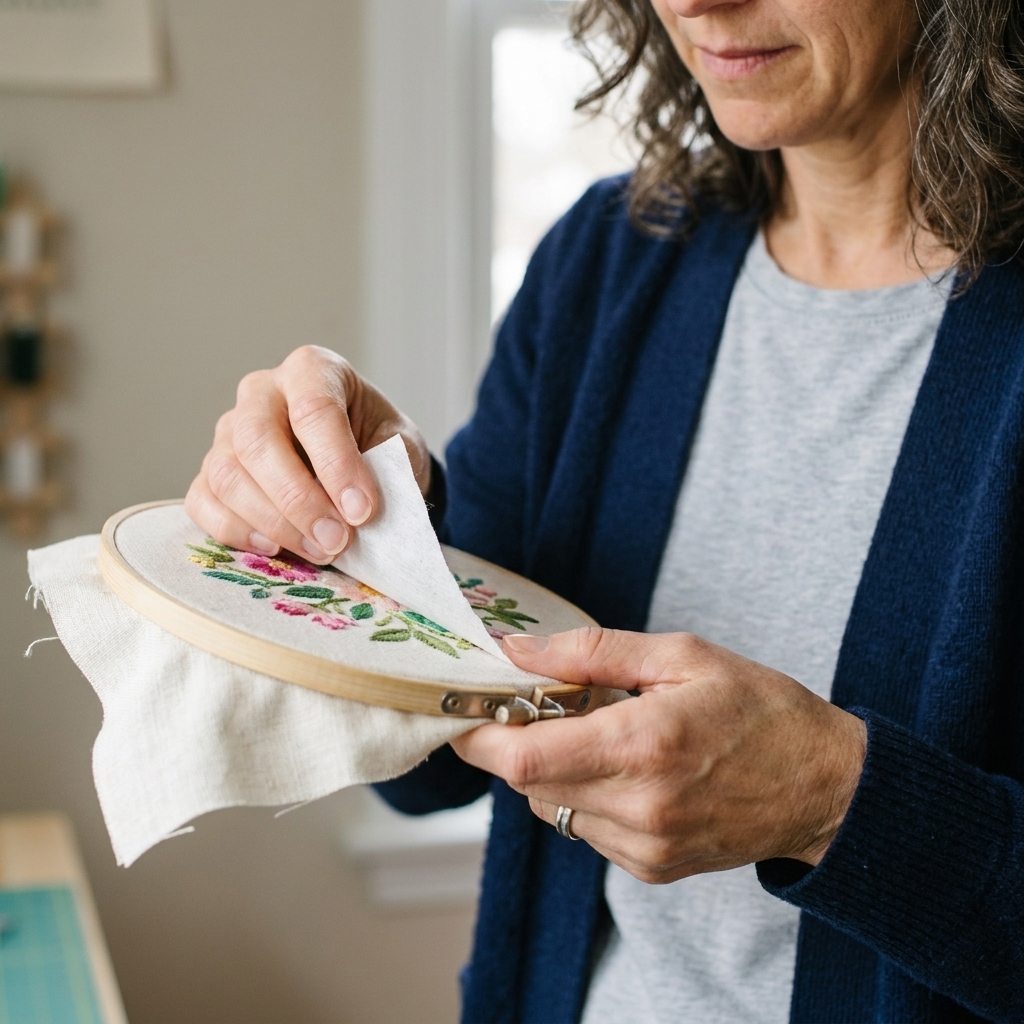
Tear-away stabilizer is a paper-like or nonwoven backing you can rip away after stitching. It is usually the least bulky option, which makes it handy for projects where you want temporary support without leaving much behind.
When tear-away works best
- Light to medium stitching on stable woven fabrics.
- Decorative embroidery on tote bags, aprons, and home goods where the fabric does not stretch.
- Practice pieces and sampler-style stitching when you just want a little extra stability.
When I skip tear-away
- Knits and stretch fabrics: tearing can distort the stitches and the fabric, and you lose long-term support.
- Dense stitching: if you are filling an area heavily, the fabric needs support that stays put.
- Delicate fabrics: the pulling motion of tearing can stress the fabric.
How to use tear-away
- Cut a piece at least 1 inch larger than your hoop on all sides.
- Baste it to the back of your fabric with big, loose running stitches, or use a few small safety pins outside the design area.
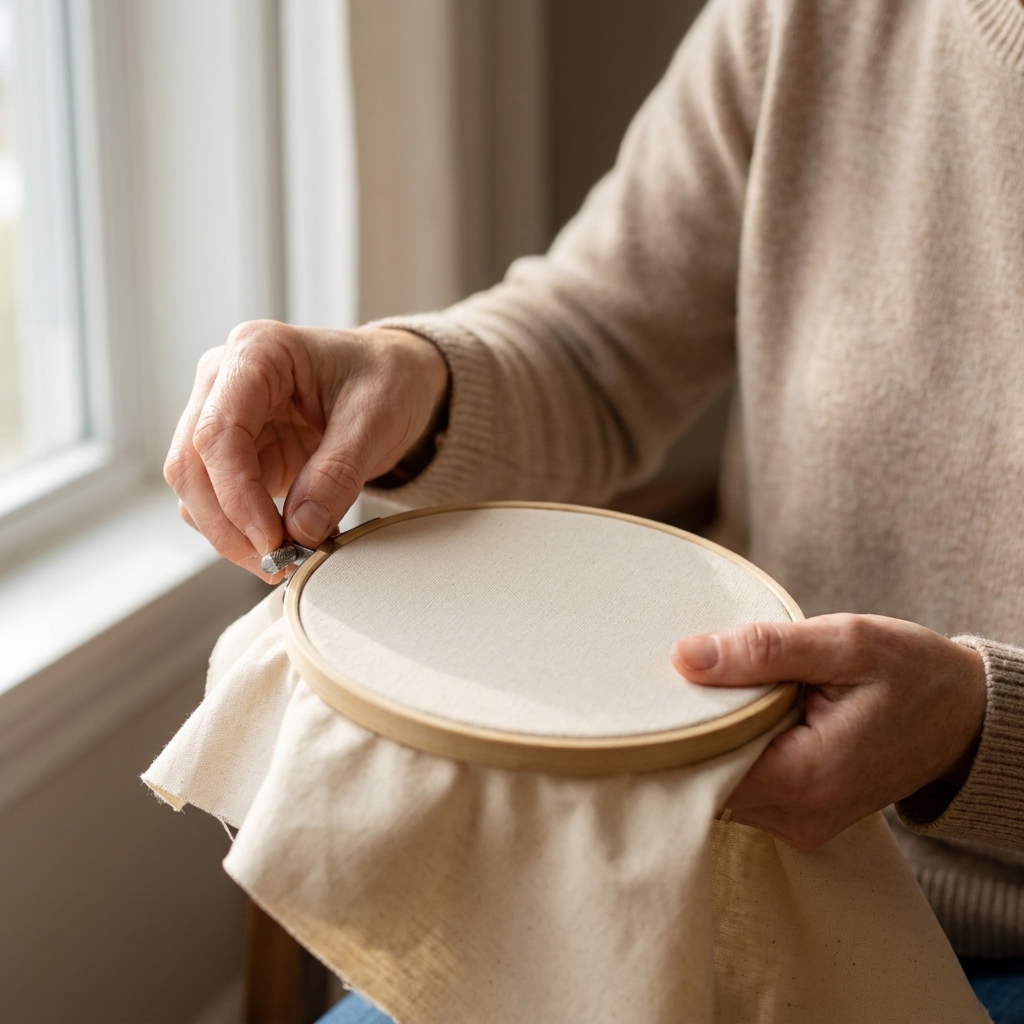
- Hoop both layers together, keeping the grain straight and the fabric taut like a drum, not stretched like a trampoline.
- Stitch your design as usual.
- Tear away slowly from the back, supporting the stitches with your fingers on the front. For tight spots, snip the stabilizer close instead of yanking.
Cut-away stabilizer
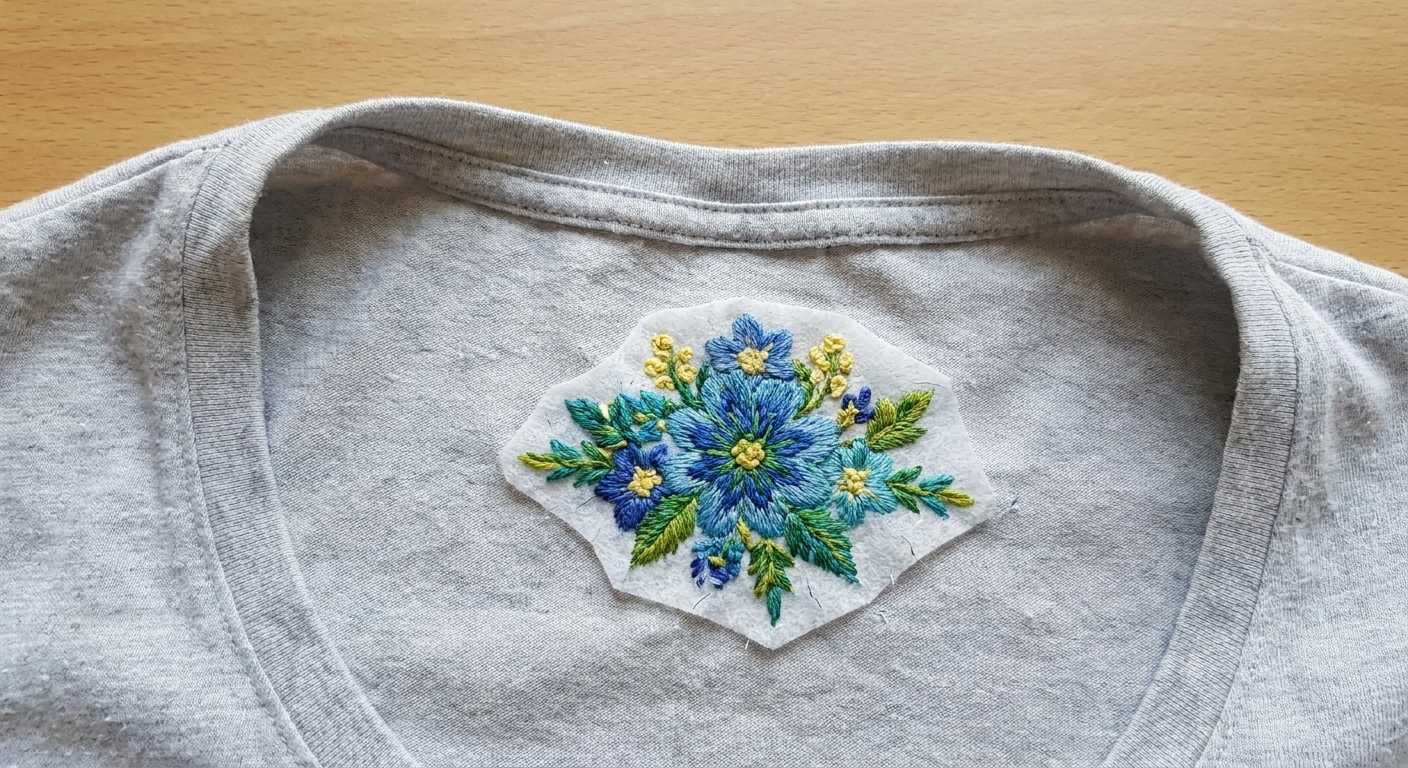
Cut-away is the workhorse stabilizer. Instead of ripping away, you trim it with scissors and leave a layer behind permanently. That remaining layer helps the fabric keep its shape through wear, movement, and washing.
When cut-away is best
- Stretchy knits like jersey T-shirts, sweatshirts, and baby onesies.
- Dense designs with satin stitch, heavy fills, or lots of overlapping stitches.
- Wearable embroidery that will be laundered often.
- Towels and terry cloth when used as a backing support.
Choosing a cut-away weight
Cut-away comes in different weights and textures. For hand embroidery, you usually want something soft enough to be comfortable against skin.
- Soft knit cut-away: great for T-shirts and garments. It moves with the fabric without feeling like cardboard.
- Firm nonwoven cut-away: better for very stretchy fabrics or heavier stitch coverage, but can feel stiffer.
How to use cut-away on a T-shirt
- Pre-wash the shirt if it is new. Shrinkage after stitching is a heartbreak you do not need.
- Mark your design on the fabric using your favorite transfer method.
- Cut a stabilizer piece at least 2 inches larger than your design area.
- Attach the stabilizer to the inside of the shirt behind the design. Basting is the gentlest. If you use temporary adhesive spray, keep it light and away from the hoop ring so you do not gum up your tools.
- Hoop carefully. Only hoop the top layer if possible (a small hoop can accidentally catch the back of the shirt). I like to slide a piece of cardstock inside the shirt to keep layers separate while I hoop.
- Stitch without over-tightening. On knits, snug is enough. Pulling too hard is what makes waves.
- Trim the stabilizer after you finish, leaving about 1/4 to 1/2 inch around the stitched area. Round the corners so they do not curl.
Comfort tip: If your embroidery will touch skin, consider covering the back with a soft fusible tricot or a stitch cover patch after trimming. It keeps things comfy and protects the stitches from snagging.
Wash-away stabilizer
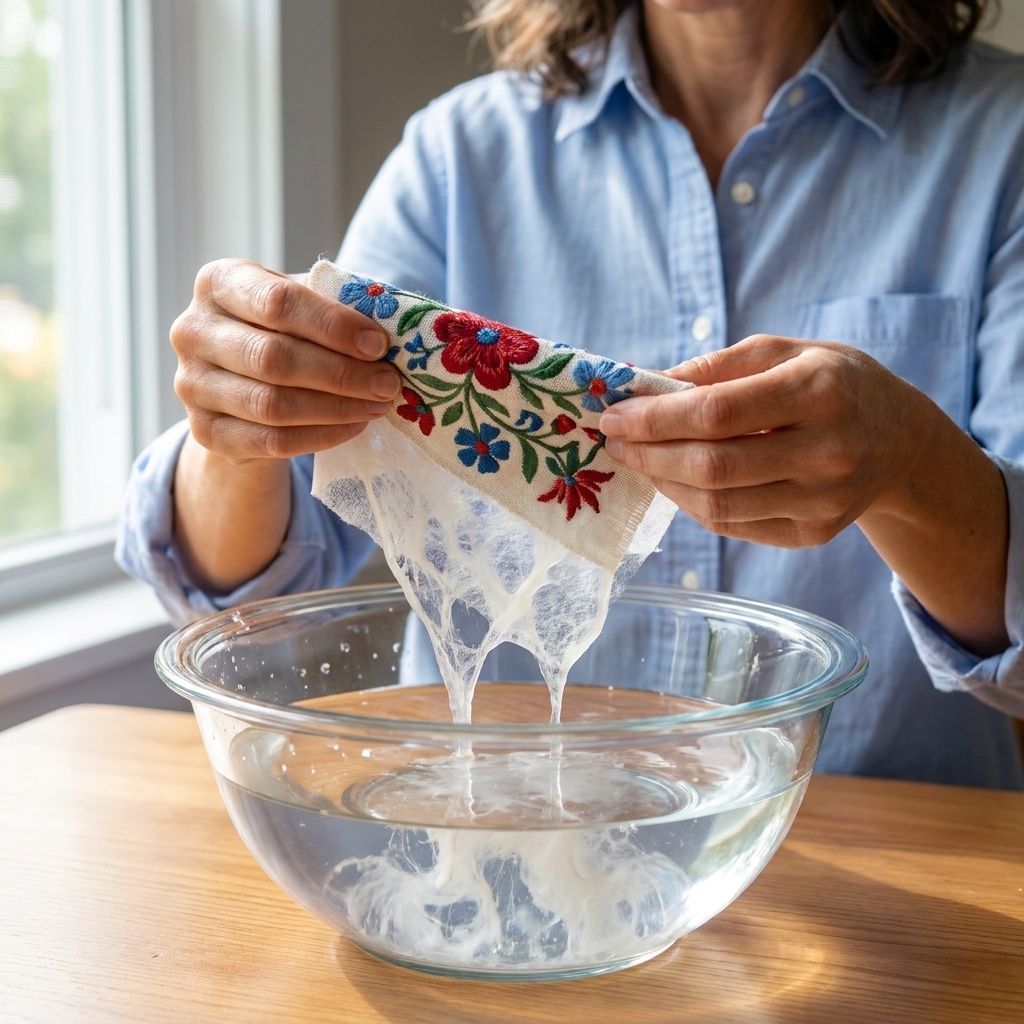
Wash-away stabilizer dissolves in water, leaving no backing behind. It comes in a few forms, and each one has a slightly different superpower.
Types of wash-away
- Water-soluble nonwoven: looks like a soft fabric sheet. Great as a temporary backing.
- Water-soluble film: looks like clear plastic. Often used as a topper on textured fabrics like towels.
- Stick-on water-soluble stabilizer: has a peel-off backing so you can stick it to fabric and stitch without hooping in some cases. Many stitchers also draw directly on it.
When wash-away is perfect
- Delicate fabrics where tearing could pull threads and cut-away would feel bulky.
- Surface embroidery on sheer or light fabrics where you want the back to look clean.
- Textured fabrics when used as a topper so stitches sit on top of the pile.
- Stitching small motifs without hoop marks using a stick-on option.
How to use wash-away
- Test first if your fabric is not washable, if it is dry-clean only, or if the dyes might bleed.
- Use cool to lukewarm water unless the stabilizer brand specifies otherwise. Hot water can sometimes affect certain fabrics and markings.
- Rinse, do not scrub. Let the water do the work. Agitation can fuzz threads and distort stitches.
- Blot and dry flat. Roll the piece in a clean towel to remove extra water, then dry flat so the embroidery does not stretch while wet.
My biggest beginner mistake with wash-away was trying to get every last bit out in a single rinse. A tiny bit of residue is normal at first. It often disappears after the piece fully dries, or after a second gentle rinse.
Backing vs topper
Most of this guide is about backing stabilizers, meaning they go behind your fabric to support your stitches.
A topper sits on the front of the fabric temporarily, usually to keep stitches from sinking into texture (think towels, fleece, velvet, chunky knits). Many toppers are wash-away film.
For towels, I often use both: cut-away on the back for strength and wash-away film on top so my satin stitches look crisp instead of swallowed by loops.
How to attach stabilizer
Basting stitches
This is my favorite because it is gentle, cheap, and always available. Use large running stitches outside the design area so you can remove them easily.
Safety pins
Fast and fine for sturdier fabrics. Keep pins well away from where your hoop will sit, and from where your needle will travel.
Temporary adhesive spray
Useful when layers keep shifting, especially on knits. Use a light mist, let it get tacky, and avoid saturating the fabric. Always spray in a ventilated area and follow the product directions.
Stick-on wash-away sheets
These are great when you want to draw the design on the stabilizer instead of transferring to the fabric. They can also help when hooping would crush delicate fabric or leave rings.
Preventing puckering
Stabilizer helps a lot, but puckering is usually a team effort between fabric, hooping, tension, and stitch density. These small habits make a huge difference.
- Hoop properly: taut fabric, smooth grain, no stretching. Especially on knits, do not pull the fabric tighter than it naturally sits.
- Use the right needle: a sharp for woven fabrics, a ballpoint for knits so you do not cut fibers.
- Mind your thread tension: snug stitches are good. Over-tight stitches are puckers waiting to happen.
- Keep designs balanced: if one area is very dense, consider adding lighter stitches elsewhere or breaking fills into smaller sections.
- Press from the back: use a pressing cloth and press, do not iron aggressively. Steam can help relax ripples, but test first.
Project picks
Hand embroidery on a jersey T-shirt
Pick: soft cut-away. Why: it stays behind to support stitches through stretching and washing.
Small floral motif on a lightweight blouse fabric
Pick: wash-away nonwoven, basted behind. Why: support while stitching, clean finish after rinsing.
Cross stitch name on the pocket of a denim jacket
Pick: light tear-away or none, depending on denim weight. Why: denim is stable, so you just need a little help if the pocket is thin or shifts.
Cross stitch on a sweatshirt using waste canvas
Pick: waste canvas on top plus cut-away behind. Why: the canvas gives the grid, the cut-away prevents waves later.
Satin stitch monogram on a towel
Pick: cut-away backing plus wash-away film topper. Why: strong support plus crisp top stitches.
Common mistakes
"My fabric still puckered"
- Try a heavier stabilizer or switch from tear-away to cut-away.
- Check your tension. If your stitches look slightly cinched, loosen your pull.
- Make sure you did not stretch the fabric while hooping.
"The stabilizer shows through"
- Use a stabilizer that matches your fabric color more closely, especially with sheer fabrics.
- Switch to wash-away for delicate, light-colored fabrics.
- Trim cut-away closer, but do not cut into stitches.
"Wash-away left my piece stiff"
- Rinse again in cool water and let it soak for a few minutes.
- Make sure you fully dried the piece flat. Residue can feel stiff until dry.
"Tear-away pulled at my stitches"
- Tear in tiny sections while supporting the embroidery from the front.
- In tight spots, trim instead of tearing.
- Next time, choose wash-away or cut-away for delicate fabrics.
FAQ
Do I need stabilizer for embroidery in a hoop?
Not always. If you are stitching on stable woven fabric like linen or quilting cotton, you can often skip it. Stabilizer becomes really helpful when the fabric is stretchy, thin, loosely woven, or when your design is dense.
Can I use interfacing as embroidery stabilizer?
Sometimes, yes. A lightweight interfacing can act like a cut-away support layer, especially for garments. The main difference is that embroidery stabilizers are designed to handle stitch tension and laundering in a predictable way. If you do use interfacing, choose something soft and test on a scrap first.
What stabilizer is best for hand embroidery on knit fabric?
Cut-away is usually the best first pick, especially a soft knit cut-away. It stays in place and helps your stitches keep their shape after the fabric stretches during wear.
Will stabilizer make the back of my embroidery messy?
It can actually make things neater by preventing distortion. If you want a clean back with no layer left behind, wash-away is the best option, as long as the fabric and threads can handle washing.
How to choose every time
When you are standing in the aisle holding three mysterious packages of stabilizer, ask yourself two questions:
- Does the fabric stretch? If yes, lean cut-away.
- Do I want the support to disappear? If yes, lean wash-away. If no, cut-away. If you just need temporary help on a stable woven, tear-away is fine.
And if you are still unsure, stitch a tiny test motif on a scrap. Stabilizer is one of those supplies that feels fussy until you see how much smoother everything looks. After that, you start keeping a little stack of it near your hoops like it lives there.