If you’ve ever started stitching confident, then watched your fabric get wavy, your stitches look a little too tight, or your hoop slowly loosen like a sad balloon, this one is for you. Getting your fabric mounted well is one of those unglamorous basics that quietly makes everything else easier, especially for beginners.
Whether you stitch embroidery or cross stitch, the goal is the same: stable, even tension that supports clean stitches without stretching your fabric out of shape. Let’s get you to that satisfying, drum-tight feel.
What good tension feels like
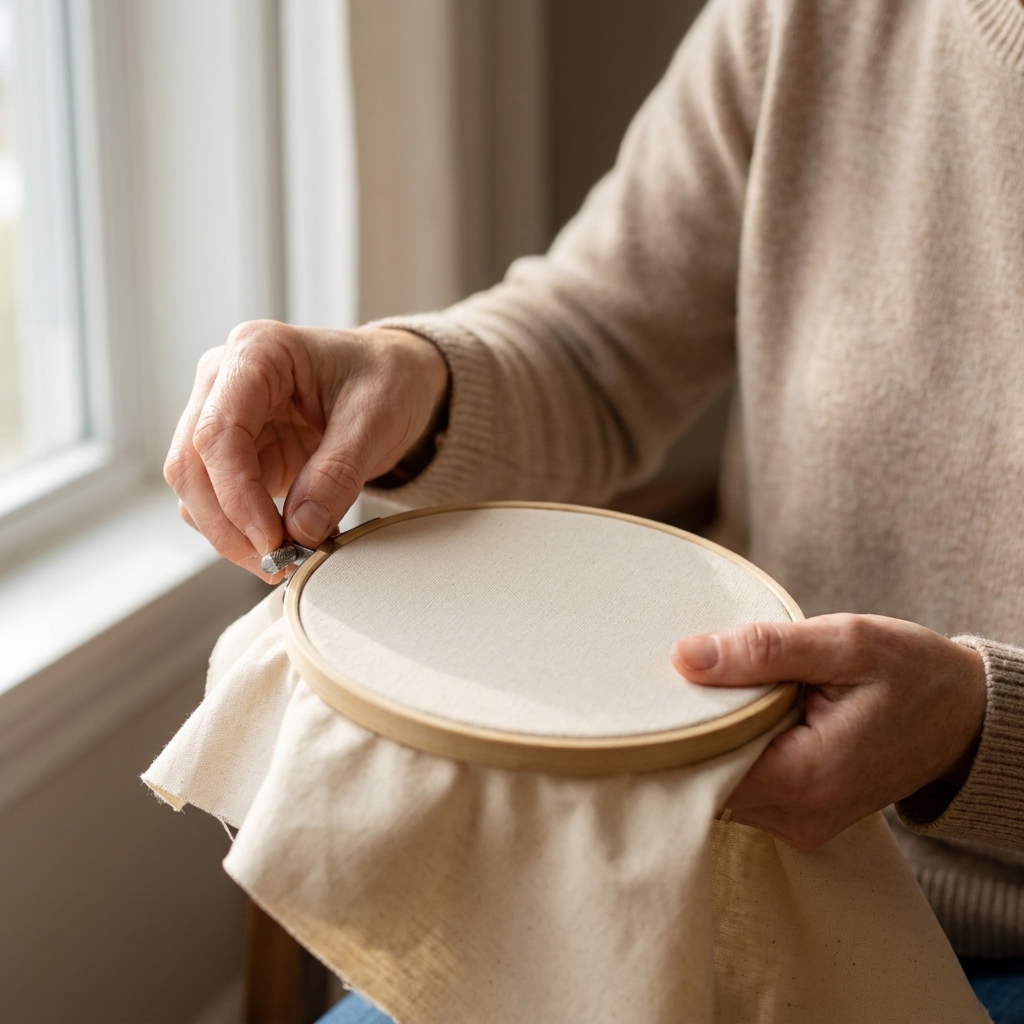
People say “drum-tight” a lot, but here is the practical version:
- Firm and even across the whole stitching area.
- No ripples when you lightly run a finger across the surface.
- A gentle bounce if you tap it with a fingertip, like a well-stretched canvas.
- Not distorted: the weave should look normal, not pulled open or skewed.
For cross stitch on Aida or evenweave, you want the holes to stay square. For surface embroidery on cotton or linen, you want the fabric supported so your stitches do not sink or pucker.
Pick the right hoop
Before we mount anything, a quick reality check: some hoops hold tension better than others. You can absolutely stitch with a basic hoop, but knowing what you are working with helps.
Wooden hoops
- Pros: classic look, widely available, gentle grip on fabric.
- Cons: can slip, especially on smooth fabrics; quality varies a lot.
Plastic hoops
- Pros: many grip well, consistent sizing, good for beginners.
- Cons: can feel “grabby” on delicate fabrics; some are bulky in your hand.
Flexi hoops (rubber outer ring)
- Pros: excellent grip and tension; often used for an easy display finish.
- Cons: not always the comfiest for long stitching sessions; can be hard to remove.
If your hoop constantly loosens no matter what you do, it is not you. It may simply be a low-grip hoop.
Before you hoop up
- Embroidery hoop (wood or plastic)
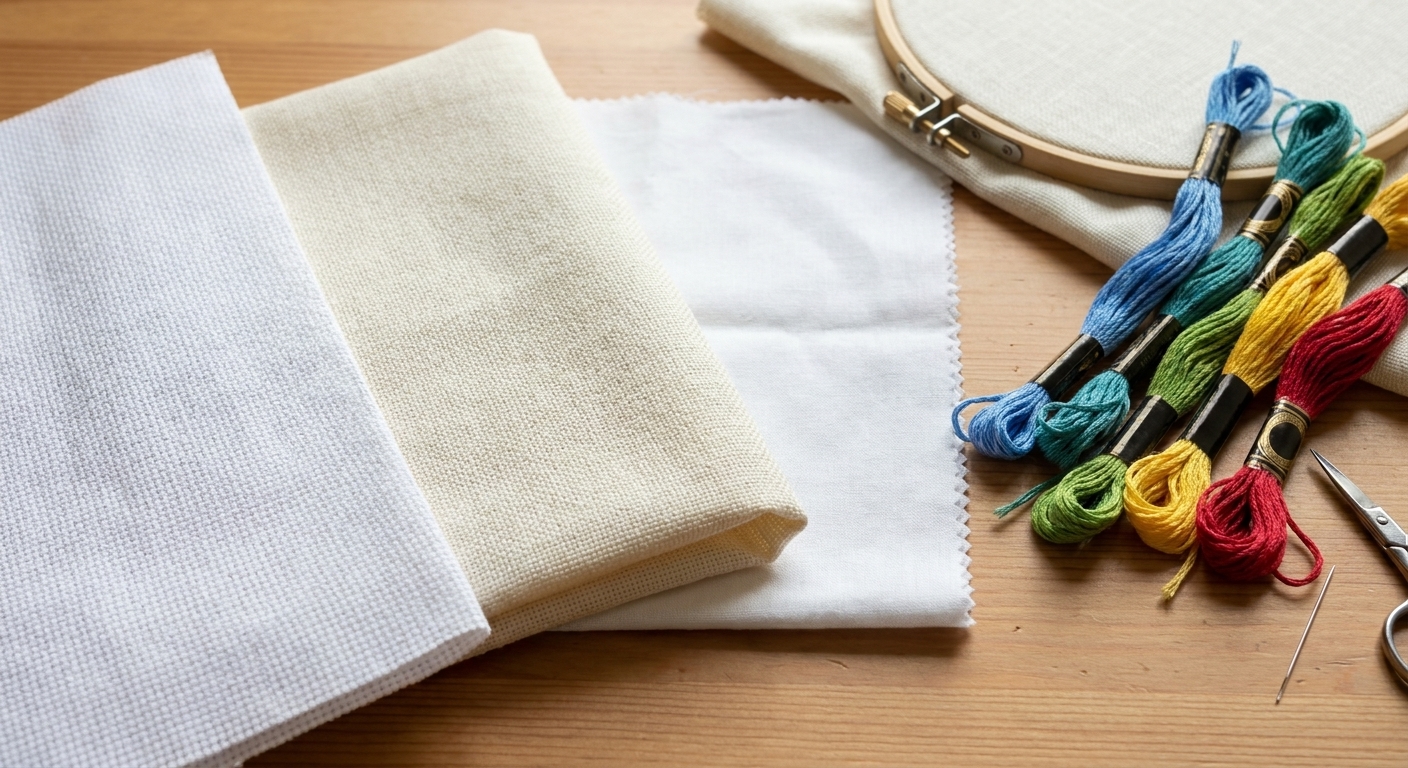
- Fabric (Aida, evenweave, linen, cotton, etc.)
- Optional but very helpful: a piece of cotton twill tape or bias tape for hoop binding (wood hoops)
- Optional: a scrap of felt or cotton for extra grip on slippery fabric
- Optional: masking tape, Fray Check, or a quick zigzag stitch to protect raw fabric edges if they fray easily
Quick prep tip: If your fabric is freshly washed, make sure it is fully dry and pressed. Wrinkles can fight you while hooping and make tension feel uneven.
Edge tip: Leave a few inches of extra fabric all the way around your hoop so you have something to hold while you tension it, and to keep the working area away from fraying edges.
How to mount fabric in a hoop
This works for both wooden and plastic hoops, with tiny adjustments depending on grip.
Step 1: Loosen and separate the rings
Unscrew the metal screw until the outer ring is loose enough to lift off easily. Place the inner ring on a flat surface or hold it in one hand.
Step 2: Center your fabric
Lay the fabric over the inner ring. If you have a pattern center marked, line that up now. For cross stitch, I like to lightly finger-crease the fabric to find the center point.
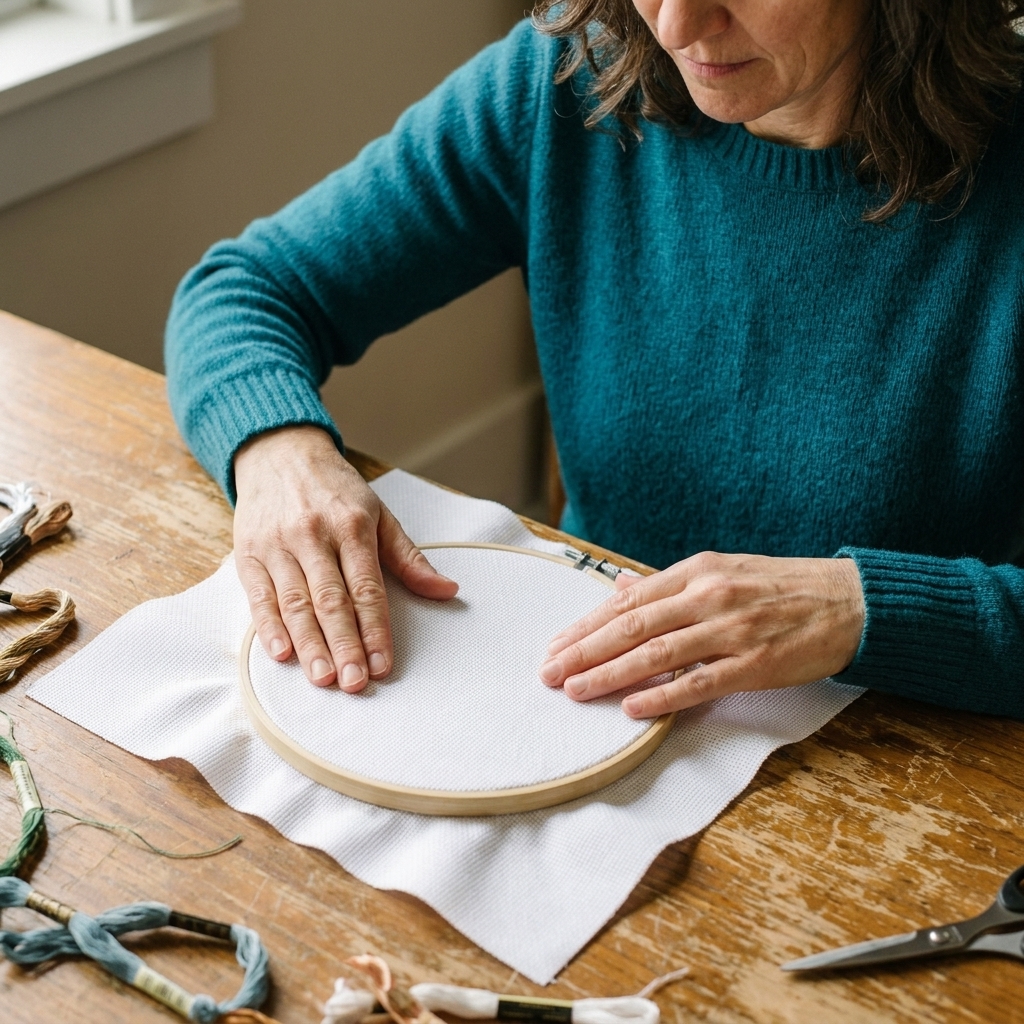
Step 3: Add the outer ring and press evenly
Set the outer ring on top and press it down over the inner ring and fabric. Try to keep the fabric straight with the grain. If the weave starts to skew diagonally, lift and re-seat it rather than trying to tug it back into shape later.
Step 4: Tighten the screw, not all the way
Tighten just enough that the fabric is held in place but you can still adjust tension by pulling the edges.
Step 5: Tension in small pulls
Here is the move that makes a huge difference: instead of yanking one side hard, pull gently in short tugs all the way around the circle. Think north, south, east, west, then fill in between. Work your way around until the surface is evenly taut.
Step 6: Finish tightening the screw
Once the fabric feels evenly tensioned, tighten the screw firmly. If your hoop has a stubborn screw, it is okay to use a small screwdriver for a final snug turn, especially on wooden hoops. Just do not crank it so hard you warp the outer ring.
Step 7: Tap test and micro-adjust
Tap the fabric lightly. If one area is looser, loosen the screw a tiny bit, tug that section, then re-tighten.
Beginner-friendly rule: If you have to pull so hard your fabric edges look stressed, you are overtightening. Aim for firm support, not fabric torture.
Wood hoop grip tricks
Wood hoops are charming, but they can be slippery depending on the finish. Two fixes can make them behave like a totally different tool.
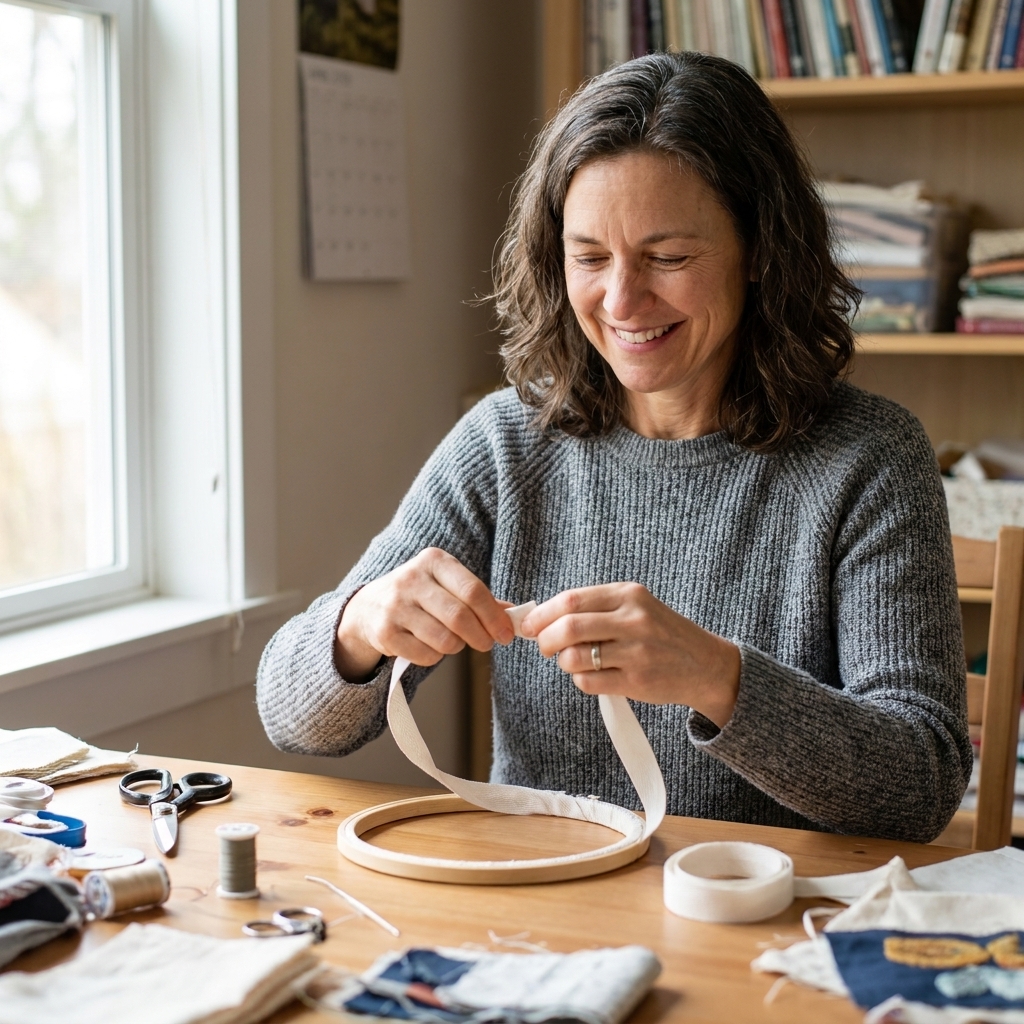
Bind the inner ring
Hoop binding is simply wrapping the inner ring with twill tape or bias tape. It adds friction, helps the hoop stay tight longer, and can reduce fabric marks.
- Wrap the tape around the inner ring with slight overlap as you go.
- Keep the wrap snug and smooth.
- Secure the end with a few stitches of thread or a small dab of fabric glue.
Use a grip layer for slippery fabric
If you are stitching on smooth linen or satin-like fabric, add a thin strip of cotton (or even a narrow piece of felt) around the inner ring before you place your project fabric on top. It increases friction without permanently changing your hoop.
Plastic hoop tips
Plastic hoops often hold well right away, but they can be a little unforgiving.
- Go slower when seating the outer ring: plastic can grab the fabric, so smooth as you press down.
- Check the grain: if the fabric shifts while you push the outer ring on, you can end up with skewed weave.
- Avoid crushing delicate fabrics: if you are working with a fine linen, a bound wooden hoop or a frame can give you gentler control.
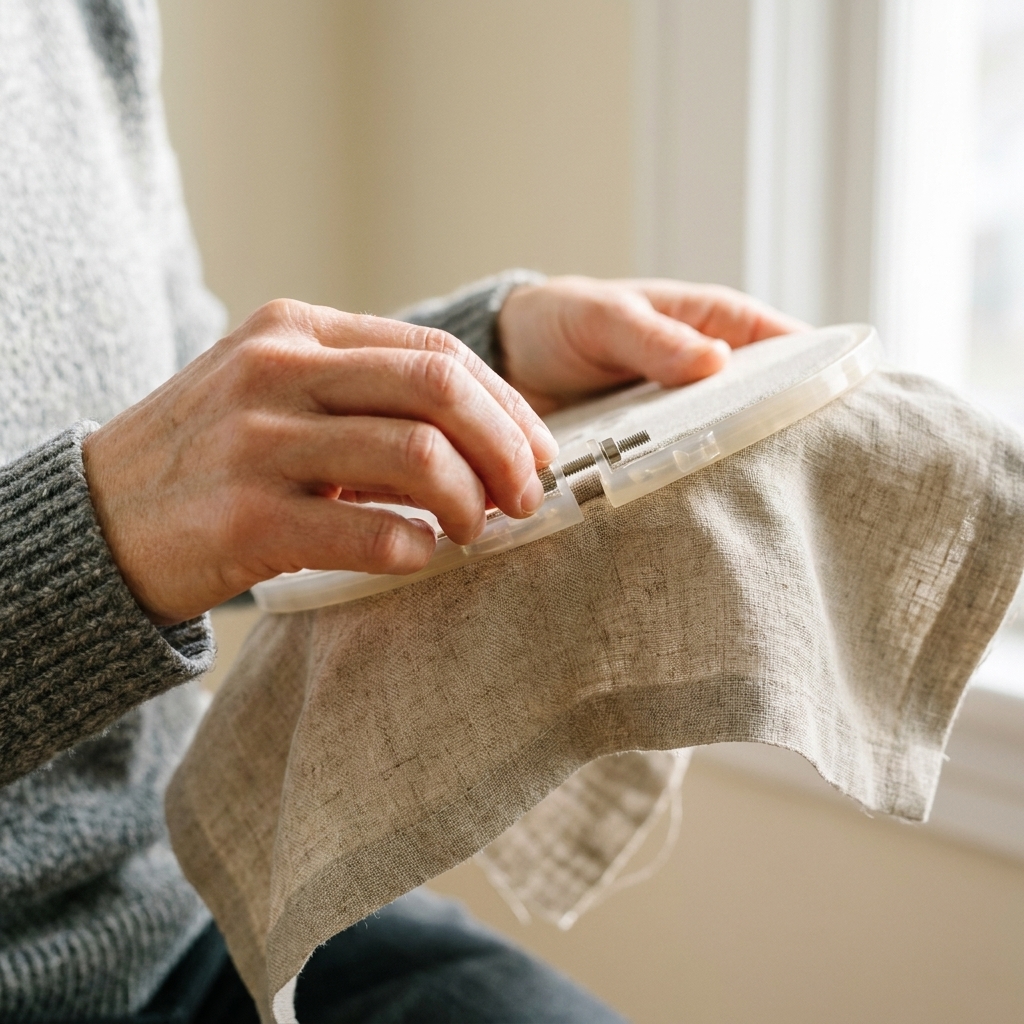
How tight is too tight?
This comes up constantly, and it is a good question. Too tight can:
- Distort Aida holes, making cross stitches look uneven.
- Stretch linen so your design relaxes and looks wavy once removed.
- Create hoop burn that can be hard to press out.
- Encourage puckering if you stitch with high tension.
A good compromise is: tight enough to support the stitch, not so tight the fabric changes shape. If your fabric feels like a trampoline and the weave looks pulled open, back off a little.
Keeping tension while you stitch
Even a perfectly hooped project can loosen as you handle it. A few habits help a lot.
Re-tighten periodically
Every so often, give the fabric a quick tap. If it starts to feel slack or sounds dull, tighten the screw and do a gentle round of edge tugs.
Move the hoop instead of stretching the fabric
If you find yourself pulling the fabric with your non-stitching hand to reach an area, it is time to reposition the hoop. Stretching the fabric while stitching is a sneaky way to get puckers later.
Remove the hoop between sessions
If you leave a hoop clamped down for days, you can set deep creases and sometimes permanent marks, especially on delicate or high-sheen fabrics. I remove mine when I remember, which is not always, but it genuinely helps.
Common problems and fixes
The fabric keeps slipping
- Bind the inner ring (wood hoops).
- Switch to a better-grip hoop (some budget hoops are simply slippery).
- Add a thin cotton strip around the inner ring for extra friction.
- Make sure the screw is actually snug. Finger-tight is not always enough.
The fabric is tight in one spot and loose in another
- Loosen slightly, then tension in small pulls all the way around.
- Check that the fabric grain is straight. Skewed weave can create weird tight areas.
My stitches pucker the fabric even though it is hooped tightly
- Check your stitching tension. Pulling floss too hard can pucker even perfectly hooped fabric.
- Make sure you are not stitching with the fabric slightly slack (it happens if your hoop loosened mid-session).
- For surface embroidery, consider adding a stabilizer behind lightweight fabric.
I have hoop marks
- Light marks usually press out: place the piece face down on a towel and press from the back.
- Remove the hoop when you take breaks to reduce deep creases.
- Binding the hoop can help reduce harsh rings.
- On delicate fabrics, avoid parking the hoop in one spot for too long. Reposition more often to prevent set-in rings.
My Aida holes look stretched
- Ease up on tension next time. Aim for firm, not extreme.
- Try a slightly larger hoop so the fabric is not stressed at the ring edge.
- Consider stitching in hand for small cross stitch sections if you prefer (some stitchers love it).
Cross stitch vs embroidery
Cross stitch
- Keep the fabric grain square. This matters more than ultra-tight tension.
- If you use Q-snaps, the same principle applies: even tension, no distortion.
- Many cross stitchers prefer a slightly gentler tension to protect the holes.
Surface embroidery
- Tighter is often helpful, especially for satin stitch, long and short stitch, and detailed line work.
- If your fabric is light, add stabilizer or a backing fabric to prevent puckering.
Hoop size and when to use a frame
Bigger hoops can be more comfortable and spread tension over a wider area, but they are also easier to bump and can feel unwieldy.
Smaller hoops give you a firm, controlled stitching zone, but you will reposition more often (and you want to be mindful of hoop marks).
If you are working a large piece or you really hate re-hooping, a Q-snap, scroll frame, or stretcher bars can keep things evenly supported with fewer creases.
Checklist before you stitch
- Fabric is centered and straight with the grain
- Tension is even across the whole hoop
- Screw is snug and does not wobble
- No visible ripples or skew
- You can rest your hand on the fabric without it sinking
Once you get hooping down, you will feel it instantly when something is off. And honestly, that is one of my favorite beginner milestones: you stop fighting the fabric and start enjoying the rhythm of stitching.
FAQ
Should I wash fabric before hooping?
If it is fabric you bought off the bolt, I usually do a quick wash and press for embroidery, especially for cotton and linen. For cross stitch fabrics, many stitchers skip washing to avoid fraying and distortion. If you do wash, finish the edges first and press it well.
Do I need a hoop for cross stitch?
No, but it helps. Some people stitch in hand, and some use scroll frames or Q-snaps. A hoop is an easy starting point as long as you keep tension even and avoid distorting the holes.
Why does my hoop loosen while I stitch?
Handling, warm hands, and the natural flex of the rings can all contribute. Wooden hoops also vary in quality. Binding the inner ring and re-tightening occasionally usually solves it.
Is it okay to stitch with fabric not perfectly drum-tight?
Yes. For many cross stitch projects, “even and supported” matters more than extremely tight. If your stitches look neat and your fabric is not puckering, you are in a good place.