If you have ever looked down at your hoop and thought, “Why does my fabric look like a potato chip,” please know you are in excellent company. Most beginner issues are not talent problems. They are tiny setup and technique hiccups that have very straightforward fixes.
Below are seven mistakes I see constantly in embroidery and cross stitch, including in my own early projects. I will show you what is happening, how to fix it right now, and how to keep it from coming back.
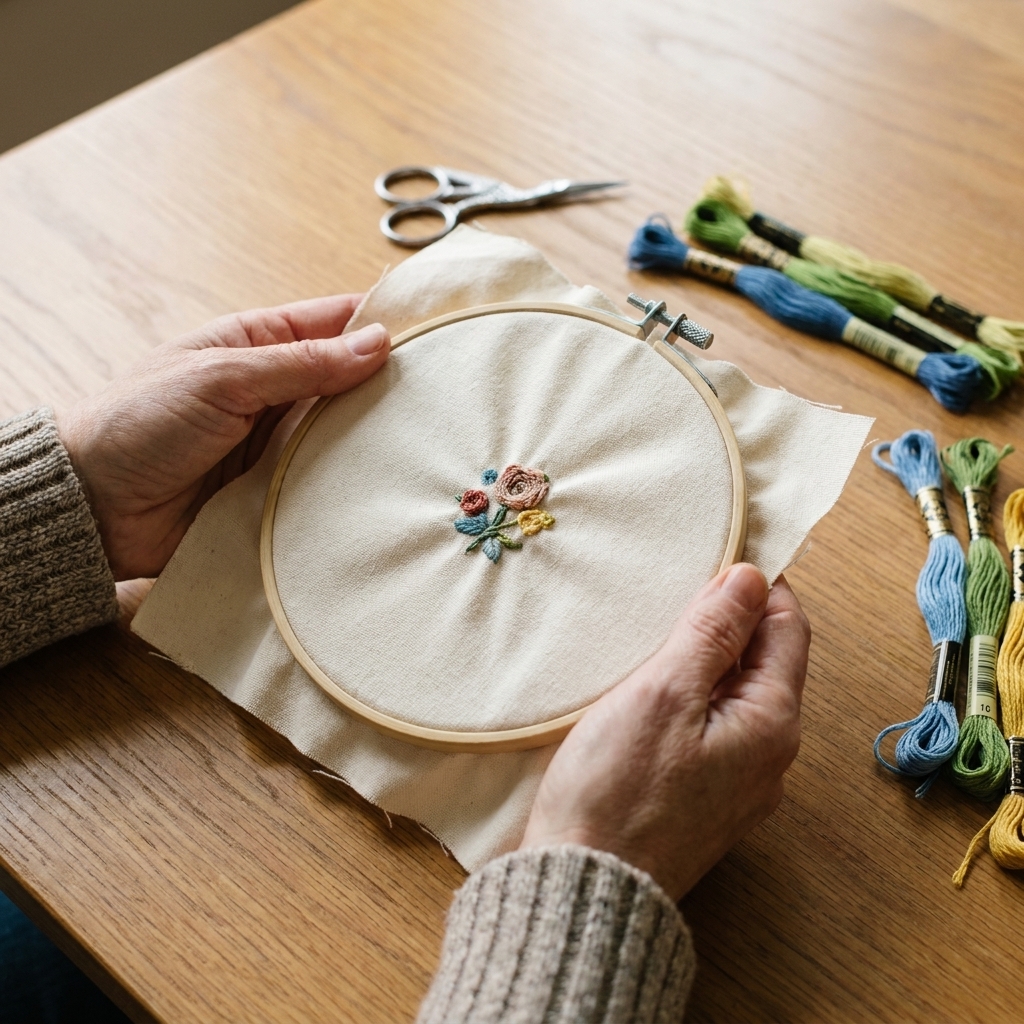
1) Puckered fabric
What it looks like: Your fabric ripples, tunnels around stitches, or the whole hoop feels wavy once you take it off the frame.
Why it happens: Usually one of three things: the fabric is not drum tight, your tension is too tight, or your fabric is too lightweight for the stitch density. (And yes, these can team up, like tight tension on a thin fabric.)
Easy fixes
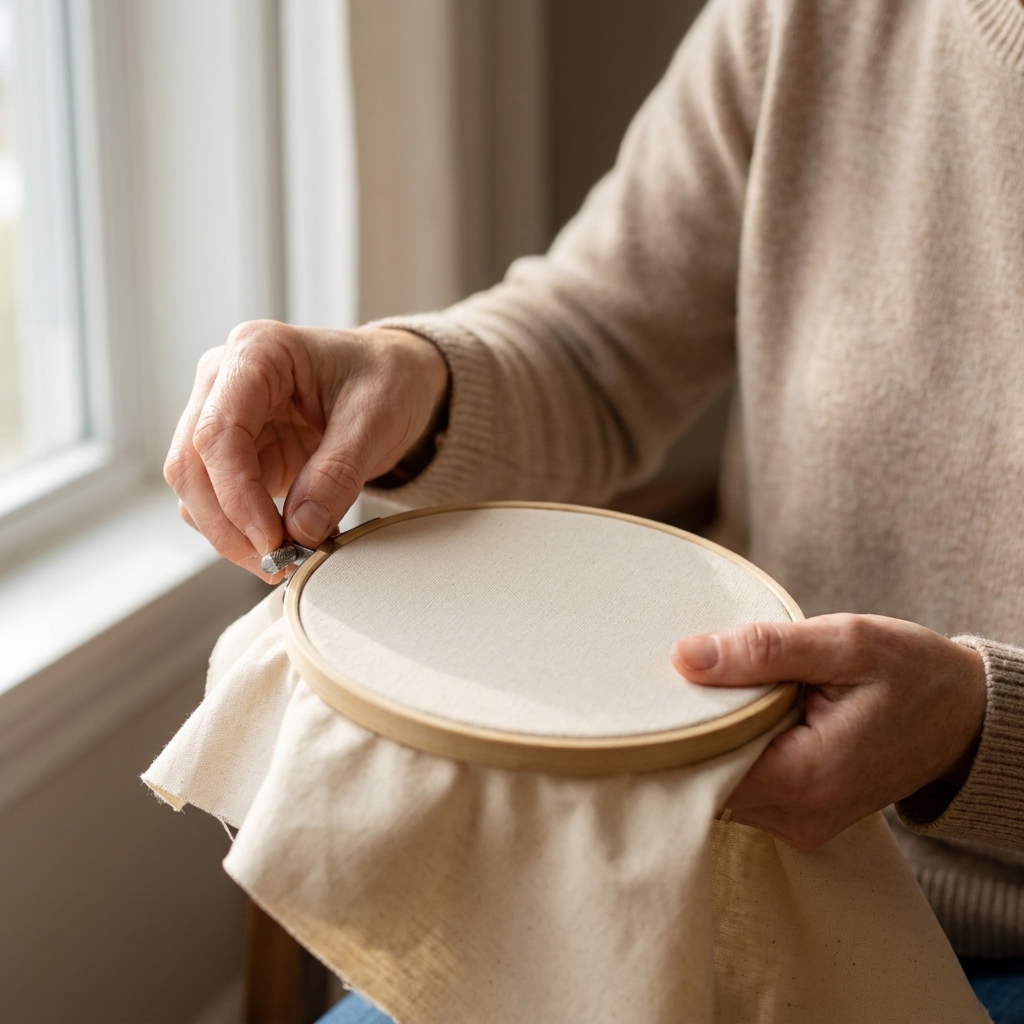
- Rehoop and tighten correctly: Loosen the screw, center your design, pull the fabric evenly on all sides, then tighten until it feels like a firm tabletop. Give the fabric a gentle “tap test.” It should sound slightly snappy, not floppy.
- Relax your pull: After each stitch, pull the thread until it lays flat, then stop. If your fabric dimples, you are yanking.
- Stabilize lightweight fabrics: For embroidery on quilting cotton or linen blends, add a layer of wash-away stabilizer or a second layer of fabric behind your ground fabric. For cross stitch, use the proper count Aida/evenweave and avoid stitching on very stretchy fabric without support.
Prevent it next time
- Match stitch density to fabric weight. Heavy satin stitch on thin fabric is a puckering magnet.
- If you are doing a lot of fill stitches, consider using a hoop with a better grip (like a flexi hoop) or wrap the inner hoop with clean cotton bias tape or twill tape for extra bite. (Anything cotton and grippy works. Avoid wraps that shed dye.)
- If you are keeping a project in a hoop for days, take it out between sessions. It helps prevent stubborn hoop rings and keeps fabric from stretching out of shape over time.
2) Twisted or ropey thread
What it looks like: Your floss looks bulky, the strands do not lay side by side, and the thread keeps tangling even when you are being patient.
Why it happens: Floss naturally twists as you stitch, especially if your needle keeps spinning. Longer lengths also invite knots.
Easy fixes
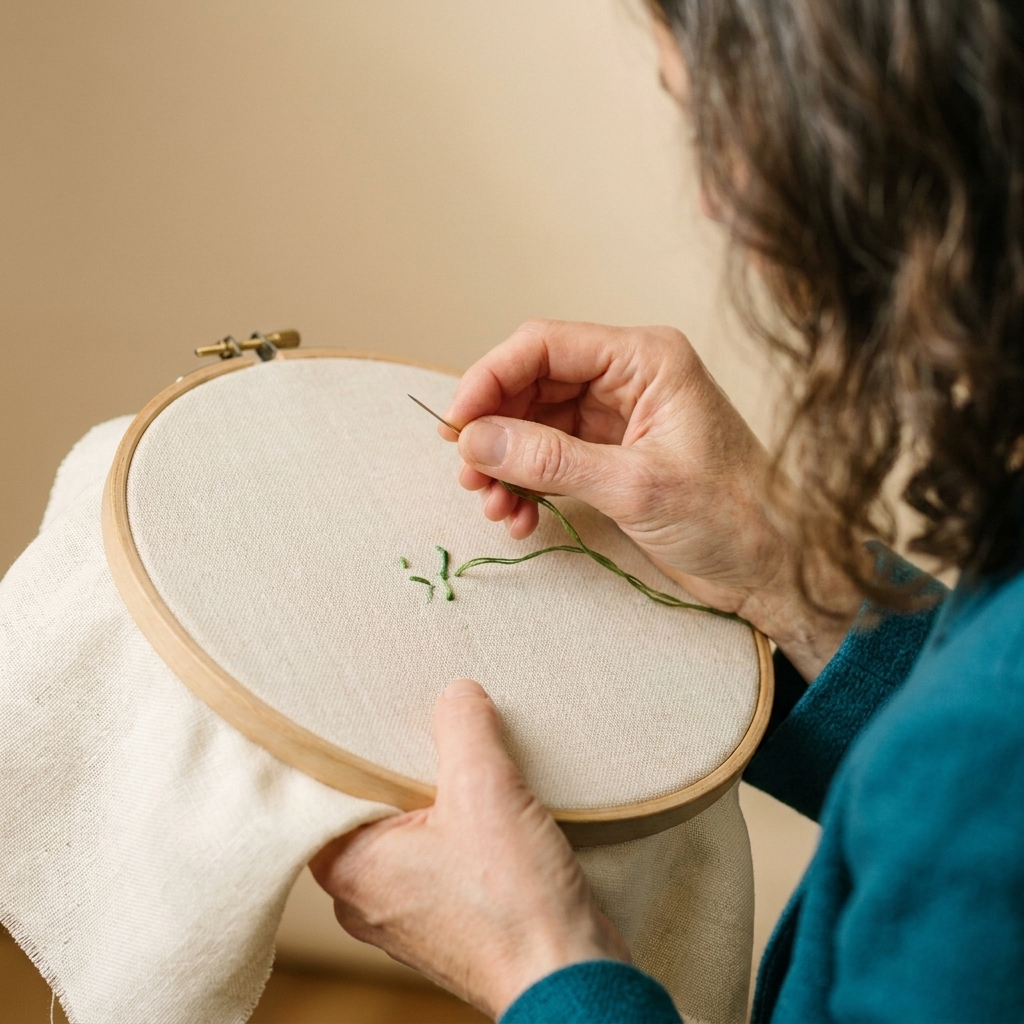
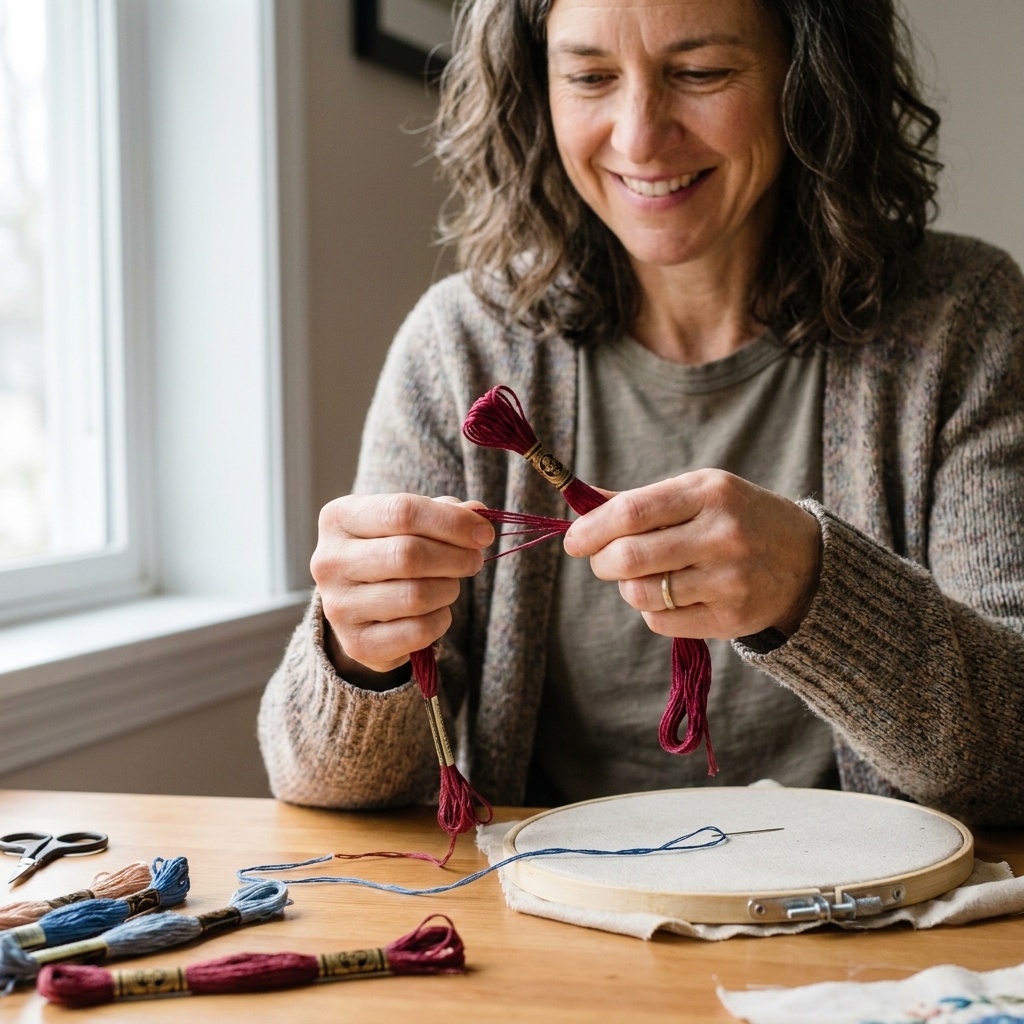
- Drop the needle: Every few stitches, let your needle and thread dangle freely. It will untwist itself like magic.
- Shorten your working length: For embroidery floss, aim for about 15 to 18 inches (roughly forearm length). For metallics, go even shorter.
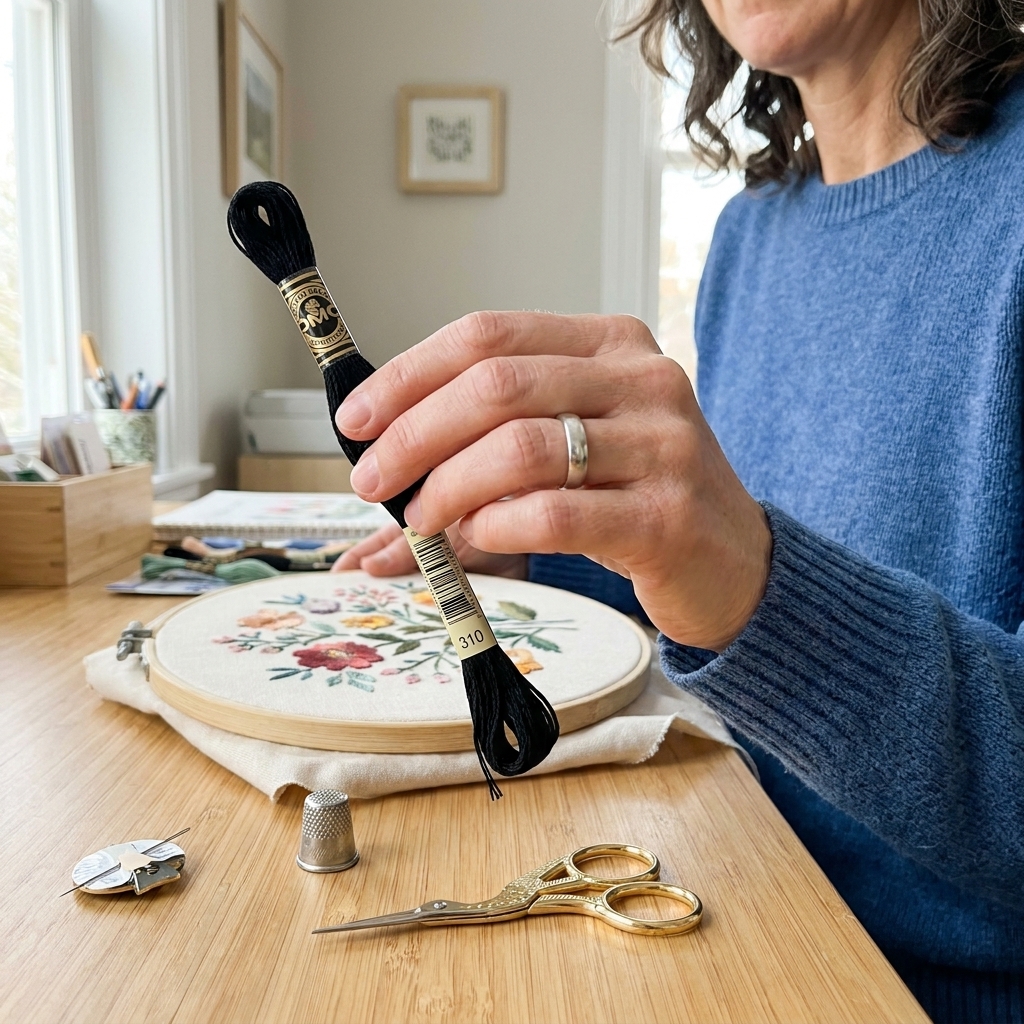
- Separate strands properly: If you are using 2 strands, pull one strand at a time from the 6-strand skein, then recombine. This helps them sit flatter and snag less.
Prevent it next time
- Try a light touch of thread conditioner (especially for metallics). Use it sparingly so you do not gum up your fabric.
- Pay attention to needle direction. Repeatedly turning your needle the same way encourages twisting.
3) Uneven stitches
What it looks like: Your satin stitch has bumpy edges, your backstitch wobbles, or your cross stitches vary in size and angle.
Why it happens: Inconsistent fabric tension, inconsistent stitch length, or you are placing stitches by eye alone instead of using a simple guide.
Easy fixes
- Use the holes (cross stitch): Let the fabric grid do the measuring. If your stitches look uneven, check that you are always coming up and going down through the correct holes and that you are not splitting Aida threads.
- Keep your legs consistent (cross stitch): Make sure the top stitch always slants the same way across the whole piece (for example, ///// first, then \\ on top). A single area flipped the other direction can make finished work look oddly bumpy.
- Outline first (embroidery): For satin stitch, make a clean outline with split stitch or backstitch, then fill. The outline acts like guard rails.
- Draw a guideline: Use a water-soluble pen or a heat-erase pen for straight lines. For curves, draw the line lightly and stitch directly on it.
- Slow down at corners: Corners and curves need shorter stitches. Long stitches around a curve will look jagged.
Prevent it next time
- Pick the right needle size. A needle that is too big can distort holes and make stitch placement sloppy. A tapestry needle is ideal for cross stitch; a sharp embroidery needle is best for most surface embroidery.
- Practice on a scrap for five minutes before starting the real piece. Your hands “remember” quickly.
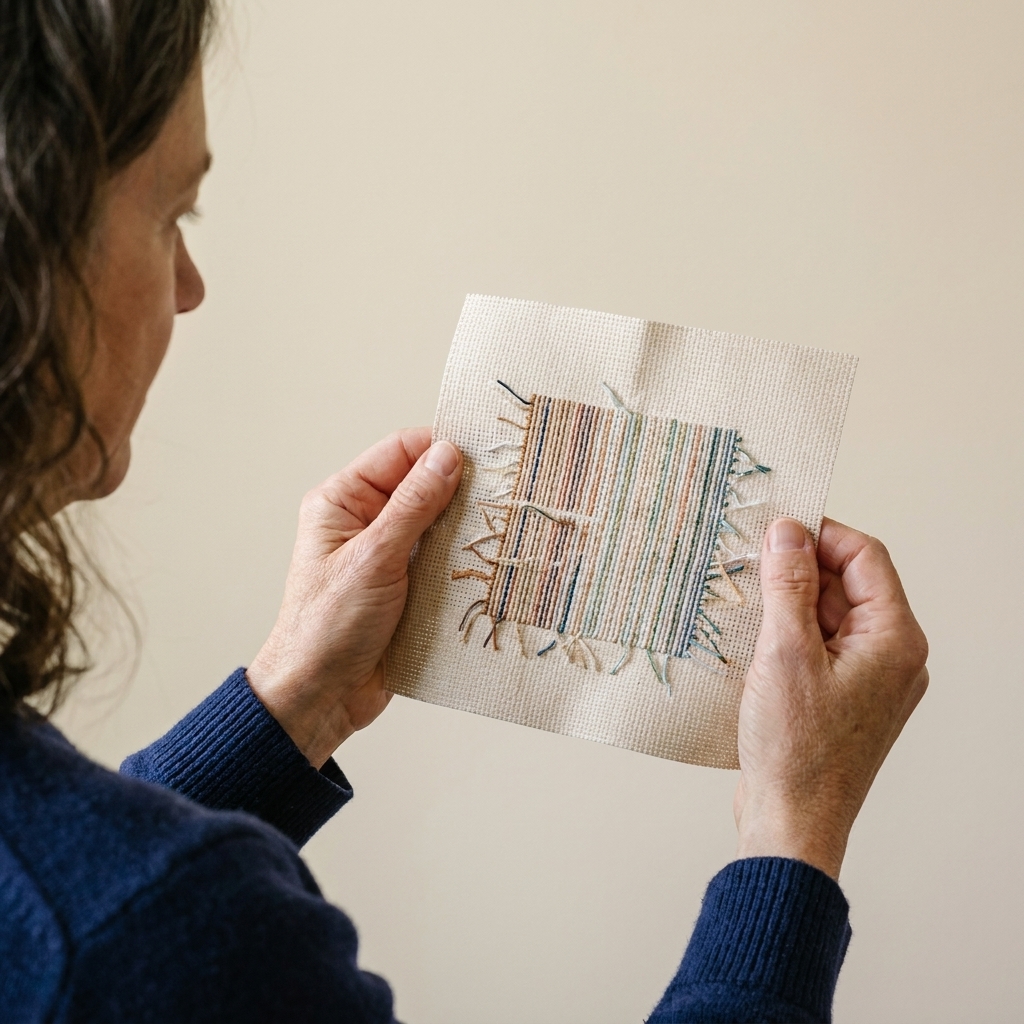
4) Messy backs that cause bumps
What it looks like: The front looks slightly raised or lumpy, framing looks bumpy, or your work catches when you stitch nearby.
Why it happens: Long “travel” threads, bulky knots, and constant starts and stops in the same area.
Easy fixes
- Stop traveling across empty fabric: In cross stitch, it is tempting to jump across the back. Instead, end your thread and restart where you need it, or travel only short distances under existing stitches.
- Use tidy starts: For embroidery, try an away knot (knot placed away from the starting point, then snip later) or tiny anchoring stitches under an area that will be covered. For cross stitch, use the loop start with even numbers of strands.
- End threads under stitches: Run your needle under 3 to 5 stitches on the back, then trim close. This is flatter and safer than big knots.
Reality check, from your friendly floss hoarder
A neat back is nice, but it is not a moral virtue. If your back is a little chaotic but your front is smooth and your threads are secure, you are doing fine.
5) Knots and mystery snarls
What it looks like: A sudden tight knot appears mid-stitch, the thread loops into a bird’s nest, or the floss frays and catches repeatedly.
Why it happens: Thread is too long, the floss is twisting, you are stitching with roughened floss, the needle eye is too small and is shredding the fibers, or the thread is being pulled through too fast and whipping into loops on the back.
Easy fixes
- Rethread with a shorter length: This fixes a surprising number of problems immediately.
- Check your needle: If the eye is tiny or the needle is old and slightly bent, swap it out. Needles are inexpensive and they wear out.
- Keep your working area smooth: Floss catches on dry hands, hangnails, and rough hoop edges. A quick hand lotion break can help, just let it soak in before touching fabric.
- Untangle before it tightens: The moment you feel resistance, stop. Gently pull the needle back and loosen the loop. If you keep yanking, the knot “sets.”
If a knot is truly stuck
- Use a needle tip to tease it open.
- If it will not budge, snip the knot, unpick a few stitches, and restitch. It is annoying. It is also normal.
6) Bleeding or dirty fabric
What it looks like: Colors run when you wash, pencil marks won’t come out, or your fabric looks smudged from handling.
Why it happens: Some threads are not colorfast, markings are not washable, or hands and hoops transfer oils and grime over time.
Easy fixes
- Wash your hands and keep a “project towel”: I drape a clean cotton cloth over my lap or table to rest the hoop on. It is a simple habit that saves a lot of heartbreak.
- Test-thread before you commit: If you are using hand-dyed floss or unknown brands, stitch a few scraps and rinse. If it bleeds, you can pre-rinse the floss or choose a different thread.
- Use the right marking tool: For embroidery patterns transferred to fabric, stick to water-soluble pens, heat-erase pens, or light boxes with pencil used very sparingly. For cross stitch on evenweave, use a gridding pen designed to wash out.
- Remove hoop marks carefully: After finishing, lightly mist the fabric with water and let it air dry flat, or press from the back with a press cloth. If you used any marking tool (especially heat-erase), test your fabric and pen on a scrap first. Some marks can set, shift, or reappear later.
A quick word on heat-erase pens
Heat-erase pens are convenient, and they can also be unpredictable. Some lines can ghost, leave faint residue, or come back in cold temperatures. If you are stitching something meant to last for years, test first and consider a water-soluble option instead.
7) Wrong fabric, needle, or strands
What it looks like: Coverage is too thin, stitches sink into the fabric, holes look stretched, or your piece looks nothing like the pattern photo.
Why it happens: Beginners often mix embroidery and cross stitch supplies without realizing they are optimized differently.
Easy fixes
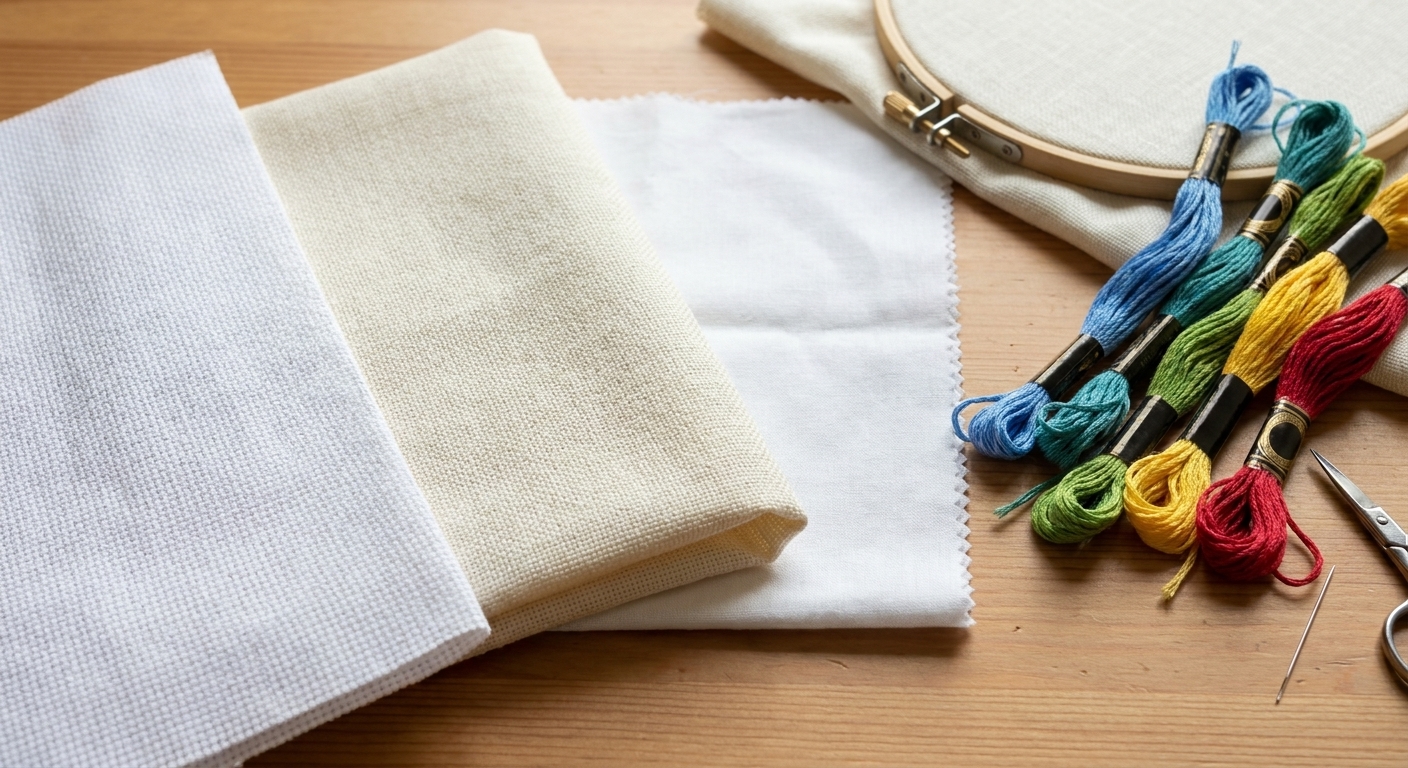
- Match fabric to the craft:
- Cross stitch: Aida (14 count is wonderfully beginner-friendly), evenweave, or linen designed for counted work.
- Embroidery: Firm woven cotton, linen, or linen-cotton blends that can hold tension in a hoop.
- Use the right needle:
- Cross stitch: Tapestry needles (blunt tip) so you glide between fabric threads.
- Embroidery: Sharps or crewel needles (pointed) to pierce fabric cleanly.
- Adjust strand count: Pattern calls matter. If you are winging it, here is a safe starting point: for embroidery outlines, 1 to 2 strands; for satin stitch and bolder lines, 2 to 3 strands; for 14 count Aida cross stitch, 2 strands is the classic choice for solid coverage.
Prevent it next time
When you start a project, do a tiny test area first. Ten minutes of testing can save you hours of unpicking.
Quick cheat sheet
- Puckering: tighten hoop, lighten tension, add stabilizer, remove from hoop between sessions
- Twisted floss: drop the needle, shorten thread, separate strands
- Uneven stitches: draw guidelines, outline before filling, keep cross stitch legs consistent
- Bumpy front: reduce travel threads, avoid bulky knots, end under stitches
- Tangles: shorter lengths, better needle match, stop when you feel resistance, slow your pull-through
- Bleeding and grime: test dyes, use washable markings, keep hands and fabric clean
- Wrong supplies: match needle and fabric to the technique, test strand count
Before you start over
If you are tempted to toss your project into a drawer forever, take a breath and do one tiny reset: rethread your needle with a shorter length, re-tighten your hoop, and stitch five calm stitches. So many “I think I am bad at this” moments turn out to be one easily fixable detail.
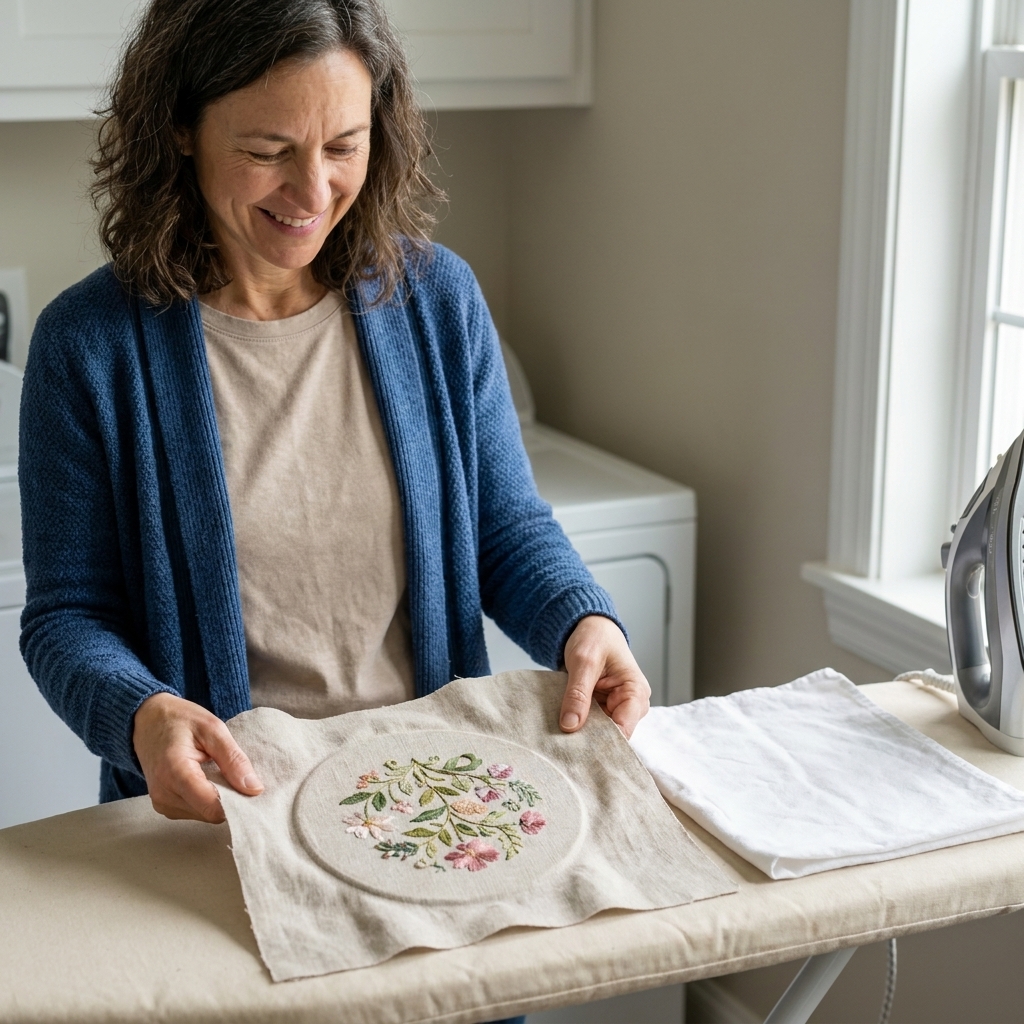
When you are ready to finish, give your work the same gentle care you gave the stitches. Remove it from the hoop, then press from the back over a towel or thick cloth (so the stitches can stay puffy and proud). Avoid pressing directly on the front unless you are using a good press cloth and a light hand.
And if you need permission to be a beginner: you have it. Every neat sampler and polished hoop you admire was built on a long, proud history of tangled floss and learning as we go.