Getting your design onto fabric sounds like it should be the boring part. In reality, it is the step that can make stitching feel calm and easy or weirdly stressful. If your lines are too dark, they show through. If they are too light, you lose them halfway through. And if you have ever rubbed your hand over a freshly transferred pattern and watched it smear, welcome to the club.
Below are four beginner-friendly ways to transfer embroidery patterns onto fabric, plus when each method shines. All four work beautifully for hand embroidery, and a couple are handy for cross stitch too, depending on what you are stitching.
Quick comparison: which method should you pick?
If you are the kind of maker who just wants someone to tell you what to do, here is my quick-and-practical cheat sheet.
- Window tracing: best for light fabrics and simple line designs.
- Water-soluble pens: best for clean, quick transfers you plan to wash out later.
- Carbon paper (transfer paper): best for darker fabrics or when you need crisp lines without light shining through.
- Wash-away stabilizer: best for detailed designs, lettering, and tricky fabrics like knits or towels.
Method 1: Window tracing
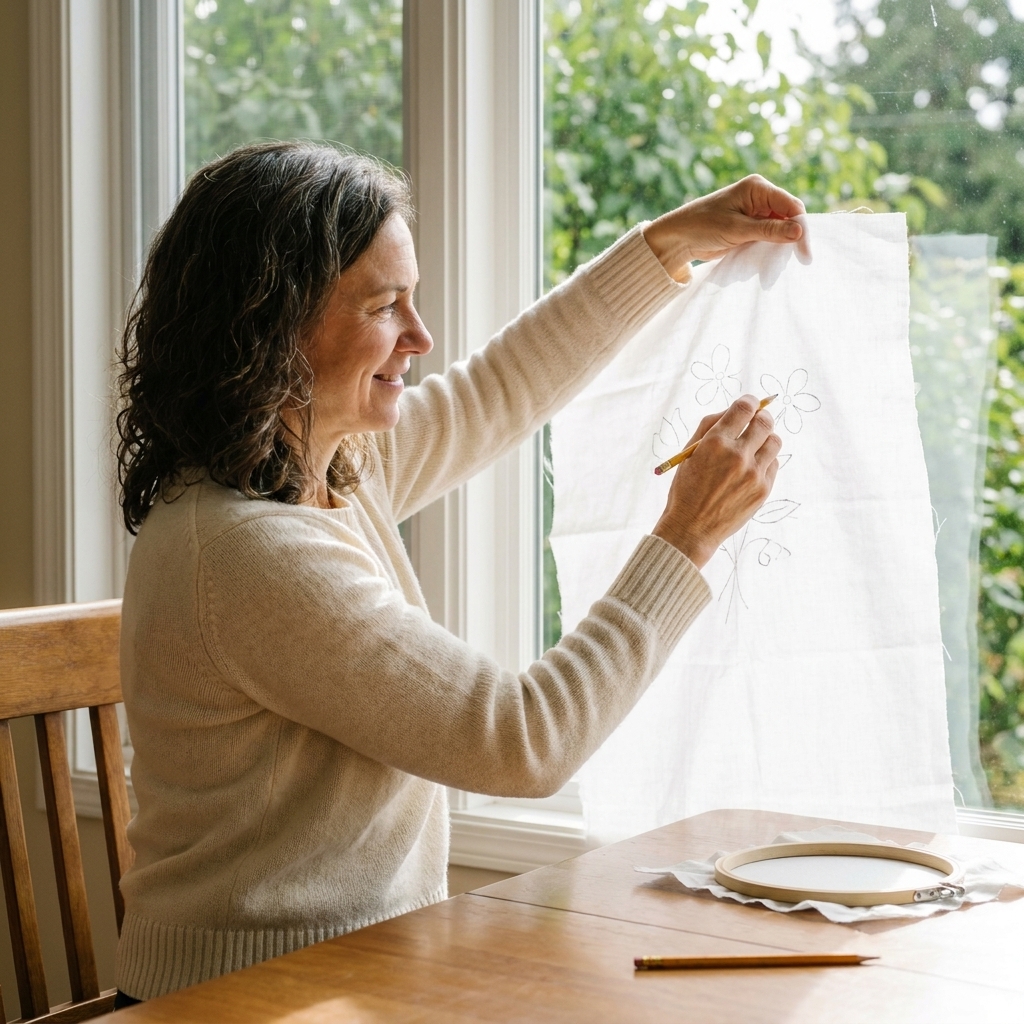
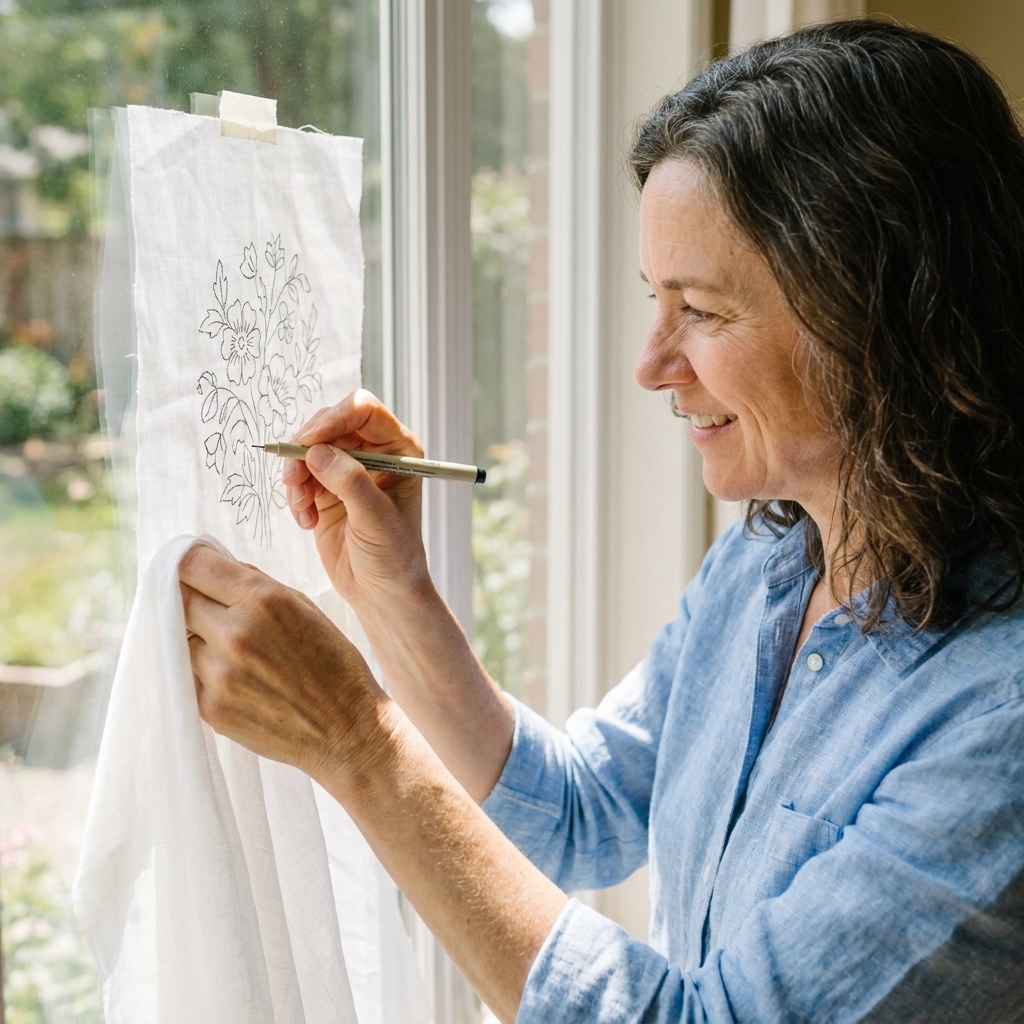
Window tracing is exactly what it sounds like: use a bright window or light source to shine through your paper pattern, then trace it onto fabric. It is one of my favorite methods because it is very low-cost and wonderfully low-fuss. (A light pad works the same way and is easier after sunset.)
Best for
- Light-colored, smooth fabrics (cotton, linen, quilting cotton)
- Simple to moderately detailed line art
- Hoop-sized motifs and small projects
What you need
- Your printed pattern
- Painter’s tape or washi tape
- A bright window (or a light pad)
- A pencil or water-soluble pen
Step-by-step
- Tape your paper pattern to the window at eye level.
- Place your fabric over the pattern, smoothing it flat.
- Tape the fabric in place so it cannot shift.
- Trace the design using a light touch. You want visible lines, not deep grooves in the fabric.
- Move your fabric to a table and double-check you captured every line before removing the tape.
My beginner tips
- Use a sharp pencil for linen: a regular graphite pencil works surprisingly well on linen and many light cottons. Keep it light so you can cover it with stitches.
- Trace only what you need: for filled stitches, you often only need the outline or key landmarks.
- Mind the grain: align your design with the straight grain if you want it to sit nicely in a hoop or frame.
- Match mark color to thread: if you will be using pale thread or open stitches, keep your transfer marks pale too.
Method 2: Water-soluble pens
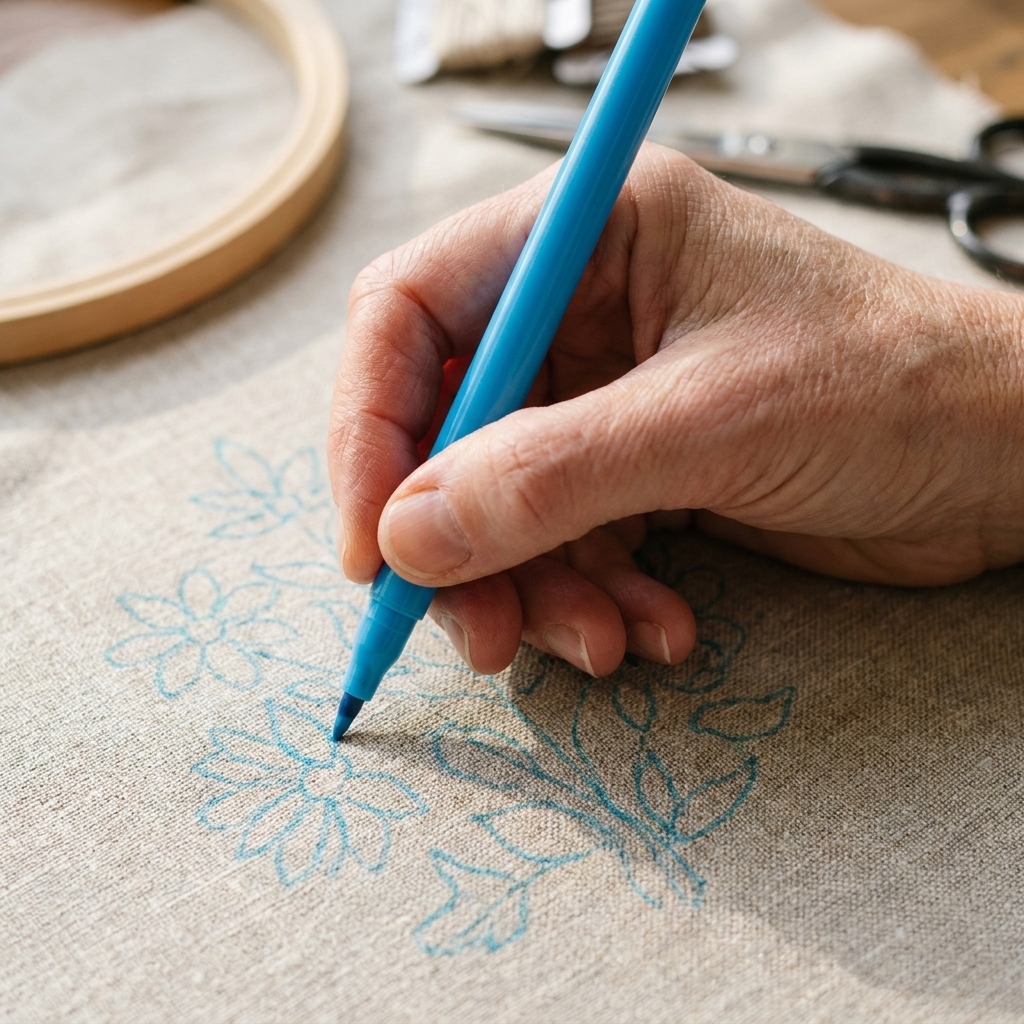
Water-soluble marking pens are popular for a reason: you draw, you stitch, you rinse, and the lines disappear. When they behave, they feel like magic. The key phrase is “when they behave,” because ink formulas vary by brand, and some fabrics are pickier than others.
Best for
- Most light to medium fabrics
- Quick transfers and simple outlines
- Projects that will be washed when finished
What you need
- A water-soluble embroidery pen (blue is common)
- Your pattern and a window or light pad for tracing, or a simple freehand sketch
- Scrap fabric for testing
Step-by-step
- Test first: on a scrap of the same fabric, draw a line and remove it using the pen maker’s instructions. Let it dry completely to confirm it truly disappears and does not leave a faint ghost.
- Transfer the design by tracing (window or light pad) or drawing directly.
- Let the ink dry before you hoop up and start stitching, so it does not smear.
- When finished, rinse or soak as needed, following the brand directions. Use cool to lukewarm water unless the package says otherwise. Blot with a towel and air-dry flat.
Watch-outs (learned the hard way)
- Some inks can set with heat: a few brands can become stubborn if you iron or use hot water too soon. Check the specific pen guidance and remove marks before pressing.
- Some marks can reappear: certain “water-erasable” inks can come back in very cold conditions or after storage. Testing your exact pen and fabric combo is the only real guarantee.
- Some fabrics hold ink: especially certain linens or heavily finished fabrics. Testing saves heartbreak.
- Handle with clean hands: oils and friction can make ink behave unpredictably.
Method 3: Transfer paper
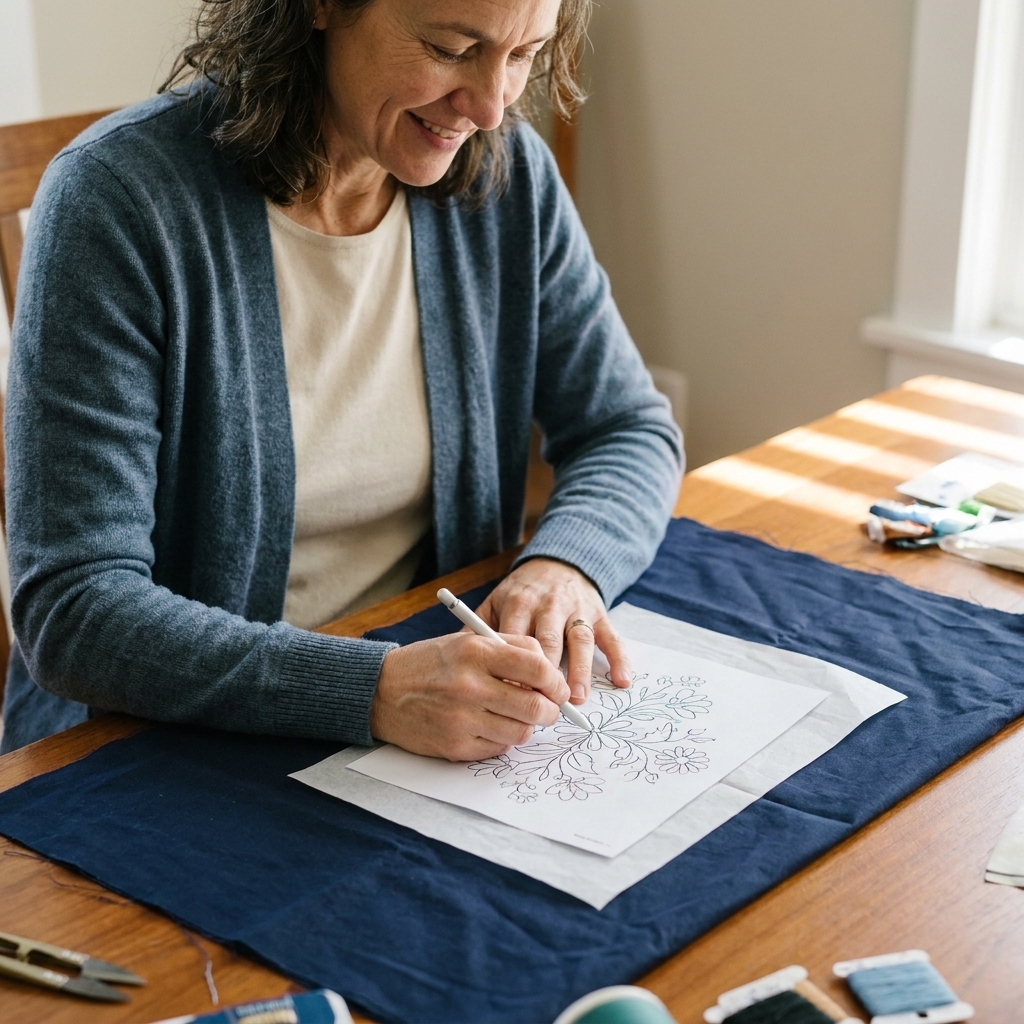
Carbon paper, also sold as dressmaker’s transfer paper, is a solid option when window tracing is not possible. It is especially helpful on darker fabrics where you cannot see through the layers.
Best for
- Darker fabrics and medium to heavy fabrics
- Bold designs, lettering, and clean outlines
- When you need the transfer to be quick and consistent
What you need
- Dressmaker’s carbon or transfer paper (choose a color that contrasts your fabric)
- Your paper pattern
- Ballpoint stylus, empty ballpoint pen, or a tracing wheel
- Tape
Step-by-step
- Place your fabric on a hard, smooth surface.
- Lay the transfer paper on the fabric, colored side down.
- Place your pattern on top and tape the stack so it cannot shift.
- Trace over the pattern lines with firm, even pressure.
- Peel back one corner to check the transfer before removing everything.
Make it cleaner
- Less pressure, more checks: pressing too hard can leave grooves, especially on linen.
- Avoid dragging your hand: transfer marks can smudge while you work. Lift your hand often.
- Removability varies: some transfer papers rub away easily, and some are more waxy or chalky and can linger. Test on a scrap, and choose a line color you can cover with stitches.
Method 4: Wash-away stabilizer
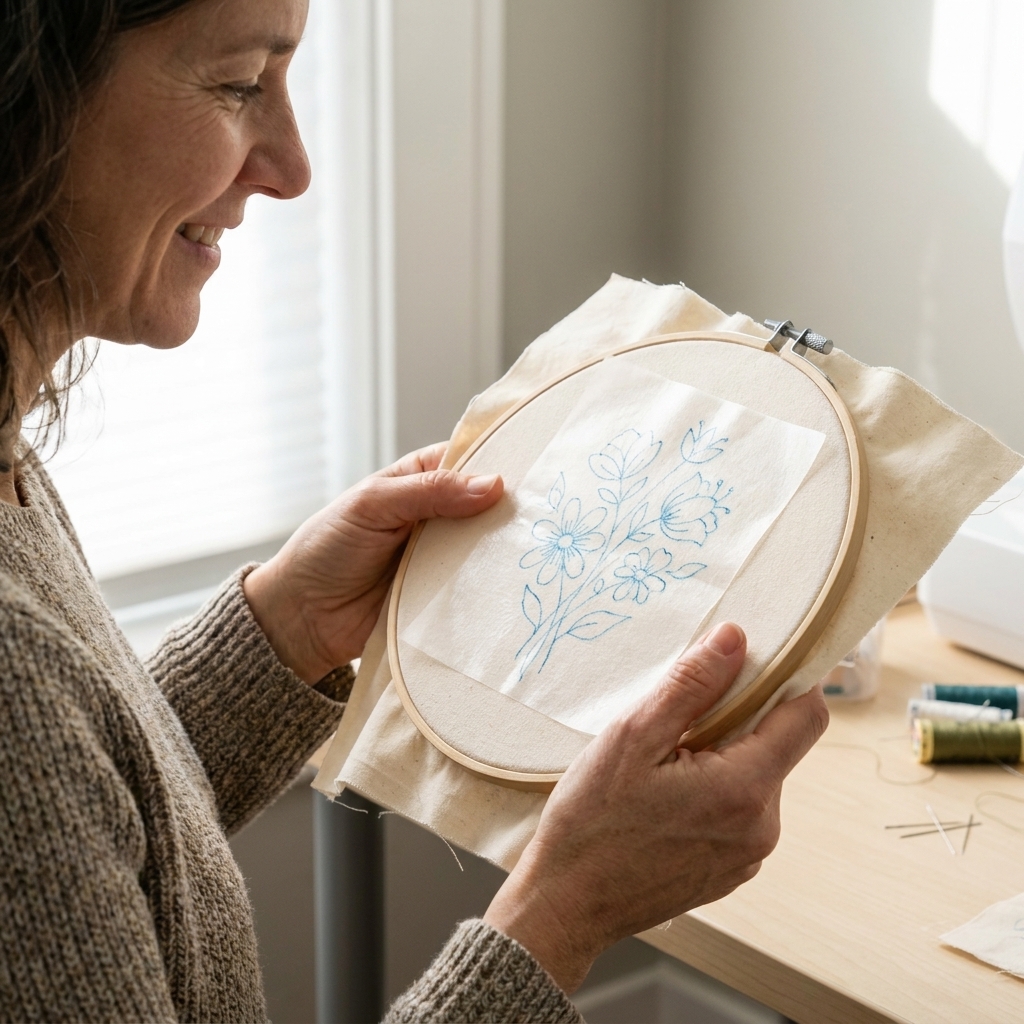
Wash-away stabilizer is a thin sheet you can draw or print on, then stick or baste onto fabric and stitch right through it. When you are done, you rinse it away. If you love tiny details, neat lettering, or you are stitching on something stretchy, this method feels like a life upgrade.
Best for
- Detailed embroidery, text, and intricate line work
- Tricky fabrics: knits, towels, fleece, anything with texture
- Stitching designs you want to place precisely
- Cross stitch on non-evenweave surfaces (like clothing) where you need temporary support
What you need
- Wash-away stabilizer sheet (sticky or non-sticky)
- Pen for drawing, or a printer if your stabilizer is printer-friendly
- Scissors
- Embroidery hoop
Step-by-step
- Transfer your design onto the stabilizer by drawing or printing.
- Cut the stabilizer roughly to size.
- Apply it to the fabric (stick it down or baste it in place).
- Hoop the fabric and stabilizer together, keeping everything smooth and snug.
- Stitch as usual, going right through the stabilizer.
- When finished, rinse following the product directions. Some brands dissolve fast, while others need a longer soak in cool to lukewarm water. Rinse again if it still feels slick or stiff, especially under dense stitches.
My practical tips
- Use for towels: it tames the pile so your stitches sit neatly on top.
- Go gentle at the rinse: swish patiently instead of scrubbing. Heavy agitation can fuzz some threads.
- Pick at leftovers carefully: tiny bits can hide under satin stitches. A second soak usually loosens them.
Special notes for cross stitch
If you are cross stitching on Aida or evenweave, you often do not need to transfer a design at all since most patterns are counted from a chart. That said, there are times transfer methods still help.
- Water-soluble pens: great for drawing a grid on fabric to keep your place. Test first, follow the brand directions, and avoid ironing until the marks are fully gone.
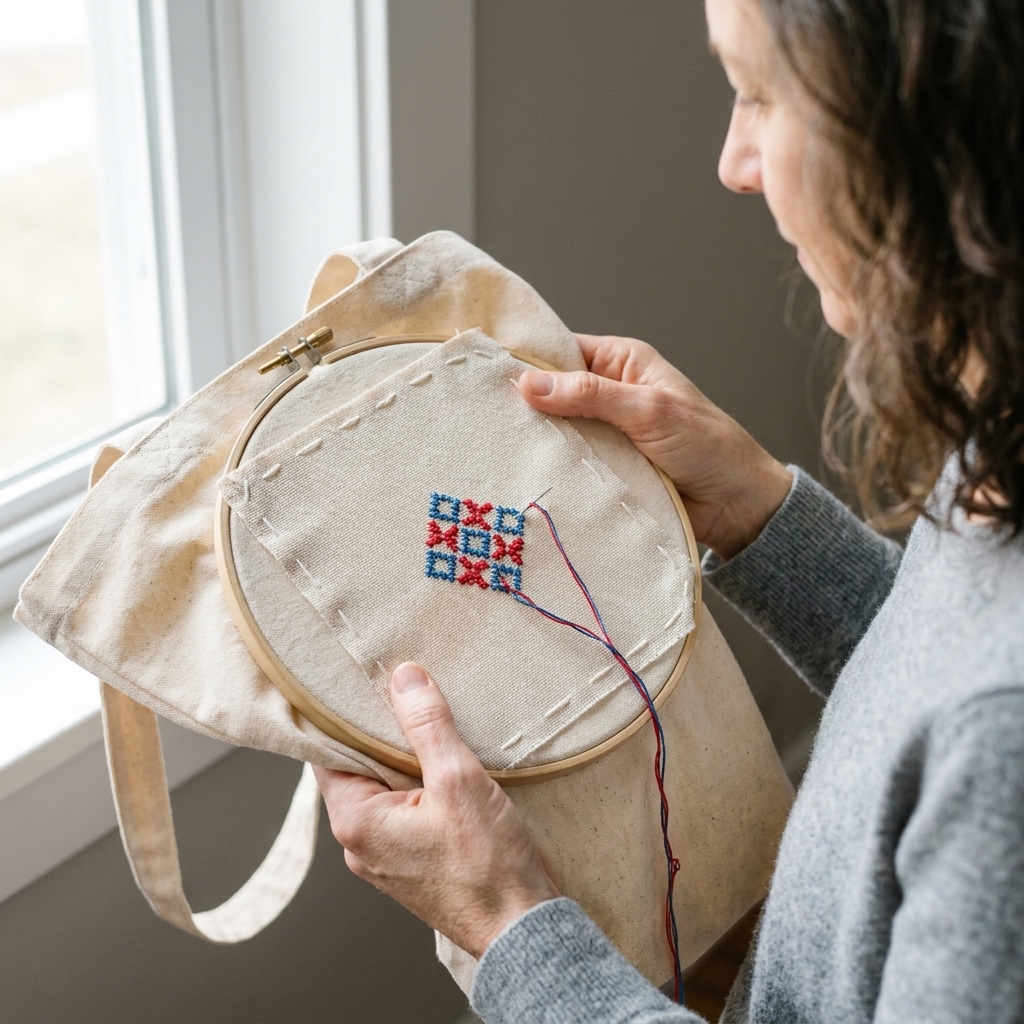
- Wash-away stabilizer: wonderful for cross stitching on clothing, canvas tote bags, or fabrics where counting threads is annoying or impossible.
- Waste canvas or water-soluble canvas: a classic choice for cross stitching on shirts and other non-evenweave fabrics when you want true Xs with a removable grid.
- Transfer paper and window tracing: less common for counted cross stitch, but useful for placing a small motif on non-gridded fabric when you just want placement guidance.
Common transfer problems
My lines are too dark
- Switch to a finer pen tip or lighten pencil pressure.
- Transfer only key outlines instead of tracing every detail.
- Plan your stitches so the line will be covered, or choose a method that washes out.
My lines disappeared before I finished
- Use a longer-lasting method like stabilizer for big projects or detailed work.
- If using water-soluble ink, avoid humid hands and keep a scrap cloth nearby to dab moisture.
- For large designs, transfer in sections so you are not relying on marks for weeks.
The transfer smudged
- Let pen marks dry fully before hooping.
- Rest your hand on a clean piece of paper while you stitch.
- Consider stabilizer for designs that require lots of handling.
I am worried about residue
- Test on scrap fabric with your exact pen or transfer paper.
- Rinse thoroughly and let the piece dry completely before judging. Some marks look faintly visible when wet.
- Avoid heat until the marks are fully gone, and skip permanent pens unless you truly want permanent lines (they can bleed).
My personal pick
If I can only choose one method for a beginner, it is window tracing with a water-soluble pen on light fabric. It is affordable, forgiving, and easy to redo. If you are working on towels, knits, or detailed lettering, wash-away stabilizer is absolutely worth keeping in your stash.
And if your first transfer looks a little wobbly? I promise, once you start stitching, no one will notice but you. Crafting is supposed to be fun, not perfect.