Long and short stitch is the secret handshake of thread painting. It looks fancy, but it is really just a rhythm: staggered stitches that interlock like tiny shingles, letting you blend colors so smoothly your eye stops seeing individual strands.
If you have ever tried shading and ended up with stripes, gaps, or that fuzzy edge that will not behave, you are in the right place. I learned long and short stitch the same way I learned most embroidery skills: by doing it slightly wrong, staring at it from three angles, then trying again with a snack nearby.
What it is
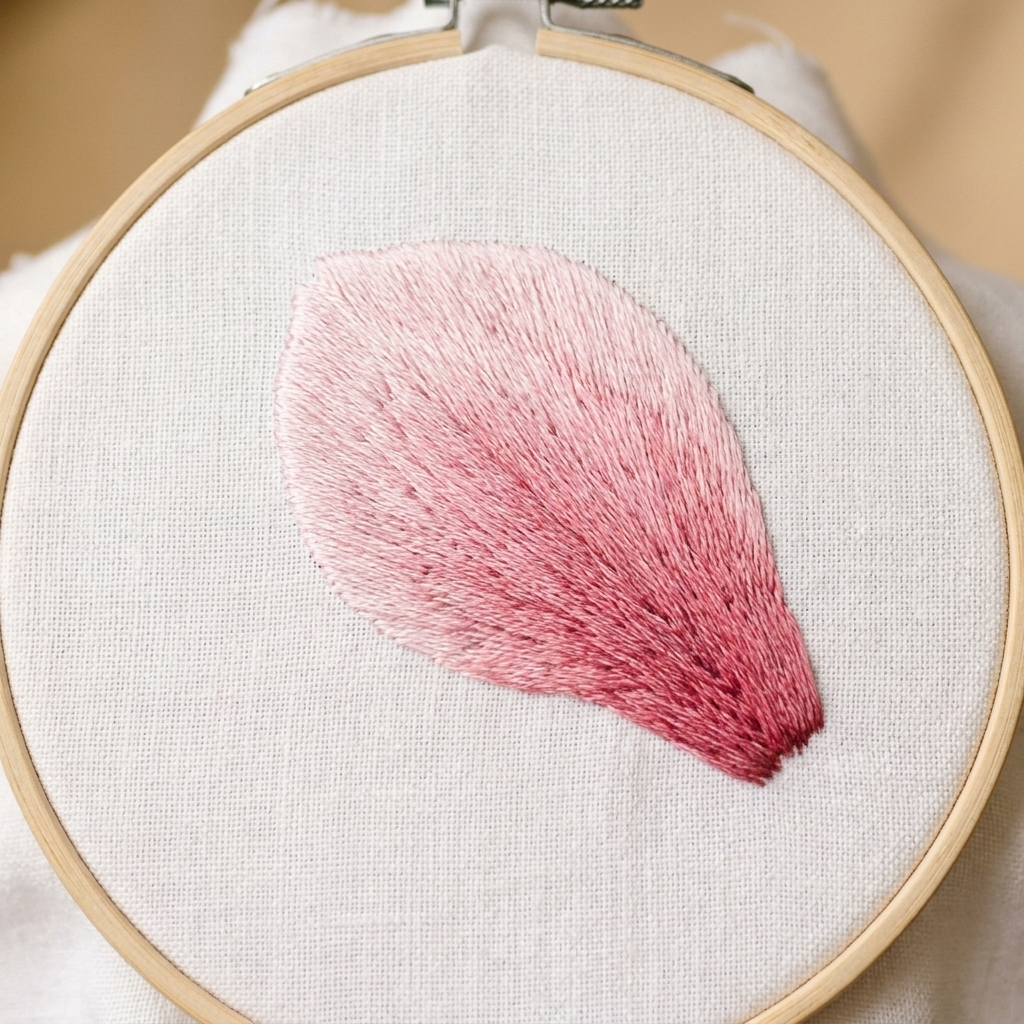
Long and short stitch is a fill stitch used for realistic shading. You work rows of stitches with varying lengths so the next row can nestle into the previous one. That interlocking is what gives you a soft, blended transition instead of a hard line.
- It is not alternating one long stitch then one short stitch like a strict pattern.
- It is a scattered edge of different stitch lengths that you build on row by row.
- It works best when you control stitch direction and thread thickness.
Mark the design
Clean edges start before you ever thread a needle. Transfer your design line clearly so you are not guessing where “inside the shape” is.
- Water-soluble pen: great on light fabrics, but test first and rinse promptly when you are done.
- Heat-erase pen: convenient, but the line can come back in cold. Use with caution for gifts and heirloom pieces.
- Pencil: best on light linen or cotton when you can keep it faint and precise.
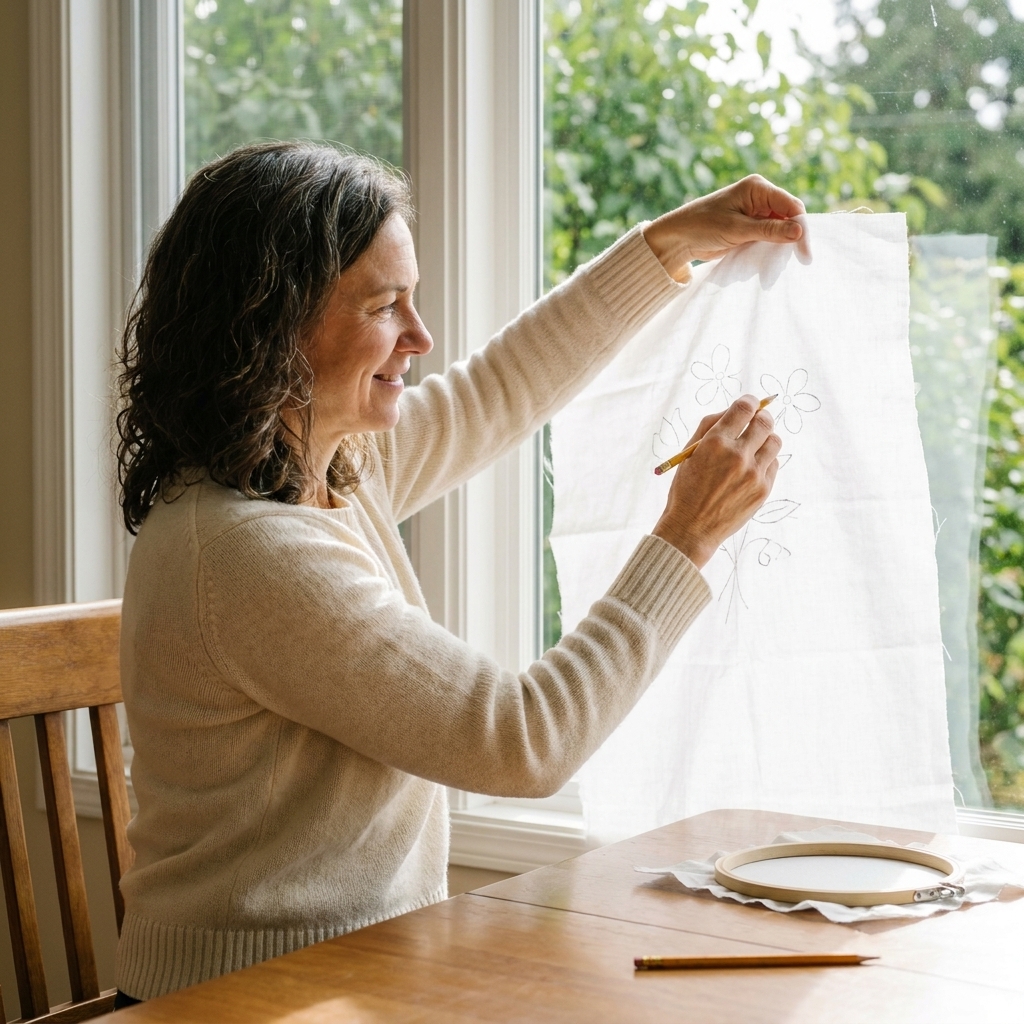
- Lightbox or window: your best friend for tracing clean curves.
Materials
You can thread paint with simple supplies, but a few choices make your life much calmer.
Fabric
- Best for beginners: tightly woven cotton or linen (quilting cotton, cotton sateen, or medium weight linen). A smooth surface helps stitches sit evenly.
- Avoid at first: very loose weaves and super stretchy fabrics. They encourage gaps and distortion.
Needles
- Crewel (embroidery) needles: sizes 7 to 10 often work well for 1 to 2 strands, depending on fabric and floss brand.
- Rule of thumb: if your needle makes a visible hole that stays open, size down. If it is hard to pull through, size up.
Floss and strands
If your goal is realistic shading, fewer strands usually look more painterly.
- 1 strand: the smoothest blends, slower coverage, very detailed.
- 2 strands: still smooth, faster, great for most beginners.
- 3+ strands: bolder texture, harder to blend seamlessly.
One small habit that helps a lot: separate strands one at a time, then recombine. It keeps the thread flatter and less twisty, which is basically what we want for needlepainting.
Hoop or frame
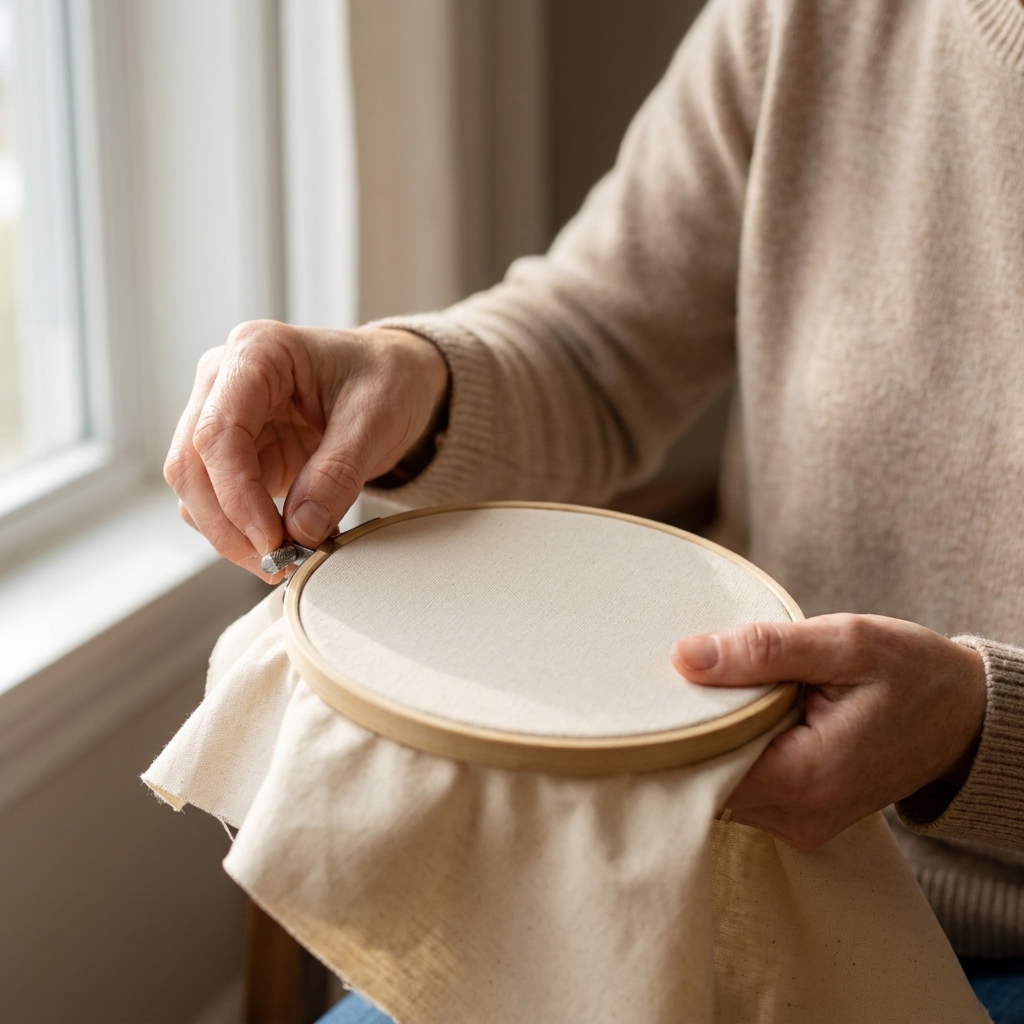
Use a hoop that keeps fabric drum-tight. If the fabric loosens as you stitch, your rows will start to look wobbly. I love a good hoop as much as anyone, but for serious thread painting, a grippy hoop or a slate frame is the steady friend you want.
Optional but lovely
If you want ultra-smooth stitches, a laying tool (or a trolley needle) can help you nudge the strand so it lies flat instead of slightly corkscrewed. It is not required. It just makes the “paint” behave.
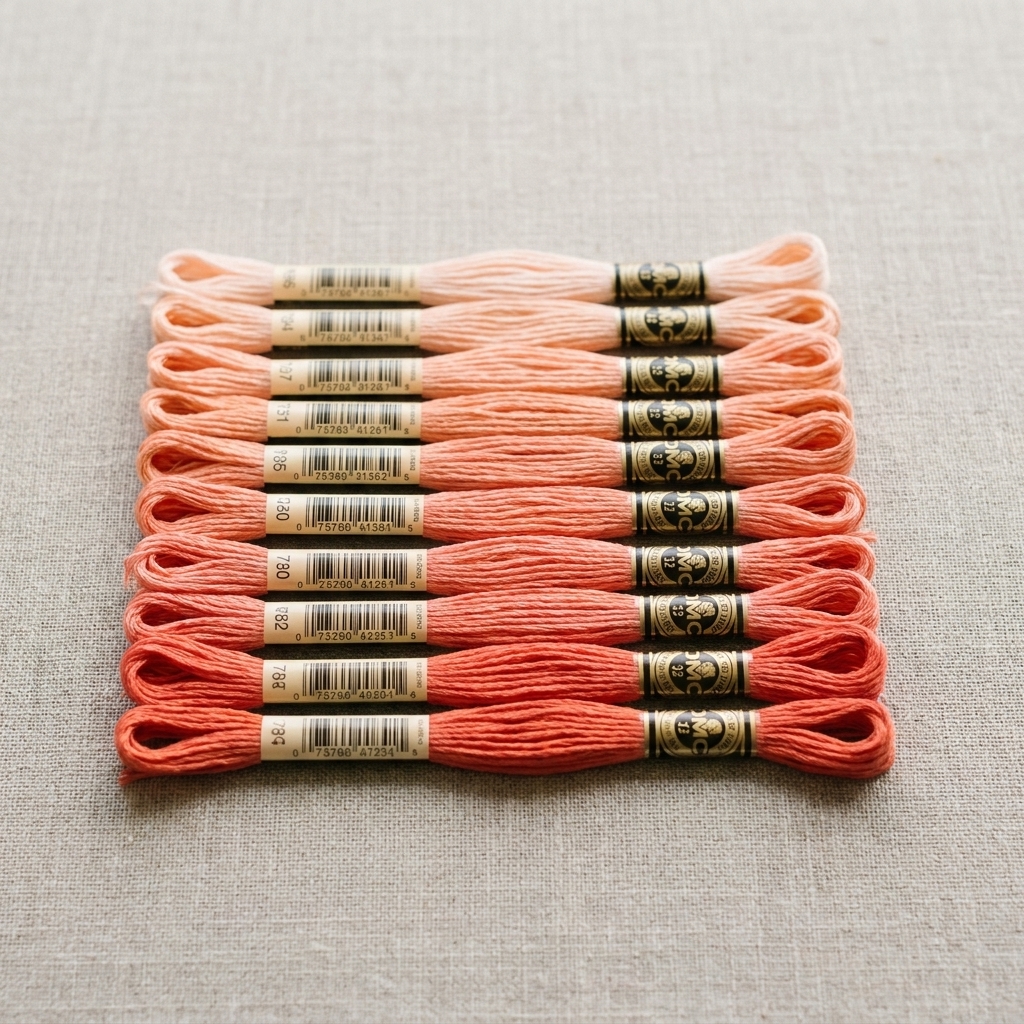
Pick your colors
Before you stitch, choose your colors in a gentle ladder from light to dark. If your jump between shades is too big, your stitching can be perfect and you will still see a harsh step.
How to choose shades
- Choose 3 to 6 values of the same color family.
- Make sure each step looks like a small change, not a dramatic leap.
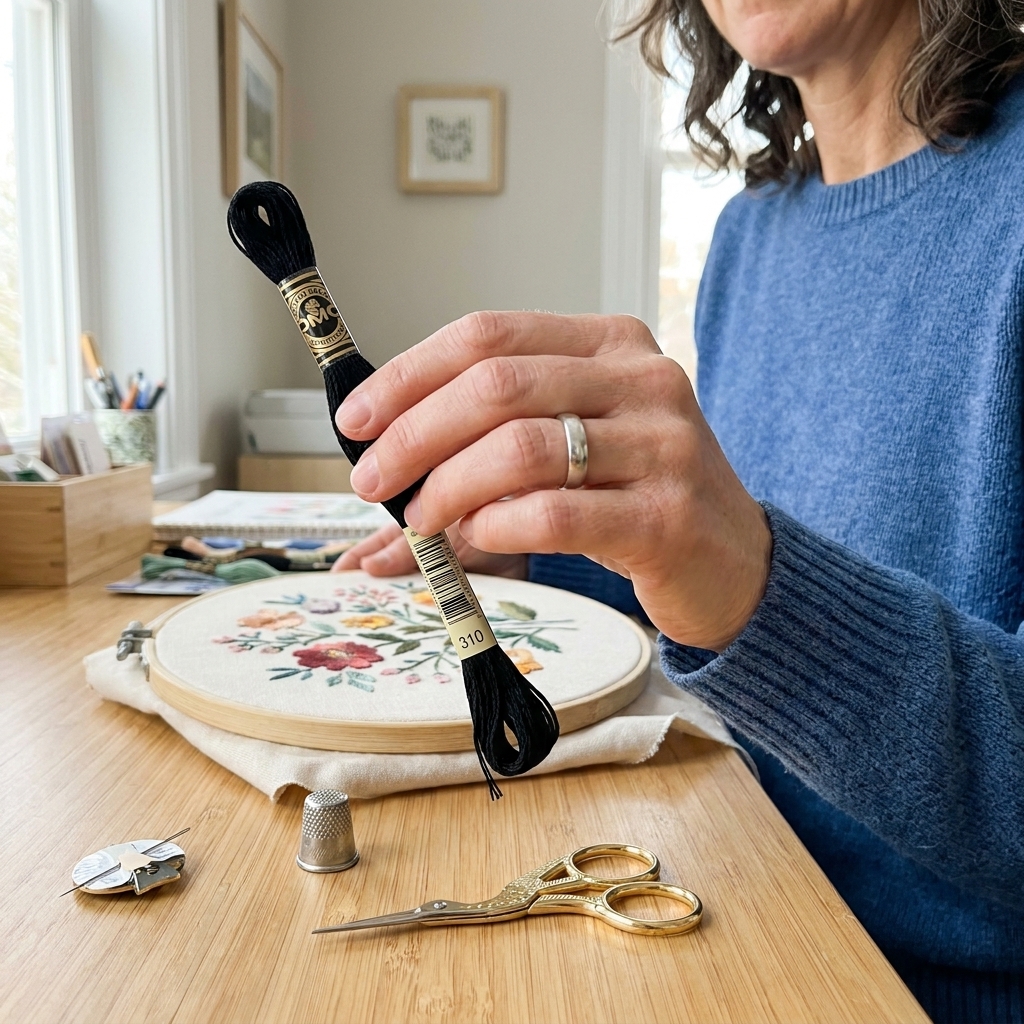
- If you are using DMC, pick one shade as your middle and choose a lighter and darker neighbor, then fill in if needed.
My favorite beginner palette size: 4 shades. Light, light-mid, mid, dark. It is enough to look realistic without turning into a floss explosion on your lap.
Stitch direction
Thread painting looks realistic when stitches follow the form. Think of your stitches like brush strokes, or like fur growing, or like the curve of a petal.
- Petals: stitch from base to tip, slightly fanning outward.
- Leaves: stitch from vein outward, changing direction subtly on each side.
- Animal fur: stitch in the direction the fur lies, in short sections that change direction naturally.
Pick one flow direction for the area you are filling, then commit. Random direction is the fastest way to lose that smooth painted look.
Also, do not be afraid to break a big shape into smaller zones with their own direction. That is how you make curves look like curves, instead of one flat panel of stitches.
Step by step
We will stitch a shaded shape (like a petal). The same method works for berries, faces, wings, and anything else you want to look gently rounded. Most stitchers work from the edge inward, building row by row. That is the approach here.
1) Outline (optional)
For crisp edges, stitch a split stitch outline right on your line. This outline acts like a tiny fence that keeps the fill from creeping outside the shape.
2) First row in the lightest shade
Bring your needle up just inside the outline on the outer edge of the shape. Stitch toward the center, following your chosen direction (for a petal, that is usually base to tip).
Make the next stitch beside it, slightly shorter. Then another, slightly longer. Keep going so the inner edge looks uneven, like a little skyline.
- Keep the outer edge (the outline edge) neat.
- Let the inner edge be jagged. That jagged edge is what will blend.
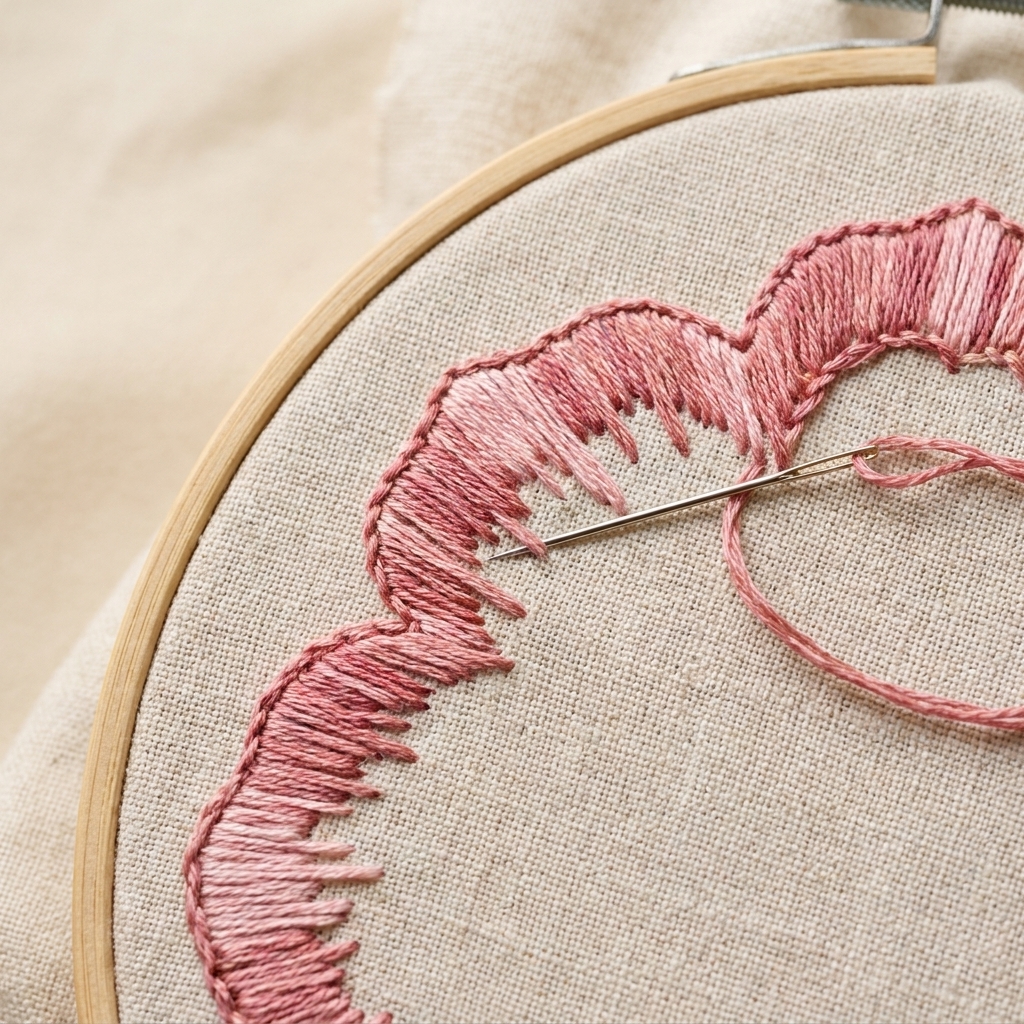
3) Next shade, interlock the stitches
Thread your second lightest shade. Bring the needle up between two stitches of the first row, not all in a straight line. Stitch down into the shape, keeping the same direction as before.
This is the magic: the new stitches should land between the old stitches so the rows interlock, not stack.
4) Overlap a little
When you stitch the second shade, let some stitches end a bit shorter and some a bit longer so a few tuck into the lighter area. You are not crossing the outline edge. You are just mingling at the boundary between colors.
5) Adjust stitch length on purpose
Long and short stitch is not only about blending. It is also about control.
- Use shorter stitches for tight curves, tips, small details, and anywhere you want a crisp edge.
- Use longer stitches in open areas where the surface is smooth and you want a satiny finish.
- Keep the direction consistent within each small zone, even if stitch length changes.
6) Continue to the darkest shade
Work shade by shade until the shape is filled. If you want a highlight, leave space for your lightest value and build darker colors toward it. If you want a shadow, concentrate the darkest values where the form would turn away from the light.
7) Smooth as you go
- After every handful of stitches, let your needle dangle to untwist your thread.
- Keep your tension gentle. Flat, not tight.
- Use a comfortable thread length. Many stitchers like about 18 to 24 inches, depending on strand count and how grabby the fabric is.
Smoother blends
Use fewer strands
If your blend looks chunky, try dropping from 3 strands to 2, or from 2 to 1. It is the quickest upgrade in smoothness.
Feather color changes
Instead of switching from one color to the next in a single row, stitch a short transition zone:
- Do one row mostly in the old color.
- Then add a row where stitches alternate between old and new color in a scattered way.
- Then move fully into the new color.
This sounds extra, but it is exactly what makes thread painting look like a gradient instead of stripes.
Add a tweak row
If one step between colors still feels too sharp, come back with the lighter color and add a few stitches that dip into the darker area. Think of it as lightly glazing paint over a line.
Clean edges
The biggest beginner frustration is a shaggy edge. Here is how to keep your shape clean.
- Outline first: split stitch or stem stitch makes a tidy boundary.
- Come up just inside the line: not on it, not outside it.
- Stitch down just inside the line: especially on curves. Tiny adjustments add up.
- Shorten stitches on tight curves: long stitches on sharp curves are where wobble begins.
Troubleshooting
"I can see rows and stripes."
- Use more intermediate shades, or add a tweak row that mixes colors.
- Make sure you are interlocking stitches, not stacking rows like bricks.
- Switch to 1 or 2 strands for smoother coverage.
"I have gaps between stitches."
- Check hoop tension. Loose fabric encourages gaps.
- Angle your needle so stitches snuggle together, especially at the edge of each row.
- If your fabric weave is open, add a backing fabric or choose a tighter ground.
"My stitches look messy and twisted."
- Let the needle drop occasionally to untwist the thread.
- Try a shorter working length if your thread frays fast.
- Separate strands one at a time before recombining.
- Consider a single strand and a slightly smaller needle.
"The edge of my shape is fuzzy."
- Add a split stitch outline next time, or couch a single strand along the edge before filling.
- Shorten edge stitches. Long edge stitches love to misbehave.
- Make sure you are not piercing outside the outline on the way down.
"My shading looks flat."
- Push your darks darker. Most of us stop too soon because we are afraid of messing it up.
- Decide where the light source is coming from and keep it consistent.
- Add a tiny highlight with your lightest shade in a small area, not everywhere.
Practice plan
If you want to master long and short stitch without burning out, practice on purpose. You do not need a giant full hoop rose on day one.
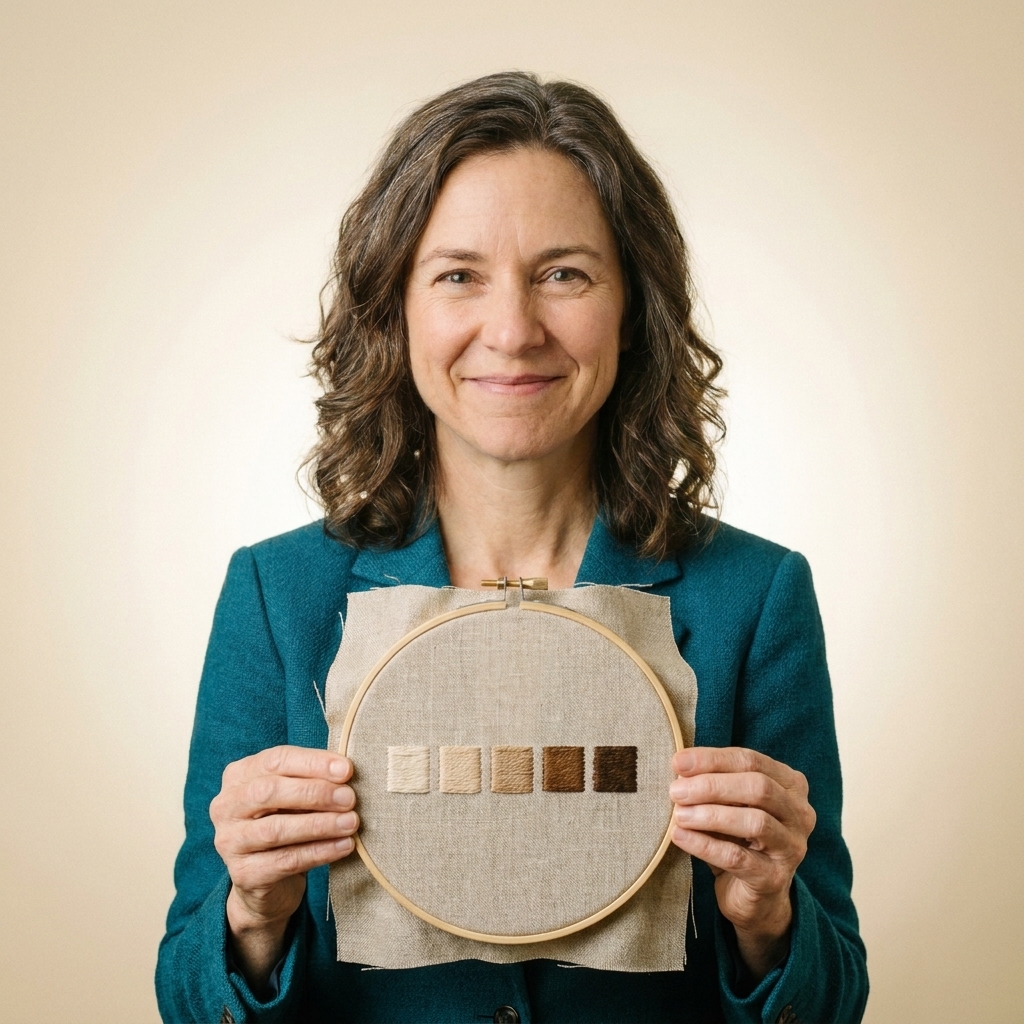
- Day 1: Stitch three small rectangles, each with 3 shades. Focus on interlocking rows.
- Day 2: Stitch three leaf shapes. Focus on crisp edges and stitch direction.
- Day 3: Stitch one petal with 4 to 5 shades. Add a tweak row to soften one transition.
- Day 4: Repeat the petal, but with 1 strand. Notice how much smoother it looks.
Keep these swatches. They are your stitching diary, and honestly, they are comforting when you feel like you are not improving because you can literally see the progress.
FAQs
Should I start with light or dark?
Most beginners find it easier to start light and build darker because the light edge is easier to keep clean. For dramatic shadows, starting dark can help you commit to contrast. Either works, as long as your rows interlock and your stitch direction stays consistent.
Do I need an outline?
No, but it helps a lot. If you want a very soft edge (like a fuzzy animal cheek), you can skip the outline and let stitches fade out. For petals, leaves, and graphic shapes, I nearly always outline.
How do I start and end threads neatly?
Run your thread under existing stitches on the back, then snip. For extra security, weave in more than one direction, or take a couple of tiny anchoring stitches under the filled area where they will not show.
If you like away knots, they are also an option. Make a temporary knot away from your stitching area, stitch over the tail to anchor it, then cut the knot off when you are done.
Why does it look shiny in spots?
Often it is stitch direction changing abruptly, twist building up in the thread, or tension shifting so stitches sit at slightly different angles. It can also be as simple as strand count and sheen, especially if you mix floss types or use more strands. Keep direction steady within an area, untwist your thread as you go, and aim for even tension.
One last reminder
Long and short stitch is one of those techniques that looks like talent when it is really just mileage. Your first blend does not need to be museum-ready. It just needs to teach your hands what interlocking feels like. And if you end up with a few thread fuzzies on the edge, welcome to the club. We can pick them off together.