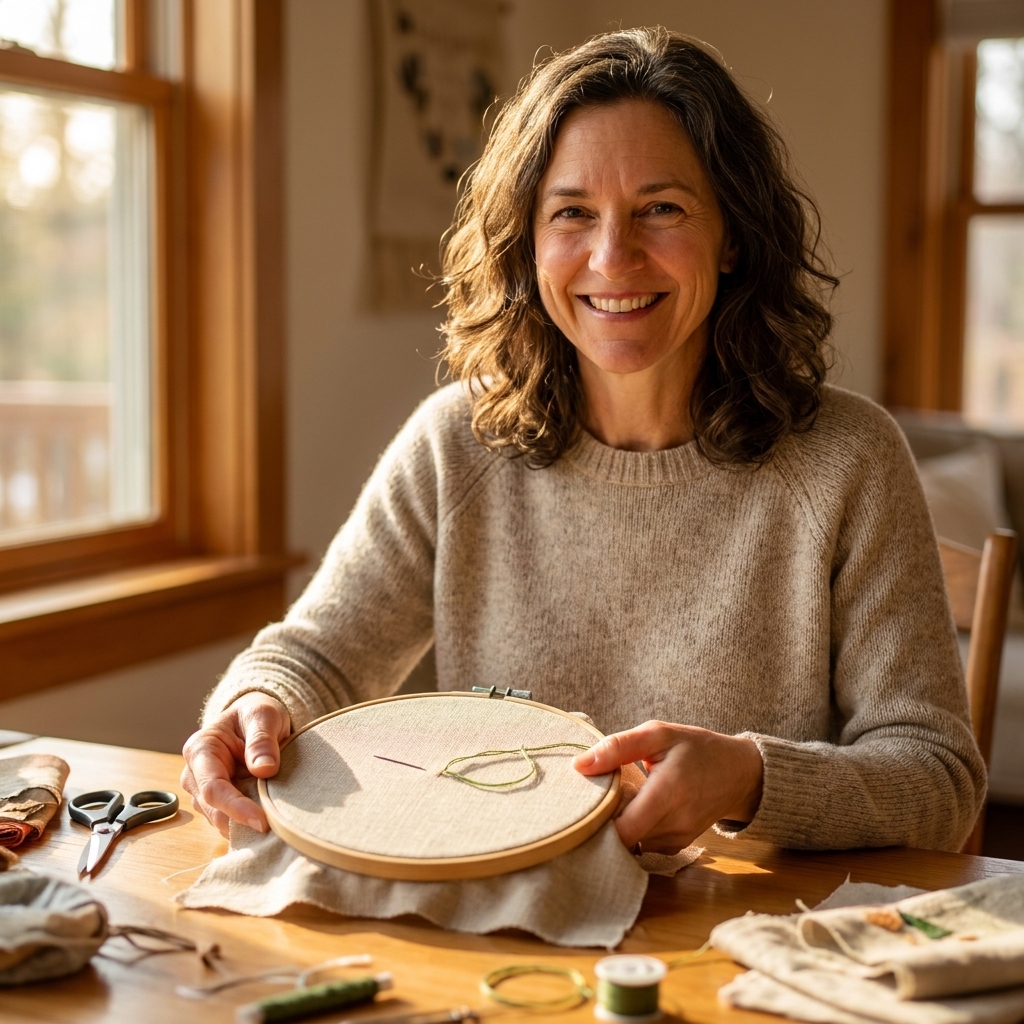
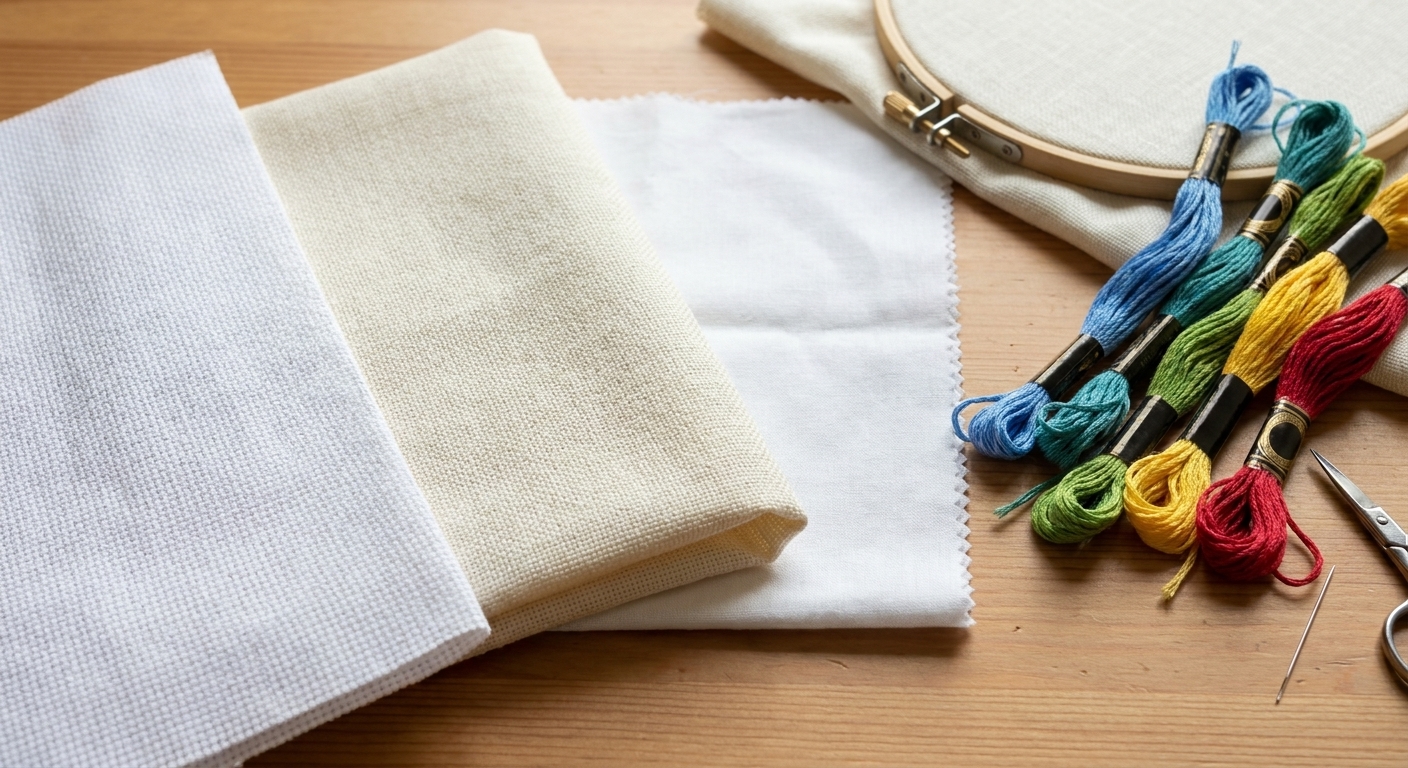
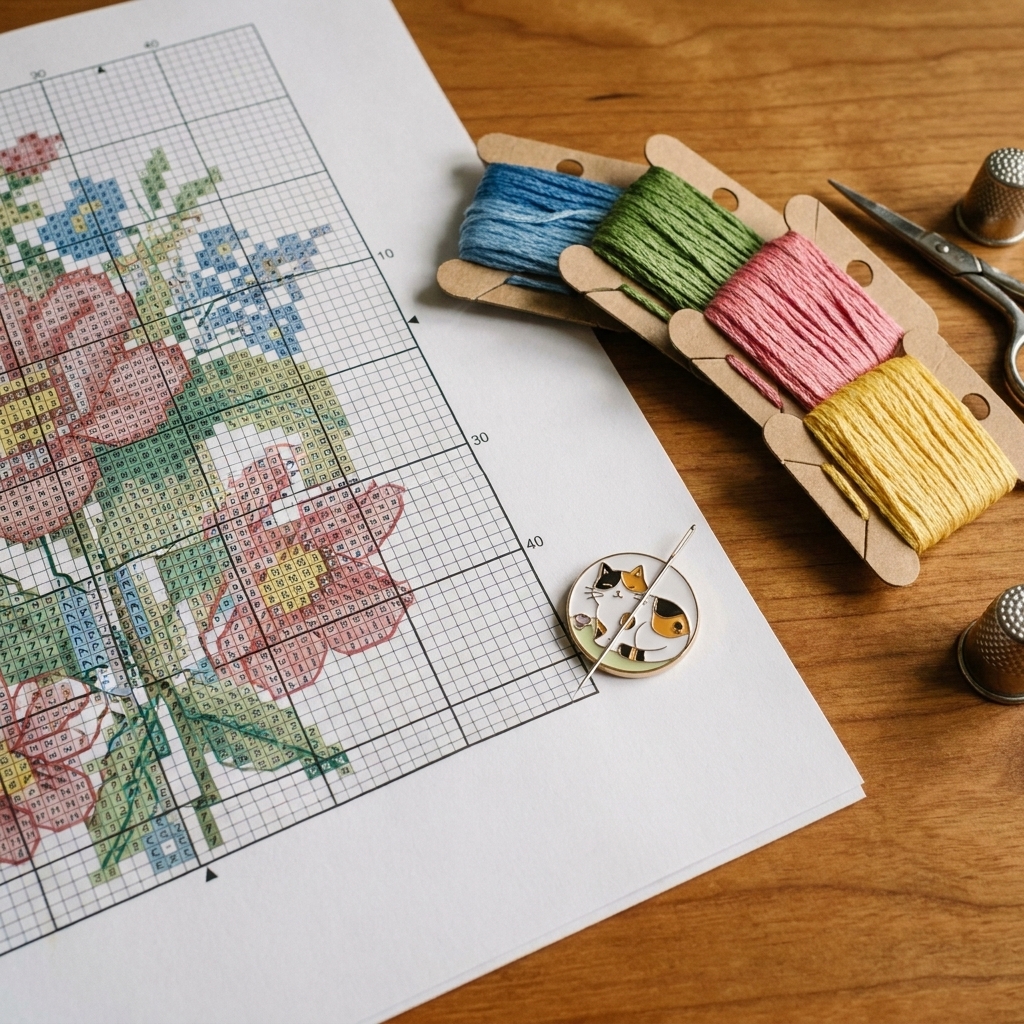
If embroidery floss had a personality, it would be the friend who is sweet and talented but shows up with their headphone cord in a full panic knot. The good news is that six-strand cotton floss is very cooperative once you know one simple trick for separating it.
Below is the exact method I use at my own craft table for both hand embroidery and cross stitch, plus a few beginner-proof habits that prevent tangles before they start.
First, a quick refresher
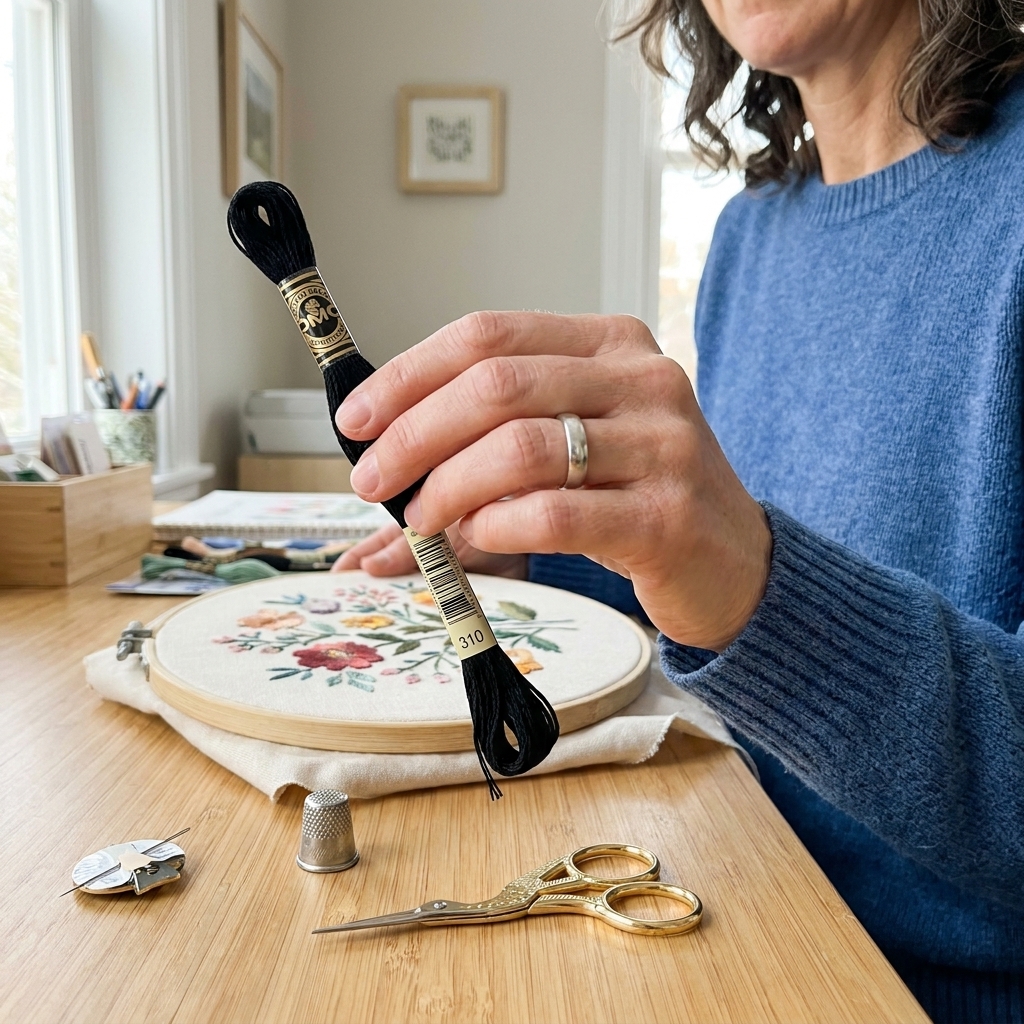
Standard embroidery floss (like DMC) is made of six strands loosely twisted together. Often you will use fewer than six, but using 4 to 6 strands is also common for bold fills and chunky texture.
- Cross stitch on 14 count Aida: often 2 strands (sometimes 3 for fuller coverage).
- Cross stitch on 18 count Aida: often 1 to 2 strands.
- Hand embroidery: 1 strand for fine detail, 2 to 3 for most line work, 4 to 6 for bold satin stitch or padded areas.
The main cause of tangles is pulling multiple strands out the wrong way, or using a piece that is so long it has time to twist on itself.
What you need
- Six-strand cotton embroidery floss
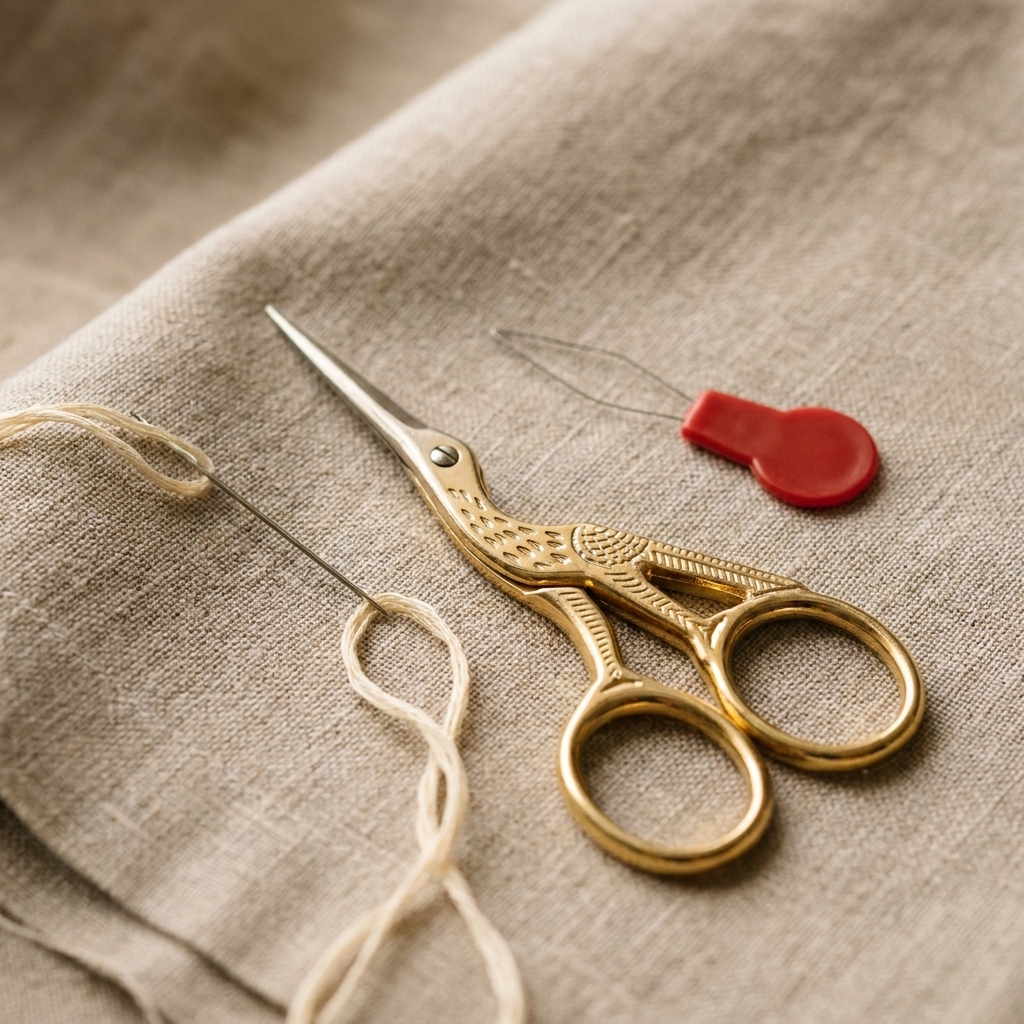
- Small sharp scissors (the sharper, the less fraying)
- Needle (embroidery needle or tapestry needle for cross stitch)
- Optional but wonderful: a needle threader, a floss bobbin or floss organizer, and a magnetic needle minder
Cut floss the calm way
Step 1: Pull from the skein smoothly
Find the end of the floss and pull it out gently. If your skein is fresh and neatly banded, you can slide the paper bands off carefully and re-wrap later, or wind the color onto a bobbin before you begin.
My rule: if the skein starts to fight you, stop and unwind it a bit. Forcing it is basically an invitation to knots.
Step 2: Cut a sensible length
Cut a piece about 18 inches (45 cm). Many stitchers like this as a starting point because it is long enough to work efficiently, but short enough to stay well-behaved. Longer lengths can feel efficient, but they twist, fray, and tangle faster. Shorter is calmer.
If you are doing lots of coverage in cross stitch and hate re-threading, you can go a bit longer, but if tangles are your nemesis, stay closer to 18 inches.
Step 3: Let it hang for a moment
Before you separate strands, hold the cut piece at one end and let it dangle for a few seconds. This relaxes some of the twist it picked up from the skein.
Separate strands without tangles
This is the method that changed everything for me. Instead of trying to split the floss in half and wrestling it apart, you remove one strand at a time. It looks slow, but it is faster than untangling.
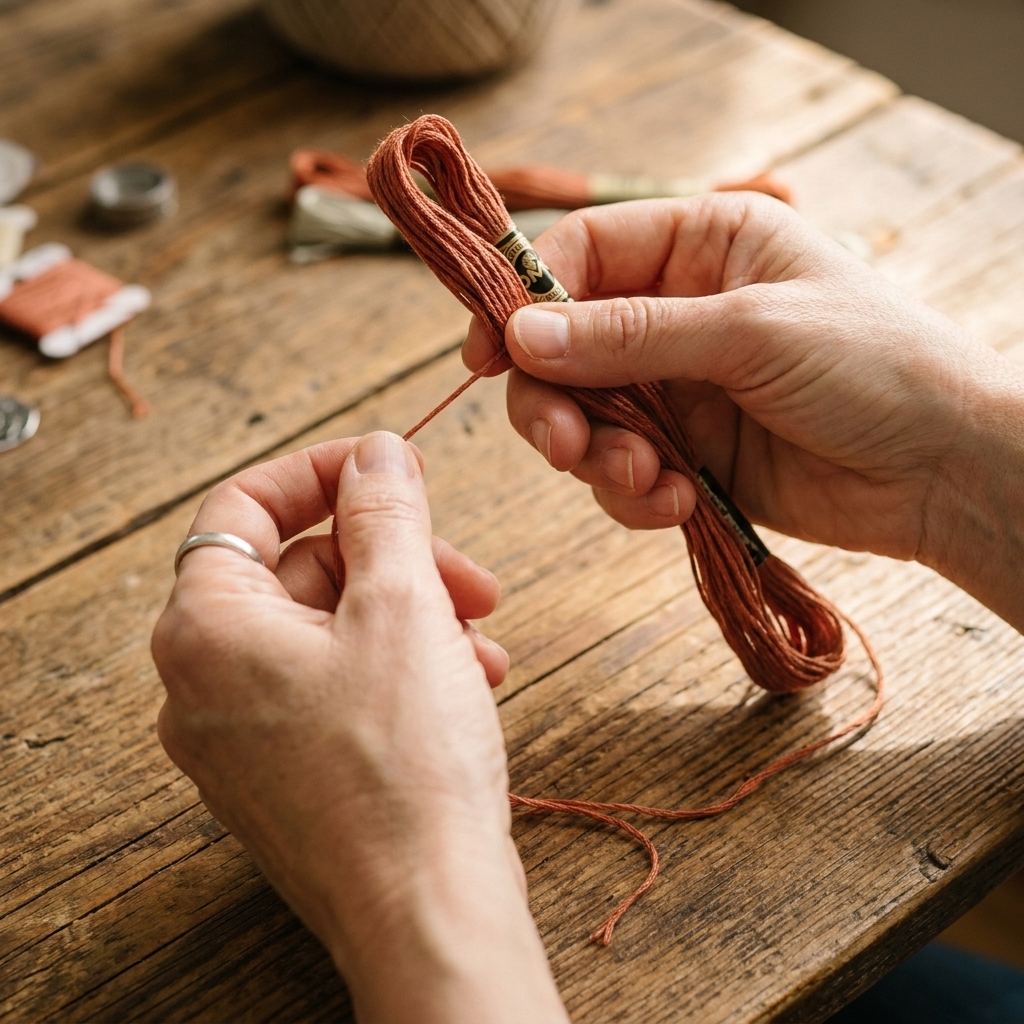
Step 1: Pinch the bundle
Hold the cut piece in your non-dominant hand. Pinch it about 1 inch from the top so you control the bundle.
Step 2: Pull one strand straight out
With your dominant hand, isolate one single strand and pull it straight out from the bundle while keeping the rest pinched.
As you pull, the remaining strands will bunch and look messy. That is normal.
Step 3: Smooth and repeat
Once the strand is out, run your fingers down the remaining bundle to smooth it. Now repeat until you have the number you need.
Why it works: pulling one strand lets the others shift around it instead of twisting together into a rope.
Recombine strands neatly
After you have your 1, 2, or 3 strands, you want them to sit together without extra twist.
- Line up the ends so they are even.
- Hold the strands together at one end and give them a gentle smoothing stroke with your fingers down the length.
- Do not over-twist them together. Let them lie side-by-side like ribbons, not like a cord.
If you want especially pretty coverage in cross stitch, you can use the railroading habit as you stitch, meaning you keep the two strands lying parallel as they go through the fabric. It is optional, but it makes stitches look extra tidy.
Thread the needle neatly
Pick the right needle
- Cross stitch: use a tapestry needle (blunt tip) so you do not split the Aida threads. Size 24 is common for 14 count; for 16 to 18 count, many stitchers use size 26, and some go smaller on higher counts. Use what feels smooth for your fabric and thread.
- Embroidery: use an embroidery (crewel) needle (sharp tip) to pierce fabric cleanly.
Trim the end before threading
Cut the floss end cleanly right before threading. A fresh cut end is less fuzzy and slides through the eye more easily.
Use the pinch and slide method
- Hold the floss end between your thumb and index finger, leaving only a tiny tip peeking out.
- Bring the needle eye to your fingers, not your fingers to the needle.
- Slide the needle eye onto that tiny exposed tip.
This is easier than trying to stab the floss into the needle from across the room, which is what I did for years, for absolutely no reason.
Do you fold the floss in half?
It depends on your project:
- Cross stitch: many stitchers use the loop start when stitching with 2 strands (you cut 1 strand twice as long, fold it, and secure with a loop). It is neat and knot-free.
- Hand embroidery: I usually stitch with the strands not folded so the thread lies flatter, especially for satin stitch and outlines.
Start and end without drama
Skip knots when you can
Knots are not evil, but they can create lumps and catch on the back of your work. For most projects, these are cleaner options:
- Waste knot (embroidery): knot the end, start away from your design, then stitch over the tail on the back and snip the knot off later.
- Pin stitch (cross stitch): a tiny anchoring method that secures the thread under stitches without a knot.
- Weaving under stitches: at the end, run the needle under several finished stitches on the back to secure.
Let your needle dangle occasionally
If your floss starts to twist up while stitching, drop your needle and let it hang. It will spin and unwind itself. It feels like a tiny magic trick the first time you watch it.
Store floss between sessions
A lot of tangles happen when you set a project down and your thread turns into a pocket-sized chaos creature.
- Bobbins or floss drops: keep skeins tidy and prevent surprise knots in your project bag.
- Keep cut lengths contained: if you pre-cut strands, tuck them into a small zip pouch or wrap them around a floss card so they do not mingle.
- Park the needle: a needle minder or a dedicated spot on your hoop keeps the working thread from catching on everything in a three-foot radius.
Special note on tricky threads
Metallic and rayon floss can be extra twisty and snarl-prone. If you are using them, go shorter than usual, pull more gently, and consider a tiny bit of thread conditioner if it helps them behave.
Common problems and quick fixes
My strands tangle while I separate them
- Make sure you are pulling one strand at a time, straight out from the bundle.
- Shorten your cut length to about 15 to 18 inches.
- If the floss is very twisty, let it dangle for a moment, then smooth it before trying again.
My floss keeps knotting while I stitch
- Your thread length is probably too long, or your floss is twisting. Shorten the length and let the needle dangle to unwind.
- Try stitching with slightly slower, smoother pulls instead of yanking the thread tight quickly.
- Check that you are not splitting strands with a sharp needle when you meant to use a tapestry needle (common in cross stitch).
The end is fraying and will not go through the needle
- Trim the end again with sharp scissors.
- If you are using multiple strands, pinch them together firmly and re-align the tips before threading.
- Use a needle threader if your patience is running low. That is what it is there for.
My stitches look bumpy or rope-like
- You may be using too many strands for the fabric count, or twisting your strands together too tightly.
- Separate and recombine the strands so they lie parallel.
- For cross stitch, gently railroad the strands so they sit side-by-side.
A simple anti-tangle routine
If you want a no-drama floss routine, here is my beginner-friendly sequence:
- Cut about 18 inches to start.
- Let it dangle for a few seconds.
- Pull out one strand at a time until you have what you need.
- Smooth strands together, keeping them flat, not twisted.
- Trim the end cleanly and thread the needle.
- As you stitch, let the needle dangle occasionally to unwind.
That is it. Nothing fancy, just the habits that keep your floss from turning into a tiny rage pretzel.
FAQ
How many strands should I use for cross stitch?
Most commonly, people use 2 strands on 14 count Aida, 2 strands on 16 count, and 1 to 2 strands on 18 count, depending on how full you want the coverage. If you can see lots of fabric through your stitches and you dislike that look, add a strand. If stitches feel bulky, drop a strand.
Is there a wrong way to separate floss?
The only truly wrong way is the way that makes you miserable. Practically speaking, splitting the floss into two thick bundles and yanking them apart tends to create twists and snarls. Pulling one strand at a time is the most reliable approach.
Should I condition my floss with wax or thread conditioner?
You can, but you usually do not need to for standard cotton floss. Conditioner can reduce fuzz and help metallics behave, but too much can change the look of cotton stitches. If you are a beginner, I would master strand separation and thread length first, then experiment later.
Why does my floss tangle more with dark colors?
You are not imagining it. Some colors and batches can feel slightly different due to dye and finish, and some skeins are simply twistier than others. Shorter lengths and the one-strand separation method help a lot.
One last reminder
If your floss tangles anyway, you did not fail some secret embroidery test. Even after years of stitching, I still end up with the occasional knot, plus a suspicious sprinkling of thread snippets on my couch. Slow down, separate one strand at a time, and keep your lengths sensible. Your future self will thank you.