If you have ever stood in the needlecraft aisle holding three types of needles and a hoop that looks suspiciously like a tambourine, welcome. Starting embroidery or cross stitch does not require a craft room, a $60 tool set, or an advanced degree in floss organization. You need a small handful of basics that work well, feel good in your hands, and do not fight you while you learn.
Below is my practical, budget-friendly supply list for starting embroidery and cross stitch. I am going to tell you exactly what to buy first, what can wait, and what tends to be an expensive detour for beginners.

The quick-start list
If you want the simplest path to your first finished piece, start here. These items cover both embroidery and cross stitch, with a couple of small differences noted.
- Needles: embroidery needles (crewel) size 7 or 8 and tapestry needles size 24 or 26
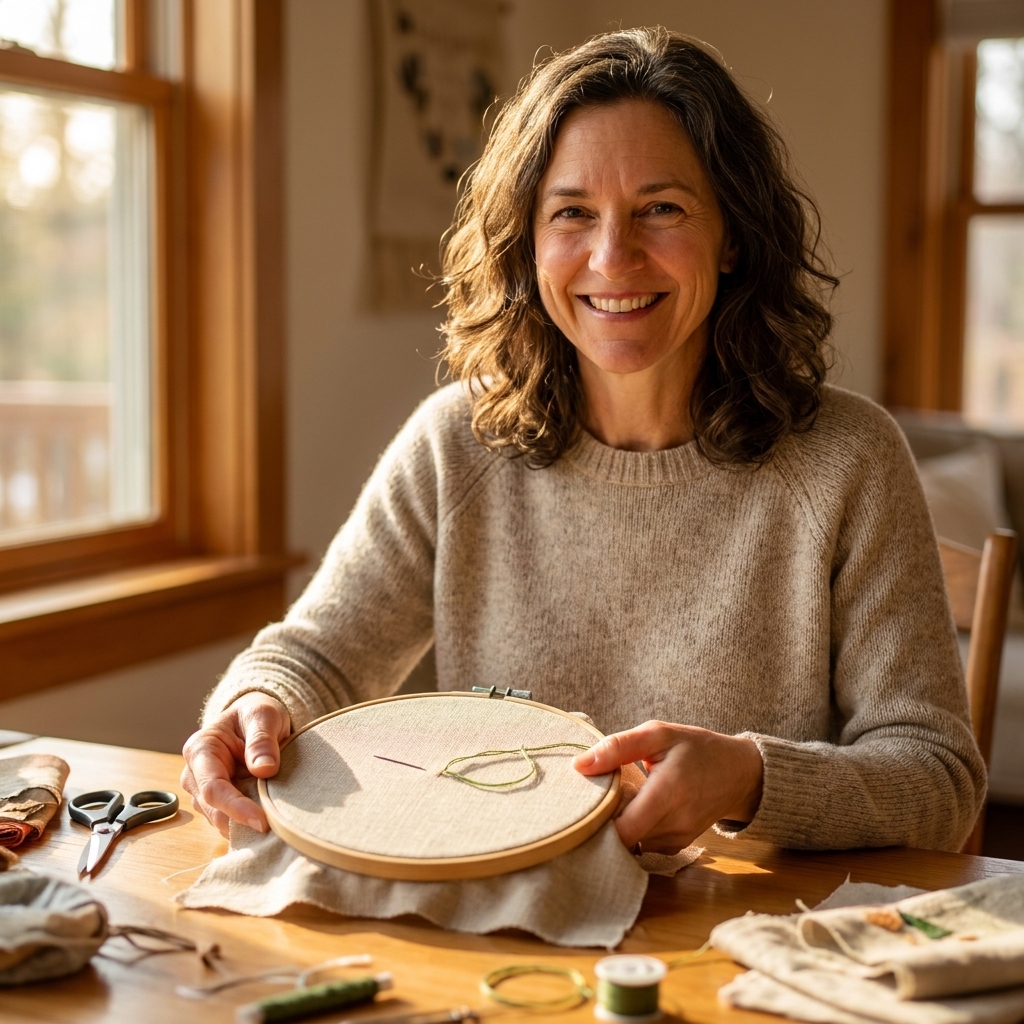
- Hoop or frame: 6 inch embroidery hoop (wood or bamboo)
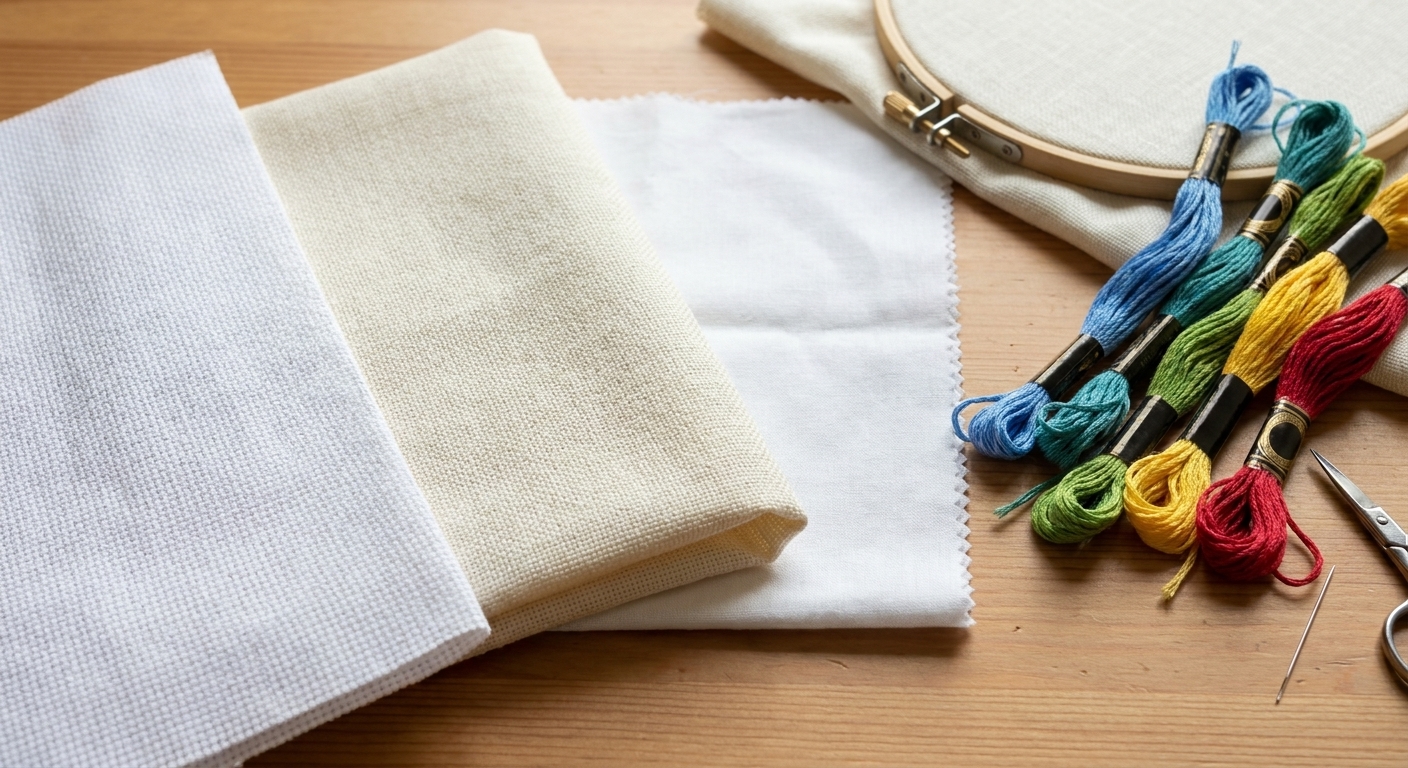
- Fabric: for embroidery, cotton or linen (medium weight); for cross stitch, Aida 14-count
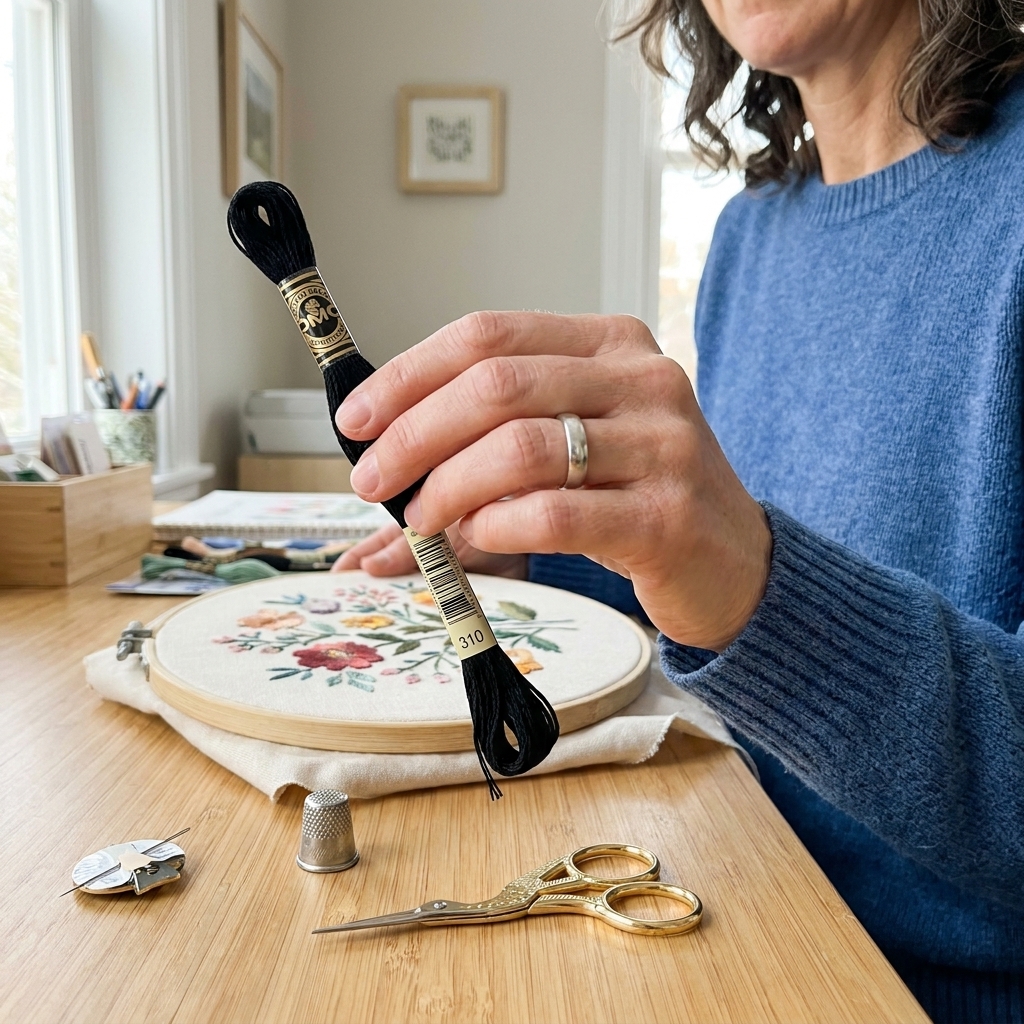
- Floss: a few skeins of stranded cotton embroidery floss (DMC is the classic)
- Small sharp scissors: embroidery scissors or compact snips
- Marking tool: water-soluble pen or a standard pencil (fabric-dependent)
- Optional but sanity-saving: needle threader and a simple needle minder
Needles
Needles are the most underestimated supply. The right needle glides cleanly through fabric and keeps your thread from shredding. The wrong needle makes you think you are “bad at stitching” when really your tools are just being rude.
Embroidery needles
Buy crewel needles in size 7 or 8 to start. These have a sharp tip for piercing fabric and an eye that fits a few strands of floss.
- Size 7: slightly longer, a nice all-purpose beginner size
- Size 8: a bit smaller, great for neat stitches and lighter fabrics
If you plan to stitch on heavier linen or do chunky stitches (like thicker satin stitch), add a size 5 later, but you do not need it on day one.
Cross stitch needles
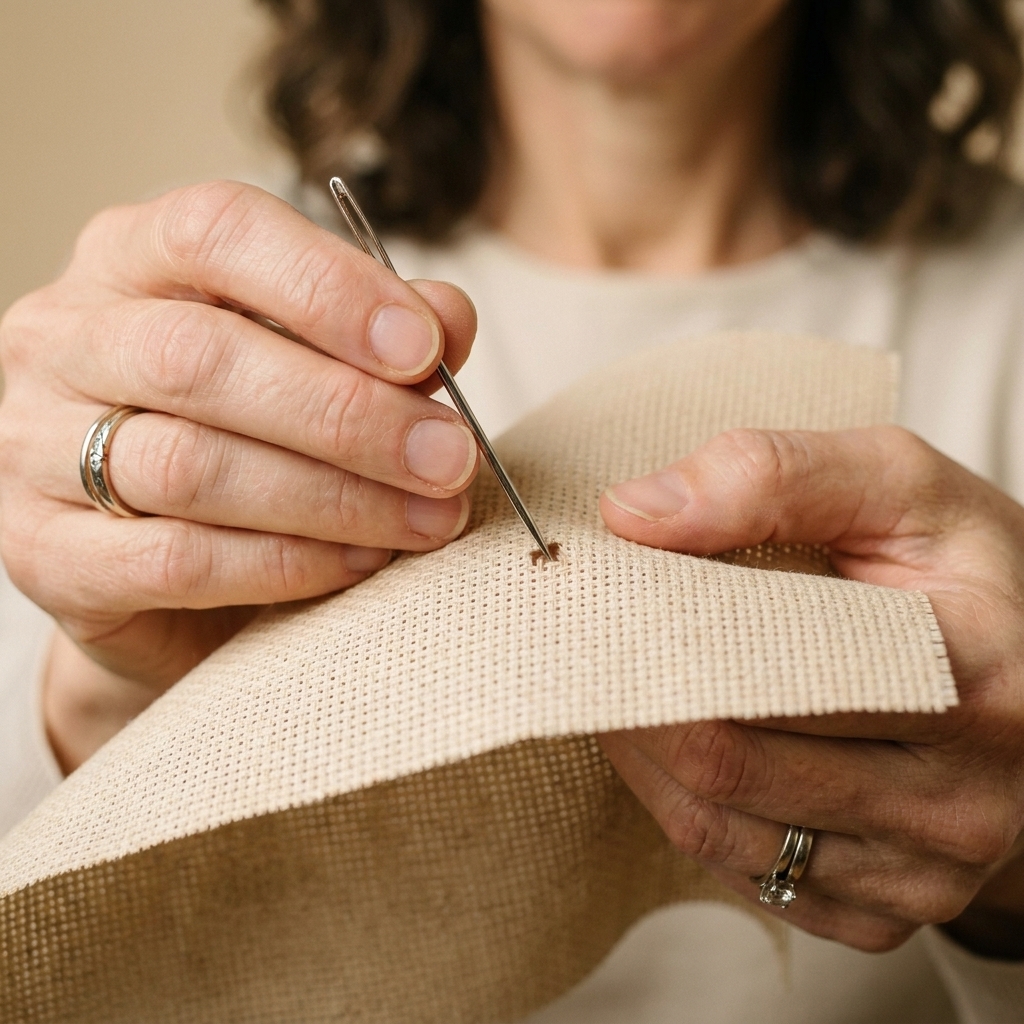
Cross stitch uses tapestry needles with a blunt tip. Instead of stabbing the fabric, you slide between the holes in Aida or evenweave, which protects both your fabric and your thread.
- Size 24 tapestry needle: a common pick for 14-count Aida with 2 strands
- Size 26 tapestry needle: often preferred for 16-count, or for 14-count when you want a slimmer needle and a little less hole distortion
How many needles?
Start with one small pack. Realistically, you will want at least 2 to 4 needles on hand, because needles love to vanish into couch cushions (ask me how I know).
Hoops and frames
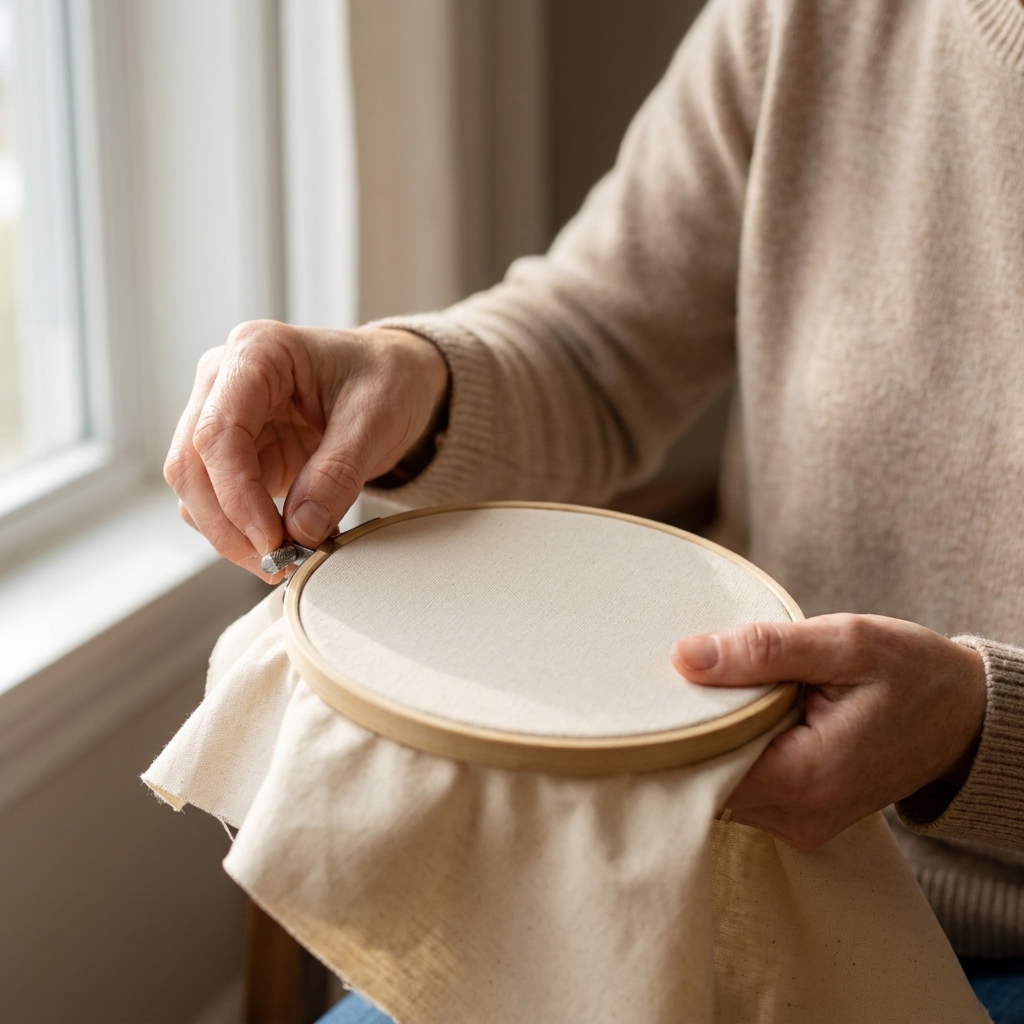
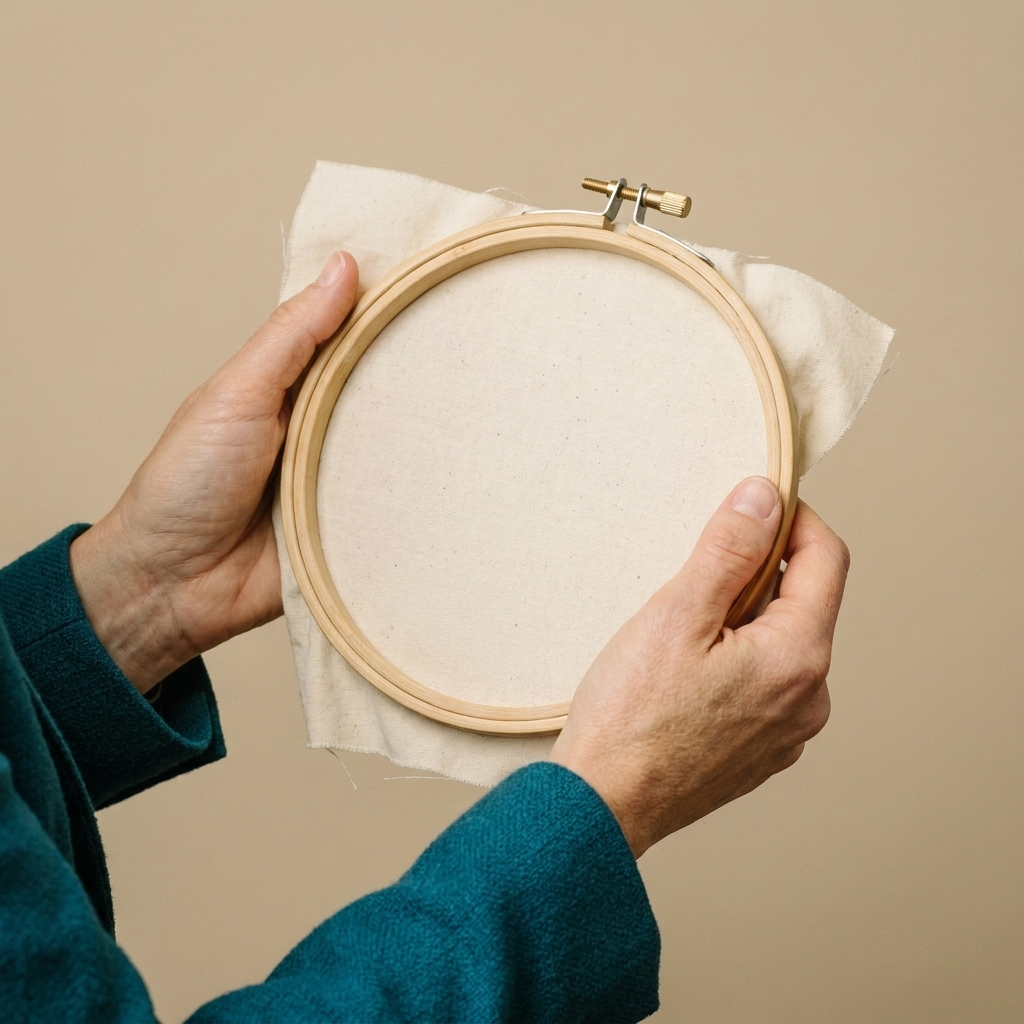
A hoop holds your fabric taut so your stitches stay even and your hands do not have to wrestle wrinkles. You only need one hoop to begin.
Best first hoop
- Size: 6 inch is a sweet spot for beginners
- Material: bamboo or wood is affordable and easy to find
- Hardware: a simple screw tightener is totally fine
If your hoop will not stay tight, it is not you. Some inexpensive hoops slip. A tiny upgrade that helps is a rubber-coated inner hoop or a better quality beechwood hoop, but I would not spend big until you know you love stitching.
Cross stitch note
You can cross stitch in a hoop, especially for smaller projects. If you do use a hoop, loosen it (or take the fabric out) between sessions to help prevent creases and hoop marks. If you end up loving cross stitch and making larger pieces, you may eventually prefer a scroll frame or Q-Snap style frame. That can wait.
Fabric
Fabric is where beginners often overspend. The trick is to buy fabric that is easy to stitch on, not fabric that looks fancy folded on a shelf.
Embroidery fabric
- Quilting cotton: smooth, affordable, forgiving, and widely available
- Cotton-linen blend: a little more texture, still beginner-friendly
- Medium-weight linen: beautiful, but choose a tighter weave to avoid frustration
What to avoid at first: super stretchy knits (jersey), very loose weave fabric, or anything slippery like satin. Those are all doable later, just not the easiest learning surface.
If your fabric feels thin or wobbly in the hoop, one simple fix is to add a second layer of plain cotton behind it. It acts like a no-fuss stabilizer and makes stitching feel calmer.
Cross stitch fabric
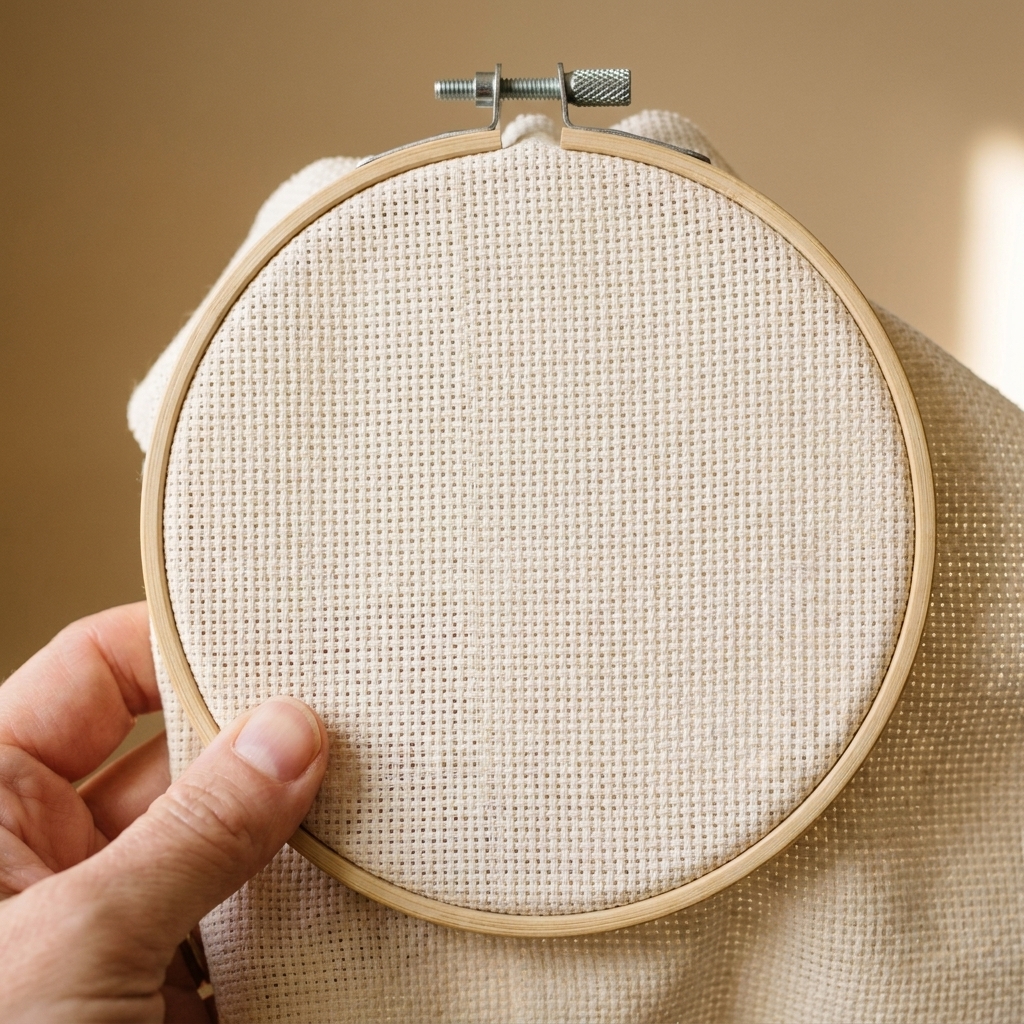
Start with 14-count Aida. It is the most common, easy to see, and most patterns assume it.
- 14-count Aida: beginner-friendly and works well with 2 strands of floss
- White or cream: easiest to read your stitches while learning
How much fabric?
For embroidery practice, a fat quarter or even an 8 x 8 inch cut is plenty. For cross stitch, buy a piece large enough for your design plus at least 2 to 3 inches of margin on each side for finishing and framing. If you plan to lace-mount or use a chunky frame, give yourself more breathing room.
Thread
You can absolutely buy a huge floss pack, but you do not need 100 colors to start stitching. Begin with a small, happy palette and add colors project by project.
Stranded cotton floss
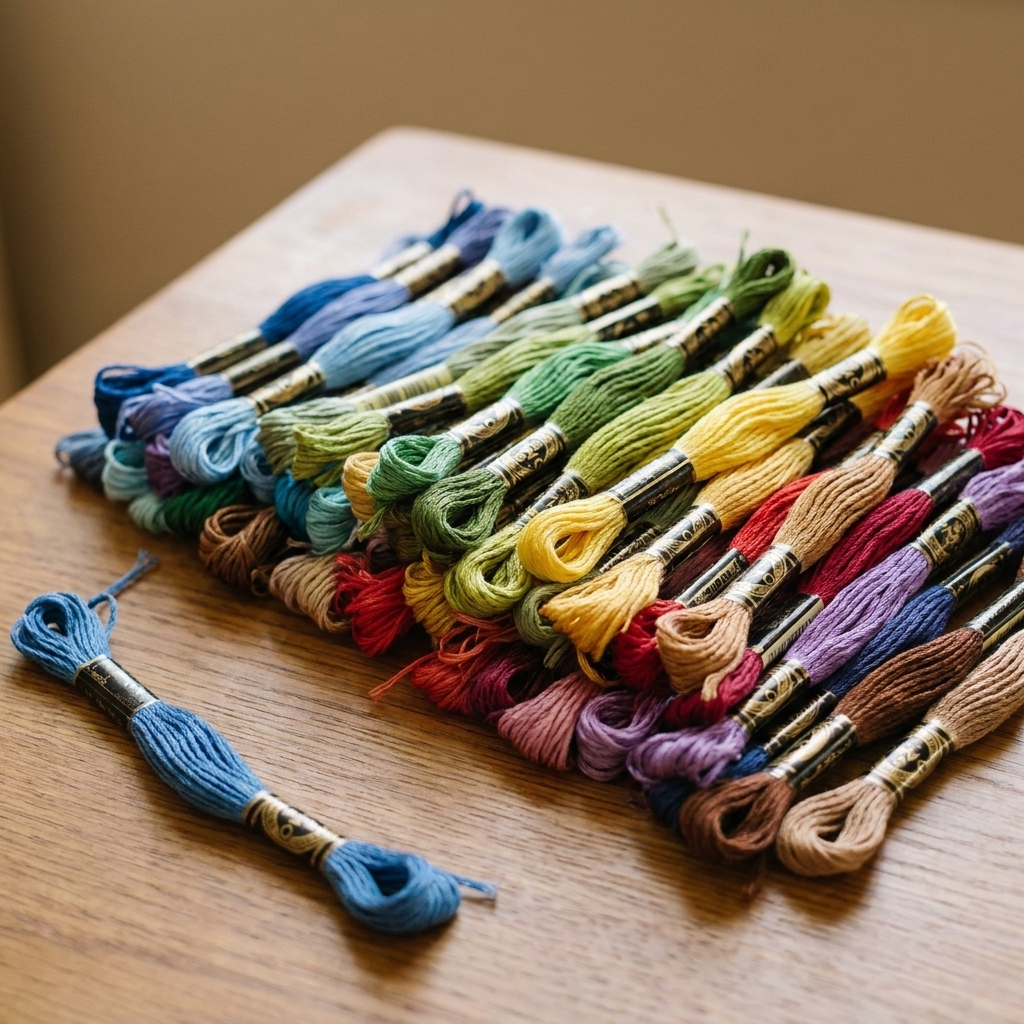
Look for 6-strand stranded cotton floss, like DMC. It separates into individual strands, which lets you control how thick your stitches look.
- Embroidery: commonly 2 to 3 strands for outlines and fills, 6 strands for bold lines
- Cross stitch on 14-count: commonly 2 strands for full crosses, with 1 strand sometimes used for fine backstitch details
If separating strands makes you feel like you are defusing a tiny thread bomb, you are not alone. Cut a manageable length, pull one strand at a time, and let the rest of the bundle relax in your fingers so it does not snarl.
How many colors?
If you are not following a pattern yet, buy 6 to 12 skeins you genuinely like. Include:
- 1 black or very dark brown (outlines and backstitching)
- 1 white or cream (highlights)
- 2 greens (a light and a dark)
- 2 blues (a light and a dark)
- 2 warm tones (peach, coral, red, mustard, or terracotta)
- 1 neutral (taupe or gray)
Specialty threads
They are gorgeous, and they can wait. Specialty threads have their own quirks, and it is easier to learn tension and stitch control with standard floss first.
Scissors
You do not need ornate stork scissors, although I will never talk you out of them if they spark joy. What matters is a clean cut so your thread does not fray at the end.
- Type: small embroidery scissors or thread snips
- Tip: sharp, fine point for trimming close to stitches
- Rule: keep them for thread and fabric only, not paper
If you can, hold the scissors before buying. If they pinch your fingers or feel wobbly at the hinge, you will avoid using them, and then you will be tearing floss with your teeth like a raccoon who found a craft kit (again, ask me how I know).
Marking and measuring
Marking tools help you place designs and keep guidelines straight. They are also an easy place to accidentally stain fabric, so simple and removable is the goal.
For embroidery
- Water-soluble fabric pen: great for transferring simple designs
- Pencil: works on light, tightly woven cotton (test first)
- Transfer paper: helpful when you start transferring patterns regularly
My best habit: always test your marking tool on a scrap of the same fabric. Some pens “erase” beautifully on one cotton and cling for dear life on another.
If transferring is your biggest hurdle, try a low-tech method: tape your pattern to a sunny window, tape your fabric on top, and trace with a water-soluble pen. For darker fabrics, stick-and-stitch printable paper can be a lifesaver once you know you like the hobby.
For cross stitch
You do not always need to mark anything, especially on smaller patterns. If you want to grid your fabric, use a water-soluble pen or a specialty gridding pen and keep your lines light.
Measuring
A basic soft measuring tape or small ruler is enough for checking margins and hoop size. No fancy tools required.
Helpful extras
These are the items I recommend once you have stitched for a week or two and you know you want to keep going.
Needle threader
Flossing a needle can be surprisingly annoying when you are new. A tiny needle threader makes starting and restarting faster, especially with multiple strands.
Needle minder
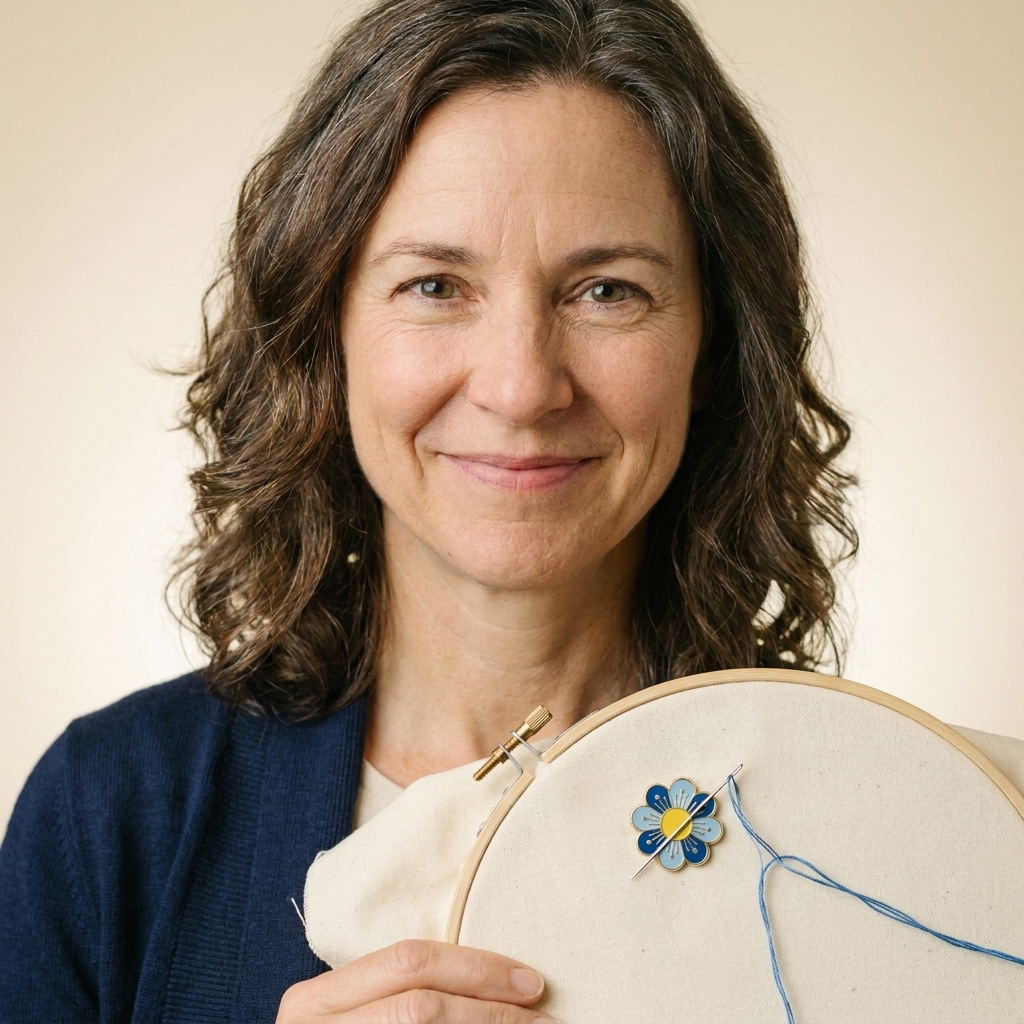
A magnetic needle minder parks your needle safely on your hoop. It also prevents the classic beginner panic of “I put my needle down for one second and now it is gone forever.”
Thread organizer
Bobbins, a floss box, or even zip bags work. The goal is simply to keep colors from tangling into a chaotic bird nest.
Good lighting
If you splurge on anything, consider a bright lamp. Your eyes and shoulders will thank you.
What not to buy yet
These items are not “bad.” They are just common beginner purchases that often sit unused while you are still learning the basics.
- Huge floss bundles: tempting, but you will get duplicates and colors you do not like
- Every hoop size: start with one 6 inch hoop and add sizes as needed
- Expensive specialty fabrics: start with easy-to-stitch cotton or 14-count Aida
- Advanced frames: scroll frames and floor stands are wonderful, but not required at the beginning
- Gimmicky multi-tool kits: a few good basics beat a box of flimsy extras
Two starter lists
If you want a clear cart to build, here are two simple starter lists: one for hand embroidery and one for cross stitch.
Starter list: embroidery
- Crewel needles size 7 or 8
- 6 inch bamboo or wood hoop
- Quilting cotton or cotton-linen blend (at least 8 x 8 inches)
- 6 to 12 skeins stranded cotton floss
- Small sharp embroidery scissors
- Water-soluble fabric pen (plus a scrap for testing)
- Optional: extra backing fabric (as a simple stabilizer), needle threader, needle minder
Starter list: cross stitch
- Tapestry needles size 24 (add size 26 later if you like)
- 14-count Aida cloth (white or cream)
- Floss colors required by your pattern (or 6 to 12 to play)
- Small sharp embroidery scissors
- Optional: hoop or Q-Snap style frame for tension
- Optional: needle threader, needle minder
Beginner FAQ
Do I need a hoop for cross stitch?
Not strictly. Many stitchers use a hoop or frame for comfort and even tension, but you can stitch in-hand on smaller pieces. If you do use a hoop, loosen it when you take a break to help prevent creases.
How many strands of floss?
For cross stitch on 14-count Aida, 2 strands is the most common. For embroidery, 2 to 3 strands is a friendly place to start for outlines and general stitching, and you can adjust based on the look you want.
Why does my thread keep knotting?
Usually it is one of three things: your thread length is too long, your floss is twisting as you stitch, or the fabric is loose in the hoop. Shorten your thread (about the length of your forearm is a good rule), let the needle dangle occasionally to untwist, and retighten your hoop.
Is DMC floss worth it?
If your budget allows, yes. It is consistent, strong, and generally colorfast with normal care. Like any dyed fiber, treat your finished work kindly: avoid harsh detergents, very hot water, and long sunbathing sessions on a windowsill. If you already have another brand, you can still learn with it. Just expect a little more fuzz and occasional color differences between batches.
A gentle final note
Your first goal is not perfection. Your first goal is to get comfortable holding the needle, making steady stitches, and enjoying the quiet rhythm of it. Start with a small, sensible kit. Then let your supplies grow naturally as your curiosity does.
If you want, set a timer for 15 minutes, thread a needle, and just stitch. The relaxing part shows up faster than you think.