Micro embroidery jewelry is basically everything I love about stitching, shrunk down to a pocket-sized, wearable win. You get the soothing rhythm of embroidery, plus the instant gratification of finishing a piece in an afternoon. The secret is not magic floss or superhuman eyesight. It is good lighting, one strand at a time, and a few finishing tricks that keep your tiny stitches looking crisp when they are turned into a pendant, ring, or brooch.
If you have ever stared at a miniature hoop and thought, “How on earth do people stitch in there?”, you are in the right place. We are going to walk through materials, micro-friendly stitches, tiny pattern choices, and three complete project paths: pendants, rings, and brooches.
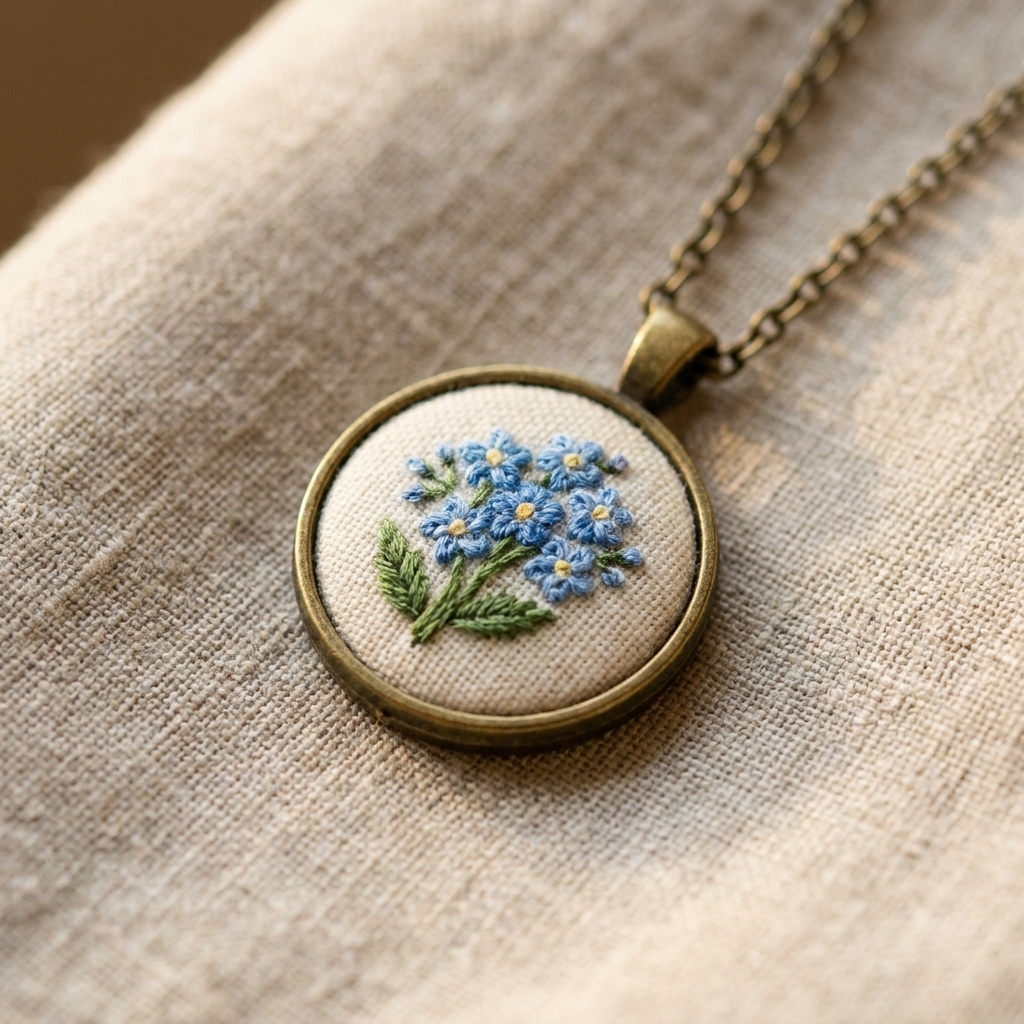
What counts as micro embroidery jewelry?
For jewelry, “micro” often means a stitched area that is about 10 to 30 mm across (in my experience, this is the range most trays, bezels, and mini hoops live in). Think:
- Pendants: 15 to 30 mm cabochon settings or mini hoops
- Rings: 10 to 20 mm bezels, often slightly domed
- Brooches: 20 to 40 mm settings where you have a little more space for a motif
The smaller you go, the more important it becomes to simplify your design. A tiny strawberry can be adorable. A tiny, hyper-detailed bouquet with twelve color changes can turn into a fuzzball if the thread coverage is too bulky.
Supplies that make micro stitching easier
You can absolutely start with what you have, but a few tools remove most of the frustration.
Must-haves
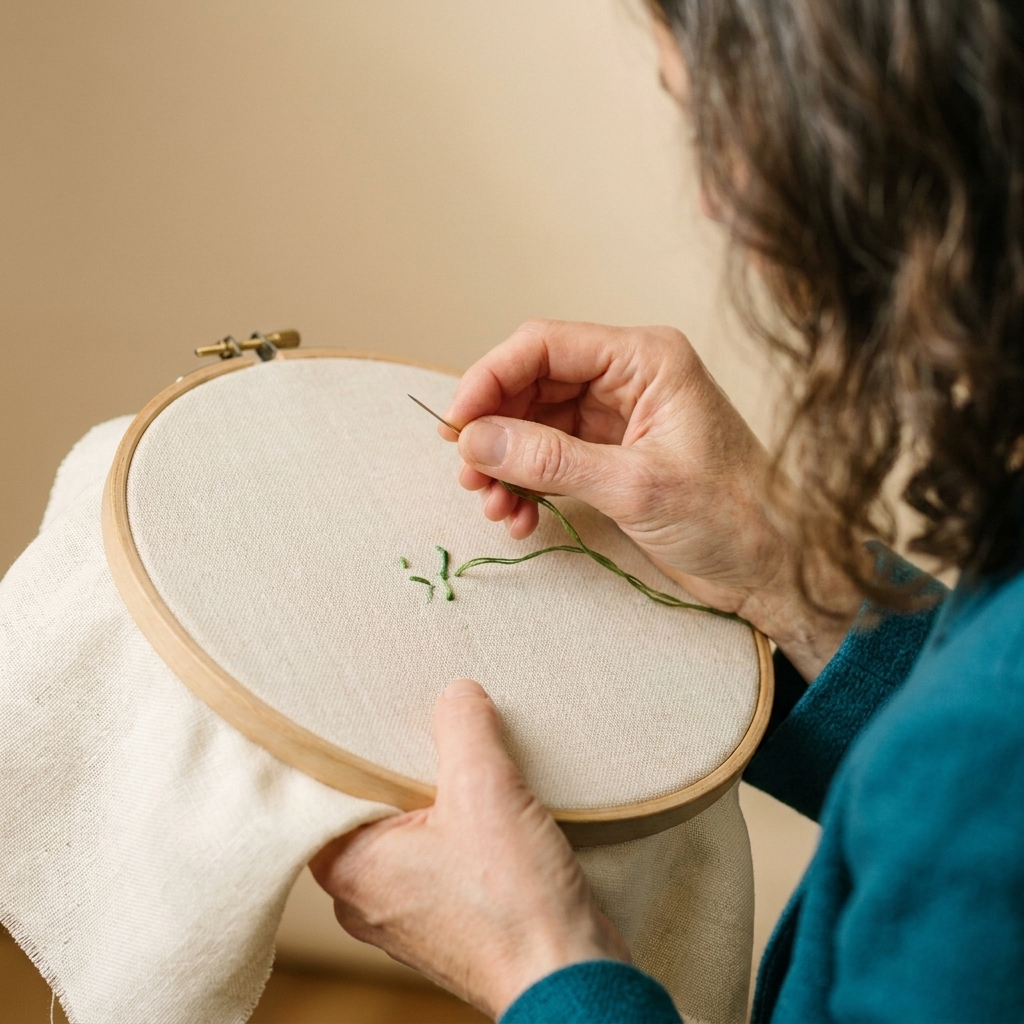
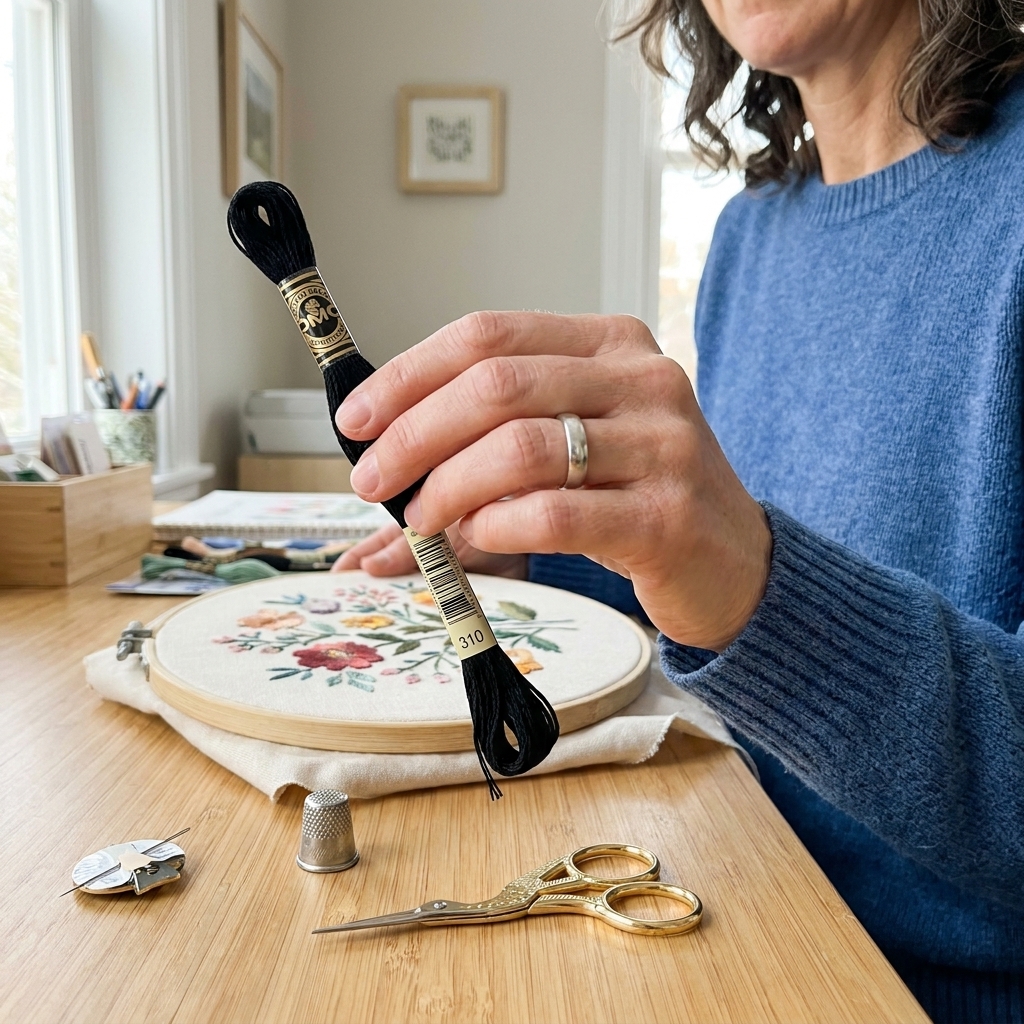
- Embroidery floss: DMC or similar cotton floss works beautifully. For micro, you will usually stitch with one strand (sometimes two on very open fabric).
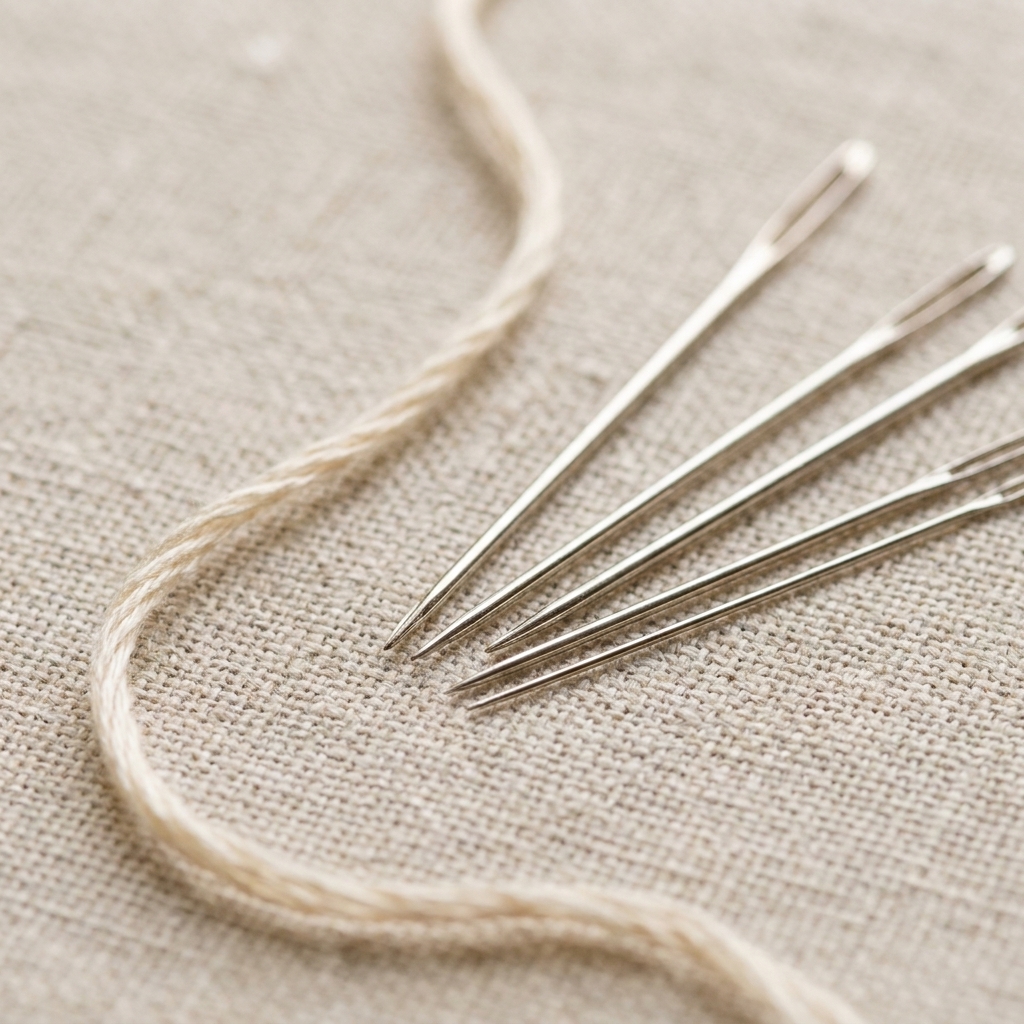
- Needles: For surface embroidery, try embroidery/crewel needles around sizes 7 to 10 (and go finer if your fabric and thread allow). For very fine work, sharps or embroidery needles in sizes 9 to 12 can be lovely, but size 12 is not everywhere and is extremely fine. For counted fabrics (evenweave/linen), keep a few tapestry needles on hand so you do not split threads. Adjust to your fabric count and what actually feels good in your hand.
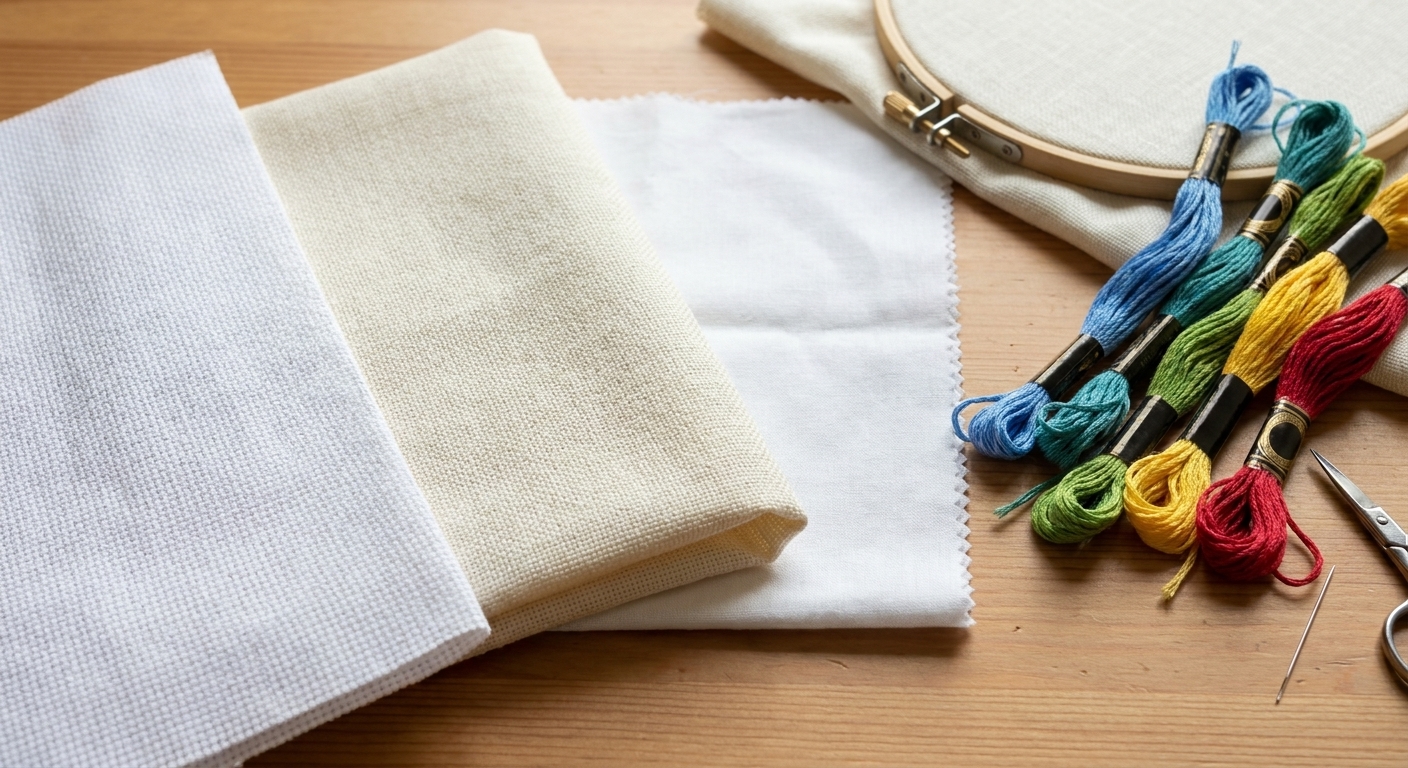
- Fabric: Tight, even weaves are your friend. Good beginner options include quilting cotton, linen with a fine weave, and high-count evenweave. If you want the crisp look of counted work, try 28 to 40 count linen/evenweave.
- Hoop or frame: A 3 inch hoop is easier than a 1 inch hoop for the actual stitching. You can stitch in a larger hoop and cut down later.
- Good scissors: Sharp embroidery snips matter at this scale.
- Lighting: A bright lamp aimed at your hands reduces eye strain fast.
Nice-to-haves (that feel like cheating)
- Magnification: A simple desk magnifier or reading glasses can be a game changer.
- Thread conditioner: Optional and very personal. Some stitchers love a tiny touch of conditioner to calm a single strand; others avoid beeswax on cotton because it can dull the sheen or attract lint over time. If you try it, use the lightest possible application and test on a scrap first.
- Water-soluble stabilizer: Great for transferring tiny designs onto dark or textured fabrics.
- Jewelry findings: Pendant trays, ring blanks with bezels, and brooch backs. Look for “cabochon settings” or “embroidery bezel tray”. If your skin is sensitive, choose nickel-free findings.
Tiny design transfers
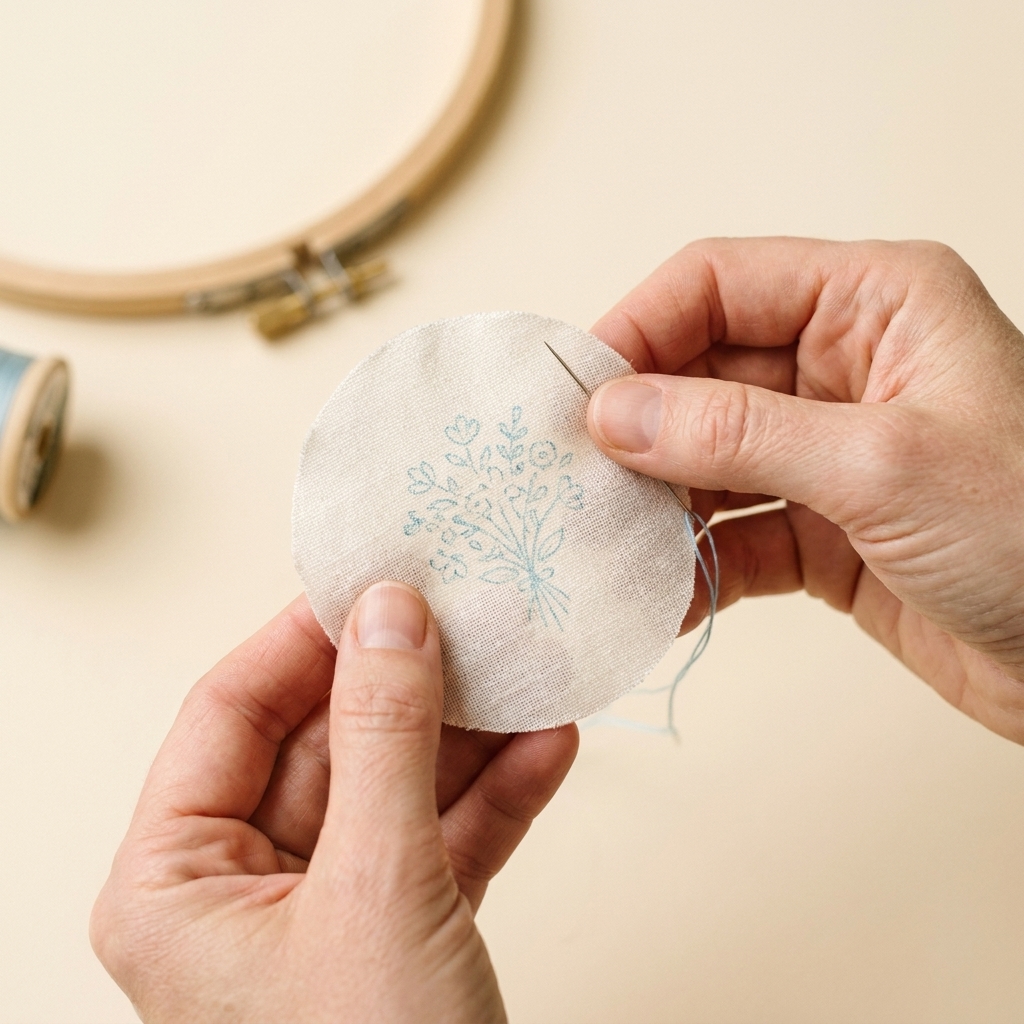
Transferring is where micro embroidery can go from “fun little project” to “why is this dot now a blob?” so here are a few methods that behave well at small sizes.
Simple transfer options
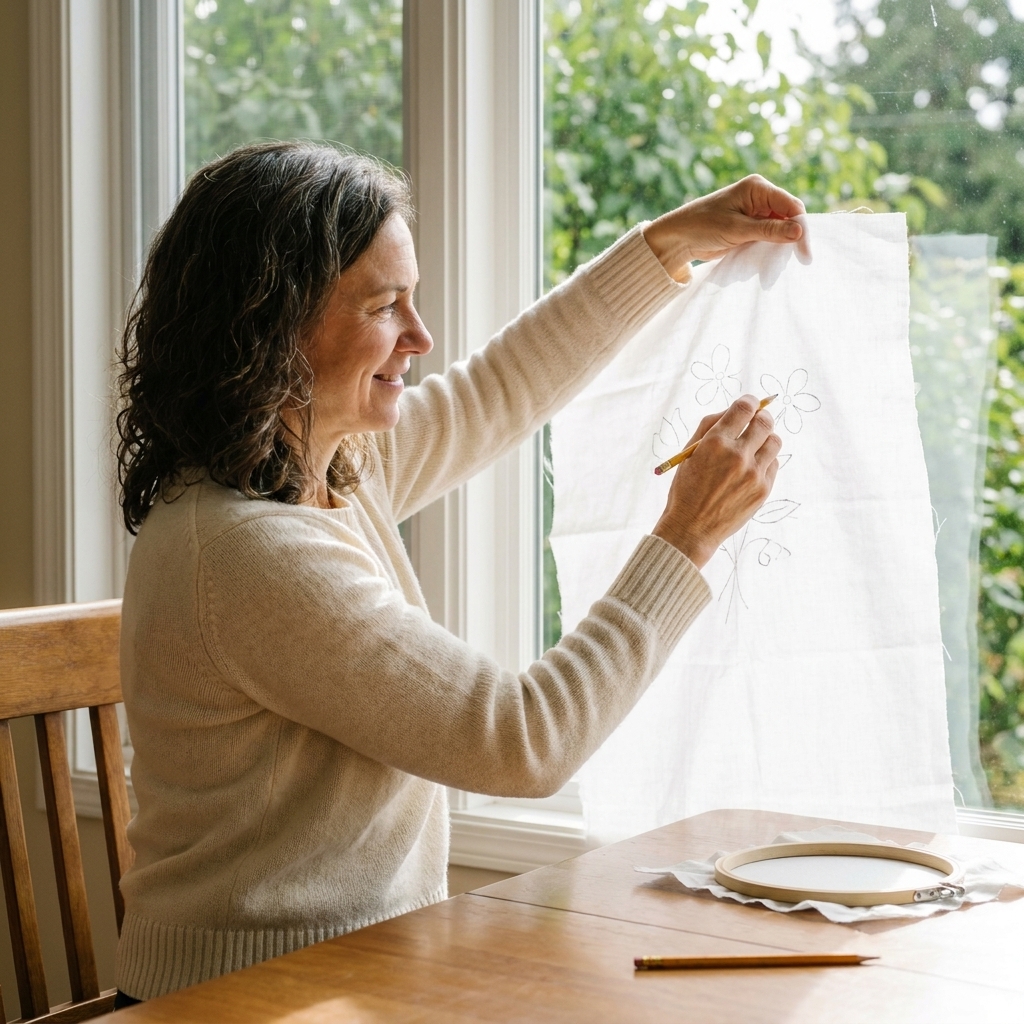
- Window or lightbox tracing: Tape your printed design to a bright window (or use a lightbox), tape your fabric on top, then trace lightly. Works best on light fabrics.
- Water-soluble pen: Great on light fabrics, but always test. Some inks can linger or disappear too soon depending on humidity and handling.
- Heat-erase pen: Convenient, but test first and use sparingly. Heat can sometimes bring ghost lines back later, especially in cold. It is not my first choice for heirloom pieces.
- Stick-and-stitch stabilizer: Print or draw on the stabilizer, stick it down, stitch through it, then rinse away. This is my go-to for dark fabric or very tiny details.
Micro tip: Whatever method you choose, keep your lines pale. Dark transfer lines can peek out from under one-strand stitching.
The golden rules of single-strand floss
Single-strand work is what makes micro embroidery look clean instead of bulky. It is also the part that makes beginners feel like they are suddenly all thumbs. A few habits help immediately.
1) Separate strands slowly
Cut a manageable length, usually 12 to 18 inches. Pull one strand out while holding the remaining bundle, letting it “zip” apart. If you pull fast, you get a twisty noodle that knots just to spite you.
2) Use shorter lengths than you think you need
Micro stitches rub the thread more against the fabric. If your thread starts looking fuzzy or flat, swap it out. I would rather re-thread a needle than fight a tired strand.
3) Anchor without a bulky knot
- Waste knot method: Knot the end, start a few inches away, then later snip the knot and weave the tail under stitches on the back.
- Pin stitch (tiny anchor stitch): Ideal for jewelry because it keeps the back flatter. Make a tiny stitch in one spot, then come up through it a couple times to lock the thread, then begin normally.
- Micro backstitches: Take 2 to 3 tiny stitches in the same area on the back, then start your line or fill.
4) Let the needle untwist
Every few minutes, drop your needle and let it dangle to remove twist. Twist makes single strands look thicker and can create tiny knots on the back.
Best stitches for micro embroidery jewelry
You can use almost any stitch in miniature, but a few are especially dependable when you are working inside a small circle.
Outline and details
- Backstitch: Crisp lines, easy corners.
- Split stitch: Beautiful for curves and slightly thicker outlines without bulk.
- Stem stitch: Great for vines, but keep stitches very short to avoid wobble.
- French knots: Tiny dots, flower centers. Use one wrap for micro unless you want a raised bead-like knot. A milliner needle can make knots easier, but any needle you can comfortably wrap on will do.
Fills that stay smooth
- Satin stitch: The classic polished fill. Keep stitches short and parallel. Use one strand for a sleek finish.
- Long and short stitch: Lovely shading, but choose 2 to 3 colors max at this scale.
- Brick stitch (for counted fabrics): Gives a tidy, pixel-like fill that reads well when shrunk down.
Texture in miniature
- Seed stitch: Looks like confetti. Perfect for backgrounds in pendants.
- Woven wheel rose: Possible in micro, but keep it very small or it can overwhelm the piece.
My pragmatic advice: If the design is smaller than a dime, start with backstitch plus satin stitch. That combo alone can carry so many cute motifs.
Choosing (or adapting) tiny patterns
Micro jewelry patterns work best when they have bold shapes and clear contrast. If you are shrinking down a normal embroidery design, here is how to make it behave.
Keep motifs simple
- Pick 1 focal element: a tiny flower, a star, a bee, a mushroom, an initial.
- Avoid lots of floating details that rely on negative space. They tend to disappear.
- Limit to 3 to 6 colors for your first pieces.
Line weight matters
One strand backstitch is delicate. If your design needs a stronger outline, use split stitch with one strand, or stitch the outline twice.
Plan your direction for satin stitch
Satin stitch looks best when it is not constantly changing direction. For example, fill a tiny petal with stitches that run from base to tip. If you try to satin stitch a complicated shape, you may see gaps or lumpy edges.
Test at actual size
Print or trace your pattern at the exact jewelry size. If you cannot tell what it is from arm’s length, simplify before you stitch. This is the least dramatic way to save yourself two hours of squinting.
Fabric and backing options
Jewelry needs two things: stitches that look nice from the front, and a finish that is stable from the back.
Front fabric choices
- Quilting cotton: Smooth and easy. Great for satin stitch and outlines.
- Fine linen: A little texture, very classic. Choose a tight weave so stitches do not sink.
- Evenweave or linen for counted work: Perfect for micro cross stitch motifs and tiny geometric patterns.
- Felt: Can work, but it is thicker and can make bezels hard to close.
Backing choices
- Wool blend felt: Great for brooches. Adds structure and hides thread tails.
- Thin leather or faux leather: Gorgeous for brooch backs and keeps it sleek.
- Card or chipboard: Helpful inside bezels to keep the embroidered piece flat.
Tip from my own trial-and-error pile: If your design will be domed under glass (cabochon style), you can get away with slightly puffier stitches. If it will be open-faced, keep everything flatter and neater.
Project 1: Micro embroidered pendant
Pendants are the easiest place to start because the setting supports the embroidery and hides the back. You have two main routes: a bezel tray with a glass cabochon, or an open setting with a visible stitched surface.
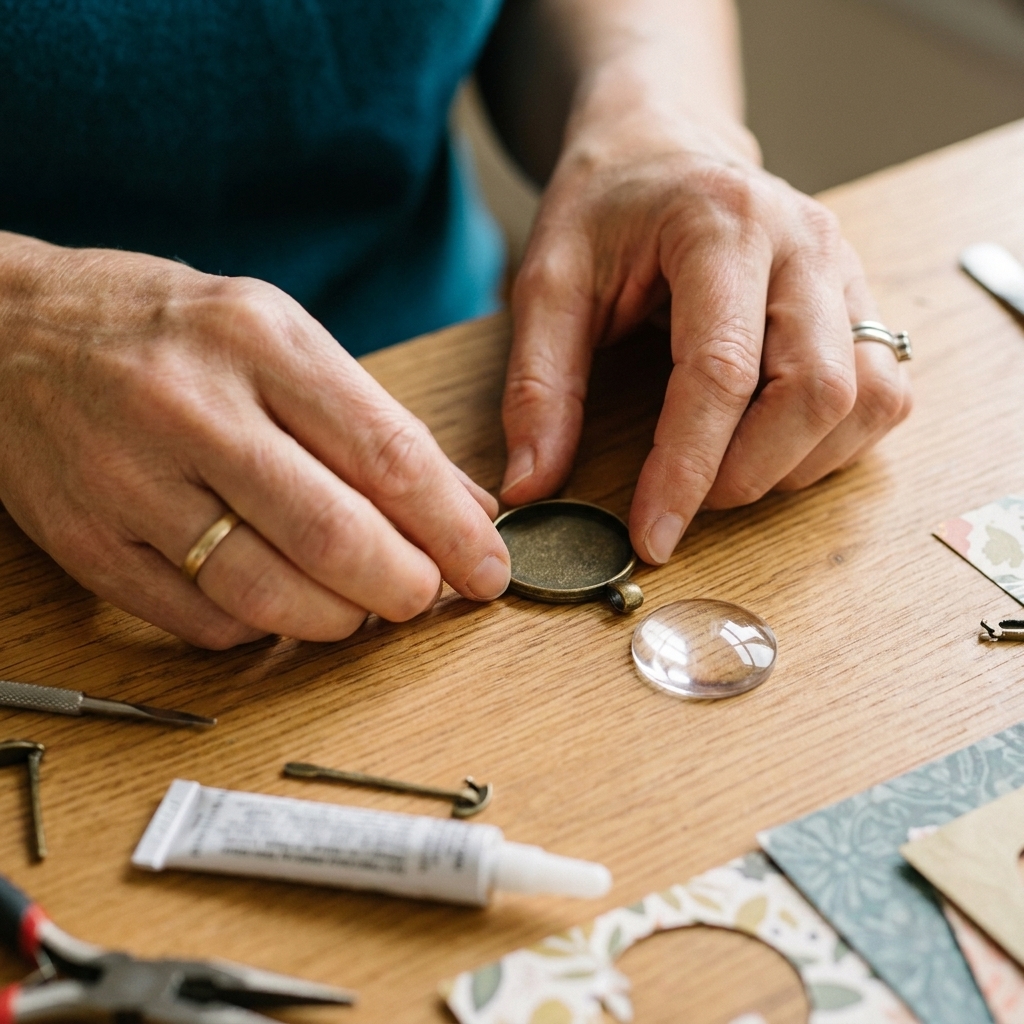
Option A: Bezel tray + glass cabochon
This gives a polished, “tiny artwork” finish and protects the stitches from life, weather, and the inevitable coffee splash.
What you need
- Pendant bezel tray (round or oval)
- Matching glass cabochon
- Embroidered fabric
- Jewelry adhesive rated for metal and glass (E6000-style or a good two-part epoxy are common options)
- Scissors, tweezers, toothpick
- Optional: thin card circle for stability
Steps
- Stitch your design in a larger hoop. Keep at least 1 inch margin around the motif so you can handle it easily.
- Prep it flat. Place the embroidery face down on a clean towel and press gently from the back. Skip steam if you used a transfer that might react to heat.
- Cut your piece. Cut a circle slightly larger than the bezel interior. If you are adding a card backing, cut that to fit the tray interior.
- Dry fit everything. Place fabric in the bezel and set the cabochon on top to check placement. Centering is worth the extra minute.
- Glue the fabric into the tray. Apply glue to the bezel base, then press the fabric down. Use tweezers to smooth edges. Add the card circle on top if using.
- Glue the cabochon. Apply a thin, even layer (more glue does not equal more secure). Press the glass in place and wipe any squeeze-out immediately.
- Cure fully. Let it sit undisturbed for the full cure time of your adhesive, then wait until any smell is gone before wearing.
Reality check: If you get a tiny smear of glue on the glass, do not panic-rub it all over. Let it set up a bit, then gently lift it with a fingernail or a wooden toothpick.
Option B: Open-faced pendant
Open pendants show the actual thread texture, which is lovely. They also need a sturdier finish because the embroidery is exposed.
Extra supplies
- Clear fabric sealant or archival matte medium (optional but helpful)
- Felt or leather for a backing cover
Edge and surface tips
- Keep the back neat. Weave ends carefully under nearby stitches.
- Seal lightly (optional). A very thin coat on the back can help prevent fraying, but sealants can slightly darken fabric or change the feel. Test on a scrap first.
- Choose an edge method: If the setting does not hide the cut edge, either (1) wrap the edge with tiny whip stitches, (2) use the tiniest amount of fray stop just on the raw edge, or (3) fuse an ultra-thin interfacing to the back before cutting for a cleaner edge. Test first, always.
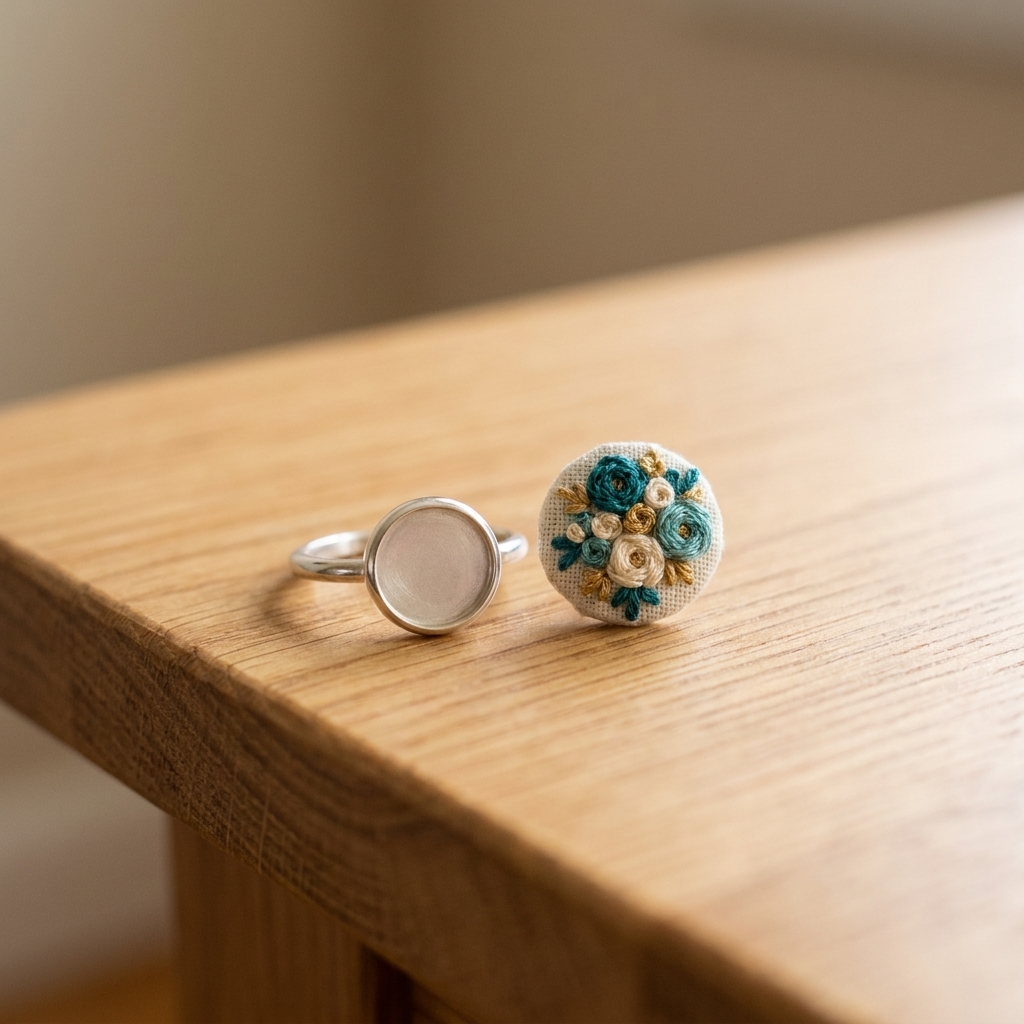
Project 2: Micro embroidered ring
Rings are adorable and slightly trickier because they get knocked around. The goal is a smooth, secure surface that will not snag on sweaters or hair.
Recommended ring style
For your first ring, choose a bezel ring blank designed for a cabochon. It will protect the embroidery under glass and hold up far better than an open textile surface.
What you need
- Ring blank with bezel
- Glass cabochon that fits
- Finished micro embroidery
- Jewelry adhesive rated for metal and glass
- Optional: thin card backing circle
Steps
- Stitch flat. Keep fills smooth and avoid bulky knots. Rings are less forgiving than pendants.
- Prep it flat. Press gently from the back.
- Cut precisely. Rings are small, so take your time. A slightly oversized piece can buckle under glass.
- Glue fabric into the bezel. Smooth it from the center outward.
- Add cabochon. Press down evenly, then let cure fully before wearing.
Wearability tip: If you love the open-faced look, reserve it for brooches or pendants. Rings live a hard life, and glass protection makes them much more durable.
Project 3: Micro embroidered brooch
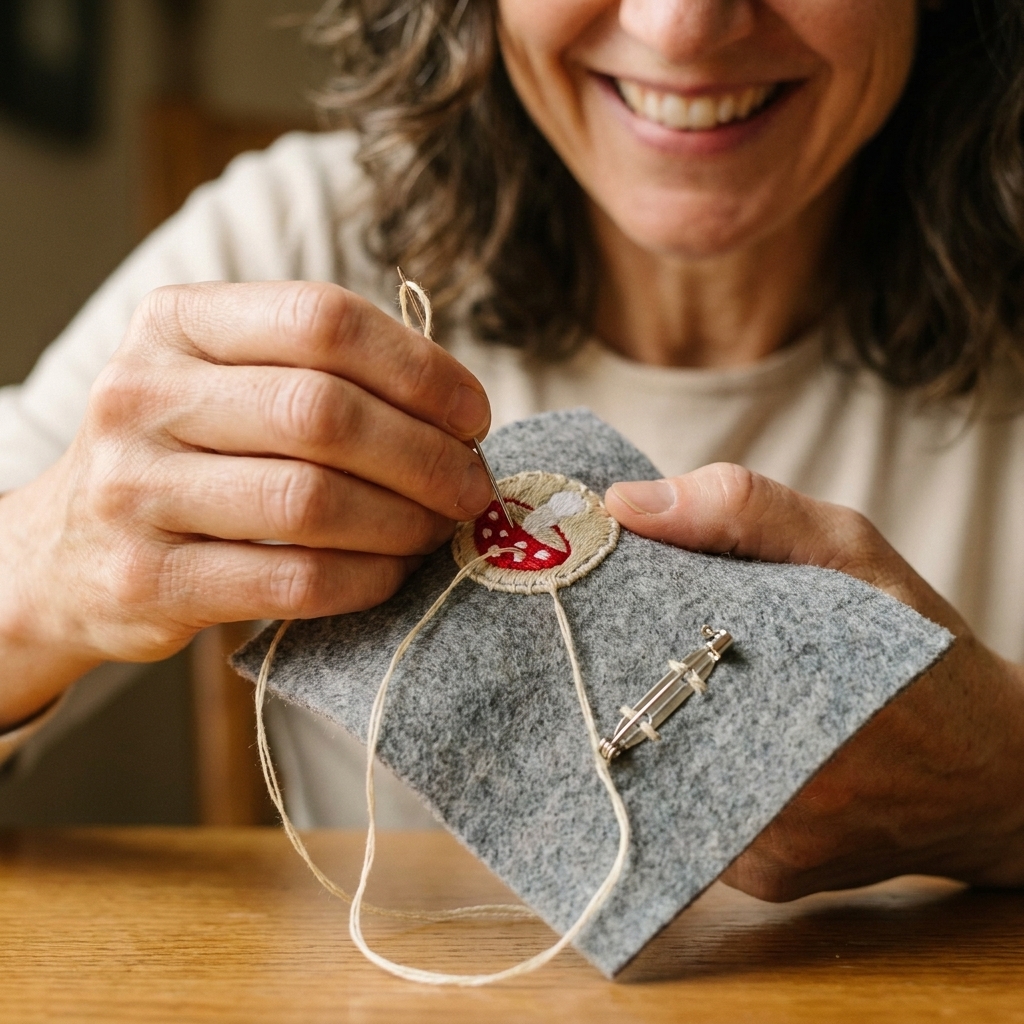
Brooches are my favorite micro jewelry format because they give you a little extra space, and you can make the back beautifully finished. Also, pinning a tiny stitched mushroom to your jacket is extremely satisfying.
Two good construction styles
- Cabochon brooch (protected): Similar method to pendants and rings.
- Felt-backed textile brooch (soft, cozy): No glass, more texture, very handmade in the best way.
Option: Felt-backed brooch
What you need
- Embroidered piece
- Wool blend felt (backing)
- Brooch pin back
- Strong glue and needle and thread
- Small piece of thin card (optional for structure)
Steps
- Stitch and prep it flat. Press from the back to keep stitches crisp.
- Stabilize (optional). If your embroidery fabric is thin, add a card layer behind it for stiffness.
- Cut your shape. Circles are easiest, but tiny ovals and rounded rectangles also look sweet.
- Attach the pin back to felt. I like to stitch it on for security, then add a dab of glue as backup.
- Assemble layers. Glue embroidery to the felt, aligning carefully.
- Finish the edge. Use a tiny blanket stitch or whip stitch around the perimeter for a clean, durable edge.
Brooch pro tip: Put the pin back slightly above center so the brooch hangs upright instead of drooping.
Bezel fit checks
Before you glue anything, do one quick check that saves a lot of heartbreak: make sure your embroidery stack actually fits your setting.
Measure the stack height
- Dry fit your fabric + stitches + optional card into the bezel.
- Set the cabochon on top without glue.
- If the glass rocks, sits high, or you cannot seat it cleanly, your stack is too thick. Swap to thinner fabric, skip the card, or choose a deeper bezel.
This matters most for rings, where bezels are often shallow.
Mounting micro embroidery in bezels
Bezels are wonderful, but they do require a calm, unhurried approach. This is the part where I remind you: crafting should be fun, not perfect.
Centering tricks
- Mark the center. Lightly crease your fabric circle in half twice to find the center point.
- Use a paper window. Cut a hole the size of your bezel opening in scrap paper and slide it around until your motif is framed exactly how you like.
- Take a phone photo. A quick photo often reveals if something is slightly off-center.
Prevent fraying
- Use sharp scissors.
- Consider a very light seal on the cut edge (test first).
- Keep your cut edge hidden under the bezel lip or backing layer.
Adhesives, but practical
Use adhesives in a ventilated space and follow the manufacturer’s cure times. Look for a glue rated for metal and glass (and check reviews for clarity and yellowing over time). A quality two-part epoxy is often very strong, but formulas vary, so test if you are working with light fabric where discoloration would show. Once cured, let the piece air out fully before it touches skin.
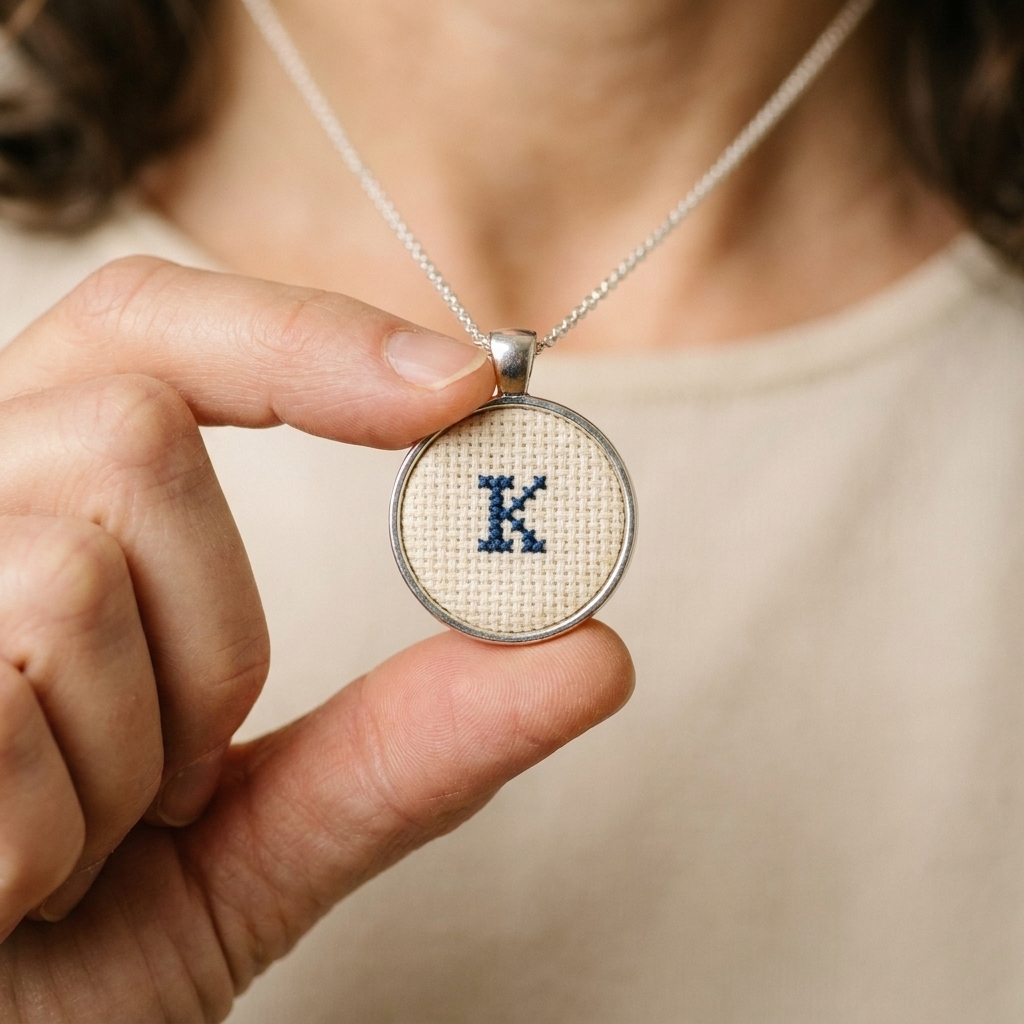
Tiny cross stitch motifs for jewelry
If your heart belongs to cross stitch, micro jewelry is still totally on the table. The trick is choosing fabric and simplifying the chart.
Fabric suggestions
- 28 count evenweave over 2 for a classic, tidy look that is not too teeny.
- 32 to 40 count linen/evenweave if you want truly micro crosses. Use a magnifier and strong light.
Pattern ideas that read well small
- Mini initials or monograms
- Simple hearts, stars, moons
- Tiny fruit silhouettes
- Geometric borders
Finishing: Cross stitch sits flatter than many embroidery fills, so it is excellent for cabochon settings.
Color and design tips
Boost contrast
Jewelry is viewed at a distance. Choose higher contrast than you might for hoop art. Dark outlines on light fabric, or light stitching on a dark ground, helps your motif stay readable.
Limit shading
Subtle gradients are pretty, but they can vanish at 15 mm. If you want dimension, use two shades plus a highlight and stop there.
Choose backgrounds intentionally
- Plain fabric background: Clean and modern.
- Seed stitch background: Adds sparkle-like texture.
- Painted or tinted fabric: Works beautifully under simple outlines. If you paint, let it dry fully before stitching.
Troubleshooting micro embroidery
My stitches look bulky
- Use one strand instead of two or three.
- Shorten satin stitches and keep them parallel.
- Switch to a finer fabric with a tighter weave.
My thread keeps knotting
- Use shorter lengths.
- Let the needle dangle occasionally to untwist.
- Slow down when pulling through, especially with one strand.
My fabric puckers in the bezel
- Use less glue and press from the center outward.
- Add a thin card support circle behind the embroidery (if your bezel depth allows).
- Make sure your fabric circle is not oversized for the tray.
The design disappeared once it was mounted
- Increase contrast with a darker outline.
- Simplify details and enlarge the main shape.
- Try a lighter or darker fabric ground.
Care tips
- Avoid soaking. If you chose an open-faced piece, keep it away from water. Even sealed items are best treated gently.
- Store separately. Jewelry boxes or small pouches prevent scratches on glass and reduce snagging.
- Put on last. Apply perfume and hairspray before wearing stitched pieces.
- Clean carefully. For glass-covered pieces, wipe the glass only with a soft cloth. For textile surfaces, use a dry soft brush to lift lint.
- Let it cure. Adhesives can feel dry before they are fully cured. Wait the full cure time before wearing, especially for rings.
Starter pattern ideas
If you want instant pattern inspiration without overthinking it, try one of these tiny motifs in a 15 to 25 mm circle:
- A single daisy: satin stitch petals, French knot center
- Tiny crescent moon: satin stitch with a backstitch outline
- Mini mushroom: satin cap, backstitch stem, two white dot knots
- Simple monogram: split stitch letter with a few seed stitches around it
- Little strawberry: satin body, green top, three French knots for seeds
Keep it charming and a little bold. Micro is not the place to prove you can stitch every petal on Earth.
FAQ
Do I have to stitch directly inside a tiny hoop?
No, and I do not recommend it for beginners. Stitch in a comfortable larger hoop, then cut and mount the finished area into your jewelry setting.
What is the best fabric for micro embroidery jewelry?
For embroidery, quilting cotton or fine linen with a tight weave is very forgiving. For micro cross stitch, evenweave or linen (28 count and up) gives the neatest result.
Can I wash the embroidery before turning it into jewelry?
You can, but do it before mounting. After the piece is in a bezel or glued to a backing, washing is risky. If you used a water-soluble stabilizer, rinse gently and let it dry flat, then press from the back.
How do I keep the back from being messy?
Use pin stitches or tiny anchoring stitches instead of big knots, and weave ends under existing stitches. Jewelry is small, so a tidy back is easier than it sounds once you slow down.
Is a glass cabochon necessary?
Not necessary, but very helpful for rings and frequently worn pendants. It protects stitches from abrasion and keeps your work looking crisp longer.
One last encouragement
Your first micro piece might feel fiddly. That is normal. Tiny stitching asks for a slightly different rhythm: shorter thread, smaller motions, and a little more patience. But once it clicks, it is deeply satisfying. You end up with a wearable reminder that you made something with your hands, one little stitch at a time.
If you make a pendant first, you will learn 80 percent of the skills you need for rings and brooches. Start there, keep your design simple, and let “cute and finished” beat “perfect and abandoned” every single time.