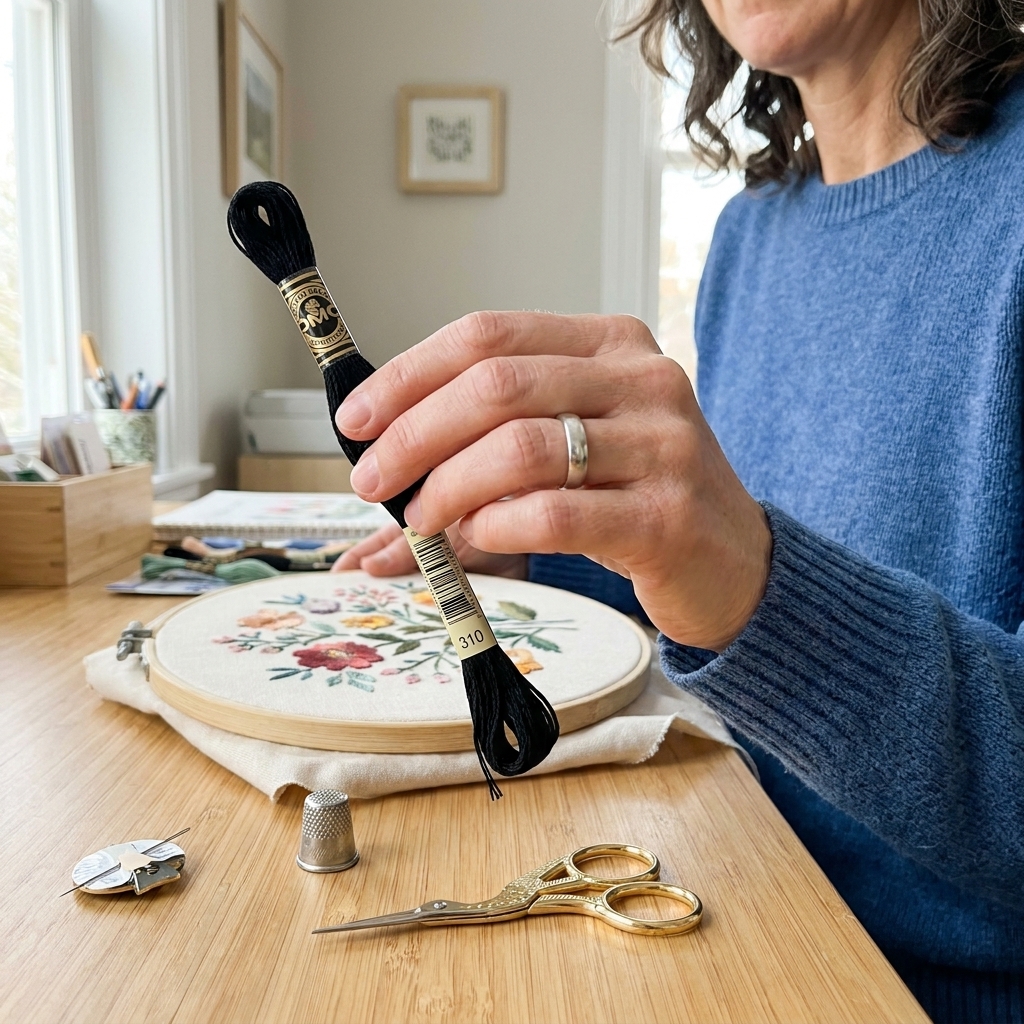
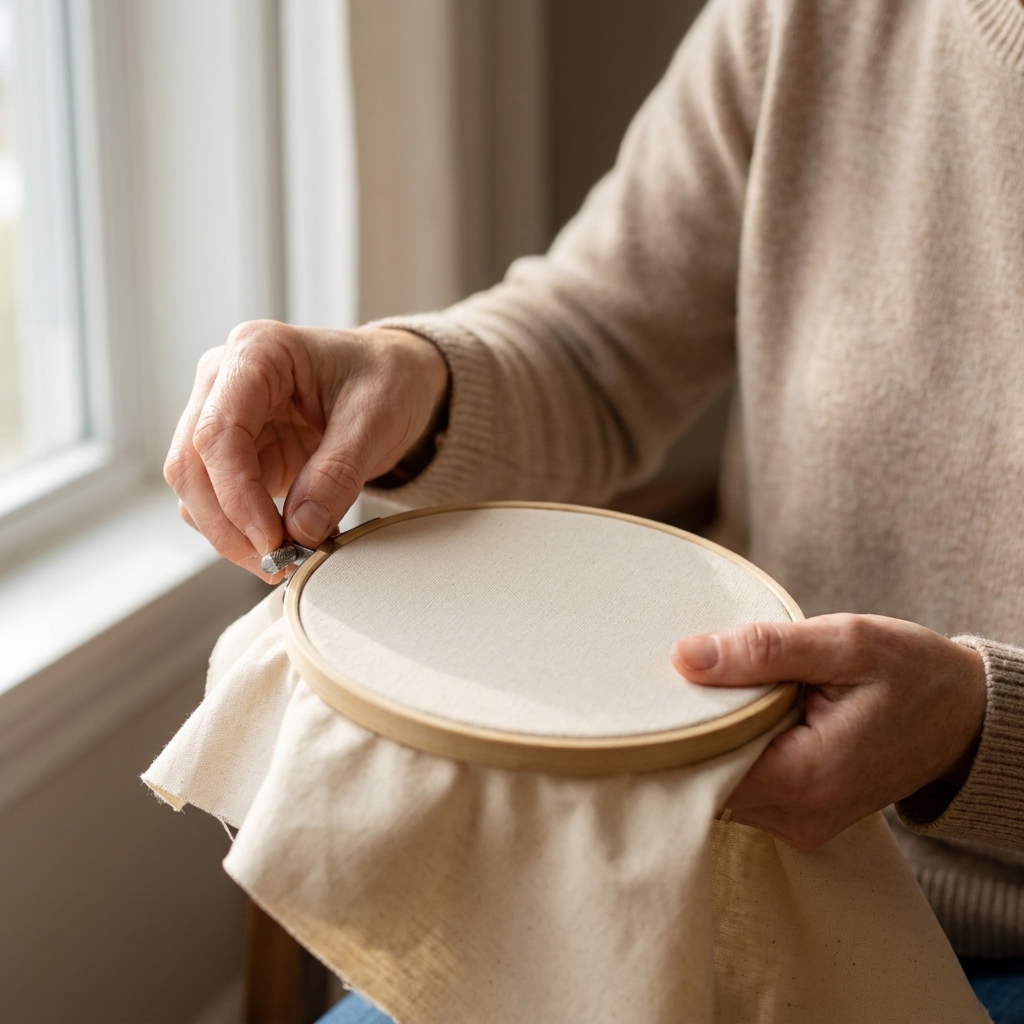
Nothing kills the cozy, meditative vibe faster than watching your first few stitches loosen because the thread start was flimsy. The good news is that you do not need a fancy trick to make your stitching secure. You just need the right start for the situation, and a tidy finish that locks things in without making a lumpy back.
Below are my go-to methods for both embroidery and cross stitch, including knot-free options (hello, smooth finishes) and a few knot methods that are totally fine when you need them. Crafting should be fun, not perfect. So pick one technique, try it, and then keep stitching.
Quick rule of thumb
- Cross stitch on evenweave or Aida: loop start (when possible) or pin stitch, then finish by weaving under nearby stitches.
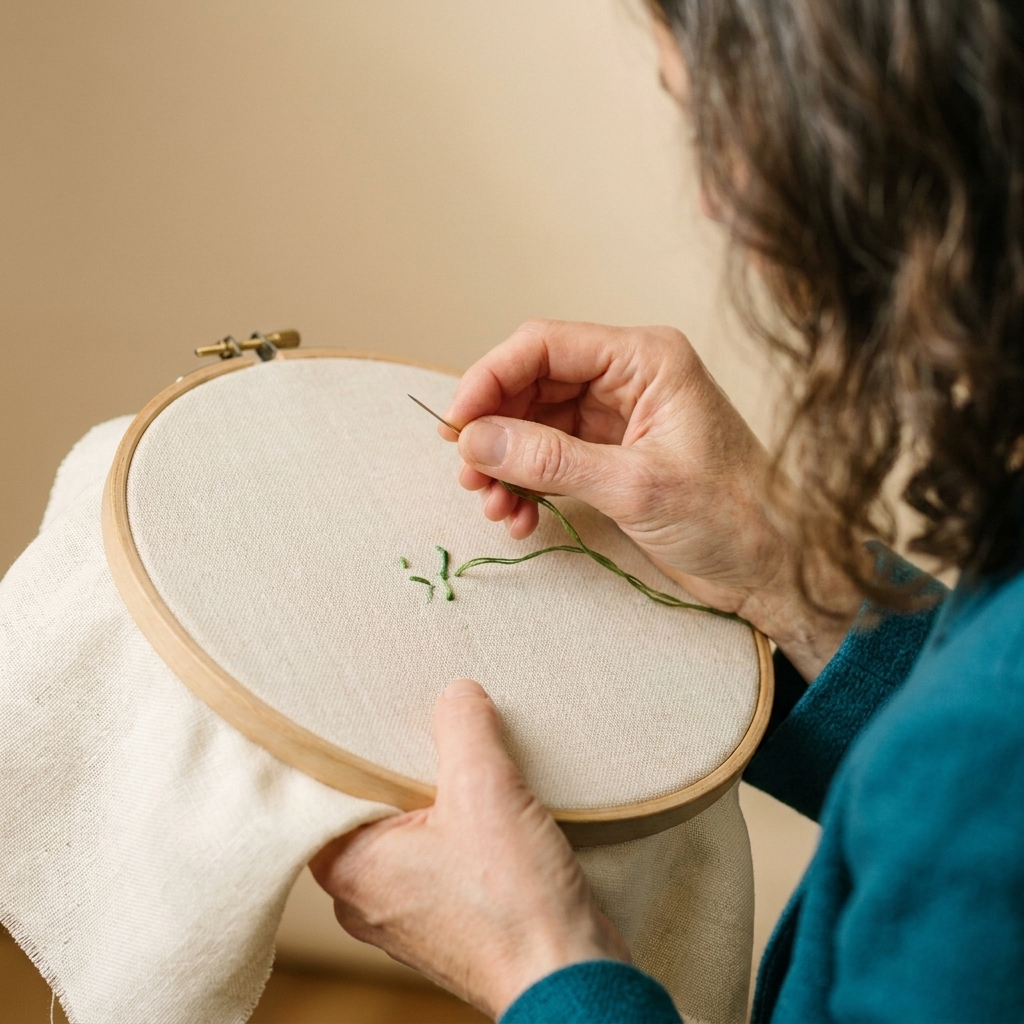
- Surface embroidery (backstitch, satin stitch, florals): away knot or waste knot to start, then weave in to finish.
- Dark fabric or light floss: avoid bulky knots that can show as shadows. Use knot-free starts and longer tails to weave in.
- High-wear items (towels, baby clothes): prioritize durability. Longer weave-ins, tiny anchoring stitches, and avoiding short tails matter more than a perfectly “pretty” back.
Before you start
Most unraveling issues come from two things: tails that are too short, and finishes that do not have enough friction to hold.
- Thread length: For hand embroidery, I usually cut 18 to 24 inches. For cross stitch, 16 to 20 inches helps prevent fraying.
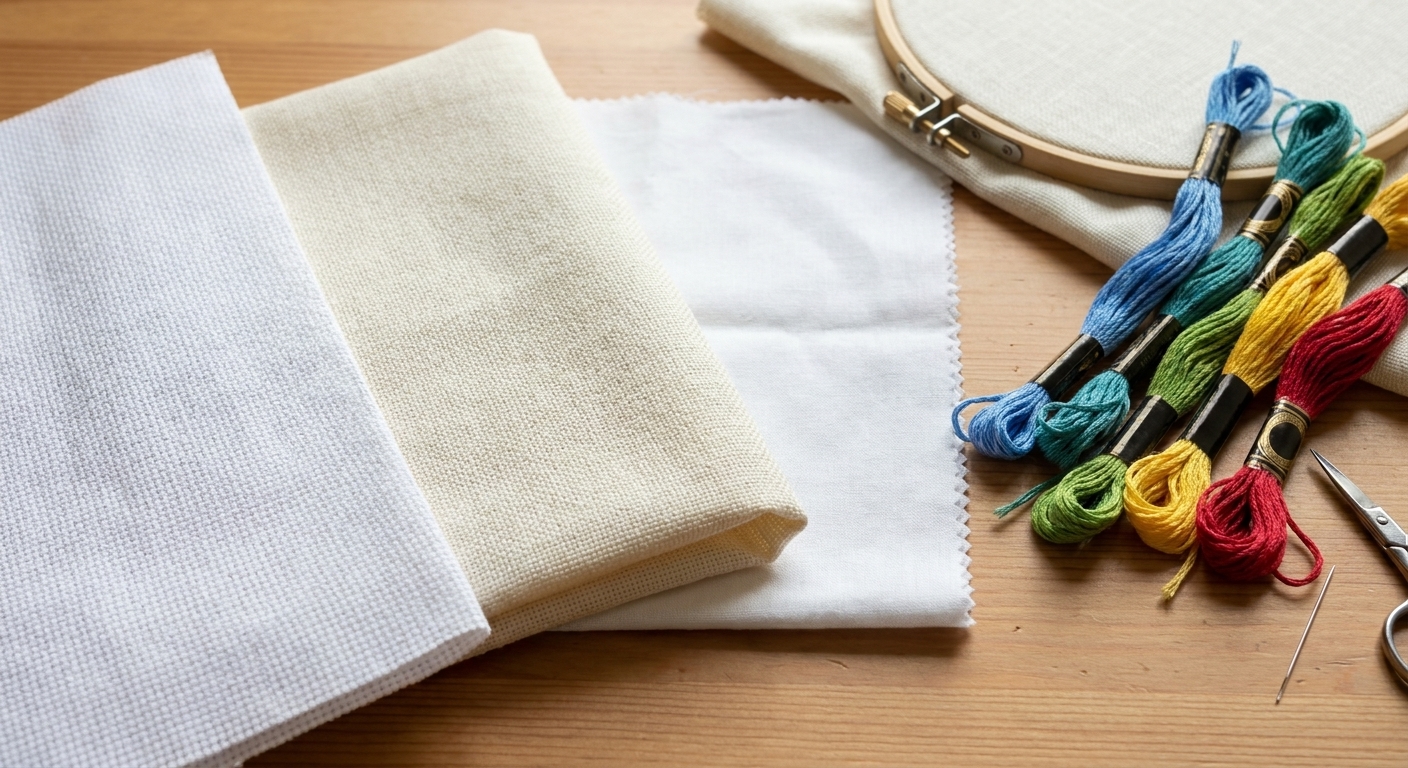
- Strands: Cross stitch often uses 1 to 2 strands on Aida, while embroidery might use 2 to 6 depending on the look you want. Your start method can depend on whether you are using an even number of strands.
- Leave a tail: If you are not using a loop start, leave at least 1.5 to 2 inches on the back so you have something to secure.
- Smoother coverage: If you are using multiple strands, separate them first, then recombine. It helps the floss lie flatter and twist less.
Start stitching (knot-free)
1) Loop start (cross stitch favorite)
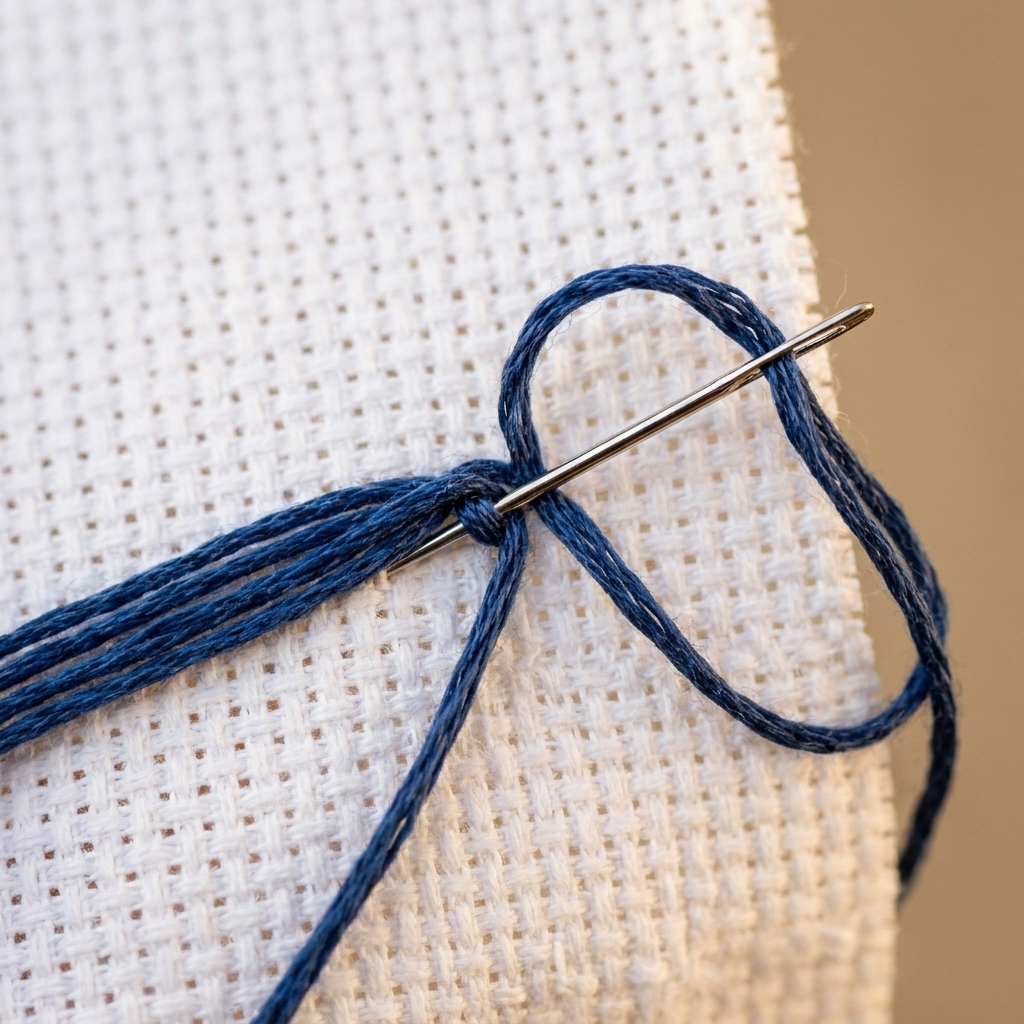
The loop start is my favorite for cross stitch because it is fast, flat, and super secure. It works when you are stitching with an even number of strands using a single length folded in half (most commonly 2 strands).
- Cut a length of floss twice as long as you normally would.
- Fold it in half and thread the two cut ends through your needle. The folded end becomes a loop.
- Bring your needle up at the first hole, leaving the loop on the back.
- Go down at the second hole to make the first leg (half stitch).
- On the back, pass the needle through the loop and gently snug it down.
Tip: Snug, do not yank. You want the loop to sit flat, not pucker your fabric.
2) Pin stitch (tiny, nearly invisible)
If you cannot loop start (single strand, blended threads, odd strand counts), a pin stitch is a gorgeous knot-free start. It anchors right where you will cover it with stitches.
How it works: You take a tiny tack stitch in the same area as your first cross (or the first stitches in a filled area), then stitch over it so it disappears.
- Bring your needle up in the area where the first leg of your stitch will sit.
- Make a tiny tack stitch to catch the thread: on evenweave or linen, you can take a very small bite of fabric threads; on Aida, you usually catch a couple of threads in a block or slip between holes rather than truly splitting a fabric thread.
- Bring the needle back up in the correct hole and begin stitching. Your first few stitches will cover that tiny tack.
- Optional: You can leave about 2 inches of tail on the back and trim it after it is held down by several stitches, or work toward a true tail-free pin stitch once you are comfortable.
Beginner note: Practice on scrap fabric first. On very open fabrics, pin stitches can be harder to hide, so you may prefer an away knot start instead.
3) Away knot (surface embroidery go-to)
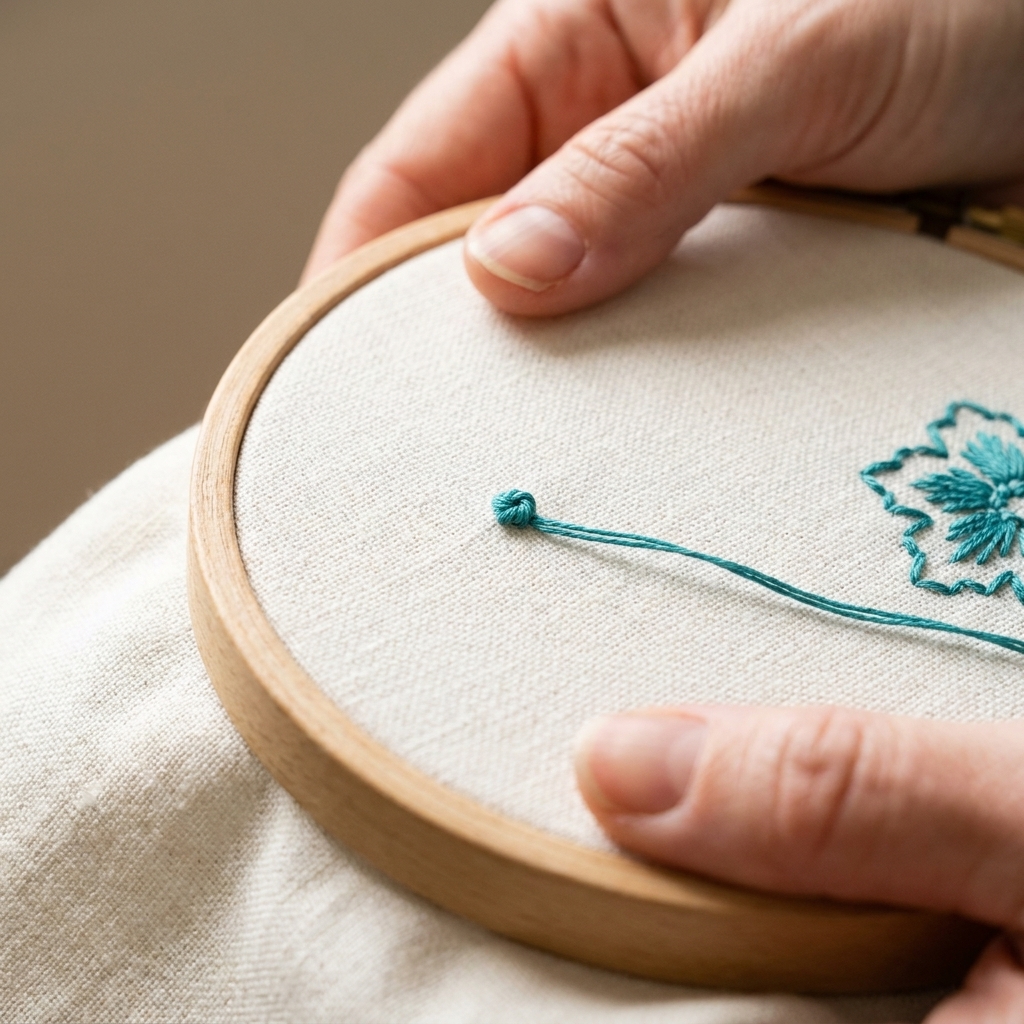
An away knot is technically a knot, but it is not left in your finished work. It gives you tension control while you stitch, then you remove it and weave in the tail.
- Tie a small knot at the end of your thread.
- Come up from the back of the fabric a few inches away from where you will start stitching, on a path where future stitches will not land.
- Begin stitching at your actual start point. The knot stays on the front, holding the thread taut.
- After you have stitched enough to secure the working thread, snip off the knot on the front.
- On the back, weave in that tail under existing stitches.
4) Waste knot (when you will stitch over it)
Waste knots are especially handy for lines of backstitch or filled areas where you know you will cover the thread path later.
- Tie a knot at the end of your thread.
- Bring the needle up from the back on the front of the fabric, but start outside the design area.
- Take the thread across the back toward your start point and begin stitching.
- When the tail is secured under several stitches, cut away the knot on the front.
When not to use it: On sheer fabrics or anywhere the traveling thread might show through. Also be cautious on dark fabric with light floss, since carried threads can sometimes shadow.
Start stitching (knots you can keep)
I know knots get side-eye in some stitching circles. Here is my pragmatic take: knots are not “bad.” They are just sometimes bulky. If the back will never be seen and the item is not going to be framed flat, a small knot can be completely reasonable.
1) Small starting knot
- Thread your needle and tie a small knot at the end.
- Bring the needle up from the back at your start point until the knot catches.
- Stitch normally.
Best for: Practice pieces, casual embroidery, thicker fabrics, or when you are learning and just need to get going.
2) Quilting knot (compact and tidy)
This is a compact hand-sewing style starting knot. You wrap the thread around the needle to create a small, tight knot that sits close to the fabric.
- Make a loop with the thread end near the needle.
- Wrap the tail around the needle 2 to 3 times.
- Hold the wraps and pull the needle through to form a small knot.
Tip: Fewer wraps equals a smaller knot. Start with 2.
Fasten off thread
Finishing is where you earn the “this will survive real life” badge. The goal is friction plus coverage. You want enough thread tucked under stitches that it cannot wiggle free.
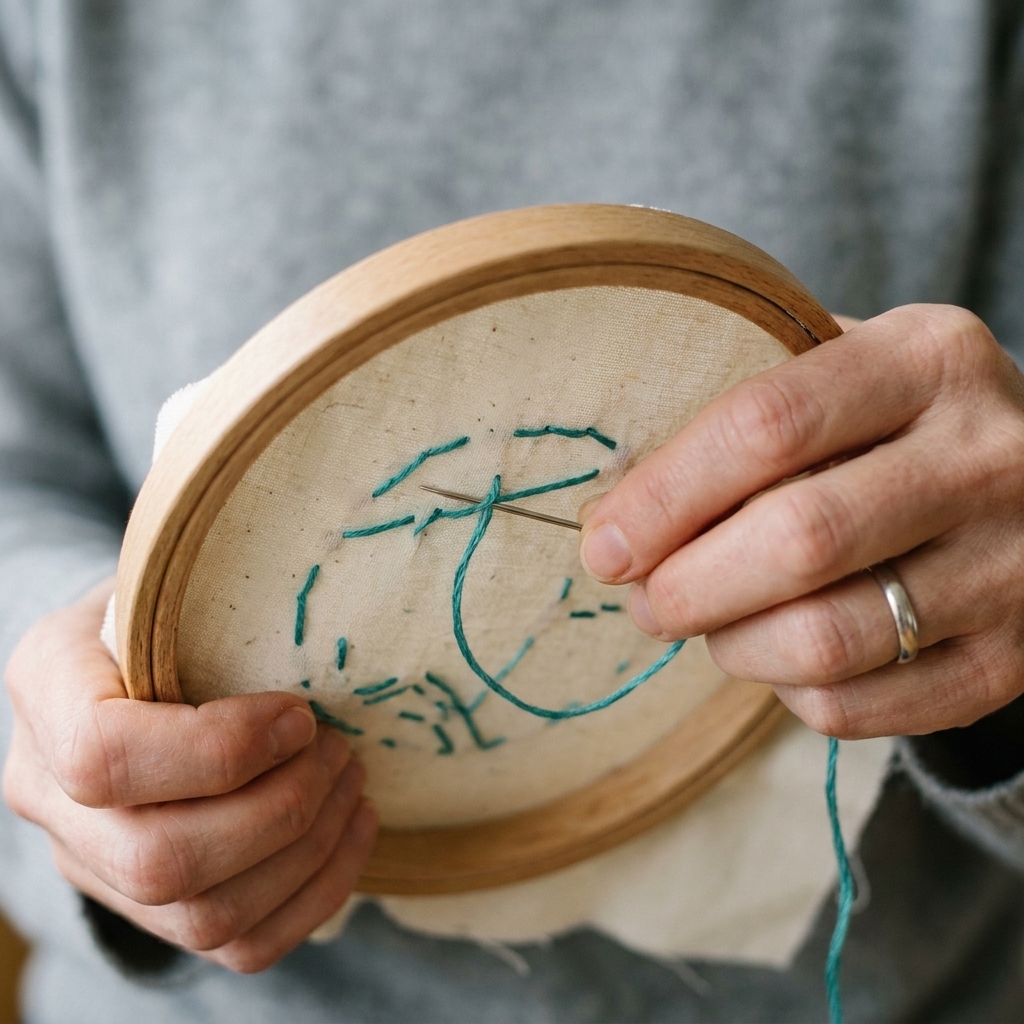
1) Weave under stitches (the classic)
This works for both cross stitch and embroidery, and it is the method I use most of the time.
- On the back, slide your needle under 3 to 6 nearby stitches, following the direction of the stitches if possible.
- Gently pull the floss through so it lies flat.
- For extra security, change direction and weave under 2 to 3 more stitches.
- Trim close, but do not snip so tight that you cut into your stitched area.
How many stitches is enough? For framed pieces, 3 to 4 is usually fine. For items that will be washed or handled a lot, aim for 6 plus a direction change.
2) Tiny hitch, then weave (use lightly)
If you are working on something that will get tugged around, you can add a tiny lock before weaving in. Keep the hitch small and always bury it under existing stitches so it does not create a bump.
- On the back, slip the needle under one nearby stitch.
- Pass the needle through the loop you created to make a tiny hitch.
- Snug it gently, then weave under several stitches as usual.
Note: I avoid this under very smooth satin stitches on the front, since extra tension can telegraph through on delicate fabrics.
3) Buried tail (when you cannot weave)
Sometimes there just are not enough nearby stitches to weave under, like a single isolated French knot or a lone star in a night sky.
- Make a tiny anchoring stitch on the back under an area that is already dense with stitches (or in seam allowance if this is a garment or sewn item).
- Run the needle through the fabric for about 1 inch, traveling within the weave so it does not pop out the front.
- Bring the needle out on the back and trim the thread.
This is easiest on tighter weaves where the thread can “grab.” On open fabrics (including many Aida grids), it can be harder to bury cleanly, so weaving under stitches is usually the safer bet.
Method picker
| Situation | Best start | Best finish |
|---|---|---|
| Cross stitch with 2 strands | Loop start | Weave under 4 to 6 stitches |
| Cross stitch with 1 strand or blended floss | Pin stitch or away knot | Weave under 6 stitches, change direction |
| Surface embroidery lines | Away knot | Weave under line stitches on the back |
| Fill stitches | Away knot or waste knot | Weave under dense stitched area |
| Item washed often | Loop start or away knot | Longer weave-in, direction change, optional tiny hitch |
Beginner problems
My tail keeps pulling through
- Leave a longer tail at the start. Two inches feels silly until it saves you.
- Do not trim until you have stitched over it or woven it under several stitches.
- If your fabric is slick (like satin), prioritize away knot starts and extra-long weave-ins.
I get a lump on the back
- Skip permanent knots for framed work.
- Weave your tail in the same direction as existing stitches so it sits flatter.
- Do not stack multiple thread ends in the same tiny area. Spread your weave-ins around.
My fabric puckers when I secure the start
- Snug, do not yank. Most securing methods only need gentle tension.
- Check your hoop tension. Drum-tight fabric plus aggressive pulling is a pucker recipe.
- On cross stitch, keep your loop start flat and avoid twisting the loop.
I can see traveling thread through light fabric
- Avoid long carries across open areas, whether it is a waste knot tail or “I will just scoot over there” cross stitch traveling.
- End your thread and restart closer, or use an away knot and weave in the tail instead of carrying across empty fabric.
- Consider a backing fabric for very sheer linens if you are doing dense motifs.
Mini FAQ
Are knots really “not allowed”?
They are allowed. The reason many stitchers avoid them is bulk, shadowing, and the fact that knots can work loose over time, especially if tails are short or the fabric is slick. If you are framing a piece or want a smooth finish, knot-free methods are usually nicer. If you are learning or making something casual, a small knot is not a moral failing.
Can I loop start with three strands or one strand?
The classic loop start needs an even number of strands. For one strand or three strands, use a pin stitch, away knot, or a tiny anchoring stitch to start.
How short can I trim my ends?
After a proper weave-in, trim close enough that the tail will not peek through to the front, but not so close that you cut into the stitch you are weaving under. I aim for about 1 to 2 mm of tail.
What about fabric glue or fray check on the back?
For most embroidery and cross stitch, you do not need it, and it can make the back stiff. If you are doing a high-wear item and you know it will be washed a lot, test on a scrap first. Some adhesives can discolor fabric over time.
A gentle challenge
If you want to feel instantly more confident, try this: on your next project, do a loop start (or away knot if you are embroidering), then finish by weaving under stitches, changing direction once. That single habit makes your work sturdier and cleaner, and it saves you from the dreaded “why is this coming undone?” moment later.
And if your thread tangles while you practice, welcome to the club. I am pretty sure my couch is still hiding tiny floss snippets from 2019.