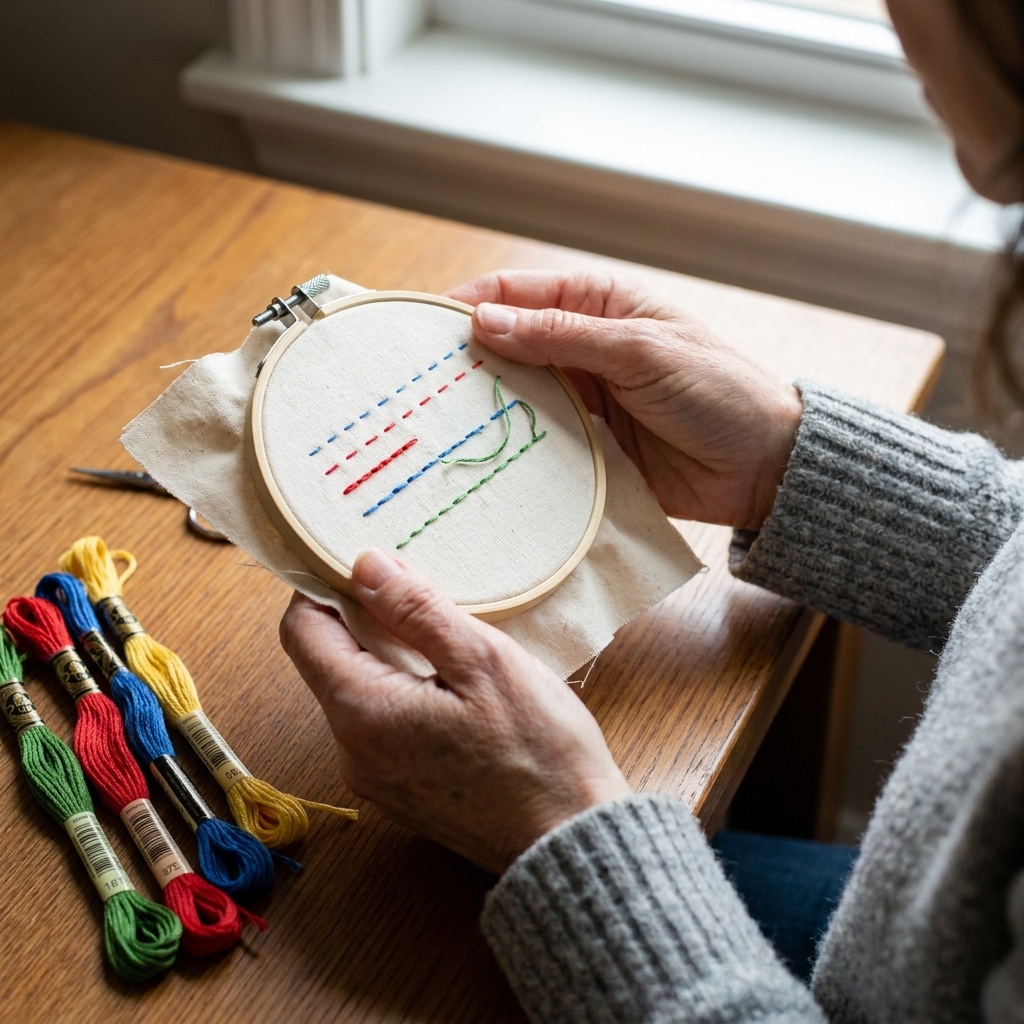
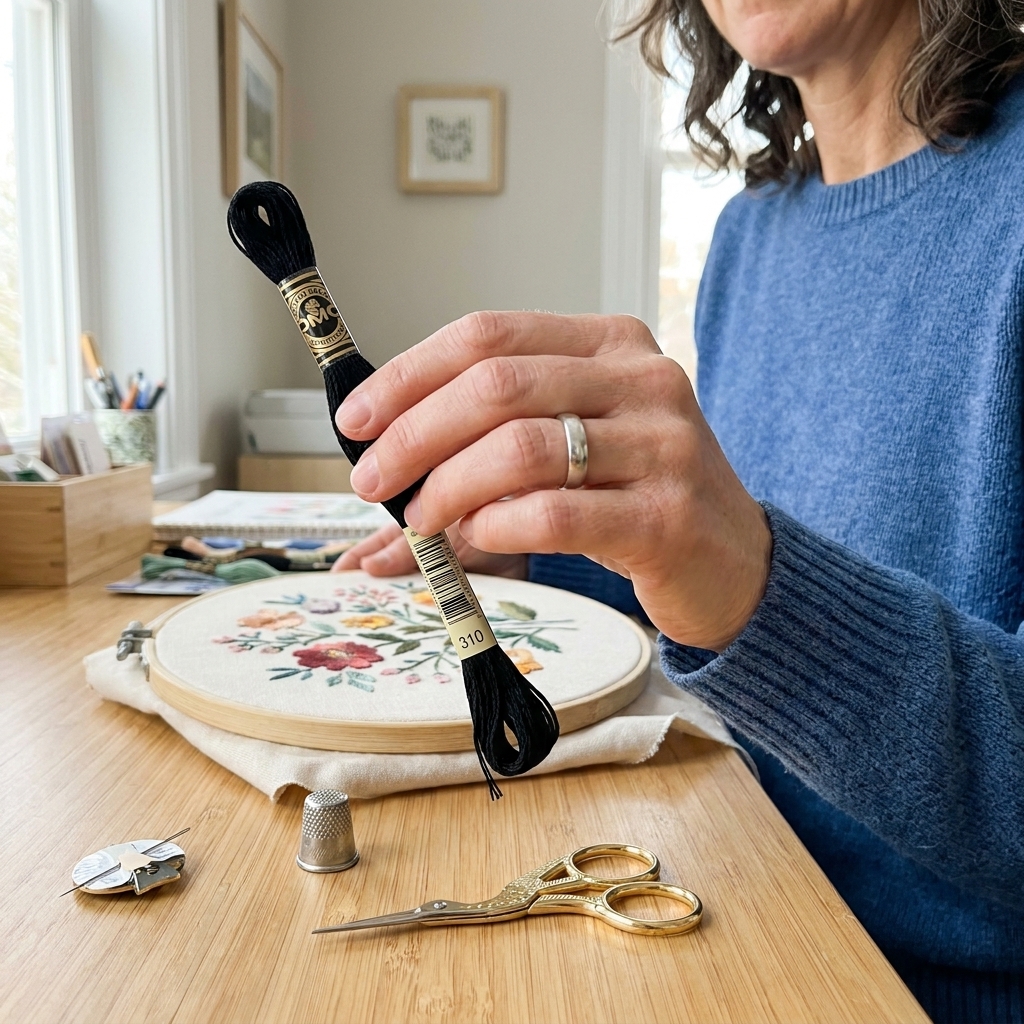
If you have ever stitched a sweet little quote, only to watch your lines wobble around the curves like they are trying to escape the pattern, welcome. Line stitches look similar at a glance, but they behave very differently once you start turning corners or shaping letters.
In this Stitch Library entry, I am comparing three foundational embroidery line stitches: stem stitch, outline stitch, and split stitch. I will show you what is mechanically happening with each one and exactly when I reach for each stitch for curves, corners, and lettering. And if you are the kind of person who just wants to feel the difference fast, there is a one-line, three-stitch mini practice you can do in a few minutes.
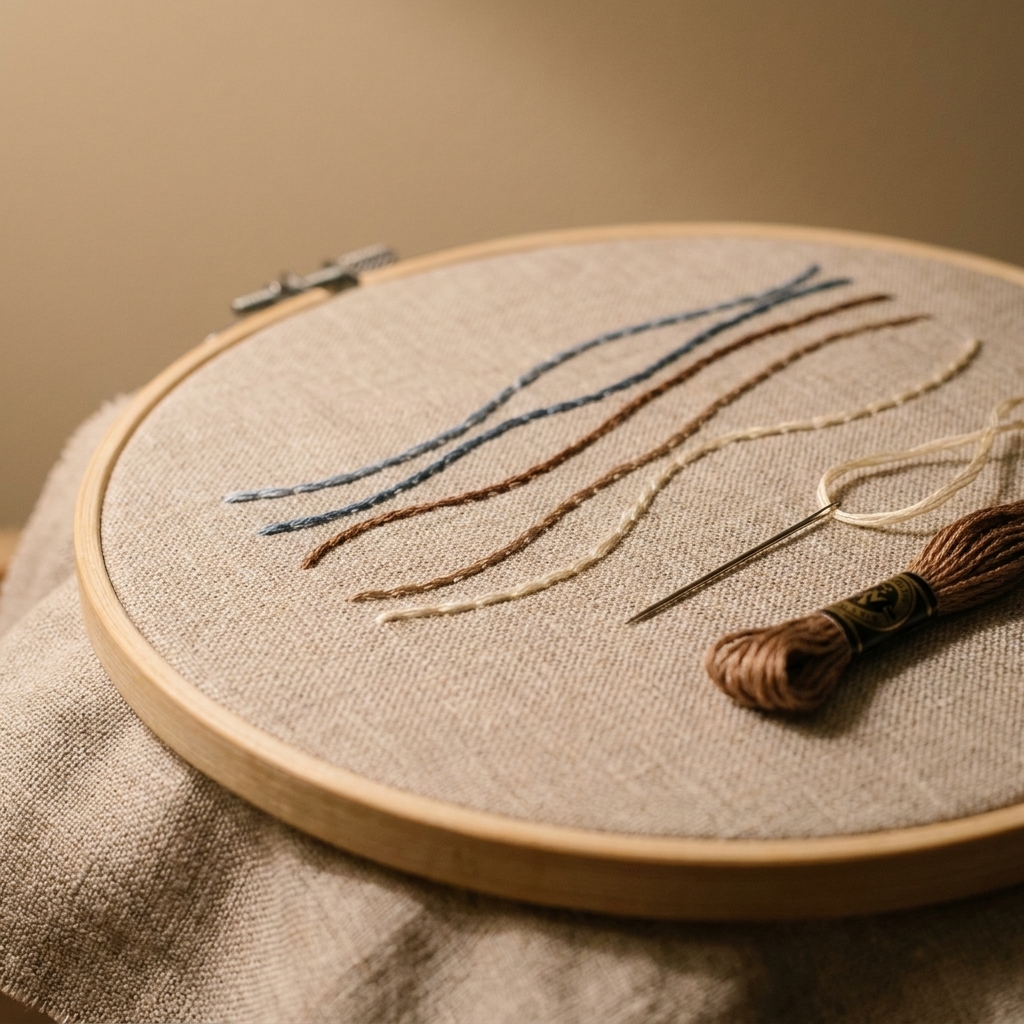
The big difference: twist and lock
Here is the simplest way to think about these stitches:
- Stem stitch: a slightly twisted, rope-like line. The thread naturally leans, which helps curves look fluid.
- Outline stitch: the close sibling of stem stitch. Same basic construction, but often worked in the opposite direction, which flips the twist.
- Split stitch: each new stitch pierces the previous one, which locks the line down and creates a more solid, slightly textured line that behaves beautifully on tight curves and small lettering.
All three can do curves, but they do it with different personalities.
A quick baseline (thread and fabric)
If you want an easy starting point, try 2 strands of floss on a medium-weight linen or cotton. On tightly woven fabrics, use shorter stitches and a sharp crewel needle so you are not forcing your way through the weave.
Stem stitch
What it looks like: A smooth, slightly twisted line that often reads like a delicate cord.
How it is made: You bring your needle up, take it down a short distance ahead, and bring it up again partway back along the stitch. The key: your working thread stays consistently on the same side of the needle as you stitch. That is what creates the rope-like twist.
Why stem stitch shines on curves
Stem stitch is my go-to for sweeping curves like vines, florals, and gentle script. The slight twist helps the line flow even if your stitch length is not perfectly identical.
When stem stitch can be tricky
- Very sharp corners: the twist can make corners look rounded unless you shorten your stitches and plan the turn.
- Super tiny lettering: it can start to look bumpy if the stitches are not very small and consistent.
Quick tips for cleaner curves with stem stitch
- Shorten your stitch length as the curve tightens. Think: long stitches on straightaways, tiny stitches in the bend.
- Keep tension relaxed. Pulling too tight makes curves pucker and exaggerates wobble.
- Use a laying tool or your needle tip to place the thread. This helps the twist sit neatly instead of flipping.
Outline stitch
What it looks like: Very similar to stem stitch, often slightly less ropey depending on thread and tension.
How it is made: Outline stitch is essentially the same structure as stem stitch, but many stitchers work it in the opposite direction. The practical takeaway is the same: keep the working thread on one consistent side of your needle the whole time.
Outline stitch vs stem stitch
If you have ever followed a tutorial and thought, “Wait, mine looks like the opposite twist,” you probably stitched outline instead of stem, or vice versa. Neither is wrong. The difference shows up most on curves and in how the twist catches the light.
A small but important note: naming conventions vary. Some teachers define stem vs outline primarily by which direction you stitch, others by which side you keep the thread on, and plenty of people use the names interchangeably. What matters is consistency. If you keep the thread on one side, you will get a neat line, even if someone else would label it differently.
My rule of thumb: If a curve is fighting me, I flip to the other stitch and see if it behaves better in that direction. It is like turning your work slightly to get a smoother handwriting line.
Best uses for outline stitch
- Outlining shapes where you want a smooth line but not a heavy, filled look
- Cartoony motifs and doodle-style embroidery
- Lettering with gentle curves, especially when you want a lighter line than split stitch
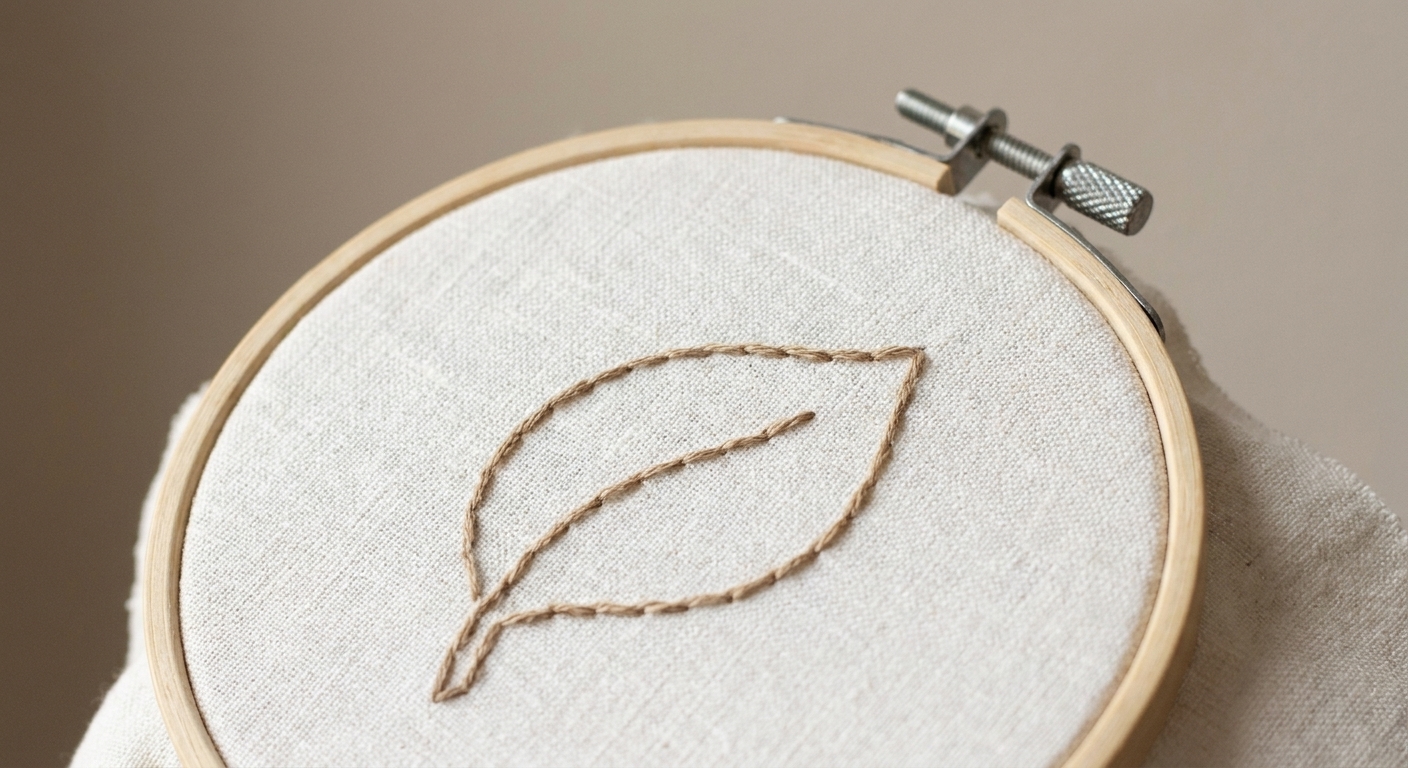
Split stitch
What it looks like: A slightly thicker, more textured line that can look almost like a tiny braid when done with multiple strands. It is also commonly used as a foundation for thread painting because it creates a stable, grippy surface.
How it is made: You make a short stitch forward, then bring your needle up through the middle of that stitch, splitting the threads. That piercing action is the magic: it anchors the line and keeps it from drifting.
Why split stitch is excellent for curves and letters
If you want a line that behaves like it has little anchors built in, split stitch is your friend. Because each stitch is secured by splitting the previous one, tight curves and small lettering stay crisp instead of shifting into little gaps.
When split stitch might not be your first choice
- You want a very smooth, shiny line: split stitch can look more textured, especially with multiple strands.
- You are using a single strand: you can still do it, but it is fussier to split one strand cleanly. It is easier with two or more strands.
- You stitch fast: split stitch asks you to slow down a bit, especially at first.
Split stitch tip that saves frustration
If splitting makes you feel like you are wrestling floss, try this: use a slightly larger needle (still appropriate for your fabric) and come up through the stitch gently, not forcefully. Let the needle find the gap between strands.
Choosing the best stitch
Here is how I decide in real life, sitting on my couch with thread snippets multiplying around me.
For sweeping curves
- Pick: Stem stitch for that smooth, flowing, rope-like line.
- Also great: Outline stitch if it twists more naturally in the direction you are stitching.
- Skip (sometimes): Split stitch if you want the lightest, sleekest line. It can look a bit fuller.
For tight curves and small circles
- Pick: Split stitch. Those built-in anchors keep the curve from gapping.
- Runner up: Stem stitch, but shorten your stitches a lot.
For sharp corners and angles
- Pick: Split stitch for corners that stay put.
- Or: Stem or outline stitch with a corner trick: take one tiny stitch right at the point, then continue.
For lettering
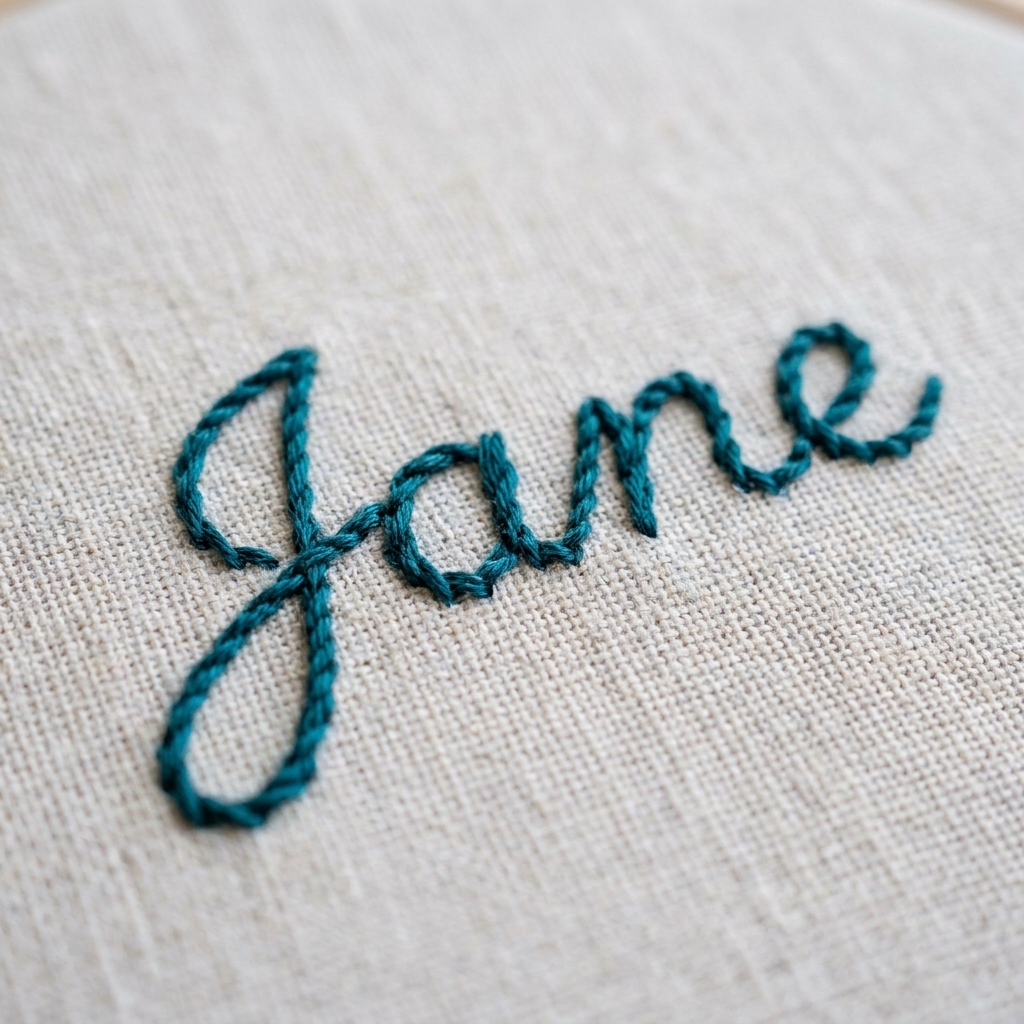
- Small print or tiny script: Split stitch for clarity and control.
- Medium script and modern cursive: Stem stitch for a pretty, handwritten feel.
- Light, single-line handwriting: Outline stitch can be lovely if you prefer a slightly less ropey look.
For a bold outline
- Pick: Split stitch with more strands, or stitch a second pass if you want extra weight.
- Pick: Stem stitch when you want boldness but still want that smooth twist.
One more option: backstitch
If you want a very crisp, slightly segmented line (especially for straight edges or simple text), backstitch is another classic. It behaves differently on curves, though, and can look more angular unless you keep the stitches very short.
The secret weapon: direction
If stem and outline stitch confuse you, you are not alone. The key detail is not the name. It is where your working thread sits in relation to your needle as you stitch, plus the direction you are traveling.
- If you keep the thread consistently on one side and it produces a twist you like, keep going.
- If your curve looks a little choppy, try stitching the same line in the opposite direction, or swap stem for outline and see if it smooths out.
On a practical level: the fabric, the number of strands, and even the twist of the floss can change what looks best. This is why I always test my line stitch on the edge of my fabric before committing to a whole quote.
Mini practice: one line
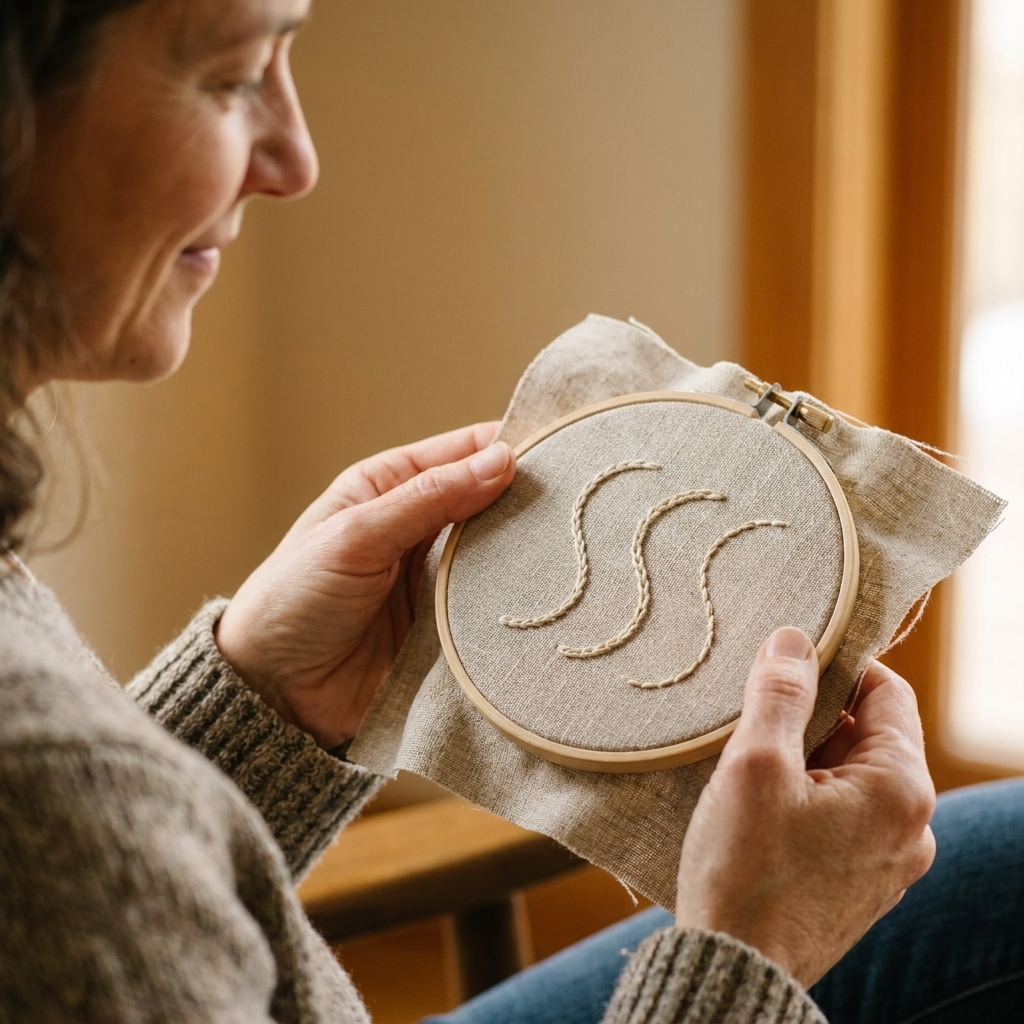
If you want to feel the difference quickly, draw a simple S-curve on scrap fabric and stitch it three times, once with each stitch. Use the same thread, same strand count, and similar stitch length.
- Stitch the first S-curve in stem stitch, shortening stitches at the tightest part.
- Stitch the second in outline stitch, keeping the thread consistently on the same side.
- Stitch the third in split stitch, splitting each previous stitch right down the middle.
When you compare them, ask:
- Which line looks smoothest on the tight bend?
- Which line looks most even from a normal viewing distance?
- Which one felt easiest to keep consistent?
Quick troubleshooting
My line looks jagged
- Shorten stitch length on curves.
- Check that you are not pulling too tight.
- Try split stitch if you are currently using stem or outline.
My line has gaps on the outside of the curve
- Make your stitches slightly closer together as you turn.
- Angle your needle so the up point lands closer to the curve’s edge.
- Switch to split stitch for very tight curves.
My line looks twisted in a weird way
- Make sure the working thread stays consistently on one side of the needle for stem or outline.
- Try stitching the line in the opposite direction.
- Let your thread dangle occasionally to untwist. Drop the needle and let the floss spin freely.
My letters look lumpy
- Use fewer strands for delicate lettering.
- Use split stitch for small text.
- Keep stitch length consistent, especially on straight parts of letters.
My personal picks
If you just want the cheat sheet I wish I had when I started:
- Curvy vines, florals, and flowing lines: stem stitch
- Light outlines and doodles: outline stitch
- Tiny lettering, tight curves, and crisp corners: split stitch
And remember, nothing is ruined if you pick the wrong one. Unpicking is not failure. It is just embroidery’s version of turning the page and starting a new sentence.
FAQ
Is outline stitch the same as stem stitch?
They are extremely similar in structure, and many stitchers use the names interchangeably. The practical difference is usually the direction you work and the resulting twist. Some teachers label them differently depending on direction or thread placement, so do not stress about the name. If your line looks better stitched the other way around, you can swap stem for outline without guilt.
Which stitch is best for satin stitch outlines?
If you are outlining a satin stitched shape and want a stable edge, split stitch is a great choice because it grips the fabric and holds its line. Stem stitch also works beautifully for a softer, rope-like outline.
Can I do split stitch with one strand?
You can, but it is fiddly because there is nothing to split cleanly. If you want a very fine line, consider stem stitch with one strand, or use two strands for split stitch and keep the stitches tiny.
What needle should I use for these stitches?
A crewel (embroidery) needle is the usual pick for all three because it has a sharp point for piercing fabric. If you are splitting multiple strands and it feels hard to pass through, try going up one needle size so the eye and shaft glide more easily.