If you are brand new to hand embroidery, it can feel like everyone else got a secret handbook. I promise you did not miss anything. Most designs, even the fancy-looking ones, are built from a few reliable stitches you will use again and again.
In this tutorial, we will walk through five foundational stitches that will carry you through your very first project and then some: running stitch, backstitch, stem stitch, French knot, and satin stitch. I will show you how to do each one, what it is best for, and the little beginner traps I fell into so you can skip the frustration.
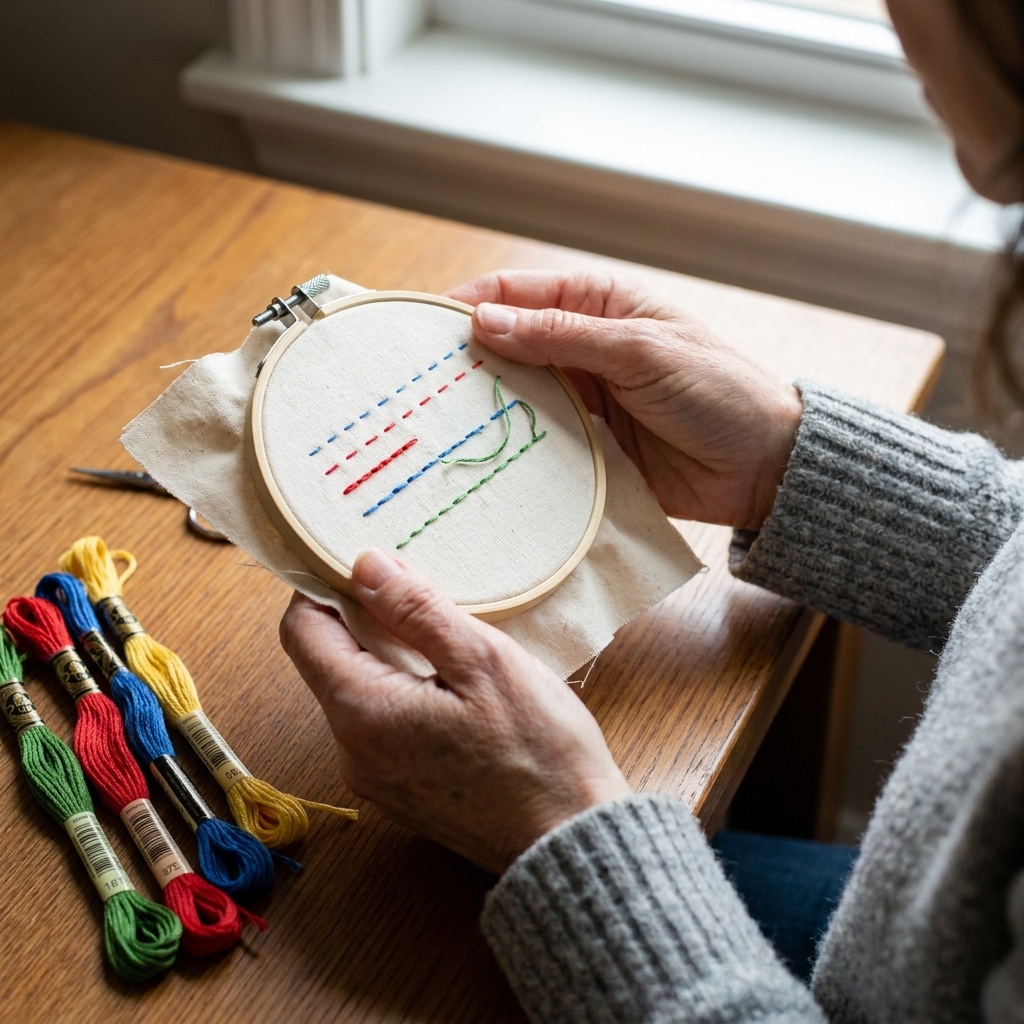
Before you stitch: a quick setup that saves headaches
What you need
- Fabric: quilting cotton or a linen blend is friendly for beginners. Avoid super stretchy knits at first.
- Hoop: a 6 to 8 inch wooden hoop is a sweet spot for practice.
- Needle: an embroidery needle (sharp) size 7 or 8 often works well as an all-around choice. If your fabric is thick or you are using more strands, sizing up or down is totally normal.
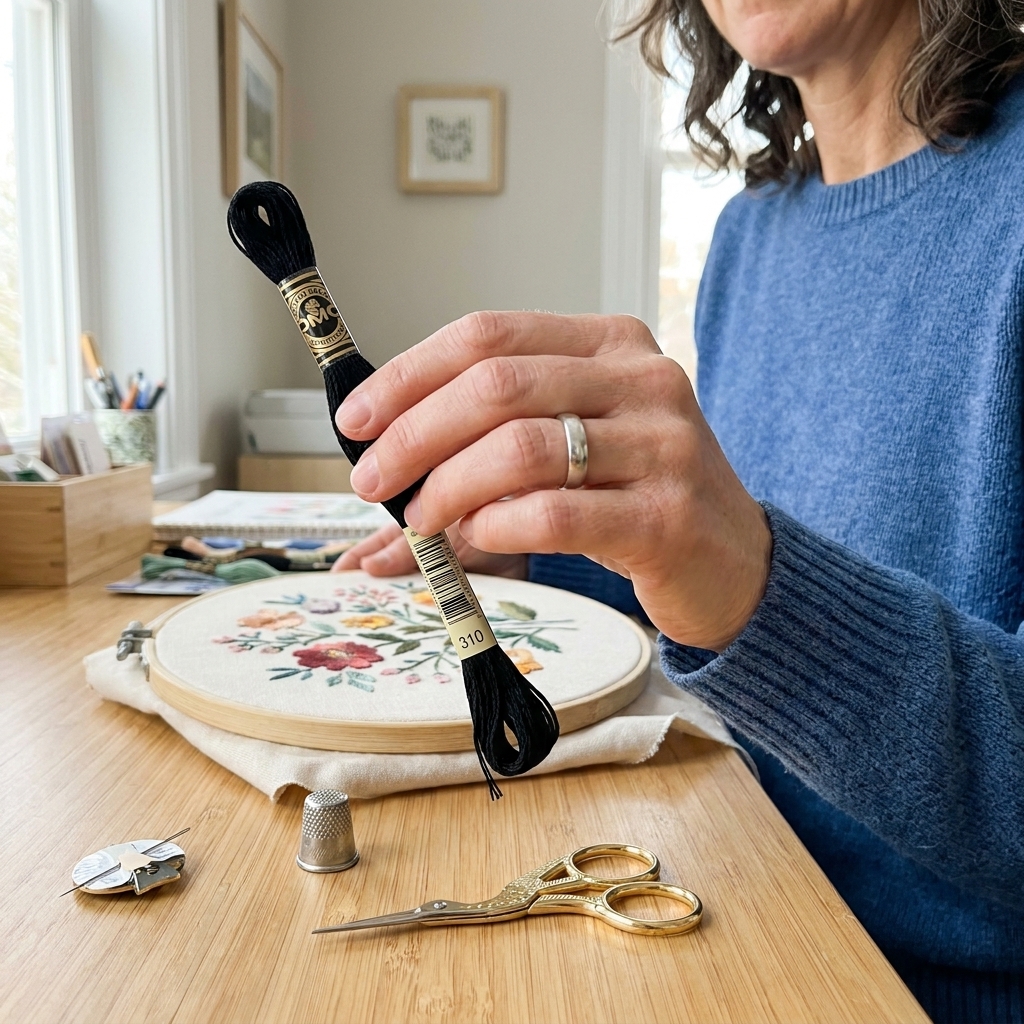
- Floss: stranded cotton (like DMC). Start with a light or medium color so you can clearly see your stitches.
- Scissors: small, sharp scissors help you avoid fuzzy ends.
- Optional: a needle threader and a magnetic needle minder if you also enjoy misplacing needles like it is your part-time job.
How many strands should I use?
Embroidery floss usually comes as 6 strands lightly twisted together. For practice:
- 2 strands: neat lines, great for detail and text
- 3 strands: a little bolder, still easy to control
- 6 strands: chunky and textured, but easier to snag and harder to keep smooth
If a pattern does not specify, I usually start beginners at 2 or 3 strands. It is easier to see what your hands are doing.
How to separate strands (without making a bird nest)
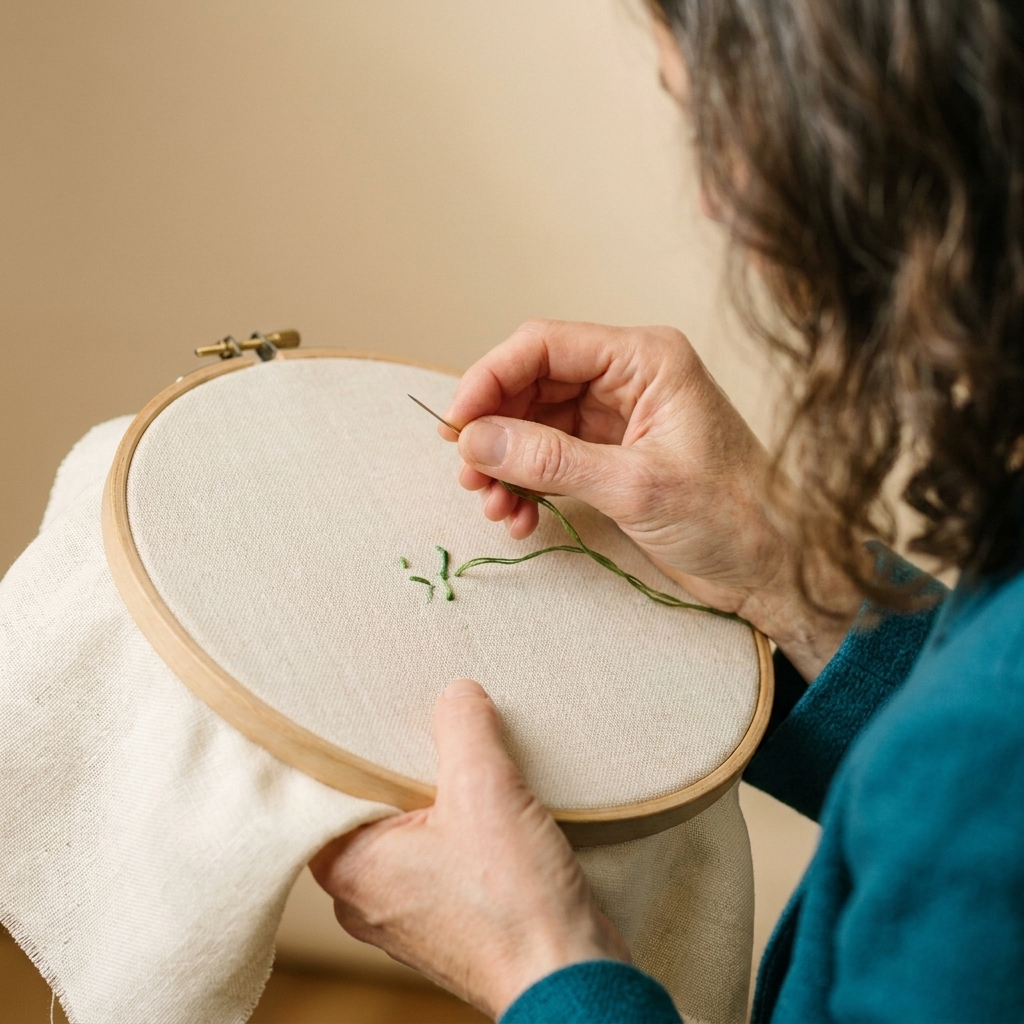
- Cut a comfortable length of floss, about 18 to 20 inches.
- Hold the floss near the top and pull out one strand straight up and out.
- Let the remaining strands bunch up, then smooth them back down with your fingers.
- Repeat until you have the number of strands you want, then lay them together and thread your needle.
This small step really does reduce tangles.
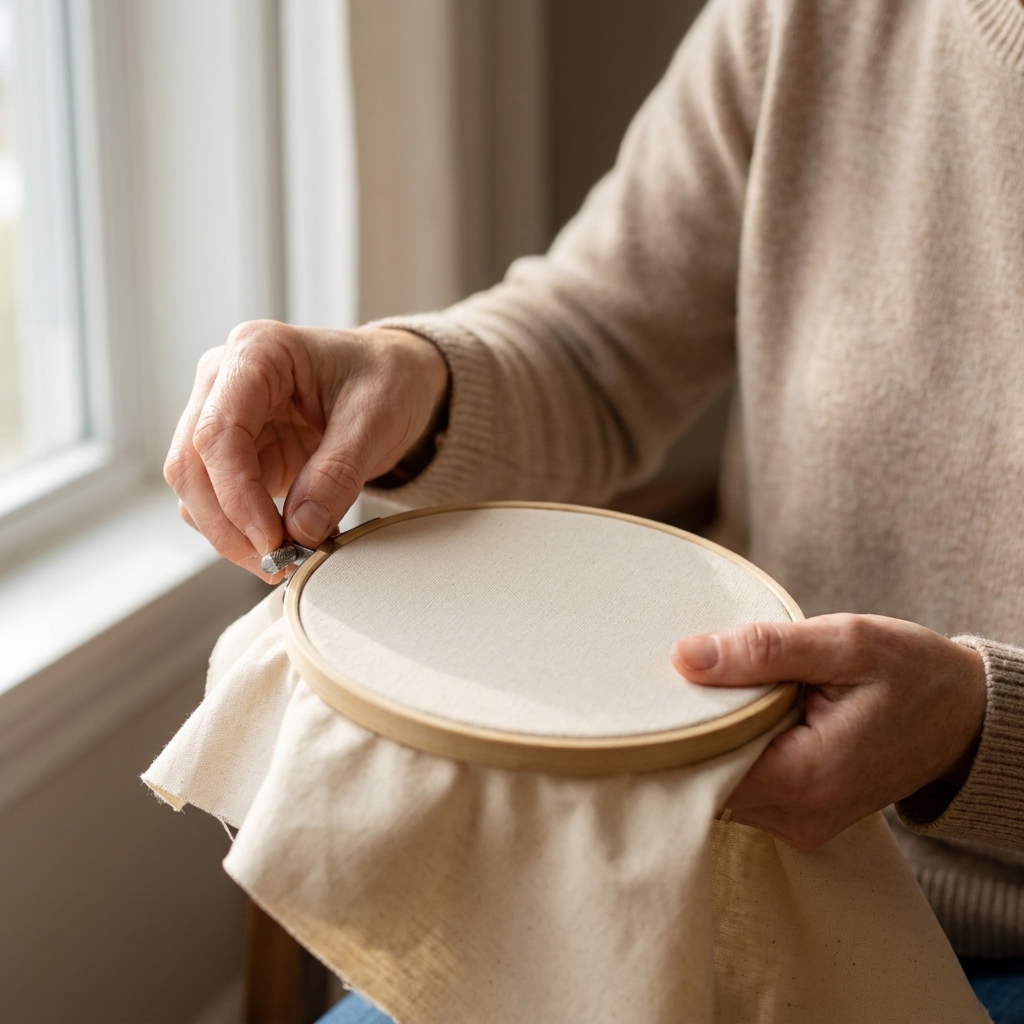
Hoop tension: snug, not stressed
Pull your fabric taut so it feels smooth and supported, like the surface of a firm pillow. Some stitchers prefer drum-tight tension on stable woven fabrics, so think of this as the goal: flat, even, and not warping the weave. And a tiny note from someone who has absolutely done this: do not leave delicate fabric stretched in the hoop for days. It can leave a ring.
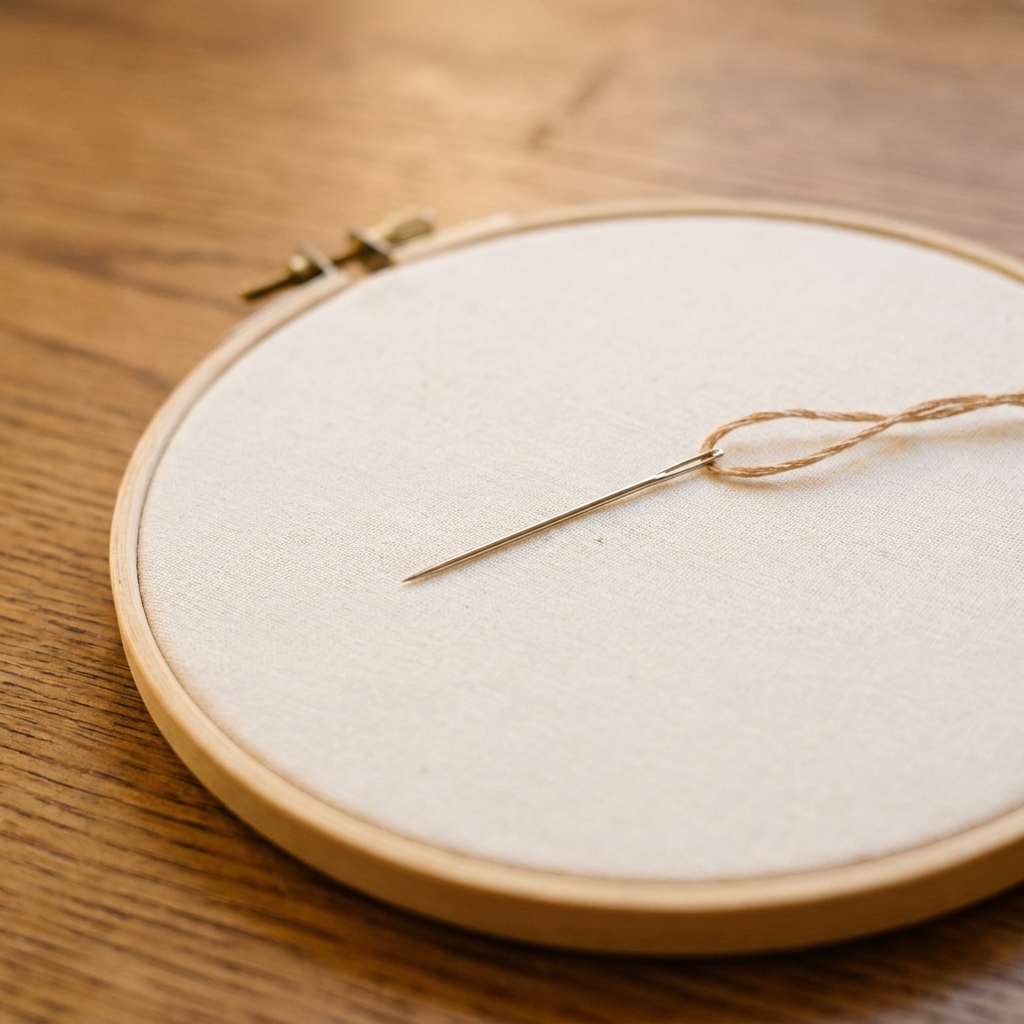
1) Running stitch
Best for: dashed outlines, simple borders, gentle texture, basting, and quick practice lines.
The running stitch is the simplest stitch in embroidery, and it is more useful than it looks. You will see it in samplers, quilt-style motifs, and any design that wants a sweet, hand-drawn dotted line.
How to do a running stitch
- Bring your needle up through the fabric at point A.
- Decide your stitch length. For practice, try 3 to 5 mm (about the width of a grain of rice).
- Push the needle down at point B.
- Bring it back up at point C, the same distance away.
- Repeat, keeping the stitches and gaps roughly the same size.
Clara’s tiny tips
- Use a rhythm: stitch, space, stitch, space. It sounds silly, but it helps your spacing stay consistent.
- Curves: use shorter stitches on curves so the line looks smooth.
- Neater back: keep your thread tension gentle. Tugging too hard makes puckers.
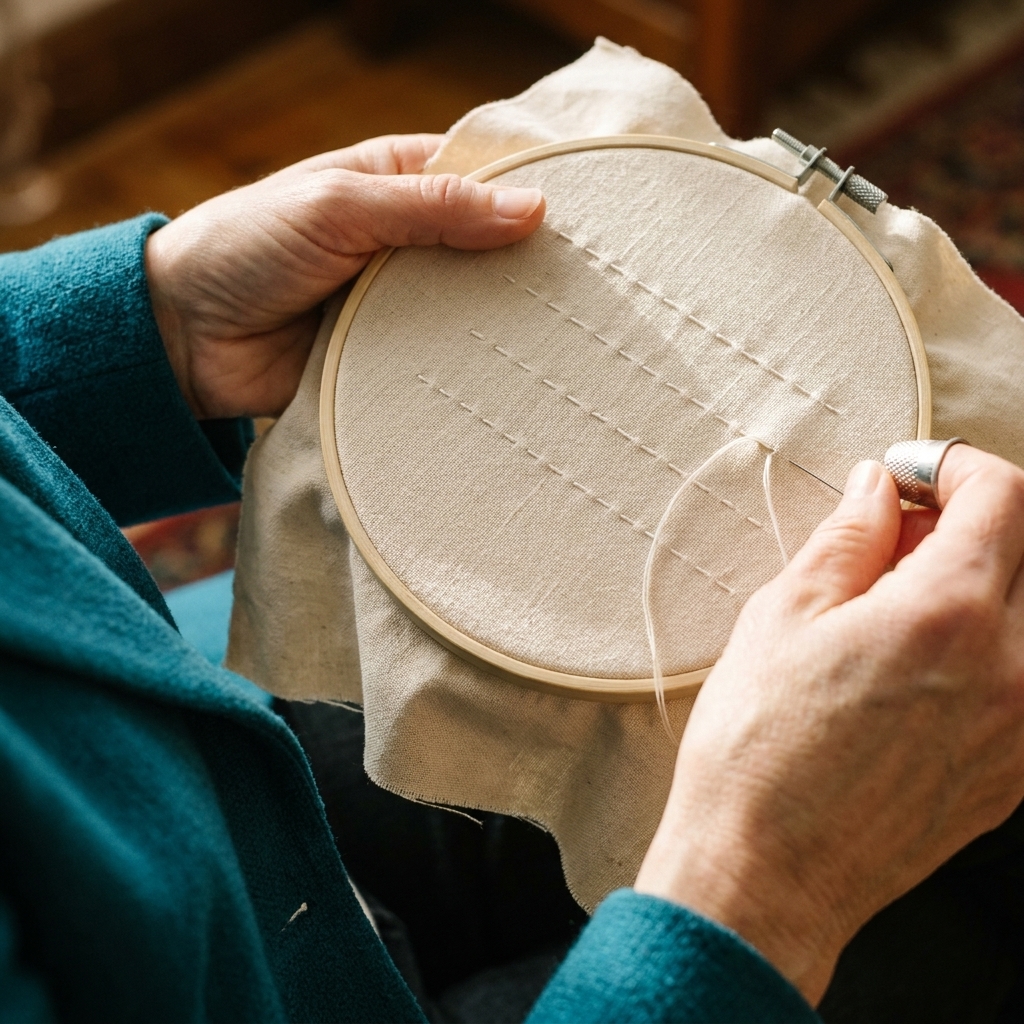
2) Backstitch
Best for: clean outlines, lettering, crisp shapes, and any time you want a solid line.
Backstitch is the workhorse for embroidery lettering and outlines. It creates a continuous line that looks tidy from a distance.
How to do a backstitch
- Bring your needle up at point A.
- Go down at point B to make your first stitch.
- Bring your needle up at point C, one stitch length ahead of B.
- Now go back and insert the needle down into point B, meeting the end of your previous stitch.
- Bring the needle up again one stitch length ahead (point D), then go down into point C.
- Repeat: forward to come up, back to connect.
Clara’s tiny tips
- Smooth curves: shorten stitch length on curves so your line stays clean.
- Thread twist happens: every few stitches, let your needle dangle and unwind. Your line will instantly look smoother.
- Cross stitch note: backstitch is often worked with 1 strand on Aida for crisp detail, but use what looks right for your fabric and scale.
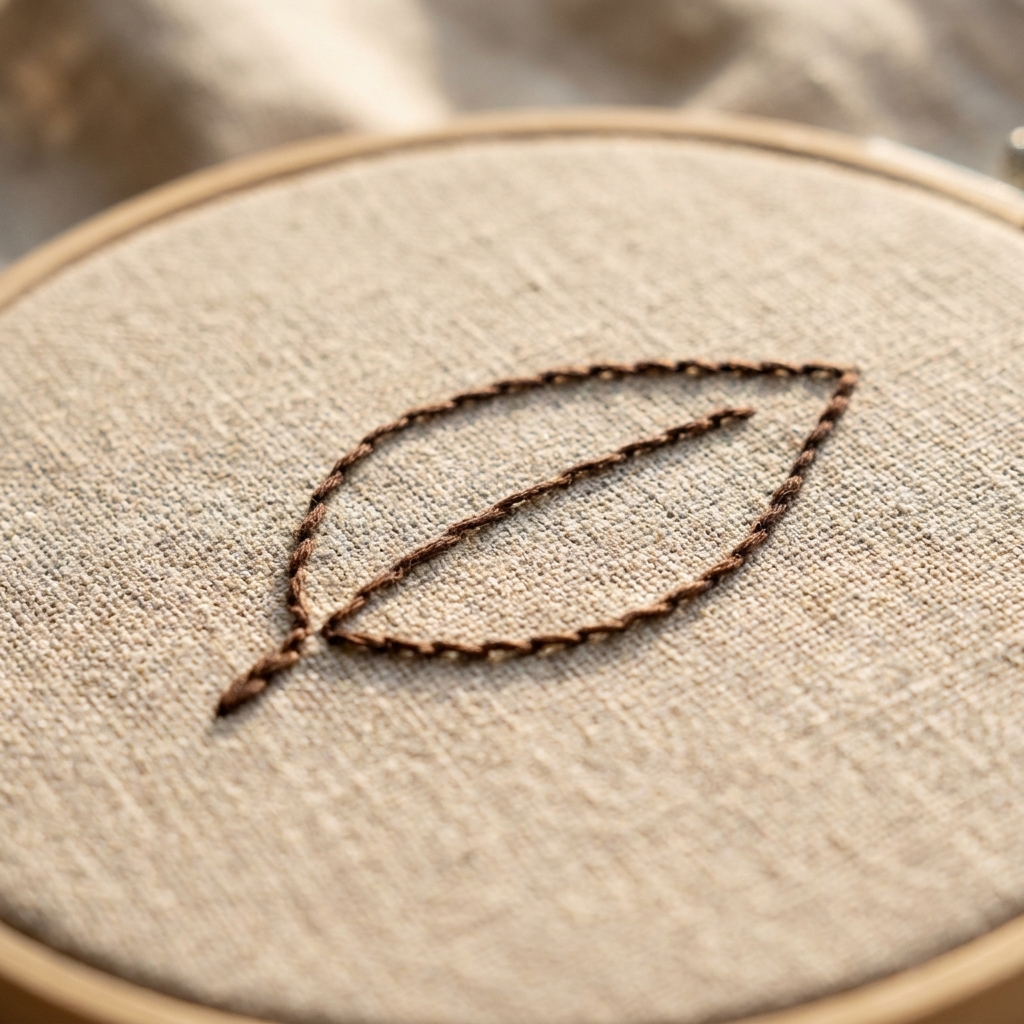
3) Stem stitch
Best for: vines, stems, scrolls, soft outlines, and flowing handwriting-style lines.
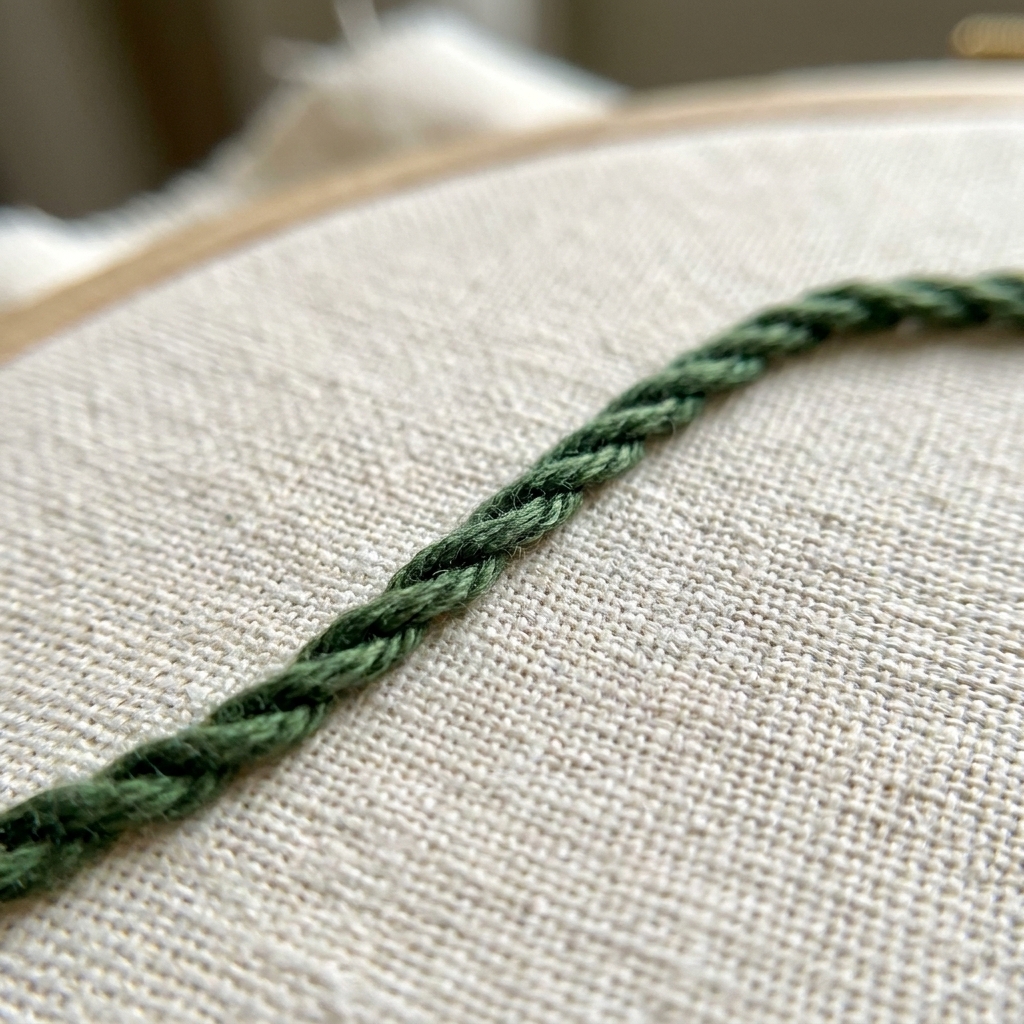
Stem stitch is like backstitch’s more relaxed cousin. Instead of a firm, segmented line, it produces a slightly twisted rope effect that is gorgeous for botanical designs.
How to do a stem stitch
- Bring your needle up at point A.
- Insert the needle down at point B to make a stitch.
- Bring the needle back up at point C, which is halfway between A and B, and slightly to one side of your line.
- Here is the key: keep the working thread consistently on the same side of the needle each time (always above or always below).
- Insert the needle down at point D (one stitch length forward), then come up halfway back again.
Clara’s tiny tips
- Pick a side and stay loyal: thread always on the left or always on the right. Switching sides mid-line creates lumps.
- Tighter curves: shorten the stitch length, especially on inside curves.
- Want a smoother rope look? use 2 strands and keep tension gentle.
4) French knot
Best for: tiny flower centers, polka dots, textured accents, and cheerful little clusters.
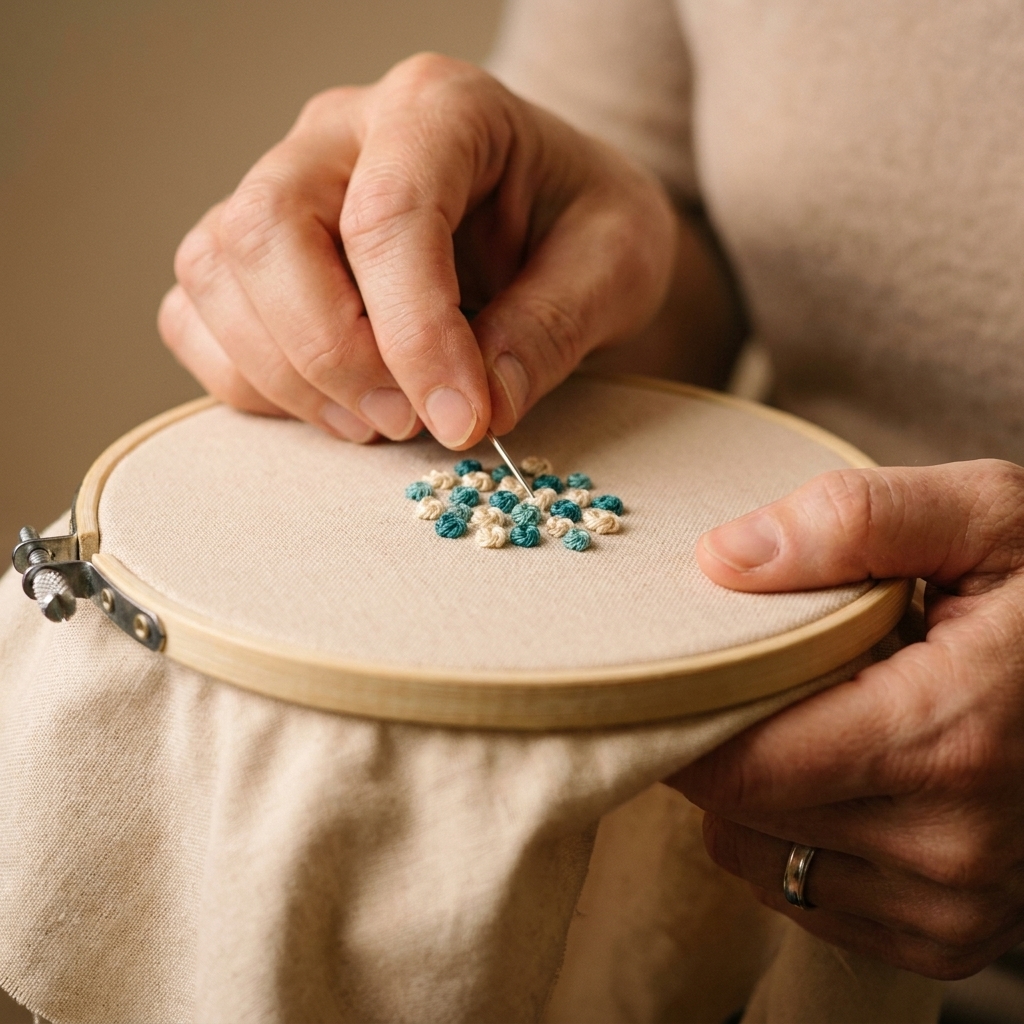
French knots have a dramatic reputation, and I get it. My early knots either popped right through the fabric or turned into sad tangles. The good news is that French knots are mostly about hand positioning, not talent.
How to do a French knot
- Bring your needle up through the fabric where you want the knot.
- Hold the working thread taut with your non-dominant hand.
- Wrap the thread around the needle 1 to 2 times. One wrap makes a tiny knot, two wraps makes a plumper knot.
- Keeping tension on the thread, insert the needle down very close to where you came up, but not in the exact same hole. Aim for a hair’s breadth away, or the next hole over on an evenweave fabric.
- Slowly pull the needle through while still holding the wraps snug. The knot should sit on the surface like a small bead.
Clara’s tiny tips
- The secret is tension: keep the thread gently taut while you pull the needle through.
- Do not go down the same hole: that is how knots disappear to the back like they are escaping.
- If it snarls: stop pulling, loosen the wrap with your needle tip, then continue slowly.
5) Satin stitch
Best for: filling in shapes like petals, hearts, letters, and bold modern motifs.
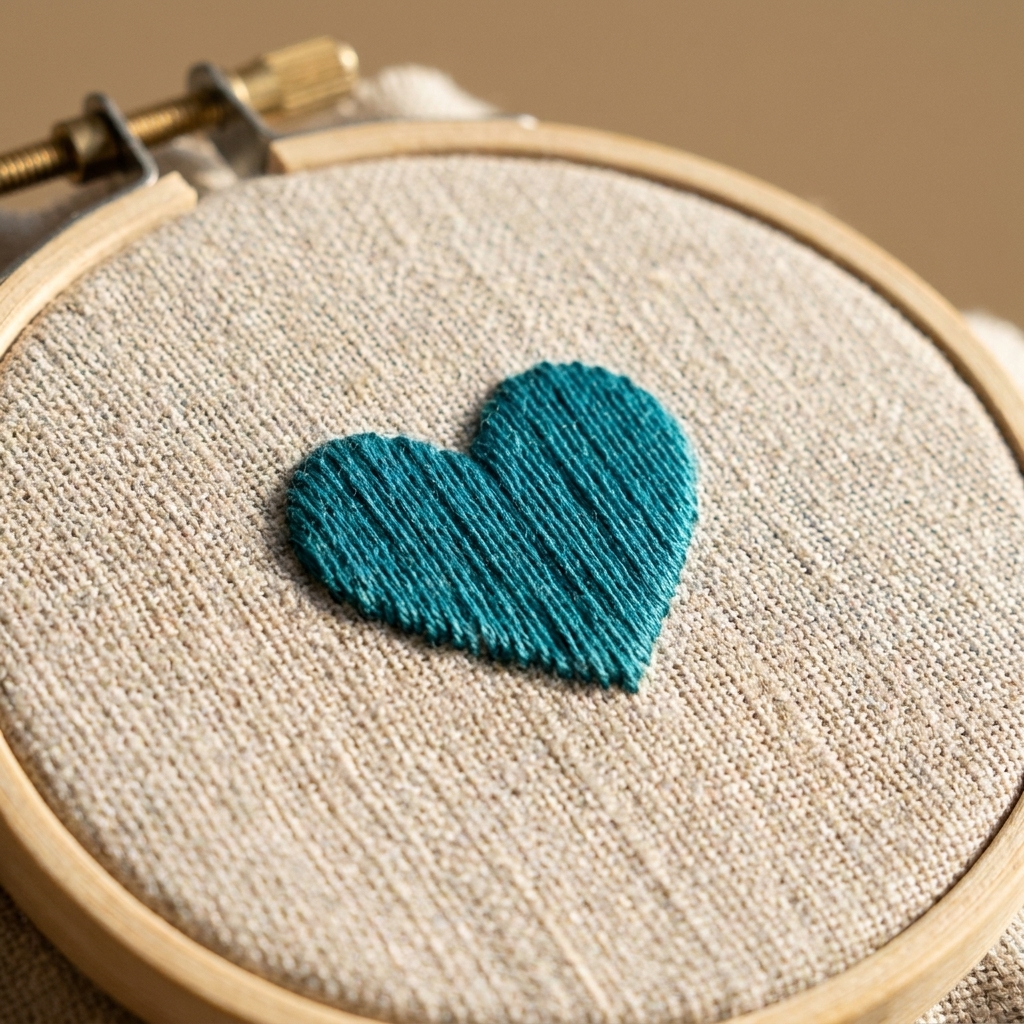
Satin stitch looks so polished when it is done well, and it is absolutely beginner-friendly with one small mindset shift: you are not racing. Satin stitch loves patience.
How to do a satin stitch
- Outline the shape first if you can. Even a light pencil line helps.
- Bring the needle up on one edge of the shape, right on your outline.
- Insert the needle down directly across on the opposite edge, also on the outline, making a long straight stitch.
- Bring the needle up right next to your first stitch, very close but not overlapping.
- Continue laying stitches side-by-side until the shape is filled, keeping them parallel and going in the same direction.
Clara’s tiny tips
- Use fewer strands: 1 to 2 strands often looks smoother than 6 for satin stitch.
- Long stitches snag: for larger shapes, consider splitting the fill into smaller sections, or use a padding layer (more on that below).
- Mind the edges: the outline of the shape is what the eye notices first. Take your time placing edge stitches neatly.
Optional upgrade: padded satin stitch
If you want a slightly raised, extra-smooth satin stitch, lay a few small stitches inside the shape first (like tiny horizontal “bricks”), then satin stitch over them. It adds a soft puff and helps prevent gaps.
Practice plan: one mini sampler you can finish tonight
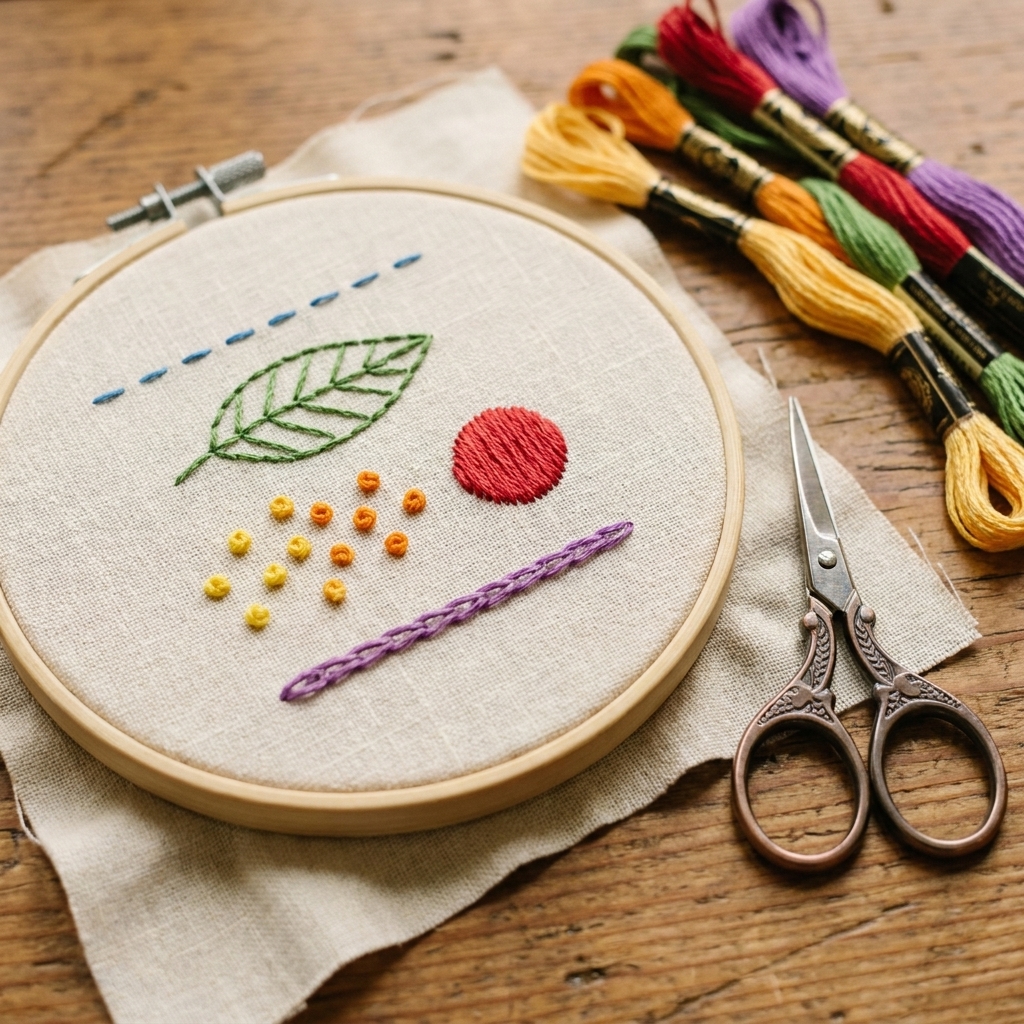
If you want these stitches to stick in your hands, make a simple practice hoop. Perfection is not the goal. Familiarity is.
Draw this easy layout
- A straight line and a wavy line for running stitch
- A square or simple word (like “HI”) for backstitch
- A vine curve with a couple leaves for stem stitch
- A cluster of 7 to 12 dots for French knots
- A small petal, teardrop, or heart for satin stitch
Suggested settings
- Running stitch: 3 strands, medium stitch length
- Backstitch: 2 strands, shorten stitches on curves
- Stem stitch: 2 strands, keep thread on one side
- French knots: 2 strands, 1 wrap then 2 wraps
- Satin stitch: 2 strands, slow and steady
Pattern transfer basics
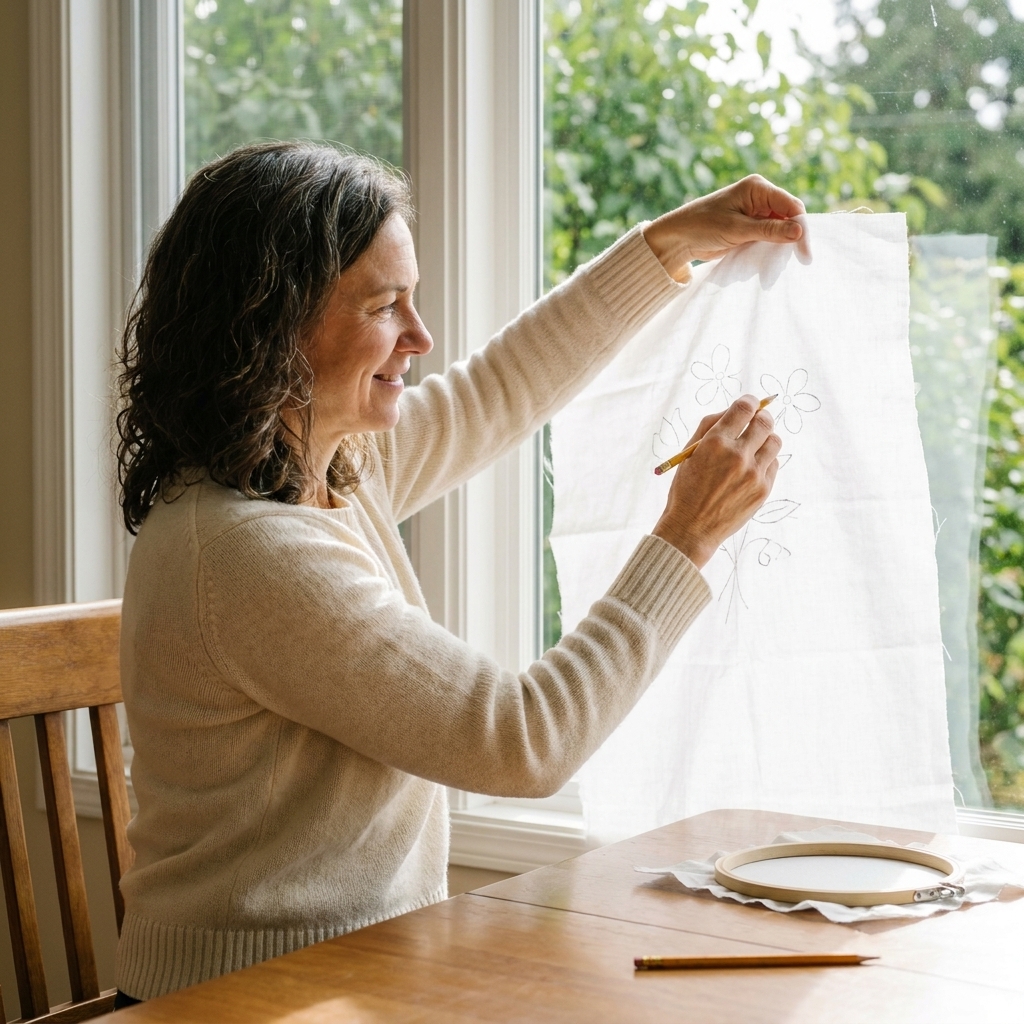
You do not need fancy tools to get a design onto fabric. Here are a few beginner-friendly options:
- Window or lightbox: tape your pattern to a bright window, tape fabric over it, and trace.
- Water-soluble pen: trace directly onto fabric, then rinse when you are done stitching (test on a scrap first).
- Pencil: fine for light lines on lighter fabrics, especially for practice.
Starting and ending thread (without bulky knots)
Easy start: tuck the tail
- Thread your needle and leave a 2 to 3 inch tail on the back.
- Take a few small stitches that will be covered later (for example, under satin stitch or along an outline).
- As you stitch, trap the tail under those stitches on the back.
If you are just starting out, a small knot is also completely fine. Neat comes with time.
Easy finish: weave the tail
Run the needle under 3 to 5 stitches on the back, then trim the tail. For satin stitch, weave under the filled area on the back so it stays secure.
Troubleshooting: the most common beginner snags
My fabric is puckering
- Loosen your tension. Pull thread just until it lies flat.
- Check hoop tension. Re-tighten fabric if it has gone slack.
- Try fewer strands, especially for satin stitch.
My stitches look uneven
- Use shorter stitches on curves and corners.
- Lightly draw a guideline with pencil or water-soluble pen.
- Slow down for the first few inches. Speed comes later.
My thread keeps tangling
- Cut shorter lengths of floss, about 18 to 20 inches including what you lose to knots.
- Let the needle dangle occasionally to untwist.
- Separate strands before re-combining. It really does reduce snarls.
French knots keep disappearing
- Do not insert the needle back into the same hole you came up through.
- Keep gentle tension on the working thread until the knot is seated.
FAQ
Which stitch should I learn first?
Start with running stitch to get comfortable with needle handling, then move to backstitch for clean lines. After that, add stem stitch for curves, French knots for texture, and satin stitch for filling shapes.
Can I use these stitches on Aida cloth for cross stitch?
Yes. Backstitch is especially common on Aida for outlining. Running stitch and French knots also work well. Satin stitch can be done on Aida, but because the holes are more visible, it usually looks better in small shapes or when worked carefully with fewer strands.
Do I need to knot the thread at the back?
You can, and for beginners a small knot is totally fine. If you want a neater finish, try anchoring by trapping the tail under a few stitches on the back, or weave the tail under existing stitches to secure it.
Your first project idea
If you are itching to stitch something “real” instead of a practice cloth, try a tiny floral hoop:
- Stem stitch for the vine
- Backstitch for a simple word like “breathe” or “hello”
- Satin stitch for two or three petals
- French knots for flower centers
- Running stitch for a dotted border around the edge
And please remember: the goal is not museum-level stitches. The goal is to enjoy the quiet little magic of making something with your hands. Even with a few wonky knots. Especially with a few wonky knots.