When you’re brand new to embroidery or cross stitch, the hardest part isn’t the stitching. It’s choosing a first project that feels doable, forgiving, and genuinely fun. These quick little makes are my favorite confidence builders because they let you practice one or two skills at a time and actually finish something before your motivation wanders off to reorganize your floss stash.
Good news: every project below works for absolute beginners. Pick one, keep it manageable, and let “done” be the goal, not “perfect.”
Before you start: a simple setup
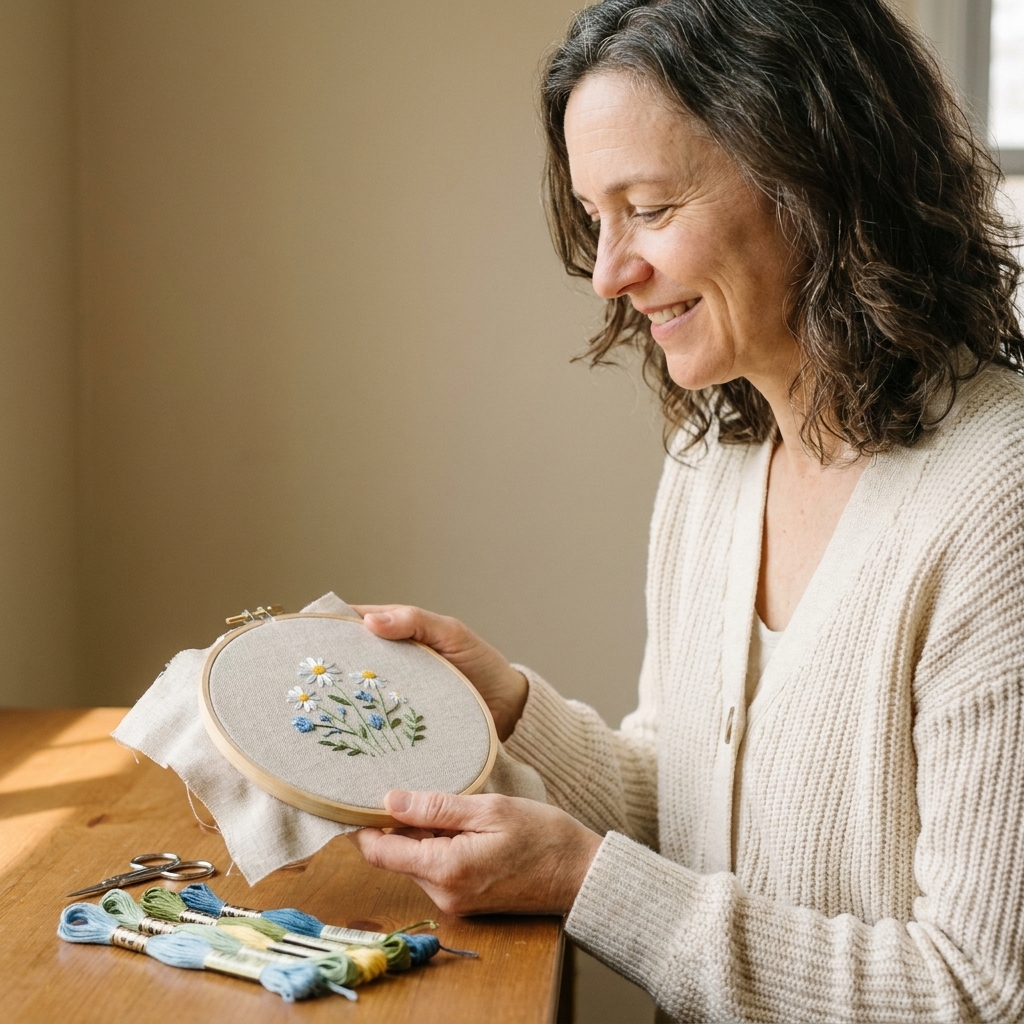
You don’t need a studio worth of tools. Here’s a cozy, no-fuss baseline that works for most of these ideas.
- Fabric: for embroidery, quilting cotton or a linen blend. For cross stitch, 14-count Aida is a common beginner pick, but 11- or 12-count can be even easier to see.
- Needles: embroidery needles (sizes 7 to 9) or tapestry needles for Aida (size 24 is a great start).
- Thread: DMC floss is beginner friendly and easy to replace. For most embroidery lines, 2 strands is a smooth, low-tangle starting point (use 3 strands if you want a bolder line on sturdy fabric). For cross stitch on 14-count Aida, 2 strands is the classic setup.
- Hoop: a 6-inch hoop is a popular beginner-friendly size. It’s comfortable to hold and small enough that you can see progress quickly.
- Scissors: any small sharp pair. Fancy stork scissors are optional but very charming.
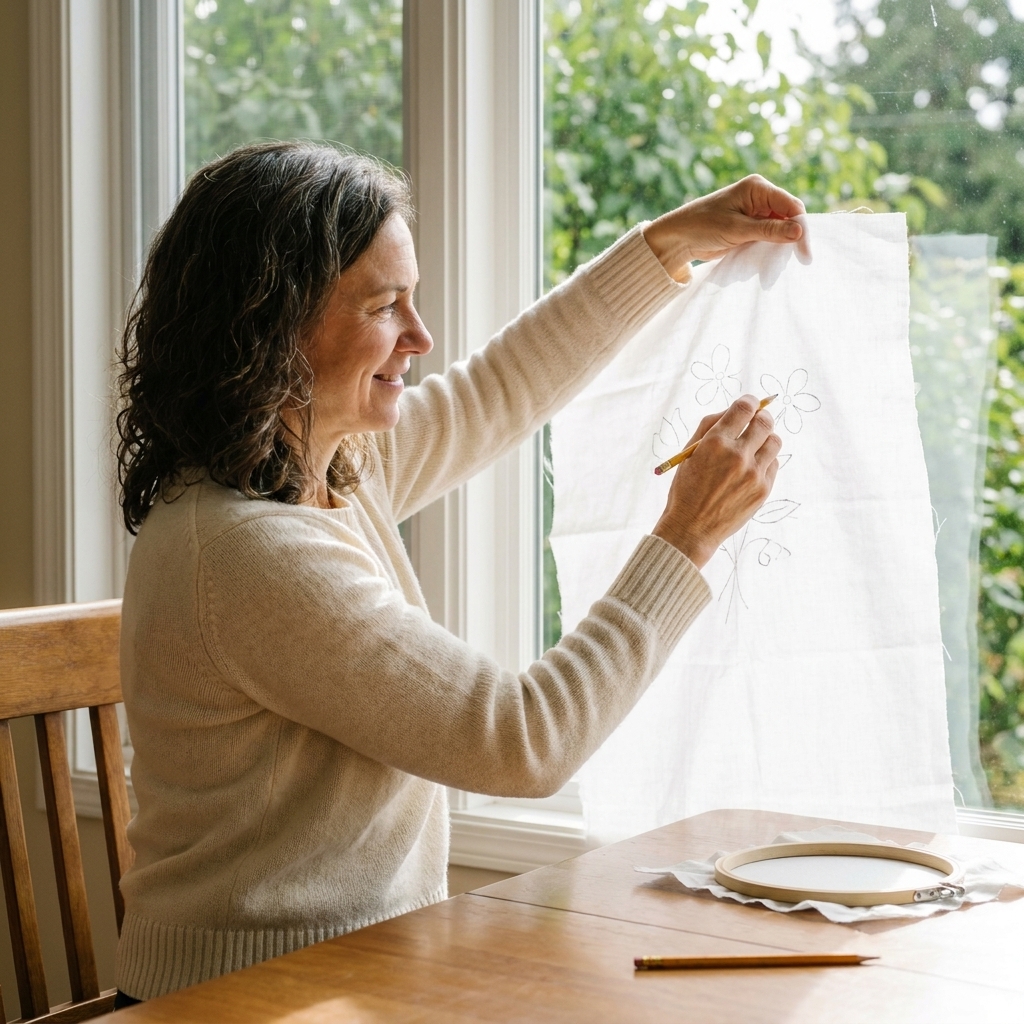
Quick pattern transfer tip: if you’re doing embroidery, trace a simple design with a water-soluble fabric pen, or tape your pattern to a sunny window (or a light pad) and trace it onto your fabric.
If you’re unsure what to practice first, aim for these “starter skills”: threading a needle, starting and ending thread neatly, keeping gentle tension, and repeating the same stitch until it feels rhythmic.
10 quick beginner projects
Each idea includes what it helps you practice, how long it usually takes, and one tiny tip I wish someone had told me sooner.
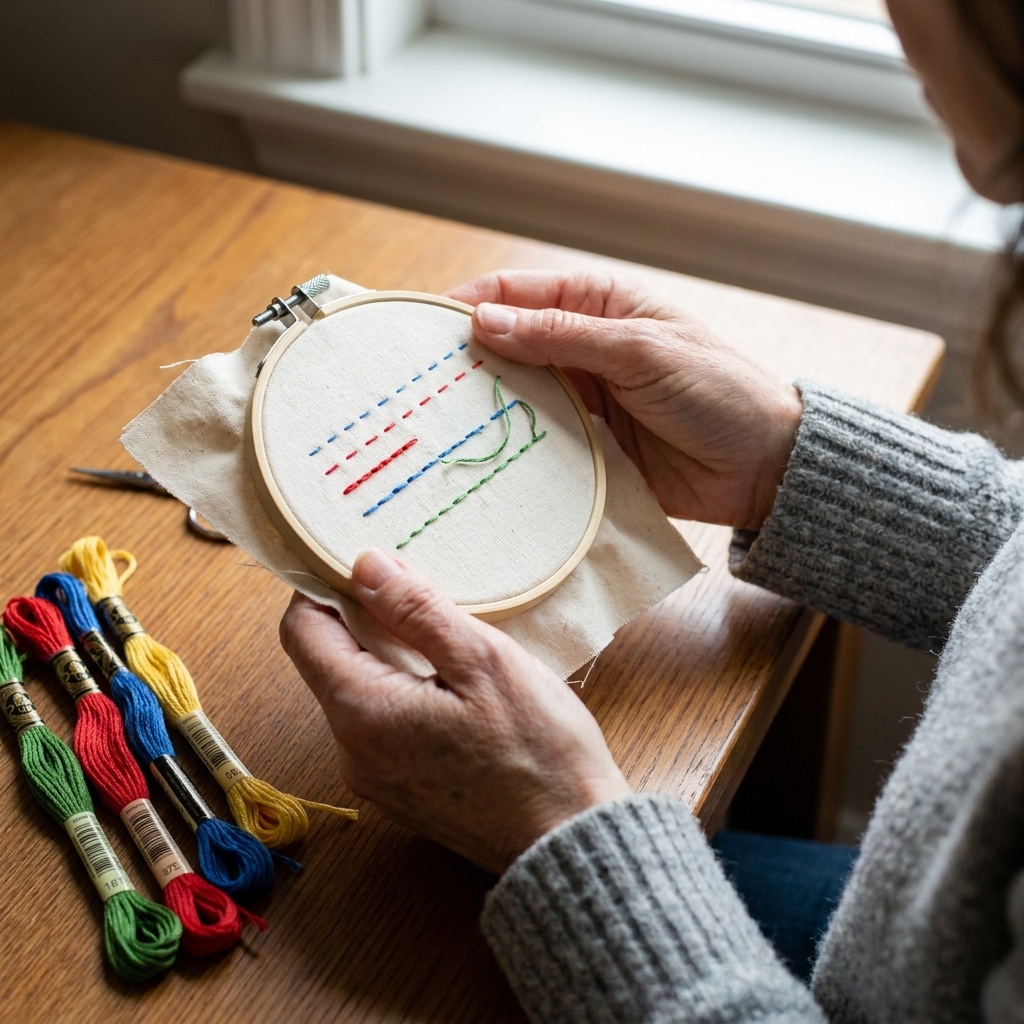
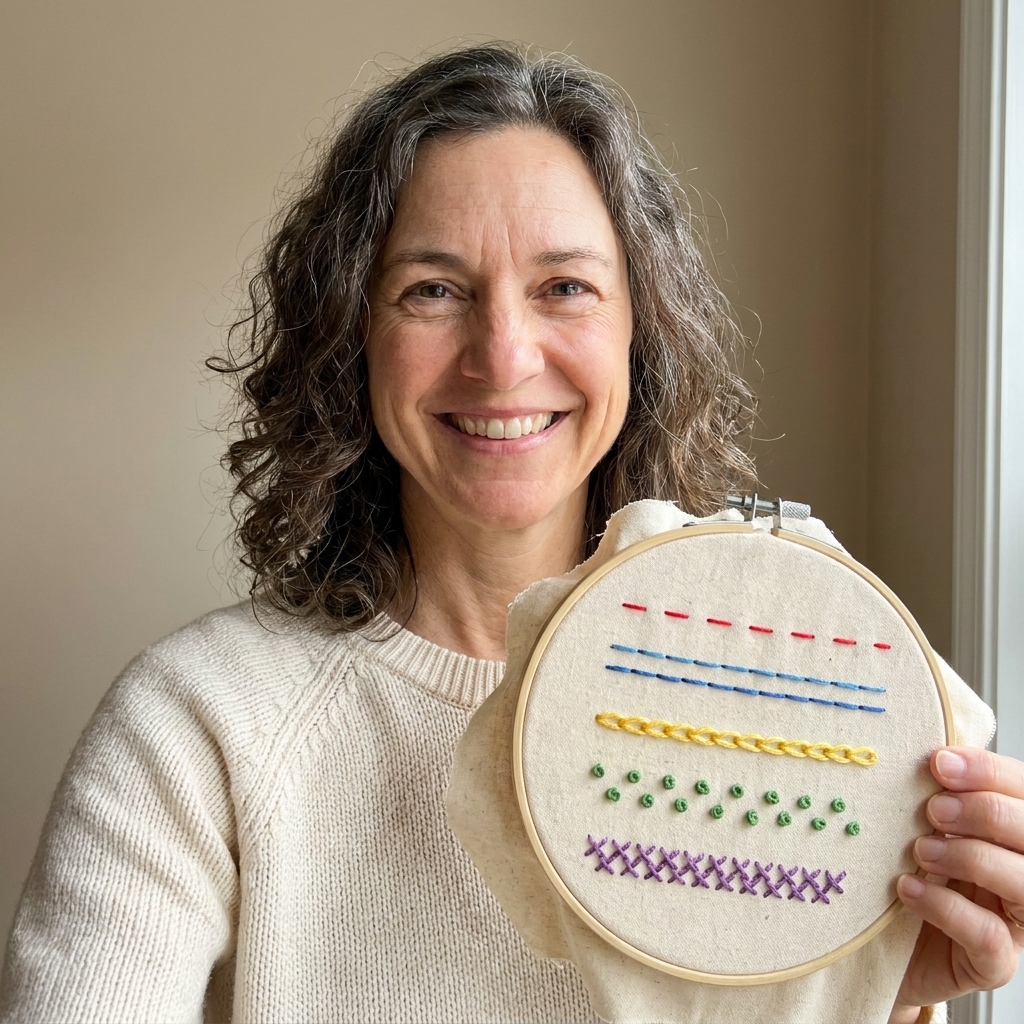
1) The lines-and-dots sampler (embroidery)
Why it’s perfect: a sampler sounds fancy, but this is just a page of practice marks. It’s the lowest pressure way to learn.
- Practice: running stitch, backstitch, split stitch, French knots, satin stitch (just a small block)
- Time: 30 to 90 minutes
- Tip: label nothing. If you hate how a section looks, you can simply move on and pretend it was intentional texture.
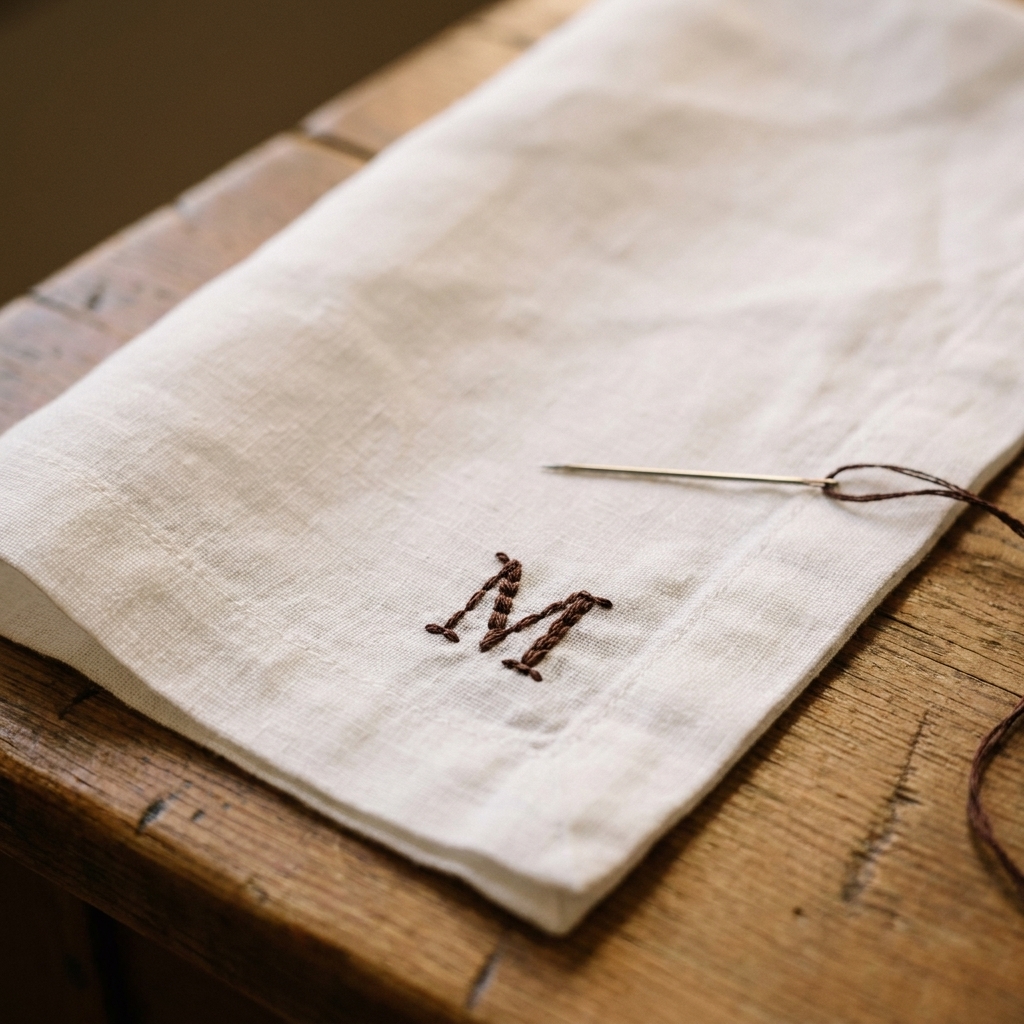
2) Tiny monogram on a napkin (embroidery)
Monograms are classic for a reason: they teach control, curves, and clean starts and stops.
- Practice: backstitch or split stitch, turning corners, neat endings
- Time: 20 to 60 minutes
- Tip: choose a chunky letter style, not skinny script. Thick lines are more forgiving.
Extra-cute option: thrift a single vintage linen napkin and give it a little “second life” initial.
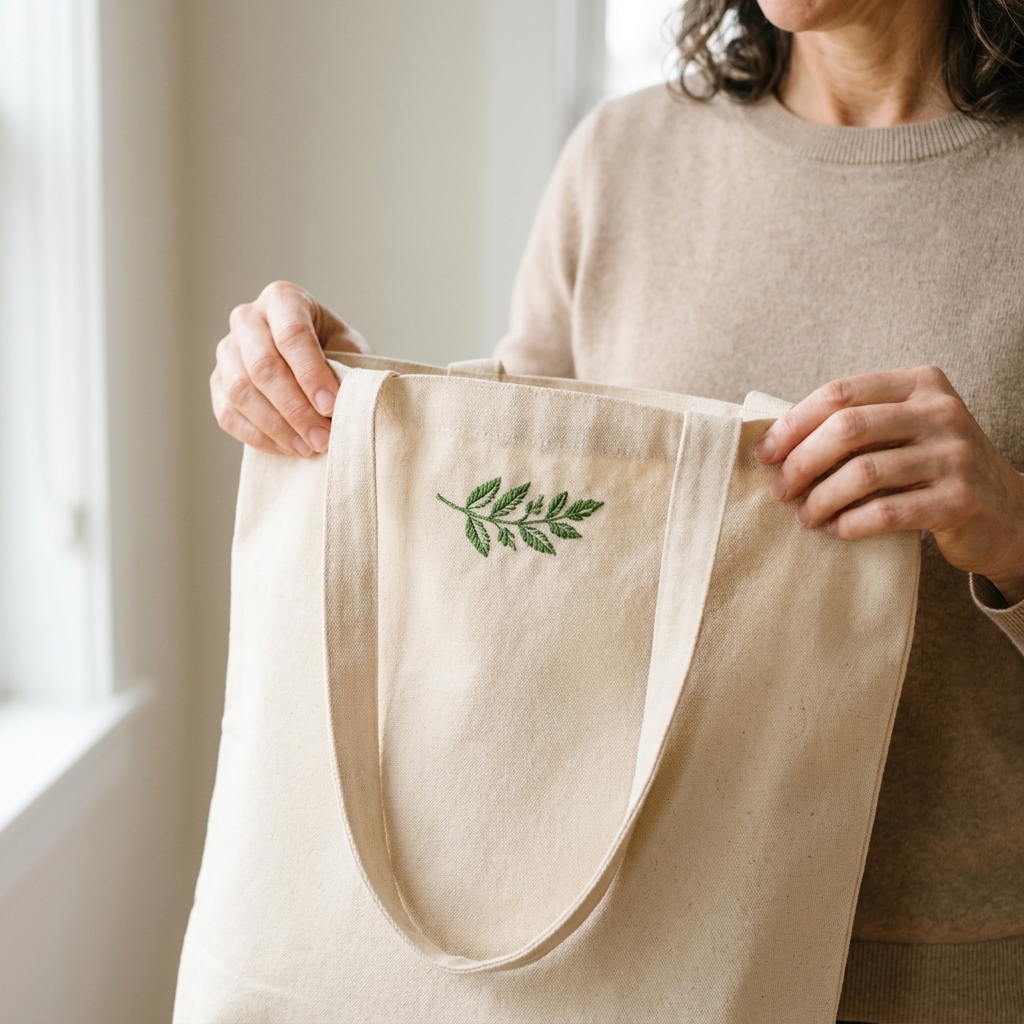
3) Three-leaf sprig on a tote or pouch (embroidery)
This is my go-to “I want a finished thing today” project. A small leafy sprig looks good even when your stitches aren’t identical.
- Practice: stem stitch or backstitch for the stem, lazy daisy stitches for leaves
- Time: 45 to 120 minutes
- Tip: stitching on bags and towels can stretch and pucker. If your fabric feels floppy, add a piece of tear-away or wash-away stabilizer behind the area you’re stitching.
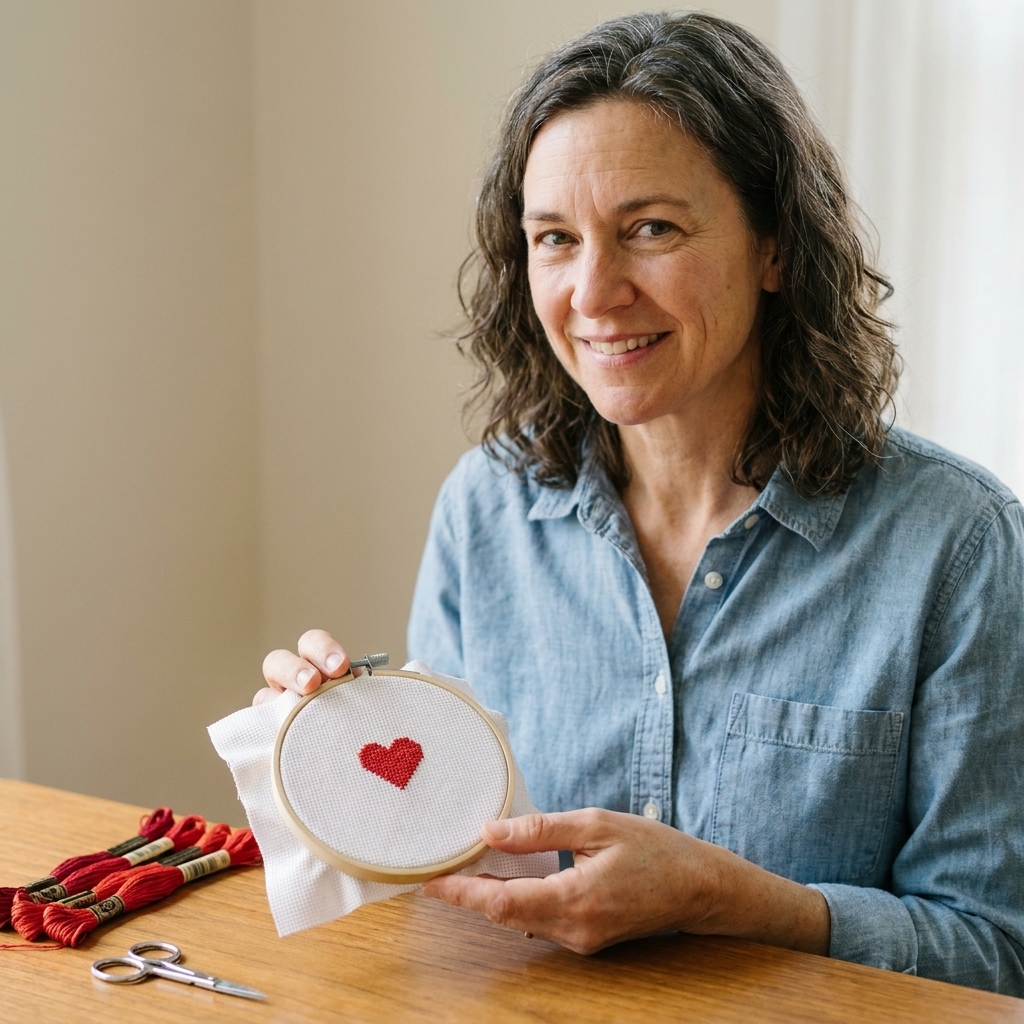
4) Mini cross stitch heart (cross stitch)
A tiny heart teaches the whole cross stitch workflow without feeling like a commitment.
- Practice: making consistent X stitches, counting, finishing thread on the back
- Time: 30 to 75 minutes
- Tip: many stitchers do all the bottom legs first (////), then come back for the top legs (\\). The real secret is consistency: make sure all your top stitches lean the same direction across the whole design.
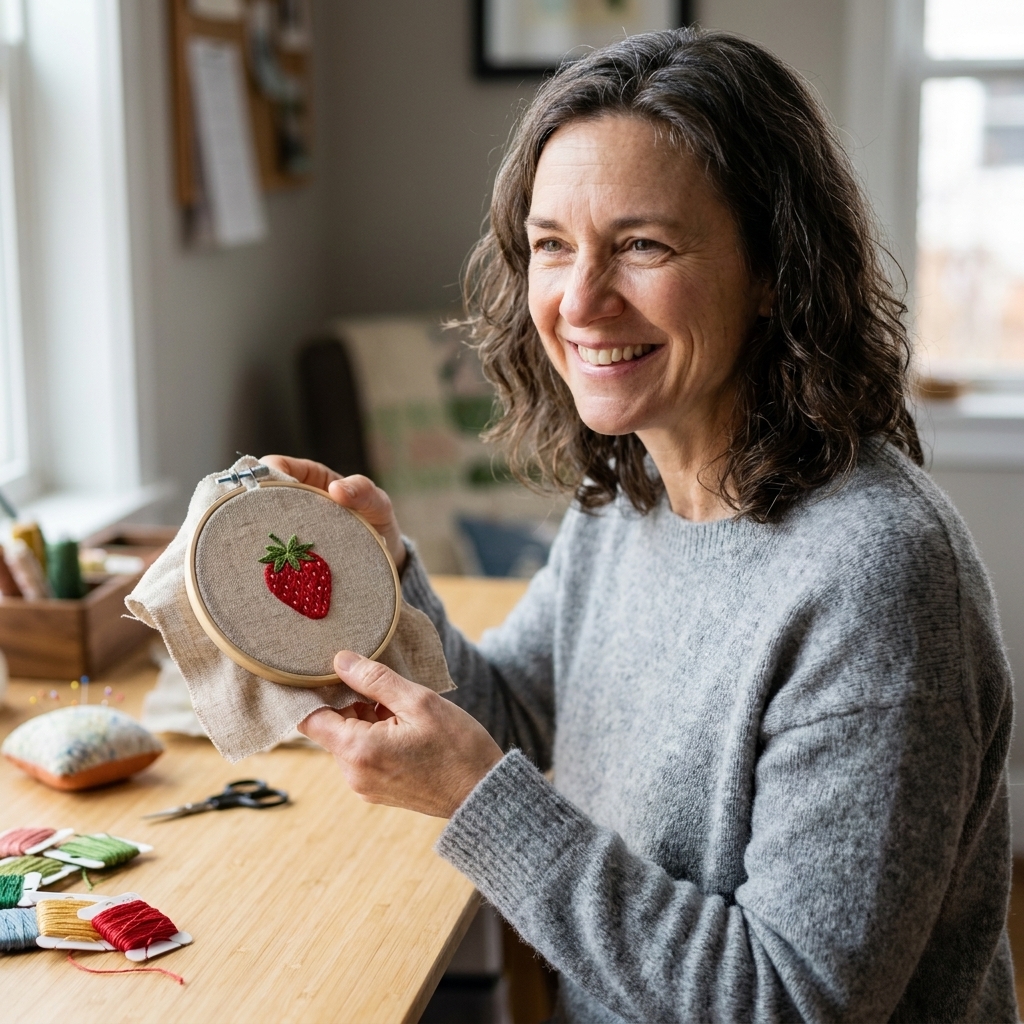
5) One-motif hoop (embroidery or cross stitch)
Pick one simple motif and stitch it once. Not a whole scene. Not a wreath. Just one little star, strawberry, flower, or mushroom.
- Practice: transferring a simple shape (embroidery) or following a tiny chart (cross stitch)
- Time: 1 to 3 hours
- Tip: outlines first, then fill. For cross stitch, find the center of your fabric and your chart before you start so your design doesn’t drift toward the edge.
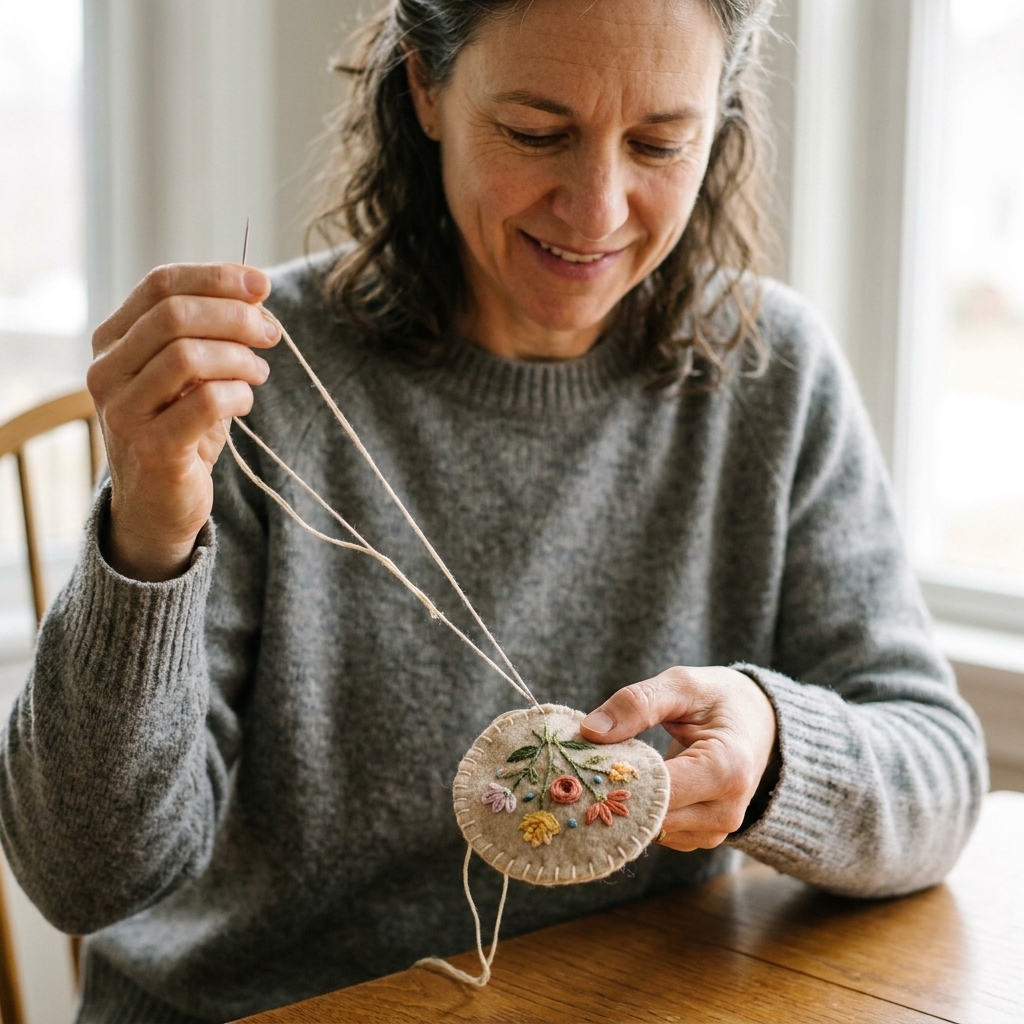
6) Felt-backed patch (embroidery)
Patches are wonderful because the back doesn’t have to be perfect. You’ll cover it with felt.
- Practice: satin stitch or long and short fill (very small areas), edge finishing with whip stitch
- Time: 1 to 2.5 hours
- Tip: use fewer strands than you think for filling. Chunky thread gets lumpy fast. Two strands is plenty for most patch fills.
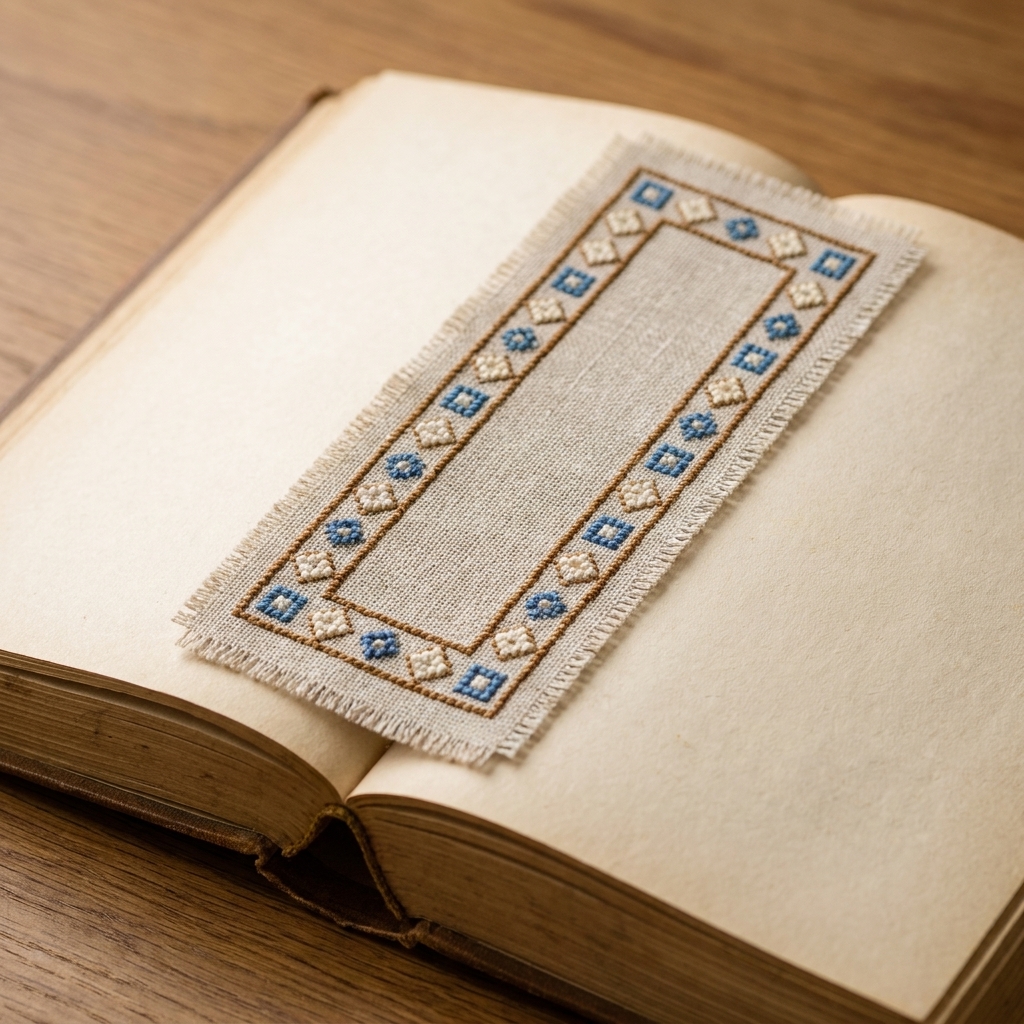
7) Bookmark with a simple border (cross stitch)
Bookmarks feel fancy, but they’re basically long rectangles with repeating patterns. Very relaxing, very countable.
- Practice: repeating a pattern, keeping edges straight, finishing neatly
- Time: 2 to 5 hours (depending on length)
- Tip: stitch on evenweave ribbon or bookmark canvas if you want super-clean edges without hemming.
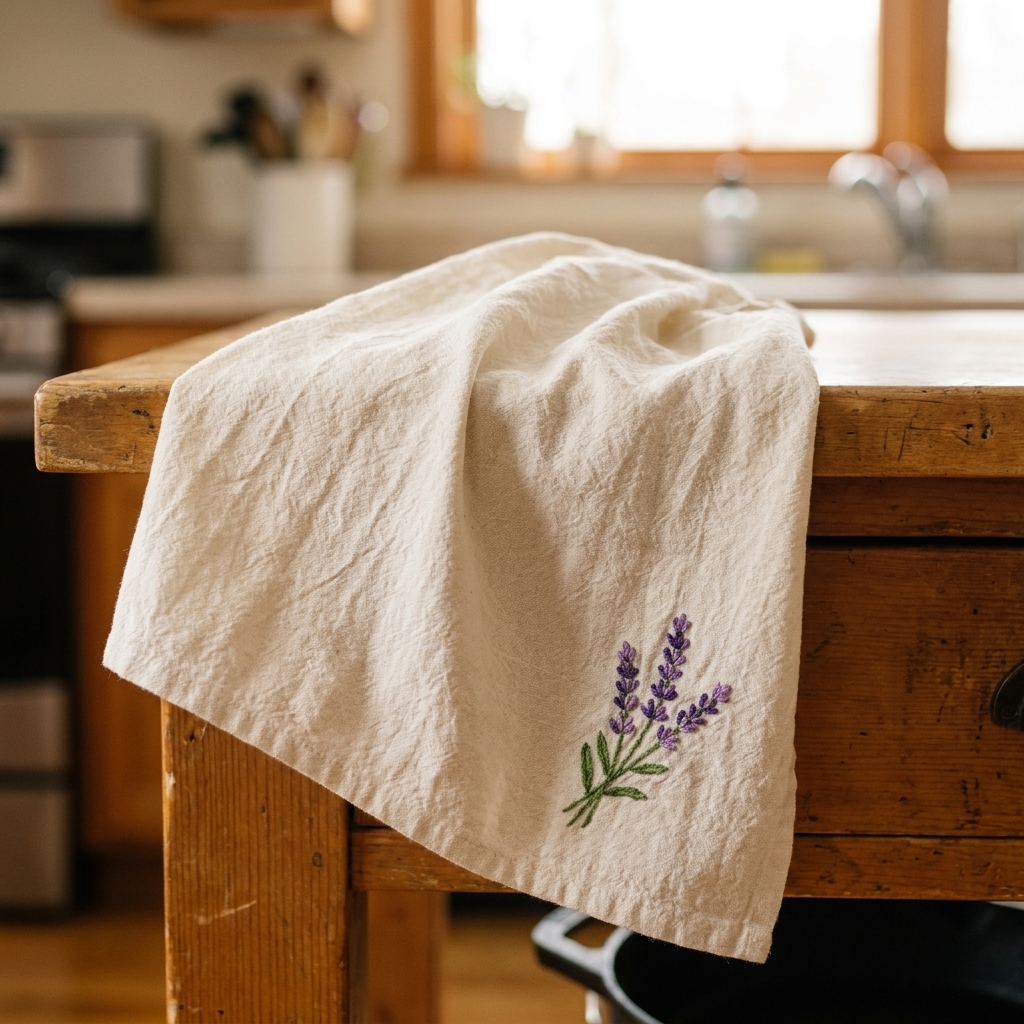
8) Tea towel corner motif (embroidery)
A tiny corner design makes an everyday item feel special without becoming a huge project.
- Practice: placing your design, stitching on thicker fabric, keeping tension even
- Time: 45 minutes to 2 hours
- Tip: use a hoop even on towels. For extra smooth stitching (and fewer weird ripples), add a layer of wash-away stabilizer behind the towel where you’re working.
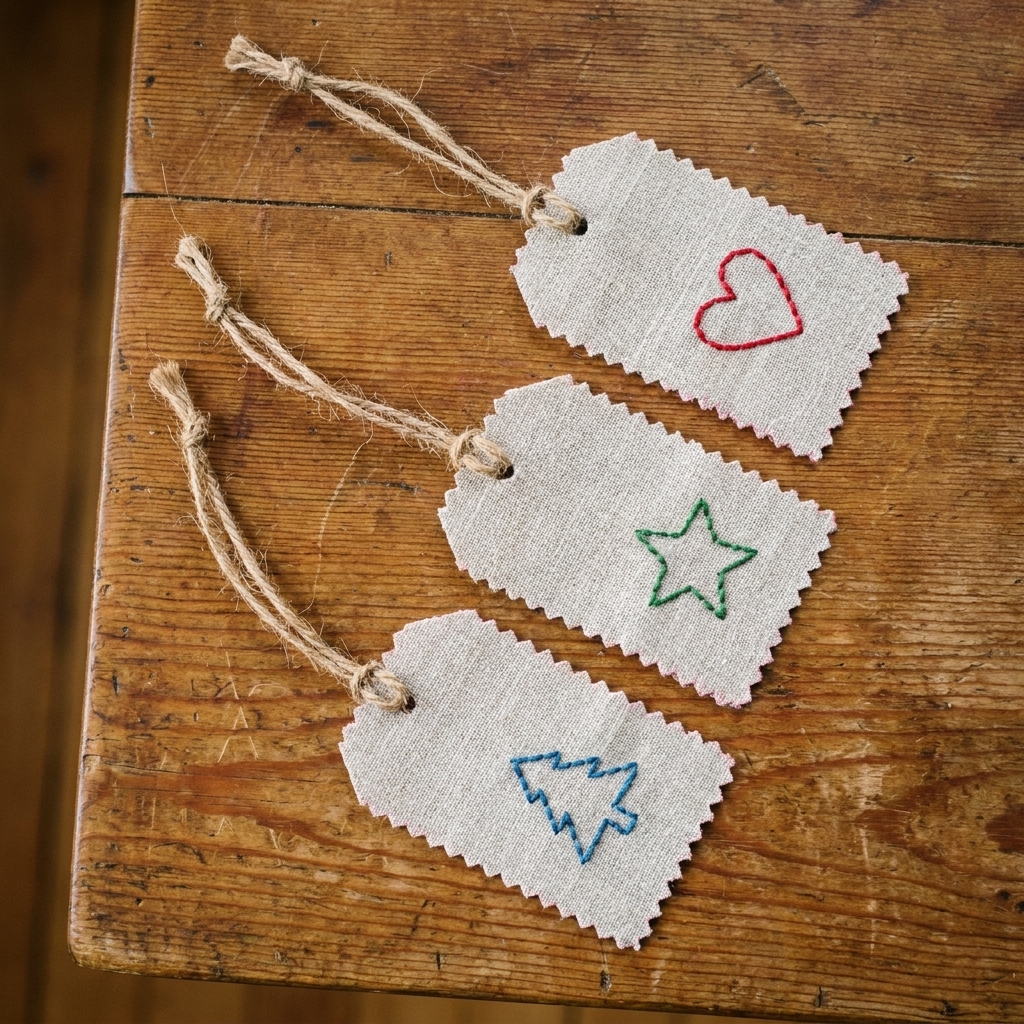
9) Name-tag gift tag set (cross stitch or embroidery)
Make a few simple tags and practice finishing skills while creating something genuinely useful.
- Practice: tidy thread ends, simple lettering, finishing edges
- Time: 20 to 40 minutes per tag
- Tip: mount stitched fabric onto cardstock and punch a hole. Instant finish, no sewing machine required.
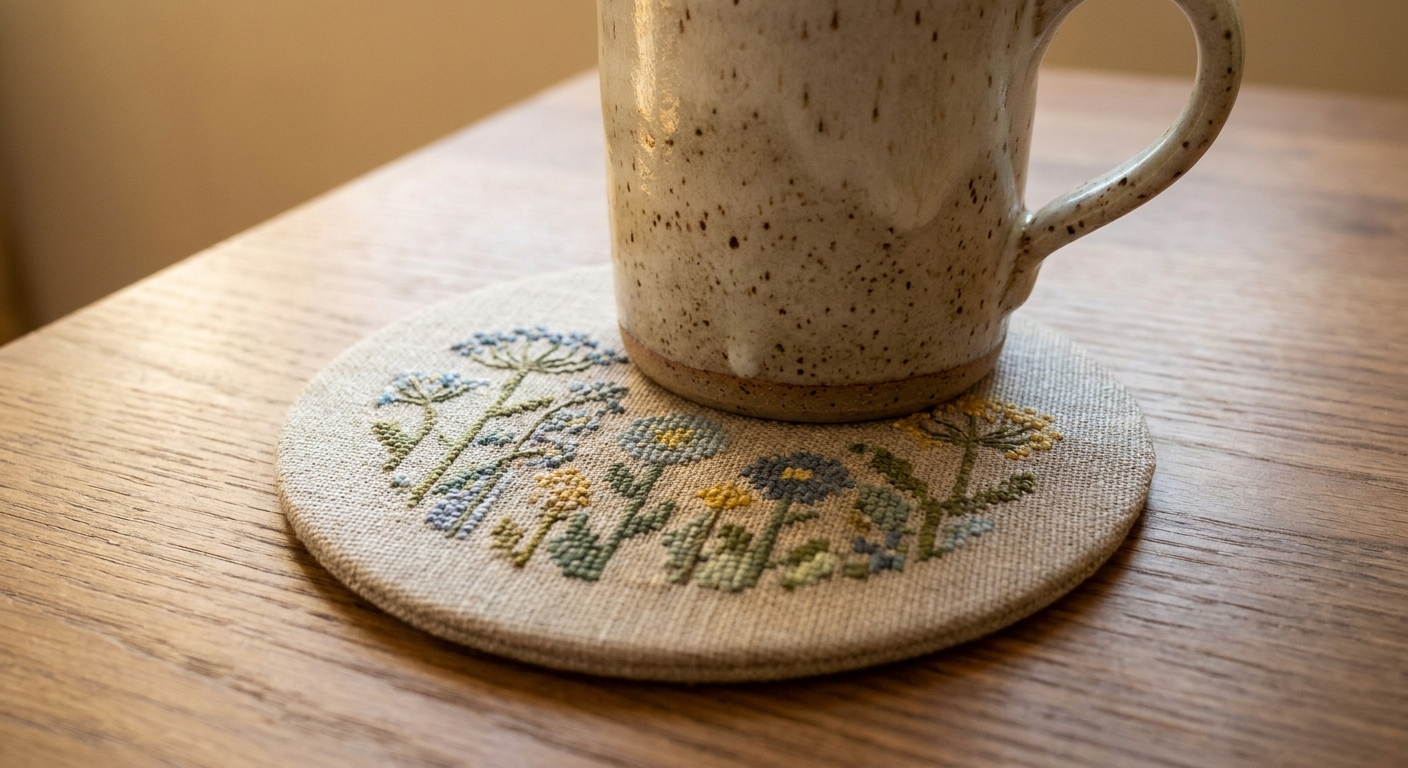
10) Mug rug or mini coaster (embroidery or cross stitch)
This one teaches you how to turn “a piece of stitching” into “an object you can use,” which is a magical moment as a beginner.
- Practice: keeping fabric square, basic finishing, light padding or interfacing
- Time: 2 to 4 hours
- Tip: fuse a bit of lightweight interfacing to the back before finishing. It makes everything behave.
How to choose your first project
If everything sounds adorable and you can’t decide, use this shortcut:
- If you want the fastest win: mini heart cross stitch or a monogram napkin.
- If you want to learn several stitches at once: lines-and-dots sampler.
- If you want something you’ll use: tea towel corner motif or a coaster.
- If you want giftable results early: stitched gift tags or a bookmark.
And if you’re feeling nervous, choose the project with the least stitching. “Small” is not a downgrade. It’s a smart finish.
Beginner tips that help
- Shorter thread is calmer thread: cut 18 to 20 inches. Long thread tangles, frays, and tests your patience.
- Don’t pull tight: snug is good. Tight makes puckers, especially on cotton.
- Stabilize when needed: for towels, tees, and totes, a tear-away or wash-away stabilizer behind your stitching area can make your lines look instantly neater.
- Parking your needle helps: when you pause, stick the needle into the fabric or a needle minder so it can’t vanish into the couch cushions.
- Messy backs happen: aim for “secure” before “museum-quality.” You can chase perfect backs later.
- Wash hands first: especially on light fabrics. Ask me how I know.
Quick FAQ
Should beginners start with embroidery or cross stitch?
Either is great. Cross stitch is wonderfully structured and count-based, so it feels clear and predictable. Embroidery is more freeform and playful, which some beginners find less intimidating. If you love rules, start with cross stitch. If you love doodling, start with embroidery.
How big should my first design be?
Keep it friendly. Under 3 inches is ideal for embroidery motifs, and under 40 by 40 stitches is a comfortable first cross stitch size. Finishing quickly builds momentum.
What if my stitches look uneven?
That’s normal. Your hands are learning new muscle memory. Focus on consistency over perfection, and remember that most stitching looks better from a normal viewing distance than it does from three inches away under a lamp at midnight.
How do I finish and clean a project?
If you used a water-soluble pen, rinse or gently wash it out according to the pen instructions. Then let the fabric air-dry and press from the back with a warm iron (especially for hoop art and towels). It’s a tiny step that makes your work look instantly more polished.
A gentle next step
Pick one project from this list, set a timer for 20 minutes, and start. Not “prepare to start.” Just start. By the time the timer goes off, you’ll likely be in that calm little stitching groove where the rest of the world gets pleasantly quiet.
If you want a personal recommendation, try the tiny monogram or the mini cross stitch heart first. Both teach the basics and give you a finish you can hold in your hand, which is the best kind of motivation.