If you have ever opened a cross stitch pattern and felt like you were looking at a tiny, mysterious map, you are not alone. I still remember my first chart: I stared at it, stared at my fabric, and then somehow threaded my needle with pure optimism.
The good news is that cross stitch charts are wonderfully logical once you know what you are looking for. In this guide, I will walk you through the grid, symbols, color codes, and the all-important center point, so you can go from “what is this” to “I can totally stitch this.”
What a cross stitch chart represents
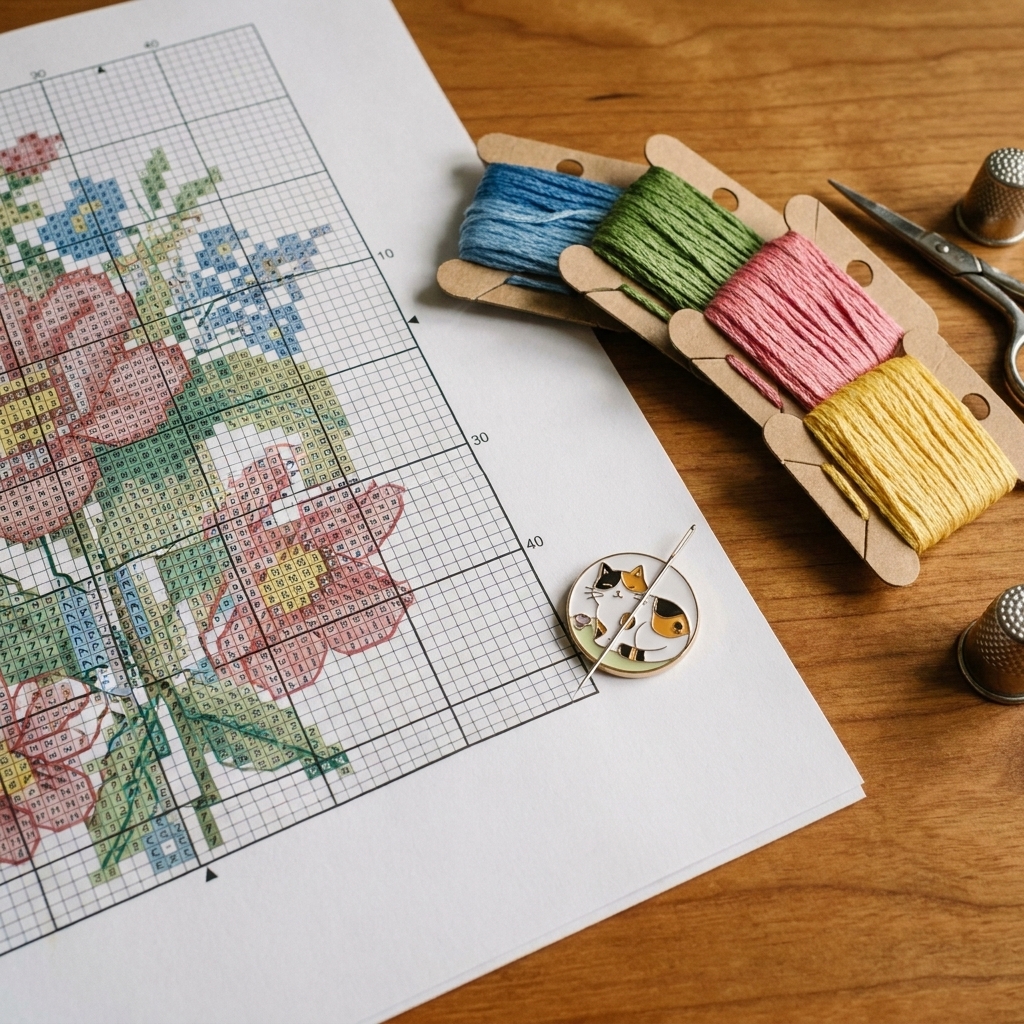
A cross stitch chart is a pixel-style plan for your stitches. Each little square on the chart equals one stitch on your fabric. When you stitch, you are essentially “coloring in” the squares using floss.
Most patterns include two key parts:
- The chart (the grid): where you place stitches.
- The key or legend: a list that tells you what each symbol means and which floss color to use.
You might also see extra pages for backstitch lines, French knots, specialty stitches, or a separate color version of the chart. For now, we will focus on reading the main grid and matching it to your fabric.
Understanding the grid
Each square equals one stitch
Think of the chart as graph paper. One square equals one cross stitch. If the square is blank (or white), that usually means no stitch goes there, unless the pattern is full coverage and uses symbols everywhere.
Bold lines mark groups of 10
Most charts have thicker lines every 10 squares, both horizontally and vertically. These are your best friends. They help you count without losing your place and make it much easier to spot the center of the design.
Arrows show the chart center
Many patterns include small arrows along the top and side edges pointing toward the center lines. Where those arrows meet is the chart center. If your chart does not include arrows, you can still find the center by counting squares (I will show you how in a minute).
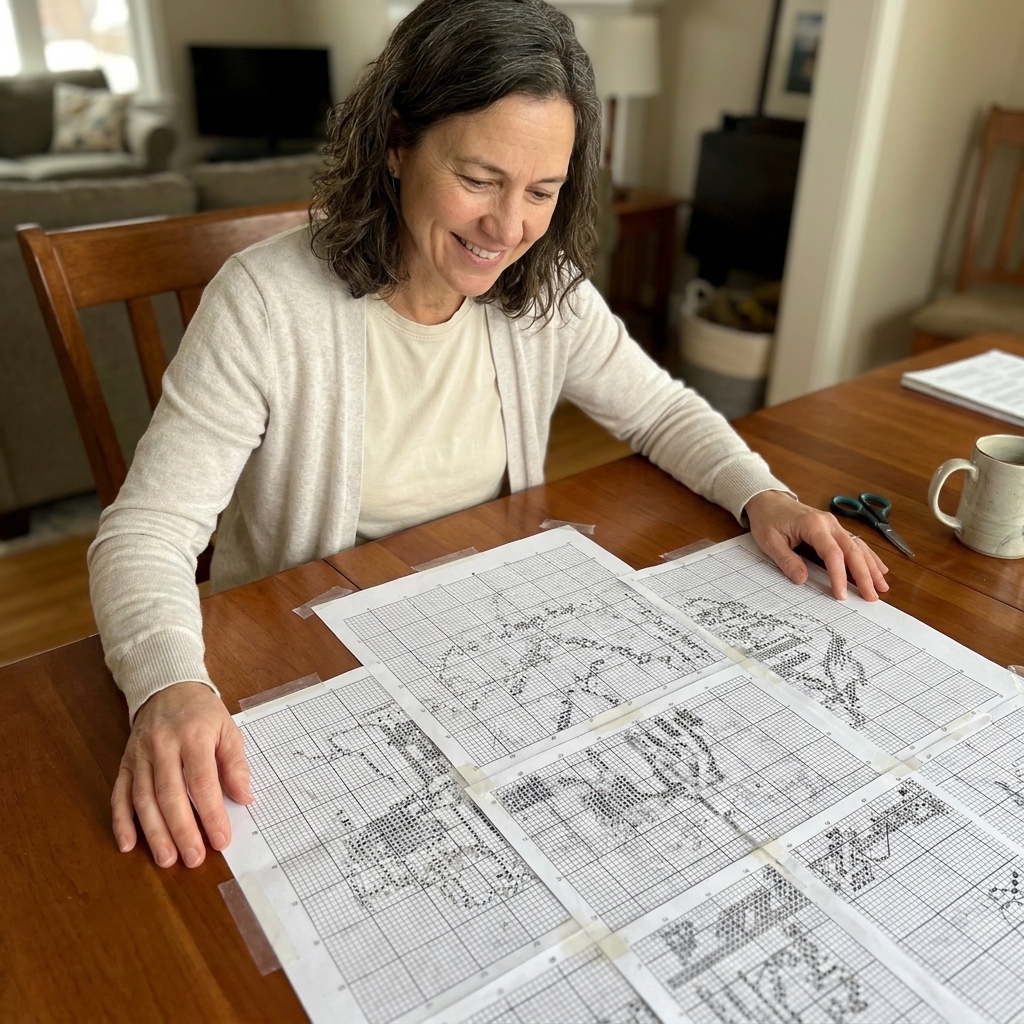
Multi-page patterns and overlaps
If your pattern spans multiple pages, look for page numbers and small overlap areas. The overlap is there so you can line pages up correctly. It is totally normal to tape pages together or keep them side by side while you stitch.
How to read symbols
Instead of printing the chart in full color, many designers use symbols so the pattern stays readable even when colors are similar. Each symbol corresponds to one floss color (and sometimes one strand count).
Where to find the symbol key
The key, legend, or floss list is usually on the first or last page. It often includes:
- The symbol you see on the chart
- The floss brand (often DMC)
- The floss number (like DMC 310)
- The color name (like “Black”)
- The number of strands to stitch with (sometimes)
Common chart marks you might see
- Half stitches: may appear as a diagonal line through a square.
- Backstitch: usually shown as thin lines drawn over the grid.
- French knots: often shown as a dot or small symbol with a note in the key.
If you are brand new, you can absolutely choose a pattern that is “full cross only” for your first project. It is like learning to drive in an empty parking lot first. Cozy and low stress.
Matching symbols to floss codes
This part feels intimidating until you do it once. Then it becomes a simple matching game.
DMC numbers and what they mean
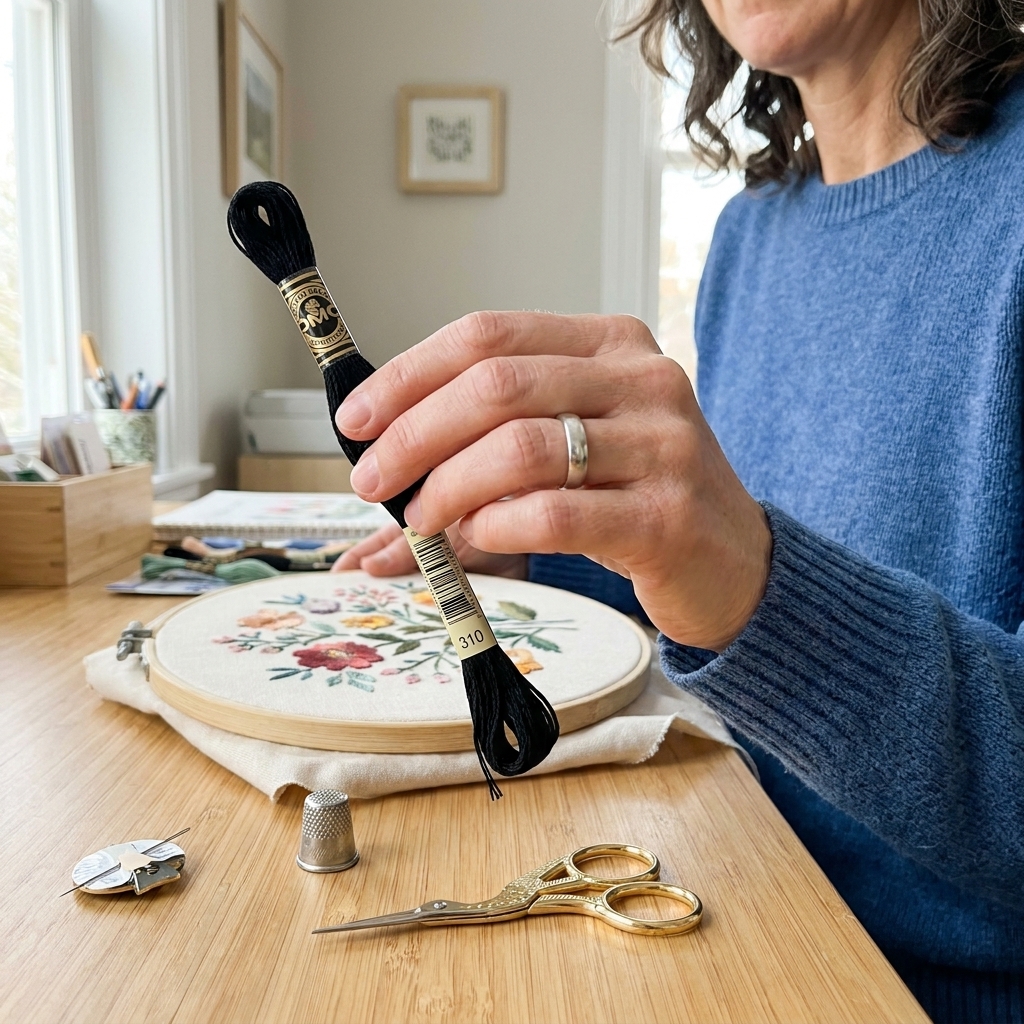
DMC uses numbered colors, like 310 (black) or 666 (bright red). Patterns typically list these numbers so you can purchase the exact shade the designer used.
Helpful tip from someone with an overflowing floss stash: the color name can vary slightly from pattern to pattern, but the number is what matters.
What if my pattern uses a different brand?
Some patterns use Anchor or another floss line. Many designers include a conversion, or you can use a reputable floss conversion chart to find the closest DMC match. “Closest” is usually perfectly fine, especially for beginner projects.
What if my pattern says “blend” or shows two symbols in one square?
A blended thread means you stitch using two different strands at the same time, like one strand of a light blue plus one strand of a darker blue. On the chart, it may look like:
- Two symbols squeezed into one square, or
- A special blended symbol listed in the key
Beginners can still handle blends, but if you are feeling wobbly, save blended projects for after your first finish. No shame in wanting your first piece to feel straightforward.
Finding the center
If I could hand every beginner one habit, it would be this: start from the center. It dramatically lowers the risk of running out of fabric on one side or ending up with a design that is mysteriously drifting north.
Step 1: Find the chart center
You have a few options:
- Look for center arrows: If your chart has arrows along the edges, follow them inward to the center point.
- Count squares: Count the total number of squares across, divide by two. Do the same top to bottom. The intersection is the center.
Example: If your chart is 80 squares wide, the center is between squares 40 and 41. If it is 81 squares wide, the center is square 41.
Step 2: Find the fabric center
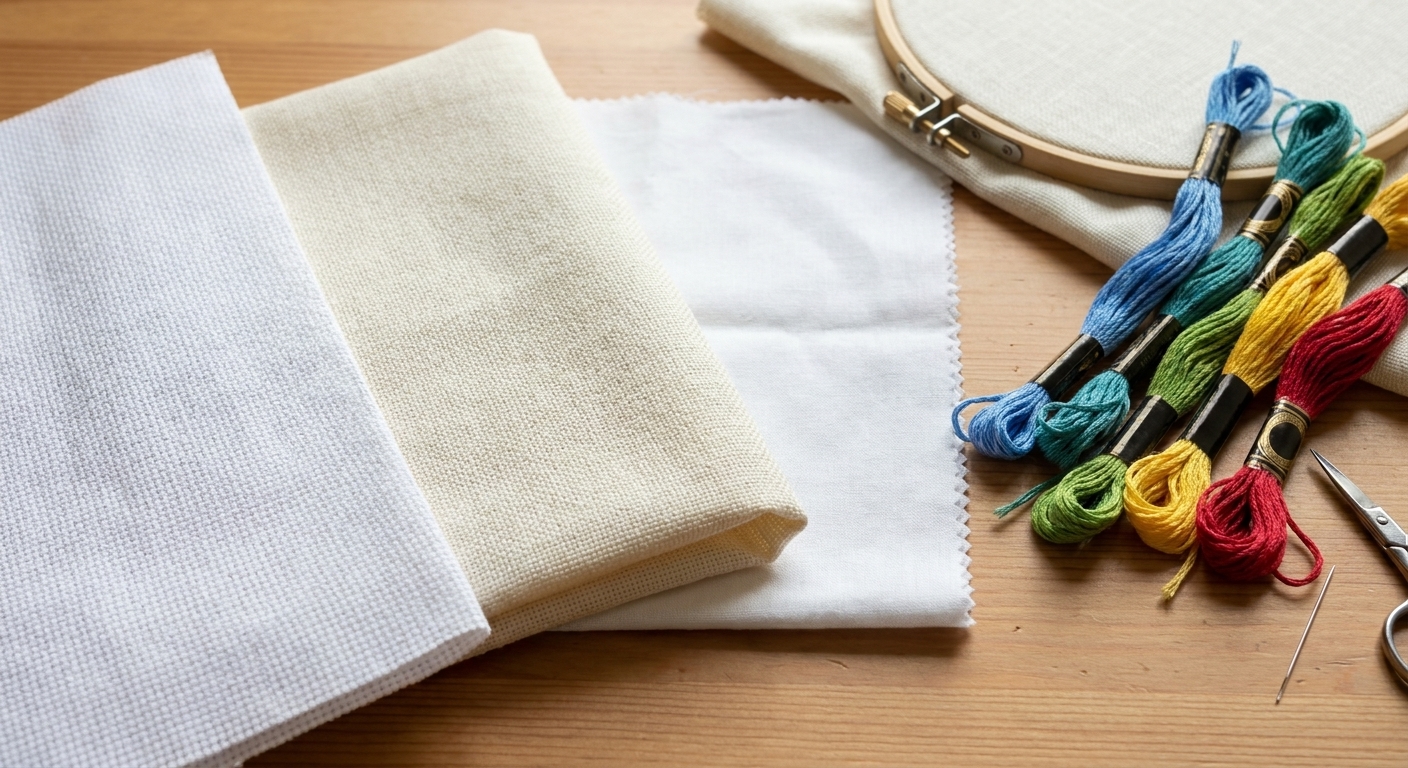
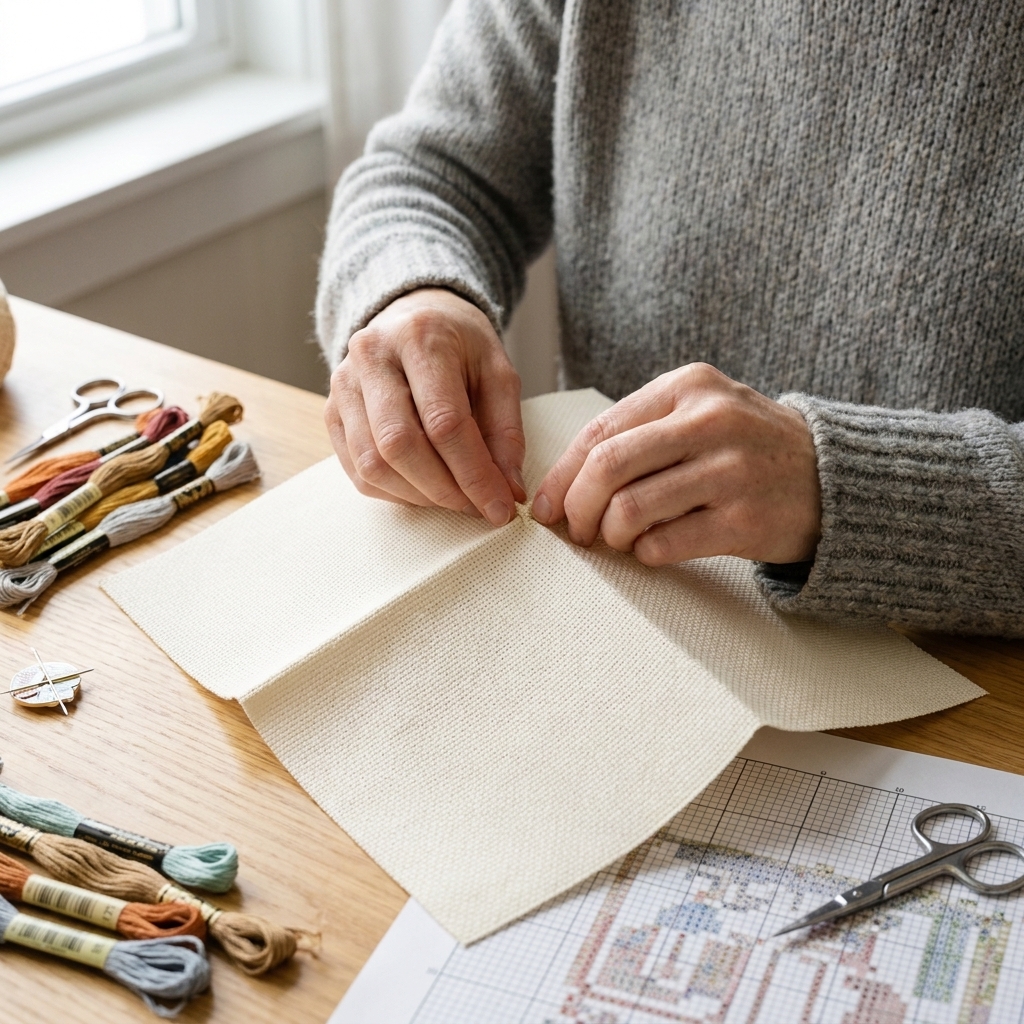
For Aida fabric (the most common beginner fabric), do this:
- Fold the fabric in half top to bottom and finger-press the fold.
- Fold it in half again side to side.
- The point where the folds intersect is the center.
You can place a small pin, a loose basting stitch, or a tiny washable mark there.
How to start stitching
Once you have the center on the chart and the center on your fabric, you are ready to begin.
Pick an easy starting area
Many people start with the center stitch. Others start with a small cluster near the center, especially if the center is blank space. Both are valid.
I like to choose:
- A color that appears in a medium-sized patch (not just one lonely stitch)
- A clearly defined shape I can recognize as it grows
Count carefully, then stitch confidently
The basic rhythm is:
- Count on the chart from a known point (like the center or a bold 10-line intersection).
- Count on the fabric the same number of squares.
- Make the stitch.
If you are nervous, “park” your needle in the fabric after every few stitches and double-check your placement. Counting is part of stitching, not a sign you are doing it wrong.
Backstitch and French knots
Many patterns include details added after the cross stitches are complete. These details make the design pop, but they are usually stitched at the end.
Backstitch lines
Backstitch is shown as thin lines drawn over the grid. The key may specify a floss number and strand count for backstitch. Commonly, it is one strand, but always follow the pattern notes if provided.
French knots
French knots are typically marked with a dot or special symbol. The pattern key should tell you the floss color and sometimes the number of wraps. If you are new to knots, practice a few on scrap fabric first. Your first knots might look like tiny lumpy planets. Mine definitely did.
Quick fixes for common problems
“I lost my place on the chart.”
- Highlight the row you are working on (a removable highlighter tape is wonderful).
- Work in 10 by 10 blocks using the bold grid lines.
- Mark completed stitches on a working copy, especially for confetti-heavy charts.
“Two symbols look almost the same.”
- Bright light helps more than you think.
- Zoom in if you are using a digital pattern.
- Circle those two symbols in the key so you remember to double-check them.
“My stitched area does not match the pattern.”
- Stop and check your counting against the nearest bold 10-line intersection.
- Look for a nearby “landmark” shape you can verify.
- If you found the mistake early, it is often easier to pull a few stitches now than to rationalize it for the next three evenings.
“Do I have to stitch in the same direction?”
For the neatest look, yes: keep all top stitches slanting the same way across the whole piece. Most stitchers do bottom leg like / and top leg like \, but you can choose either direction. Consistency is what matters.
A quick checklist
- Locate the symbol key and confirm the floss brand and numbers.
- Identify the chart center and mark it lightly.
- Find and mark the fabric center.
- Confirm your fabric size includes extra margin on all sides (at least 2 to 3 inches is comfy for finishing).
- Decide how many strands you will stitch with (commonly 2 strands on 14-count Aida, unless the pattern says otherwise).
Beginner FAQ
Do I have to start in the center?
No, but it is the easiest way to make sure your design is centered and you have enough fabric around the edges. Some stitchers start in a corner, especially for full coverage pieces, but center-starting is the most forgiving for beginners.
What does “count” mean in cross stitch?
Fabric count is how many squares (stitches) fit in one inch. 14-count Aida means 14 stitches per inch. Higher count means smaller stitches and finer detail.
My pattern is in color, not symbols. Is that okay?
Absolutely. Color charts can be very beginner-friendly. Just be aware that some colors may look similar when printed, so always rely on the floss number in the key if you are unsure.
What is “confetti”?
Confetti is a pattern area with lots of scattered single stitches in many colors. It is not wrong or bad, just slower to stitch and easier to miscount. If you are brand new, start with a pattern that has larger blocks of color first.
One last cozy reminder
Reading a cross stitch chart is a skill, not a personality trait. The first time you do it, it feels like decoding. The third time, it feels like following a recipe. And eventually you will catch yourself glancing at a chart and thinking, “Oh, I know exactly what to do next.”
If you want to make this even easier on yourself, choose a small pattern, keep your floss organized, and give yourself permission to stitch a little slowly at first. Every stitch is progress, even the ones you unpick later.