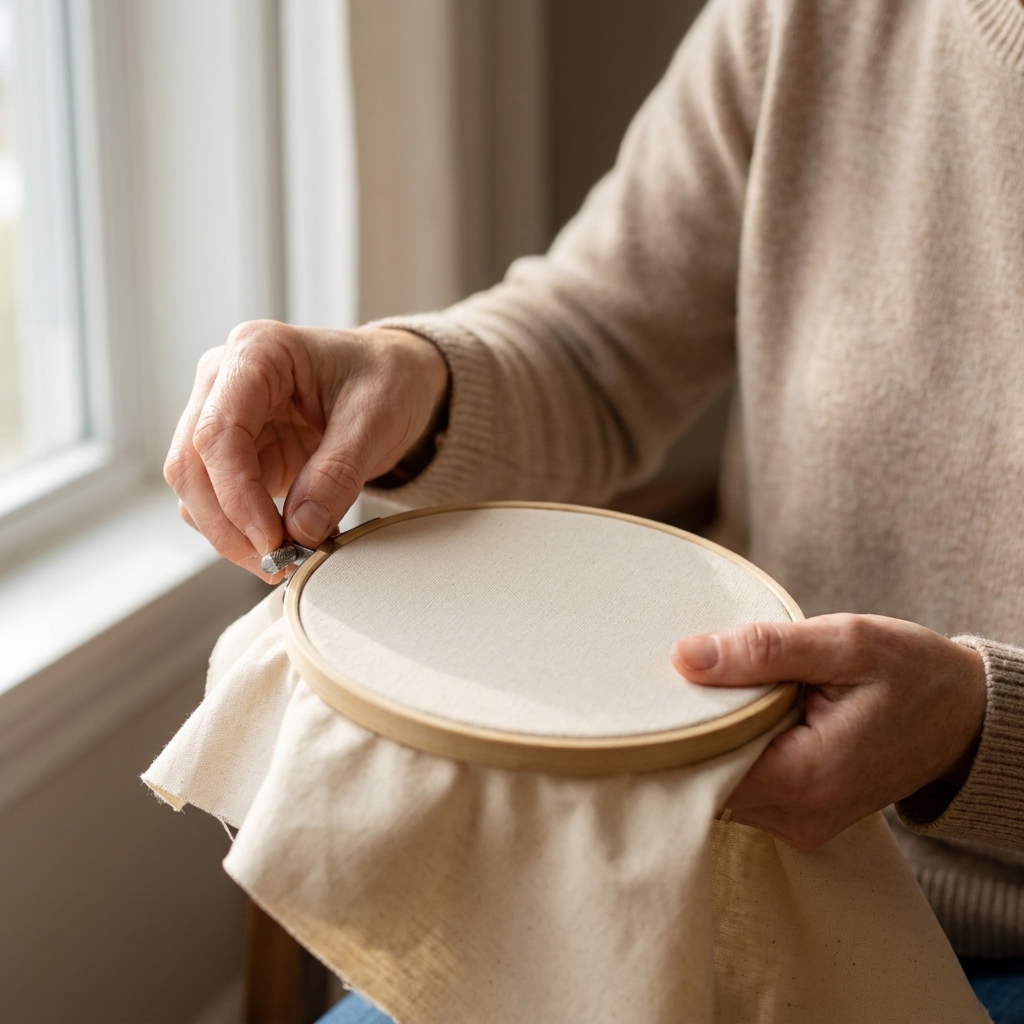
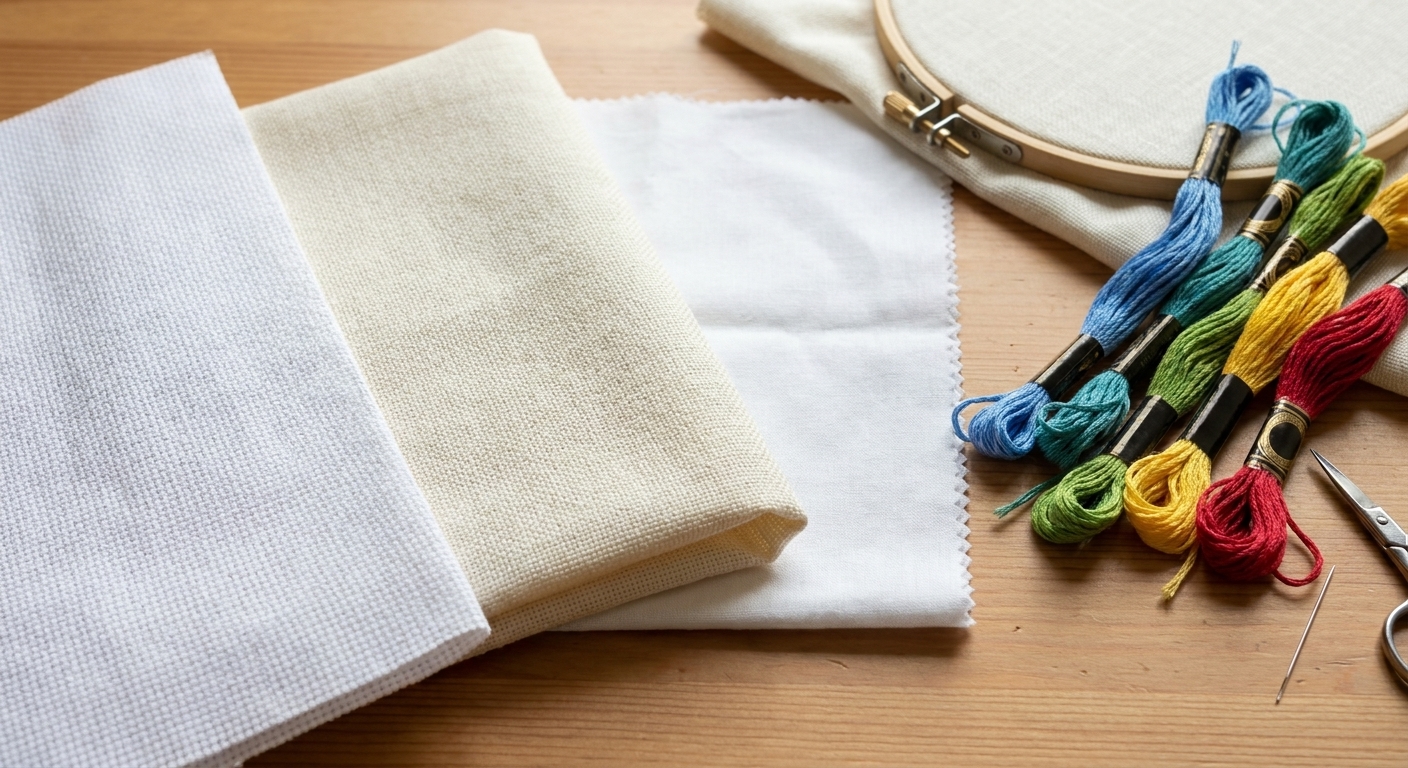
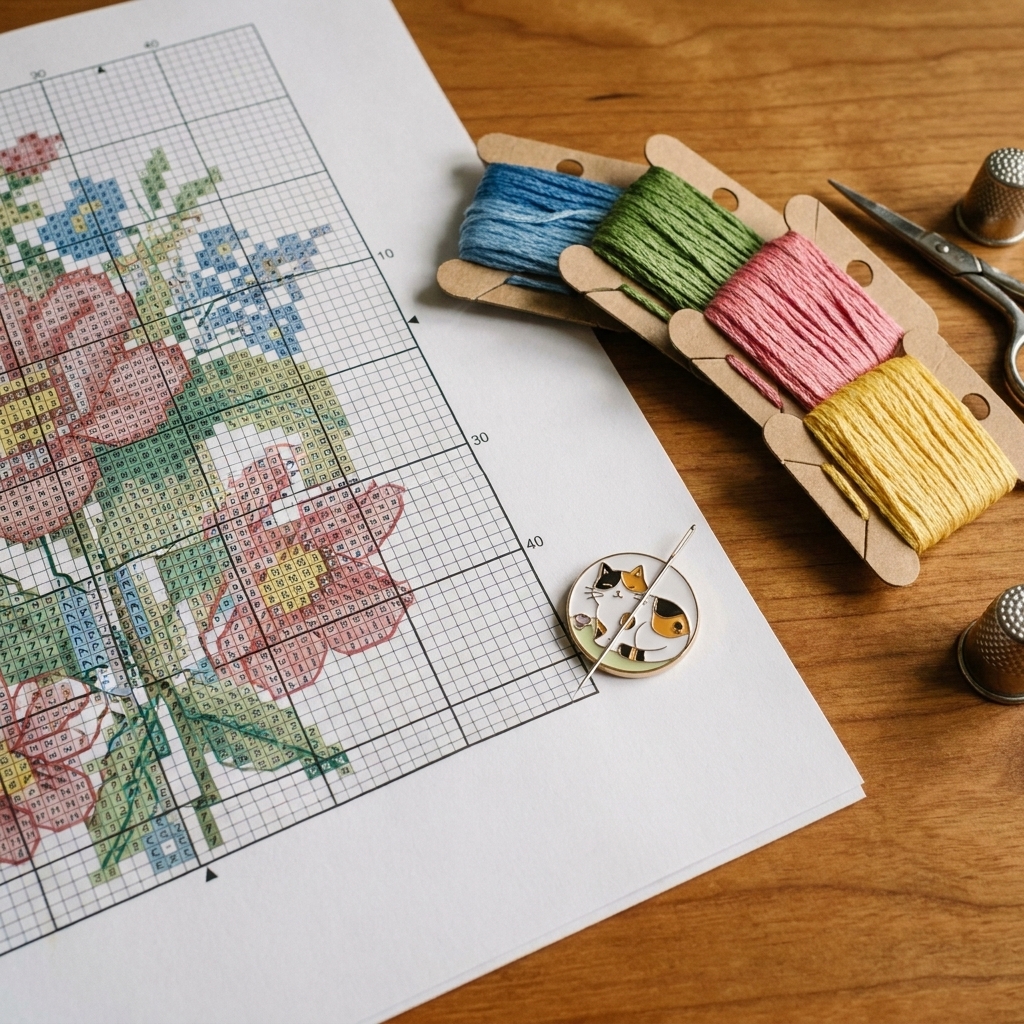
There is something ridiculously satisfying about turning a plain, blank tote into a bag you actually want to carry. The only problem is that many tote fabrics are not an evenweave, so your stitches can drift, stretch, and turn into sad little rectangles. Enter waste canvas and water-soluble canvas, my two favorite “secret helpers” for getting perfectly gridded cross stitch onto regular fabric.
In this tutorial, I will walk you through cross stitching on a canvas tote bag from start to finish, including how to place your design straight, how to keep the fabric from warping, and how to remove the canvas without fraying your stitches.
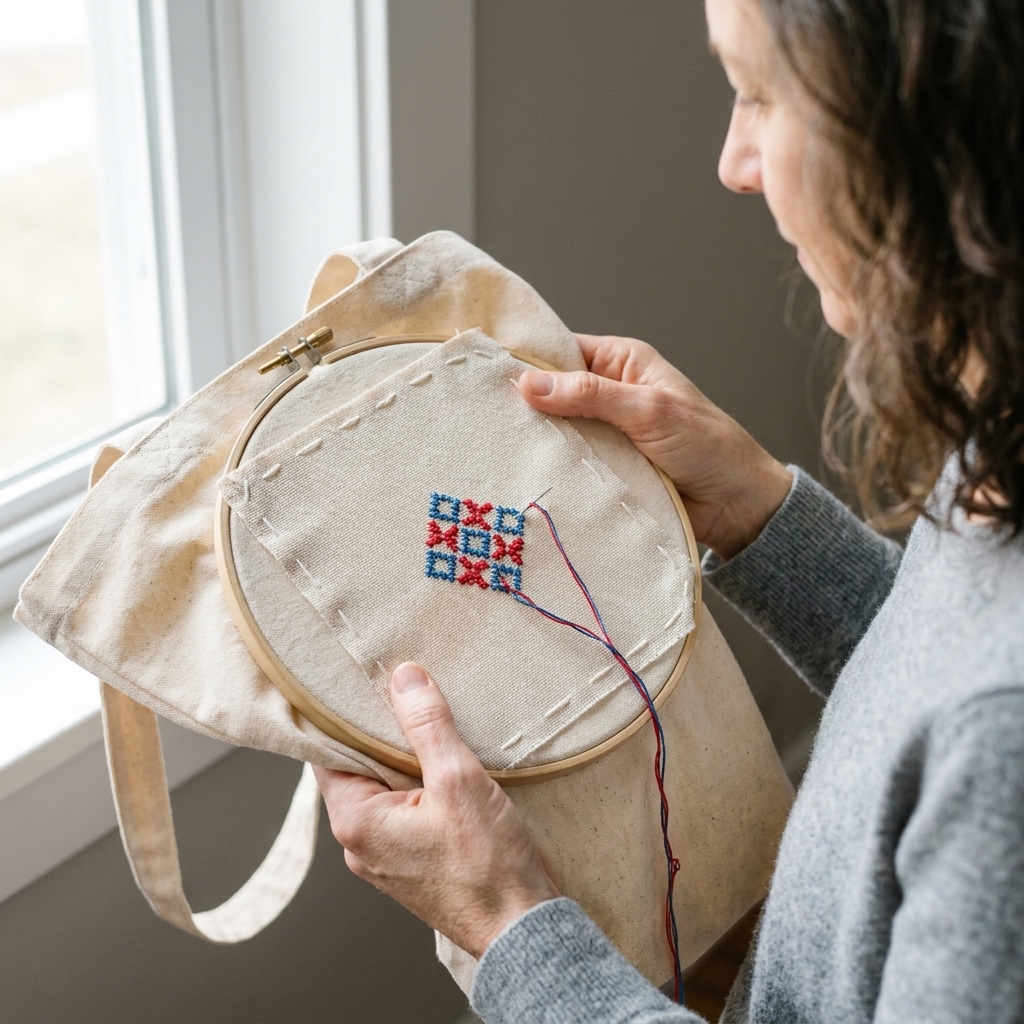
Waste canvas vs water-soluble canvas
Both products create a temporary grid so you can stitch true cross stitches on fabric that is not woven in an even grid. They just disappear differently.
Waste canvas
- What it is: A stiff, gridded canvas with removable threads.
- How it comes off: You wet it, then pull out the canvas threads one by one.
- Best for: Medium to heavy fabrics like canvas totes, denim jackets, and workwear. Great when you want a super stable surface.
- Heads up: Removal takes time, and you need to be gentle around tight stitches.
Water-soluble canvas
- What it is: A gridded, film-like sheet that dissolves in water.
- How it comes off: You soak or rinse it until it dissolves away.
- Best for: When you want faster cleanup, or for smaller motifs. Nice for curved areas too.
- Heads up: You must avoid getting it wet while stitching. Also, some totes can shrink or wrinkle if soaked aggressively.
If you are brand new, I usually suggest starting with waste canvas on a sturdy tote. It behaves predictably and forgives beginner tension.
Materials
- Blank canvas tote bag (pre-washed is best)
- Waste canvas or water-soluble canvas
- Cross stitch pattern (small motifs are perfect for first projects)
- Embroidery floss (DMC or similar) and tapestry needle (size 24 or 26 is a good starting point)
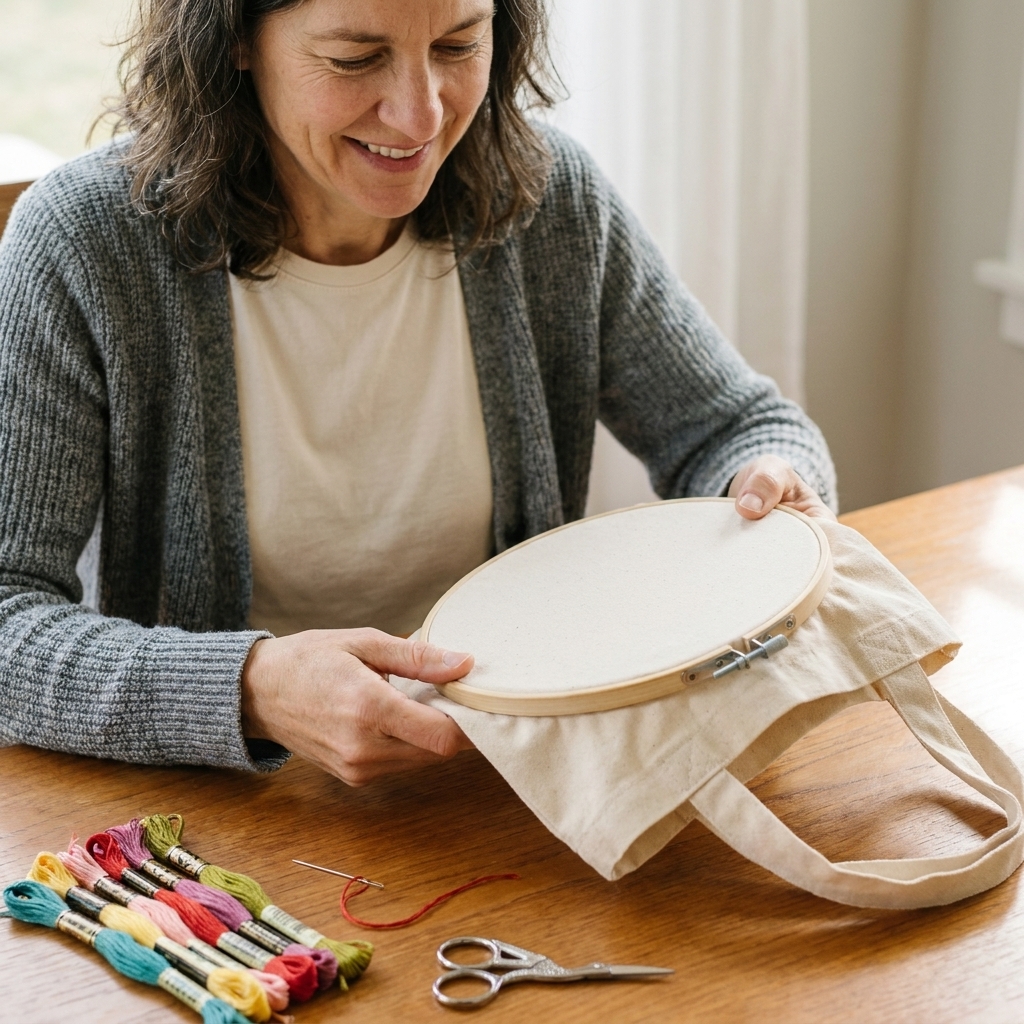
- Embroidery hoop (6 to 10 inch usually fits a tote nicely)
- Thread conditioner (optional, but helpful on grippy canvas)
- Sharp scissors
- Ruler or measuring tape
- Regular sewing thread (or water-soluble thread) for basting
- Pins or wonder clips
- Marking tool (water-soluble pen or chalk pencil, optional)
- Spray bottle or a bowl of water (for removal step)
- Tweezers (for waste canvas removal, strongly recommended)
- Optional support: a piece of thin cardboard, a cutting mat, and a removable stabilizer (see tips below)
Before you start
1) Pre-wash and dry
Canvas totes can shrink a bit, and you do not want your finished stitches to pucker after the first wash. I run mine through a quick wash and dry first. Skip fabric softener if you can.
2) Iron it flat
Wrinkles make it harder to place the grid straight. A quick press helps a lot.
3) Test colorfastness
If you plan to wash your tote (especially if you are using reds, blues, or dark colors), do a quick floss test: wet a short strand, blot it on a white cloth, and make sure it does not bleed.
4) Add support inside the bag
Slide a piece of cardboard, a thick book, or a cutting mat inside the tote behind your stitching area. This keeps you from accidentally catching the back layer with your needle and makes the surface feel less squishy.
Step-by-step: waste canvas
Step 1: Place your design
Decide where your design will live. Classic placements are centered on the front, in the lower corner, or high near the top like a “patch.”
- Center placement: Fold the tote in half vertically and lightly finger-press a crease. Fold horizontally if you want exact center.
- Corner placement: Measure up and in from the bottom corner so your design does not sit on the seam.
If you are using a pattern with a clear center point, mark the center of the design area on your tote with a tiny dot of water-soluble pen or a pin.
Step 2: Cut canvas larger than your design
Cut your waste canvas at least 1 to 2 inches larger than your design on all sides. You want room to hoop it without crushing stitches at the edges.
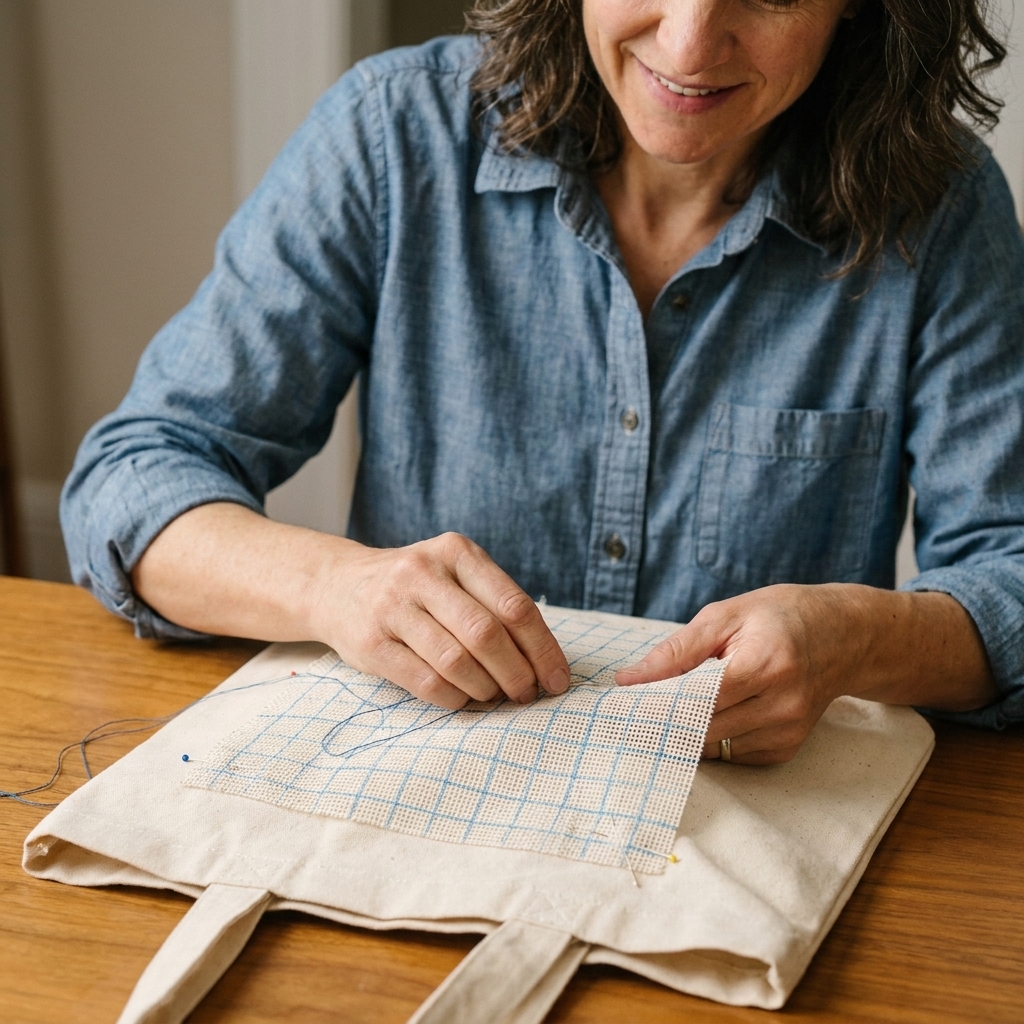
Step 3: Align the grid
This is the secret to a design that looks crisp instead of slightly tipsy.
- Line the waste canvas grid up with the tote’s weave as best you can.
- If your waste canvas has bold guide lines every 10 squares, use them to keep things square.
- Pin it in place, then step back and eyeball it. Your eyes catch crooked faster than rulers do.
Step 4: Baste it securely
Basting is not the glamorous part, but it prevents shifting, which prevents heartbreak.
- Thread a needle with sewing thread.
- Use long running stitches around all four sides of the waste canvas, about 1/4 inch from the edge.
- Add one line of basting through the center vertically and horizontally for extra stability, especially on bigger designs.
Keep the tote fabric flat as you baste. Do not stretch it like a trampoline.
Step 5: Hoop it (or stitch in-hand)
I like a hoop for totes because it keeps tension even, but you can stitch in-hand if your tote is very thick.
- Hoop both the tote and the waste canvas together.
- Make it taut like a drum, but not so tight that the weave distorts.
- Strap tip: If handles get in the way, rotate the hoop, move your placement slightly, or use a smaller hoop for tight areas.
- Hoop-mark tip: Take the hoop off between sessions. Canvas loves to hold a crease if it sits clamped overnight.
Step 6: Stitch your design
Stitch exactly like you would on Aida, but your needle is going through both the waste canvas and the tote fabric.
- Floss strands: For most canvas totes, 2 strands of floss is a sweet spot. If your tote weave is looser or you want a bolder look, try 3 strands.
- Stitch order: Make all your first legs in the same direction (for example, bottom left to top right) across a row, then come back and stitch the second leg (top left to bottom right) to complete the X. Keeping your top leg direction consistent makes everything look neater.
- Start method: Use a loop start with 2 strands if you can, or tuck the tail under the first few stitches on the back.
Clara tip: On tote fabric, your needle can squeak and snag. If it feels sticky, shorten your floss length to about 18 inches and consider a tiny swipe of thread conditioner.
Needle note: A tapestry needle is my default because it slides between fibers, but if your tote is very tight or dense, try a sharp embroidery (crewel) needle to pierce cleanly. Go slowly so you do not split your floss.
Step 7: Prevent puckering
Puckering usually comes from pulling stitches too tight or from the tote shifting in the hoop.
- After every 20 to 30 stitches, gently smooth the tote fabric with your hand.
- If you notice ripples, loosen the hoop slightly and re-tension.
- Try to lay the floss instead of yanking it snug.
If your tote is very floppy, you can add a temporary stabilizer behind the stitching area while you work. Tear-away stabilizer is fine for stitching support, but I do not recommend leaving it in place long-term. For a permanent clean finish, use an inside fabric patch (see finishing section).
Step 8: Finish and secure ends
When you are done, run your needle under several stitches on the back to secure. I avoid bulky knots on wearable items and bags because they can rub and create bumps.
Remove waste canvas
This is the part that feels like magic the first time, and also the part where people get impatient and tug too hard. Slow and steady wins here.
1) Lightly wet the canvas
Use a spray bottle or dab with a damp cloth until the waste canvas softens. You want it pliable, not dripping.
2) Remove the basting stitches
Snip and pull out your basting thread first so you are not fighting it later.
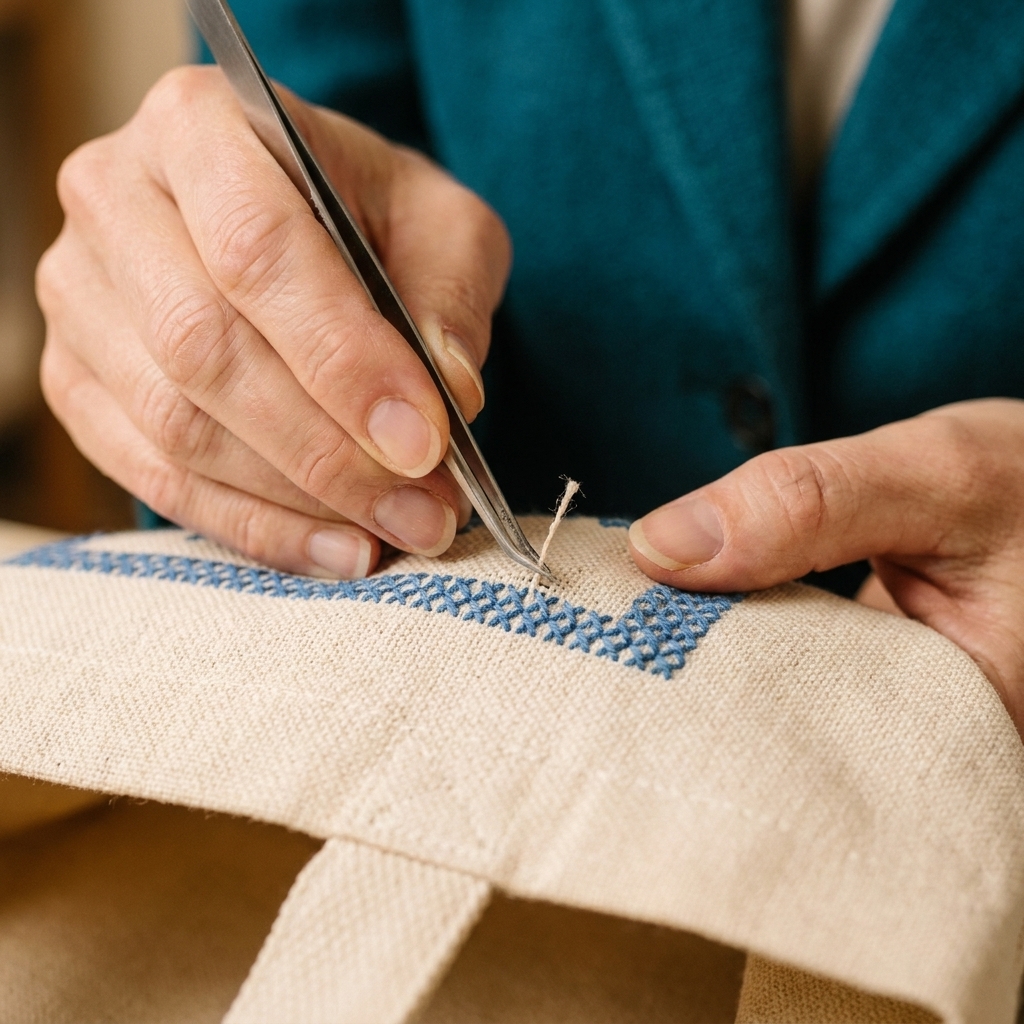
3) Pull threads out one direction at a time
Waste canvas is made of threads that slide out.
- Start with the horizontal threads: use tweezers to grab one thread end and pull gently.
- Then do the vertical threads.
- If a thread is stuck, re-wet and wait a minute, then try again. Do not yank through tight areas.
4) Dry flat and press if needed
Once all canvas threads are removed, lay the tote flat to dry. If it looks a little rumpled, press from the back with a pressing cloth.
Important: Do not iron directly on raised stitches without protection. A fluffy towel underneath helps keep stitches dimensional while you press the fabric around them.
Water-soluble canvas option
The stitching process is almost identical, but the prep and removal are slightly different.
Stitching tips
- Baste or pin well: It can shift more than waste canvas.
- Keep it dry: Wash hands before stitching and avoid setting your hoop on a damp surface.
- Mind your tension: The grid can make you want to pull tighter. Aim for snug, not strangled.
Removal tips
- Fill a bowl with cool to lukewarm water.
- Submerge just the stitched area if possible, and gently swish.
- Change water and repeat until residue is gone.
- Roll in a towel to remove excess water, then dry flat.
If possible, give the stitched area one extra rinse after it looks clean. Some brands leave a little residue that you only notice once it dries.
If your tote has leather handles, fancy hardware, or anything you do not want to soak, stick with waste canvas or dissolve the canvas with careful spot soaking.
Design tips
For your first tote, choose a design that is bold and not too confetti-heavy.
- Best beginner choices: Simple florals, fruit, geometric motifs, small animals, initials, tiny phrases.
- Watch out for: Super detailed full-coverage patterns. They take forever on thick fabric and can feel discouraging.
- Size suggestion: 2 to 4 inches wide is a happy first project and still makes a big impact.
If your pattern is charted for 14-count Aida, you can still use it. You just need to match the count of your waste canvas or water-soluble canvas.
Count and needle cheatsheet
| Canvas count | Look on a tote | Common floss strands | Needle |
|---|---|---|---|
| 14-count | Classic, slightly chunky stitches | 2 to 3 | Tapestry 24 |
| 16-count | Smoother detail, smaller stitches | 2 | Tapestry 26 |
| 18-count | Fine detail, can be harder on thick canvas | 1 to 2 | Tapestry 26 |
Not sure what you have? Most packaging will say the count. If you are stash-diving like I do, measure one inch and count the squares across.
If your tote fabric is especially dense: consider a sharp embroidery needle even if you usually prefer tapestry needles.
Common mistakes
My design looks crooked
Usually the waste canvas grid was not aligned to the tote weave. If you have only stitched a little, it is worth unpicking and re-basting. If it is mostly done, you may be the only person who notices. Tote bags are wonderfully forgiving.
My stitches are uneven or sinking
Canvas tote fabric can be squishy. Try:
- Using 3 strands instead of 2 for fuller coverage
- Switching to a slightly larger needle to reduce friction
- Adding temporary stabilizer behind the fabric while you stitch
I cannot pull the waste canvas threads out
Re-wet and wait a minute. Then pull slowly with tweezers. If a thread breaks, tease out the remaining bit from the other side. It is tedious, but it is fixable.
The tote puckered after removal
Light steam from the back and a gentle press usually solves it. For stubborn puckers, block the area: lightly mist, pin flat, let dry.
Finishing touches
Add an inside patch
If you want to protect your stitches from keys and rough items, hand stitch a piece of cotton fabric over the back of the design inside the tote. A simple whip stitch around the edges works beautifully and feels cleaner than leaving stabilizer behind.
Add support (optional)
Most cross stitch holds up fine on a tote without any sealant, but if the bag will be heavily used, consider a soft fusible interfacing patch behind the stitches for extra stability. Test first, and always press from the back with a cloth.
Care instructions
- Washing: Turn inside out and hand wash or gentle machine wash in cool water.
- Drying: Air dry flat when possible.
- Ironing: Press from the back with a pressing cloth, and avoid crushing the stitches.
FAQ
Can I stitch directly on a tote without canvas?
You can, but it is tricky because tote fabric does not always give you a reliable grid. Stitches can become uneven quickly. Waste canvas or water-soluble canvas makes it dramatically easier and cleaner.
Do I need stabilizer on the back?
Not always. For very floppy totes or large designs, a stabilizer behind the fabric while you stitch can help prevent distortion. I treat tear-away stabilizer as temporary help while stitching, then I remove it. If you want long-term protection, add an inside fabric patch or a soft interfacing backing.
What if my tote is printed or dyed?
You can still stitch on it, but be careful with marking tools and removal soaking. Test any pen and any water-soluble canvas removal on an inside seam first.
Will the stitches survive regular use?
Yes, especially if you use good tension, secure ends well, and consider an inner patch for protection. I have totes that have been tossed in cars, grocery carts, and beach sand, and the stitches are still going strong.