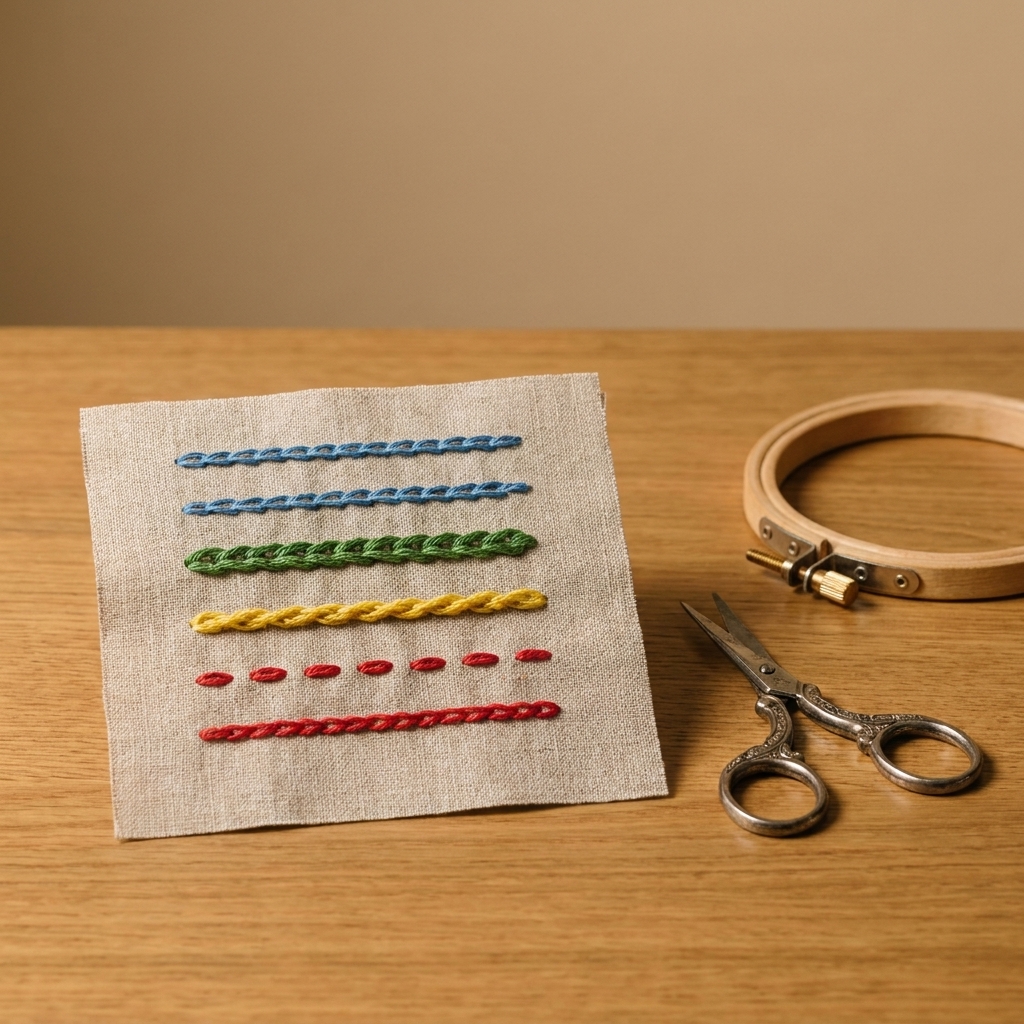
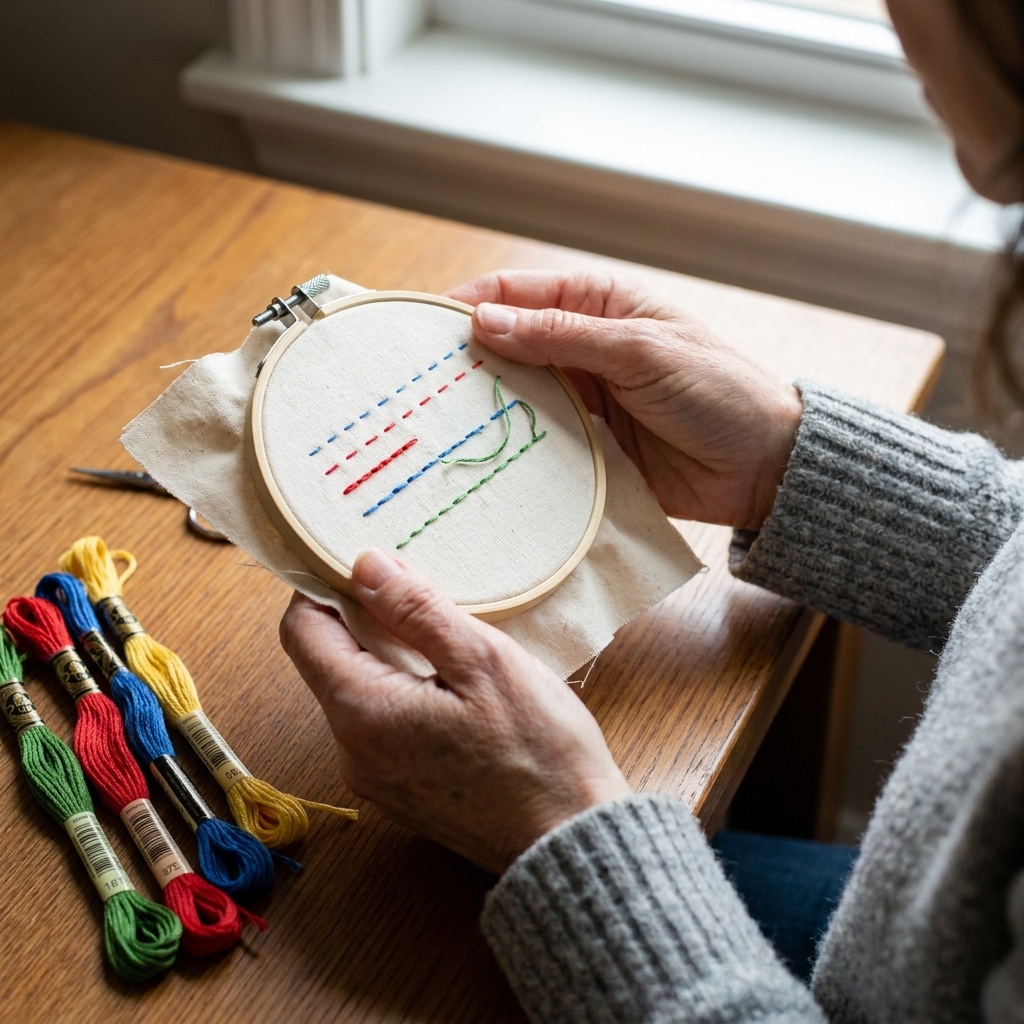
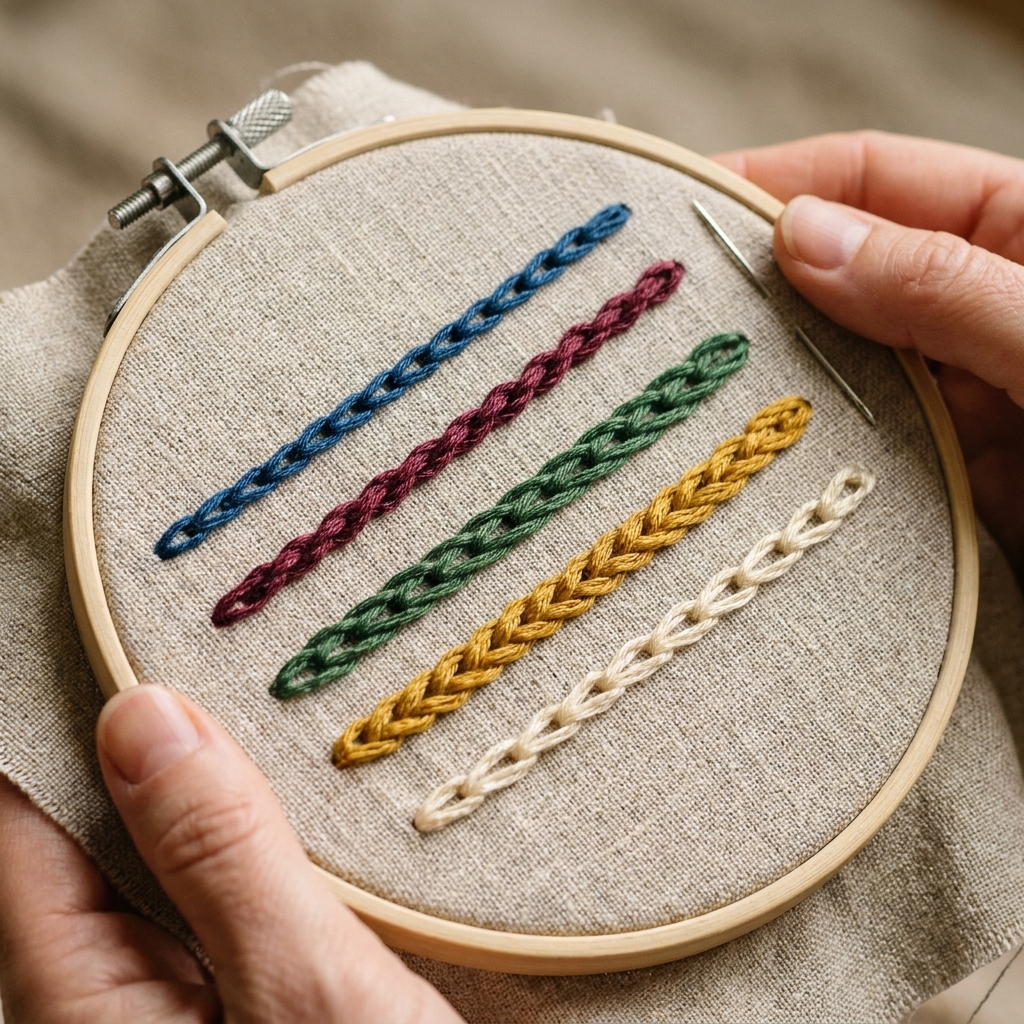
Chain stitch is one of those “how did I ever stitch without this?” techniques. It can be delicate, chunky, tidy, wild, and wonderfully forgiving when your tension is not perfect yet. If you can make a basic chain stitch, you can make every variation in this list. And if your chains come out a little lumpy at first, welcome to the club. I have definitely stitched an entire vine only to realize my thread was twisting like a tiny rope.
This guide walks you through seven chain stitch variations I reach for constantly. You’ll get what each one is best for, how to work it, and the little beginner pitfalls that can make a chain stitch misbehave. One quick note before we dive in: stitch names can vary by book, region, and teacher. If your favorite reference calls one of these by a different name, you are not imagining things.
Before you start: chain stitch basics
Materials that make chains look their best
- Fabric: Linen, quilting cotton, or evenweave with a medium thread count. Very loose weaves can let loops sink in and look uneven.
- Needle: Crewel or embroidery needle in a size that matches your thread. If you’re using 2 strands of floss, size 7 to 9 is often a comfy starting range.
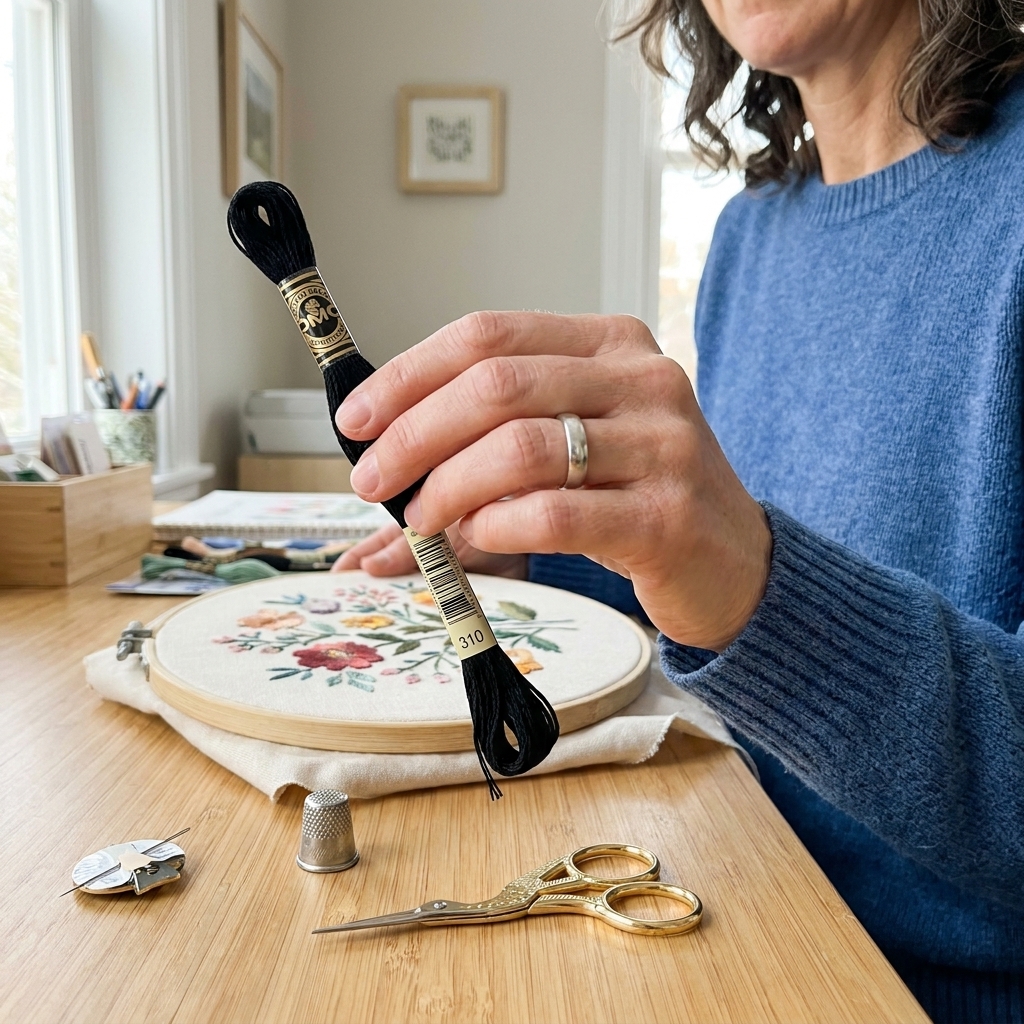
- Thread: DMC floss is perfect. Use 2 to 3 strands for most line work, 4 to 6 strands for bold, plush chains. Pearl cotton also makes gorgeous, ropey chains.
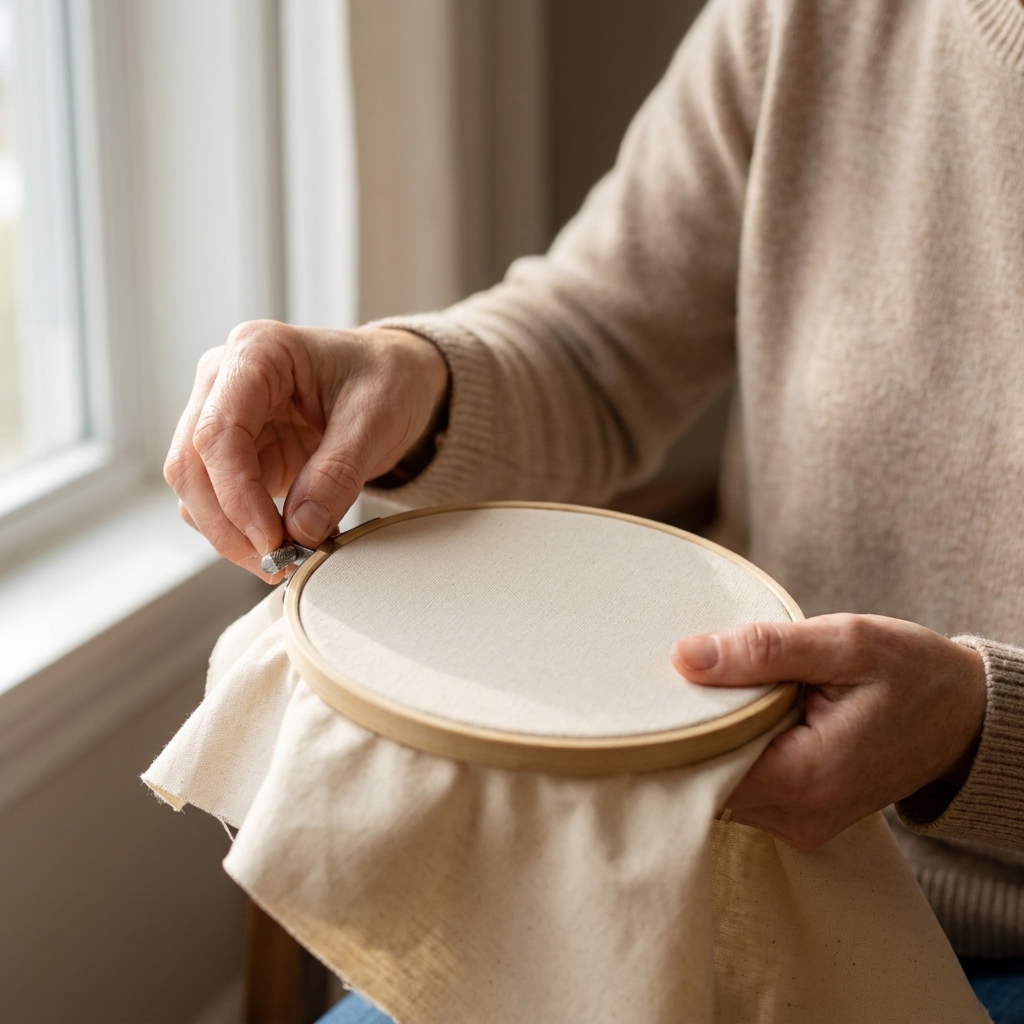
- Hoop: Keep your fabric drum-tight for the easiest control, especially as you learn. (Some stitchers work in-hand or with softer tension on delicate fabrics, but a snug hoop is the quickest path to tidy loops.)
Chain stitch rules that prevent chaos
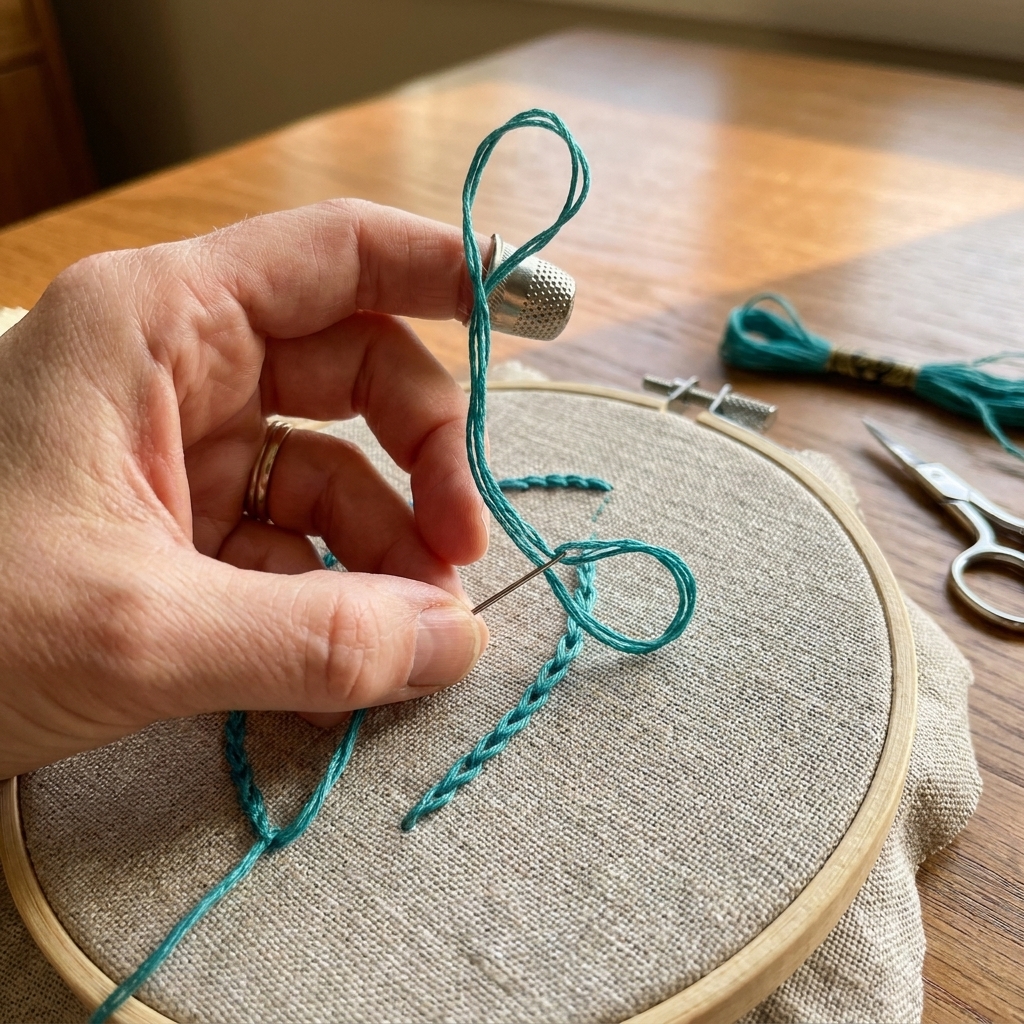
- Keep the working thread under the needle tip as you come up through the fabric. That’s what forms the loop. If the thread flips over the needle, the loop collapses.
- Make your stitches the same length when you want a neat chain. Aim for about 1/4 inch, or roughly the width of your thumbnail.
- Let the thread relax every so often by dropping the needle and letting it dangle. Twisty thread makes twisty chains.
- Finish securely: At the end of a chain line, make a tiny straight stitch over the last loop to lock it in place.
Starting and ending threads neatly
If you’re stitching on something that will be handled or washed, take an extra moment to secure your thread. To start, you can use a small away knot and then weave the tail under a few stitches on the back once you have a short line built. To end, run your needle under several stitches on the back (three passes is a good habit), then trim. The little straight “locking stitch” on the front keeps the chain from popping open, but the back-of-work anchoring is what keeps everything durable.
1) Lazy daisy (detached chain)
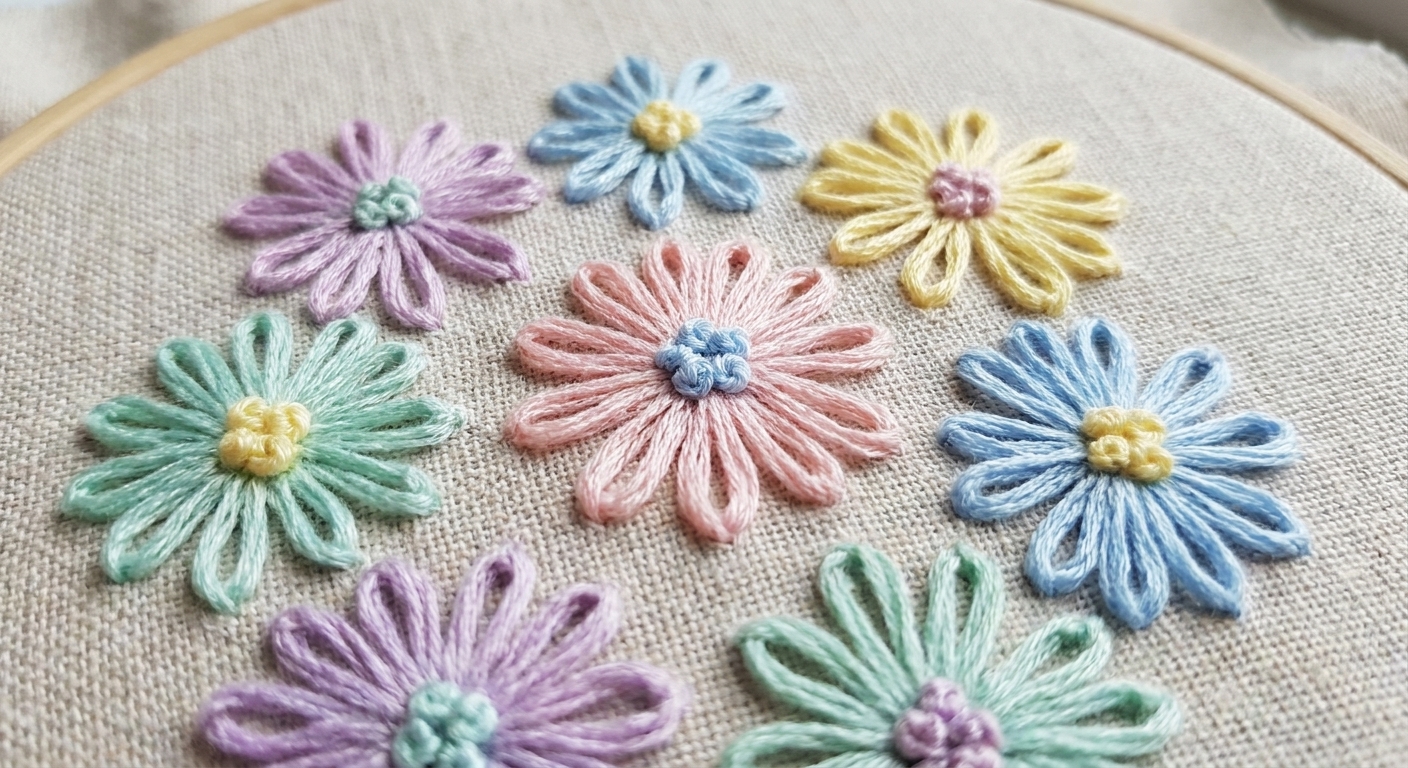
Best for: Petals, leaves, teardrops, tiny hearts, confetti flowers, and anything you want to look like a single little loop.
Lazy daisy is chain stitch’s sweet, beginner-friendly cousin. Instead of a continuous line of linked loops, you make one loop at a time and tack it down. It’s the fastest way I know to make a flower look cheerful with almost no effort.
How to stitch lazy daisy
- Bring your needle up at point A.
- Go down at point A again (or very close), but do not pull tight.
- Bring the needle up at point B a short distance away, keeping the working thread under the needle so it catches and forms a loop.
- Gently pull until the loop sits on the fabric without puckering.
- Make a tiny straight stitch just outside the loop tip to tack it down.
Clara’s tiny tip
If your lazy daisy loops look skinny, you’re pulling too tight. Pretend you’re placing the loop on the fabric, not yanking it into place.
2) Heavy chain
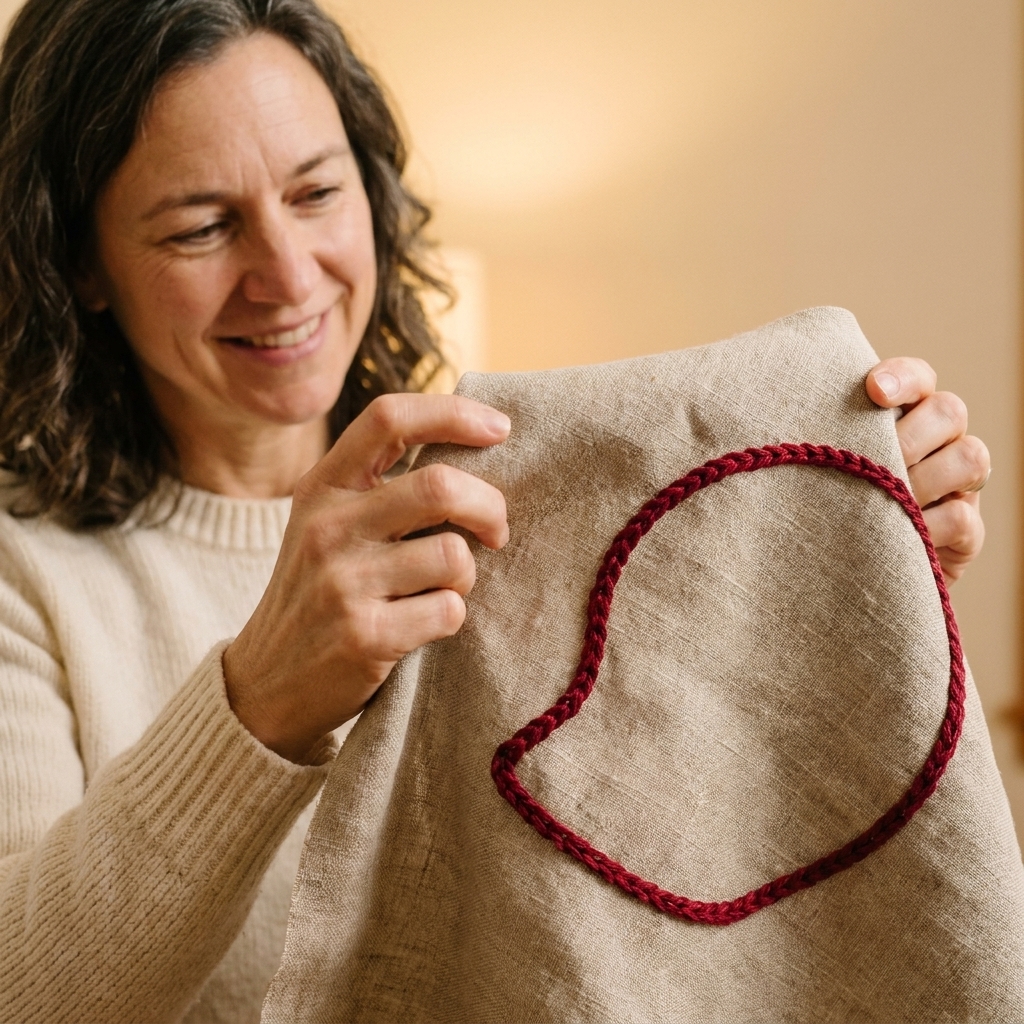
Best for: Chunky outlines, playful lettering, stems, and anywhere you want a raised, rope-like line that reads clearly from a distance.
Heavy chain is what I use when regular chain feels a little too dainty. It builds a thicker, more dimensional line by lacing into previous loops instead of stitching a simple link every time. It also behaves beautifully with 4 to 6 strands of floss or pearl cotton.
How to stitch heavy chain
- Make two regular chain stitches in a row to create a base.
- Bring your needle up at the end of the last stitch (where your next chain would begin).
- Insert the needle back down in the same hole to start the new loop, just like standard chain.
- Bring the needle up one stitch-length ahead inside the new loop, with the working thread under the needle tip.
- Before you pull the loop snug, slide your needle under the previous two chain loops on the surface. Do this without piercing the fabric. You are lacing under them, not sewing through.
- Now pull gently to snug the new loop into place. The lacing step is what gives that stacked, raised look.
- Repeat, always lacing under the previous two loops before tightening the new link.
- Lock the end with a small straight stitch over the final loop.
Where beginners get stuck
If your heavy chain looks flat, you probably skipped the lacing step and accidentally worked standard chain. If it looks messy, your stitch lengths are varying or your fabric is not tight enough in the hoop. Tighten first, then slow down and make three stitches in a row that match. The rest tends to fall into place.
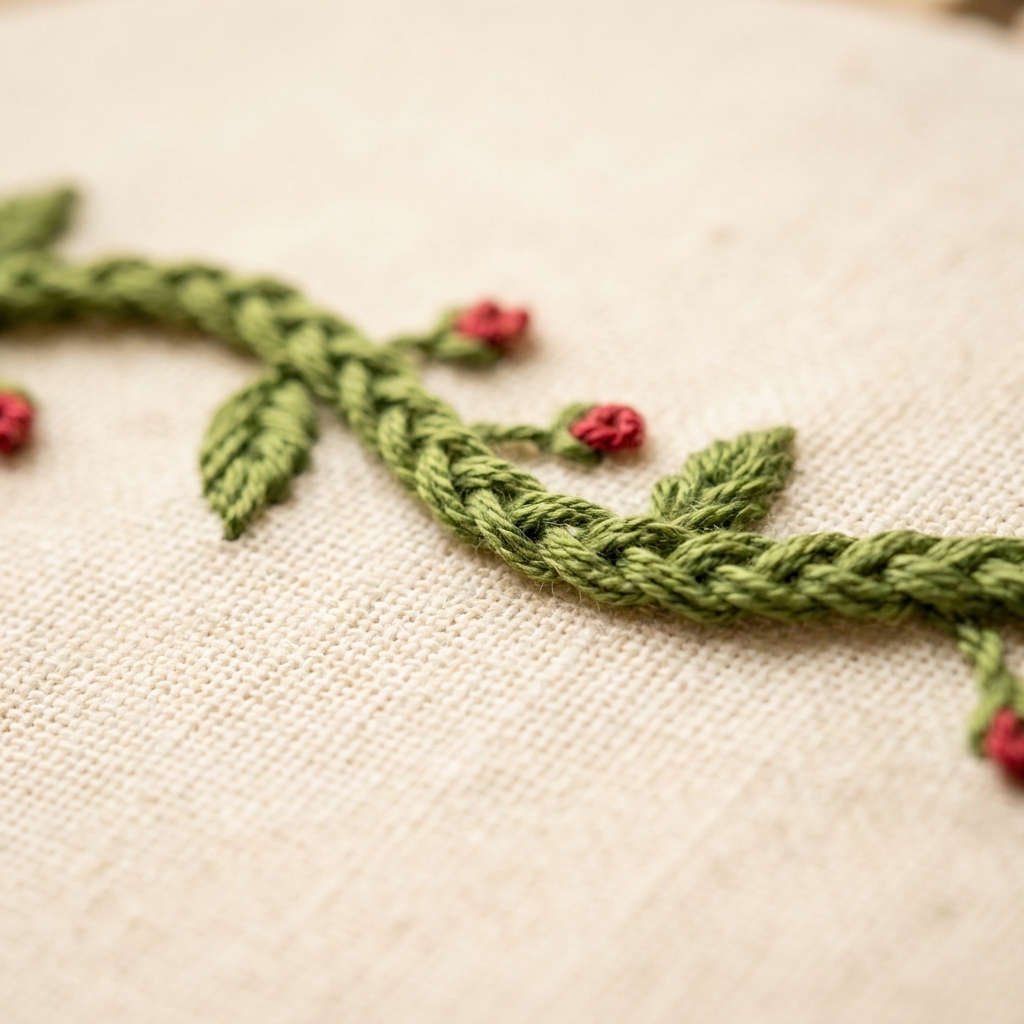
3) Braided chain
Best for: Decorative borders, jewelry-like outlines, whimsical stems, and adding a “wow, how did you do that?” texture without complicated counting.
Braided chain looks like a tiny plaited trim sitting on the fabric. It’s more structured than regular chain and has a satisfying rhythm once your hands learn the motion. I love it on modern botanical pieces where you want the stem to feel special.
How to stitch braided chain
- Bring the needle up at point A and take it down at point B to make a small straight stitch forward, but do not pull all the way through. Leave a visible loop on the surface.
- Bring the needle up at point C (ahead of B) and pass it through the loop you left, catching it.
- Gently pull so the loop snugly hugs the straight stitch.
- Repeat: make the next small straight stitch forward, leave a loop, then bring the needle up through the previous loop to braid them together.
Clara’s tiny tip
Think “stitch, loop, catch” like a little mantra. If you pull tight before the loop is caught, the braid disappears.
4) Twisted chain
Best for: Curving lines, stems, ocean waves, and playful accents that look like a cord laid on the fabric.
Twisted chain gives you a ropey, slightly angled texture. The twist comes from crossing the working thread, not from forcing a finished loop to misbehave after the fact. Once you get the feel, it’s strangely addictive.
How to stitch twisted chain
- Bring your needle up at point A.
- Hold the working thread so it makes a loose loop on the surface, then cross the working thread over itself to create a little twist (think of making a tiny figure-eight with the thread).
- Insert the needle down very close to point A, then bring it up a short distance ahead at point B. Key detail: bring the needle up so it comes up outside the loop rather than inside it. Keep the crossed thread positioned so the needle catches the correct side of the twist.
- Pull gently until the twisted loop settles into a neat, angled link.
- Repeat, keeping your crossing direction consistent so the twist looks even.
- Lock the end with a tiny straight stitch over the last link.
Troubleshooting
If the twist will not show, you are likely coming up inside the loop like regular chain. If it looks chaotic, your loop is too big. Shorten the stitch length a bit and pull just until it sits flat.
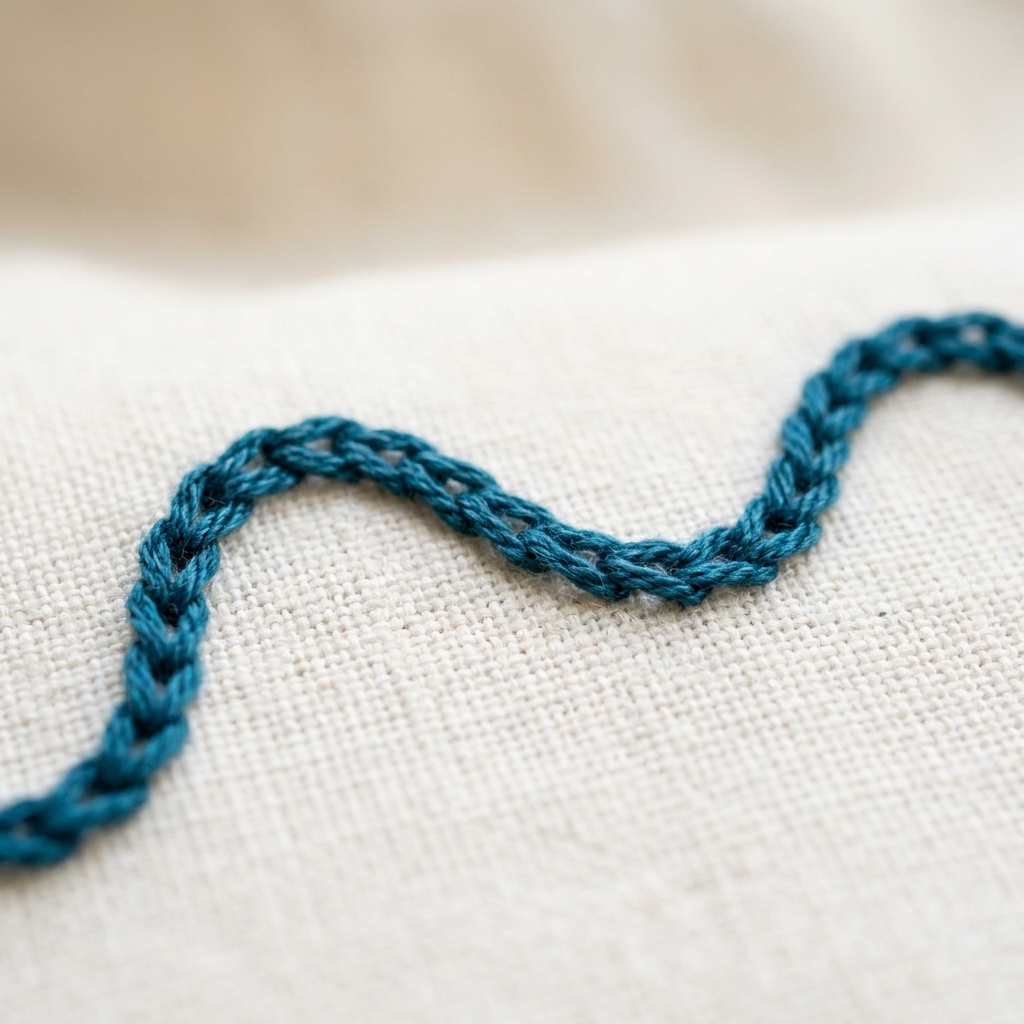
5) Open chain (ladder)
Best for: Airy borders, delicate stems, filling narrow bands, and anywhere you want the look of chain stitch without a dense line.
Open chain creates a linked, ladder-like line with little spaces in between. It’s light, elegant, and surprisingly good for adding texture to minimalist designs.
How to stitch open chain
- Mark (or imagine) two parallel lines: a left rail and a right rail. Keep the rails a consistent distance apart for an even ladder.
- Bring your needle up on the left rail at point A.
- Insert the needle down directly across on the right rail at point B (this forms the top of your ladder rung), but do not pull the thread all the way through.
- Bring the needle tip back up on the left rail at point C, a short distance below A, and make sure the working thread sits under the needle so it catches and forms an open loop.
- Pull gently so the loop makes a tidy, open link between the rails.
- Repeat, alternating: go down across to the opposite rail, then come up below on the first rail with the thread under the needle.
- To finish, take a small straight stitch over the last loop to lock it.
Clara’s tiny tip
This stitch loves smooth thread. If your floss is fuzzy from rethreading a hundred times, swap in a fresh cut length and it will instantly look cleaner.
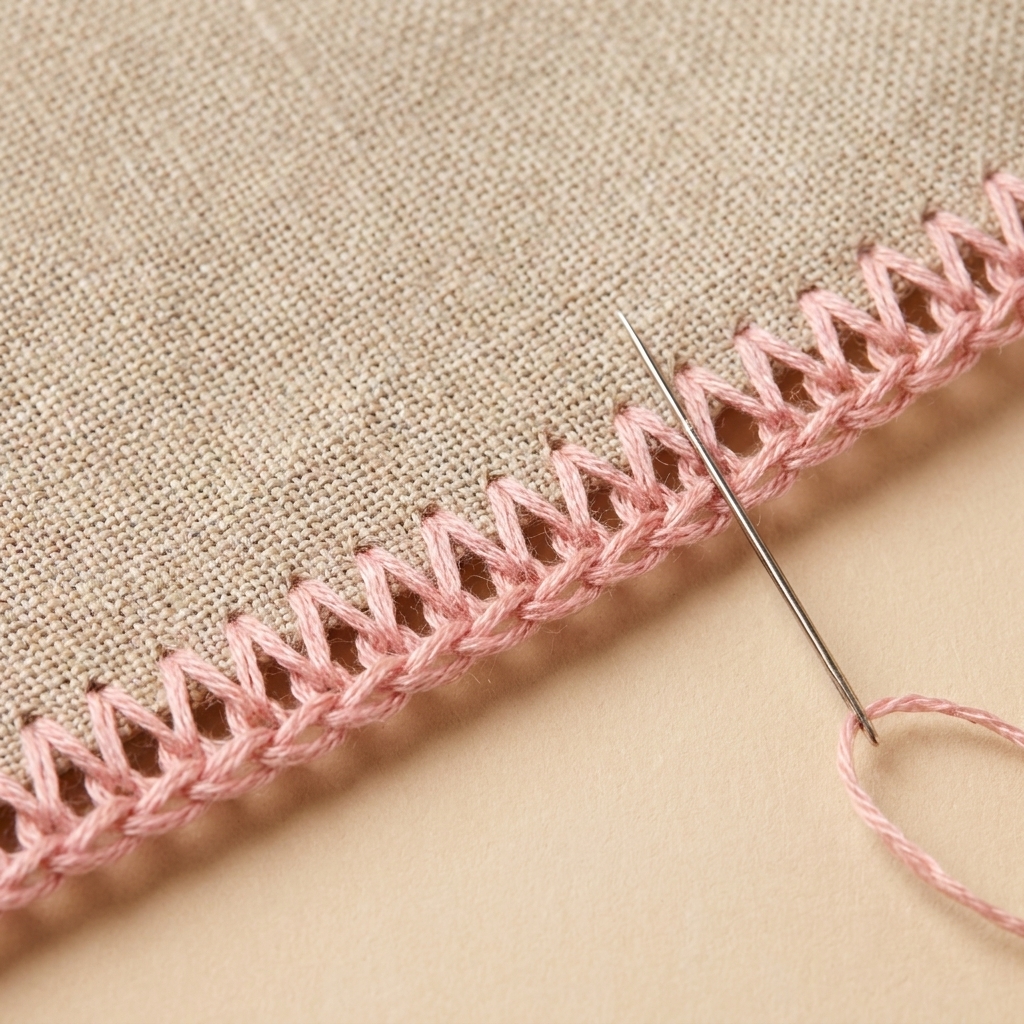
6) Cable chain
Best for: Decorative outlines, nautical motifs, cozy sweater vibes, and bold borders that still look tidy.
Cable chain has a linked, slightly knotted look, like a tiny chain of cables. The secret is a quick wrap around the needle that acts like a mini twist, giving each link its crisp, cable-like bump.
How to stitch cable chain
- Bring your needle up at point A.
- Hold the working thread to the right (or left, just be consistent). Near the needle tip and close to the fabric, wrap the thread around the needle once, like the beginning of a French knot, but do not make a knot.
- Insert the needle down a stitch-length away at point B.
- Bring the needle up at point C, a short distance ahead from B along your line.
- As you pull through, keep gentle tension on the working thread so the wrap tightens into a compact “cable” link rather than a loose loop.
- Repeat: wrap once, go down, come up ahead, snug it into place.
- Lock the end with a tiny straight stitch over the final link.
Troubleshooting
If your links look floppy, you are either skipping the wrap or letting it slide loose. Wrap once, then keep a light pinch on the thread until the needle is through. Cable chain also likes small, consistent movements.
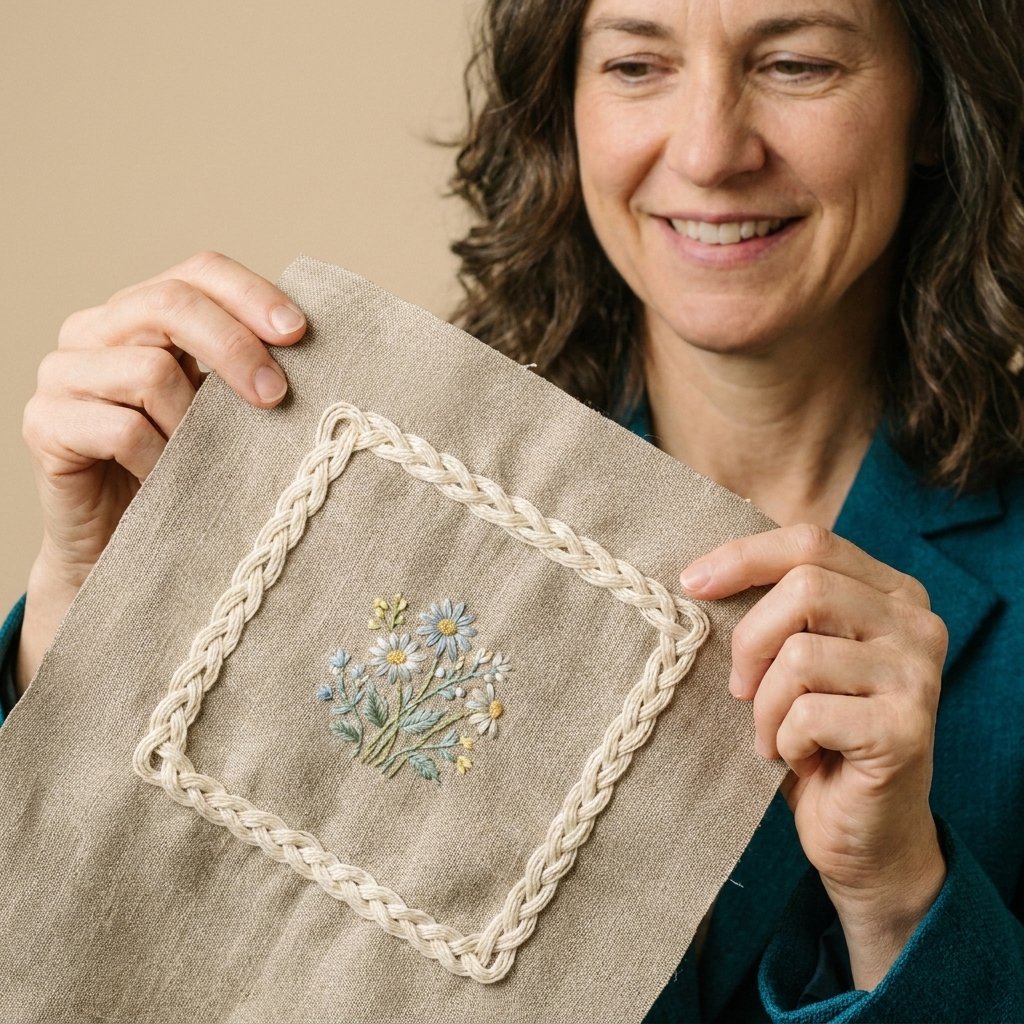
7) Chain stitch fill
Best for: Filling leaves, clothing shapes, bold modern blocks of color, and adding a tactile, tufted texture without satin stitch stress.
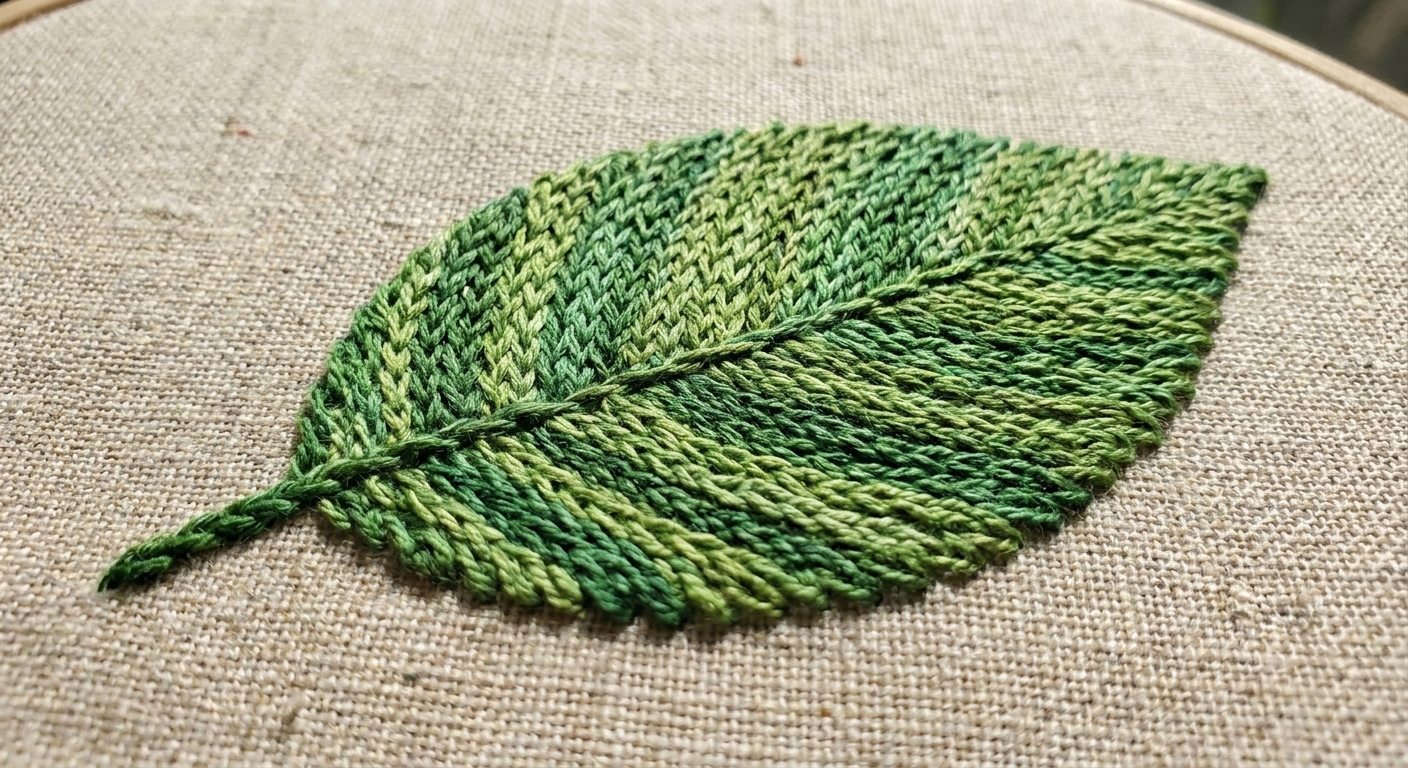
This is not a single stitch so much as a strategy: use chain stitch in tidy rows to fill an area. The result is textured and forgiving. If you have ever battled a lumpy satin stitch, chain fill feels like a deep breath.
How to do a chain stitch fill
- Outline your shape lightly (even a faint pencil line helps).
- Work chain stitch rows side by side, keeping the stitch length consistent.
- For a smooth look, keep all chains facing the same direction.
- For a textured look, alternate direction every row.
- End each row by locking the last loop with a tiny straight stitch, then start the next row close beside it.
Clara’s tiny tip
If your rows start drifting, stop and place a couple of tiny anchoring stitches along the outline to steer yourself back on track. Nobody has to know.
Quick guide
| Variation | Looks like | Great for | Beginner-friendly? |
|---|---|---|---|
| Lazy daisy | Single loop with a tack | Petals, leaves, tiny motifs | Yes |
| Heavy chain | Chunky raised chain | Outlines, lettering, stems | Yes, once you learn the “lace under two loops” step |
| Braided chain | Plaited trim | Borders, special stems | Intermediate but learnable |
| Twisted chain | Ropey angled links | Curves, waves, vines | Yes |
| Open chain | Airy ladder links | Delicate borders, bands | Yes |
| Cable chain | Compact cable bumps | Borders, nautical motifs | Intermediate but learnable |
| Chain fill | Textured rows | Filling shapes and blocks | Yes |
Common problems
My chain loops keep popping loose
Make sure your needle comes up inside the loop each time (except for variations like twisted chain, which has its own rules). Also lock the end with a small straight stitch over the final loop, and weave in your thread tail on the back so nothing can wiggle free later.
My line looks jagged instead of smooth
Shorten your stitch length on curves. Tiny stitches steer better than long ones, just like taking small steps on a winding path.
My fabric is puckering
You’re pulling too tight, or your fabric is not supported well. Tighten the hoop, then focus on laying the loop gently on the surface instead of cinching it down.
My thread keeps tangling
Cut shorter lengths (around 18 to 20 inches is friendly), separate your floss strands before recombining them, and let your needle dangle occasionally to untwist. If you switch between pearl cotton and stranded floss, expect the texture to change. Pearl cotton will look more rope-like and crisp, while floss can look softer and flatter depending on strand count.
My chain looks different depending on direction
That’s normal. Chain stitch can look slightly different based on whether you stitch toward yourself or away from yourself, and which side you hold the working thread on. Pick a direction and stay consistent within one line, especially for outlines and lettering.
A simple practice vine
If you want a low-pressure way to try all seven variations, stitch a winding vine across a scrap of fabric and swap the stitch every inch or so. Add lazy daisy flowers, fill one leaf with chain rows, and outline a small shape in heavy chain. It’s calming, it builds muscle memory fast, and it gives you a reference you’ll actually keep.
And if you end up with a few wonky links, keep them. Future you will love seeing how quickly your hands learned.