If you have ever stared at a bumpy little dot in an embroidery pattern and felt your shoulders tense up, hi, you are with friends. Raised knot stitches look so simple on paper, and then suddenly you are wrestling with floss that wants to either vanish into the fabric or explode into a lumpy mess.
Two of the most popular raised “dot” knot stitches are the French knot and the colonial knot. They can look nearly identical in a finished piece, but the way you wrap the thread is different, and that difference affects how secure, consistent, and beginner-friendly the knot feels in your hands.
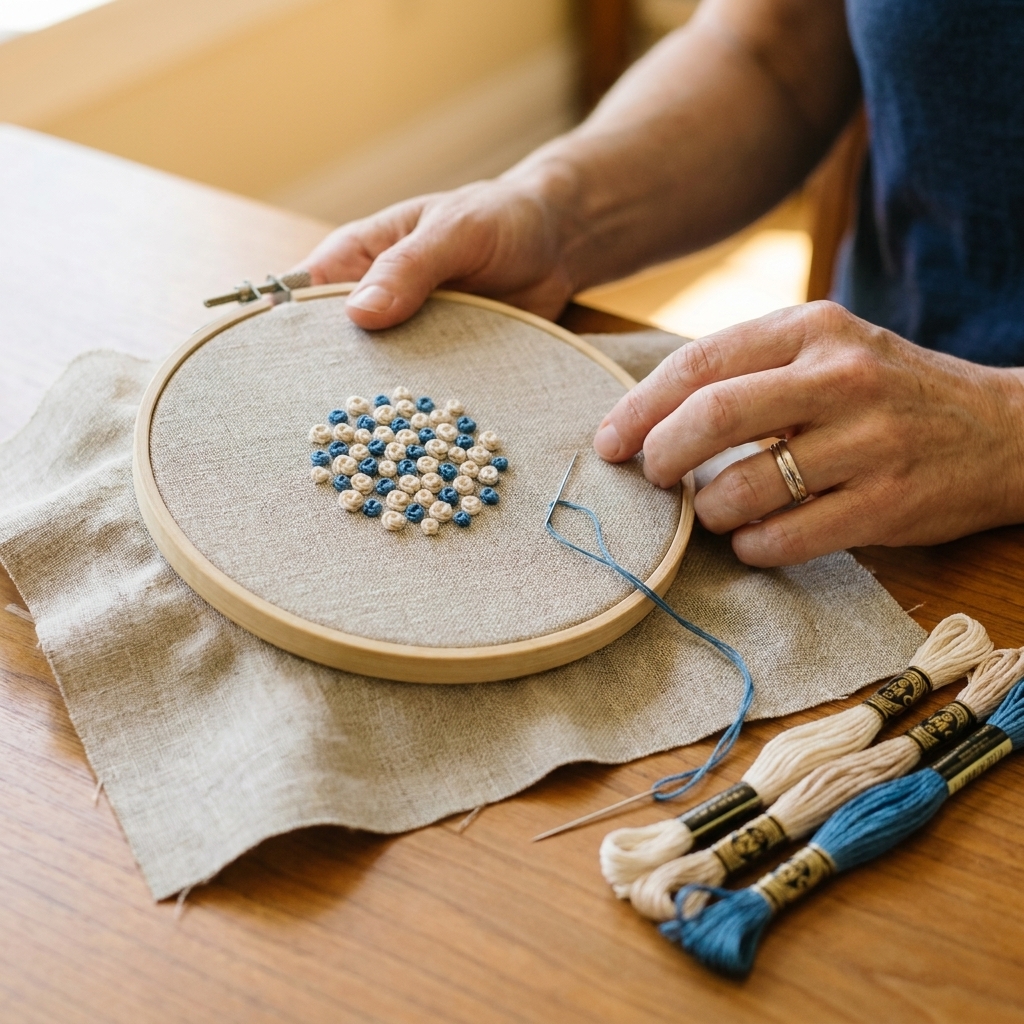
Let’s break down what makes each knot tick, when to choose one over the other, and how to stitch both without the usual frustration.
French knot vs. colonial knot at a glance
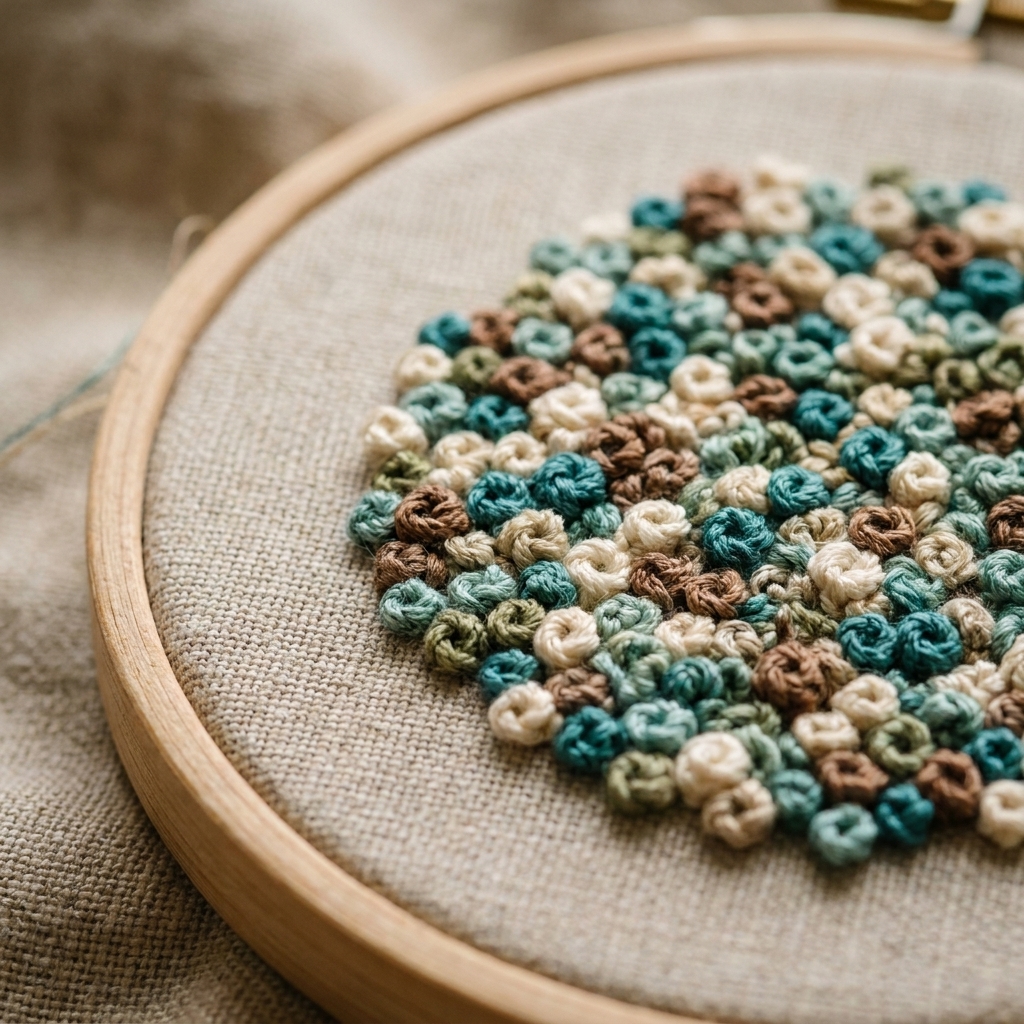
Both stitches create a tiny raised dot that can stand in for flower centers, berries, animal eyes, snow, confetti, or textured shading. The main differences are how the thread wraps and how the knot locks as you take the needle back down.
| Feature | French knot | Colonial knot |
|---|---|---|
| Wrap shape | Thread wraps around the needle in a smooth coil | Thread makes a figure-eight style wrap |
| How it behaves | Can slip or loosen if tension is inconsistent | Often feels more “locked in” and stable |
| Consistency | Very consistent once your tension habit is set | Very consistent even for many beginners |
| Best for | Classic embroidery, delicate dots, lighter texture | Dense clusters, hard-wearing areas, beginners who struggle with French knots |
| Looks like | Round, slightly domed dot | Round, slightly domed dot, often a touch more structured |
My totally pragmatic take: use whichever one you can stitch neatly on purpose. Your project will not be graded by the Knot Police.
When to use a French knot
French knots are the classic. You see them in traditional embroidery, samplers, and florals everywhere for a reason. They are quick, versatile, and easy to vary in size.
Choose a French knot when you want
- Airier texture, like scattered snow or tiny freckles on a motif
- Very small dots using 1 strand or fine thread
- Speed once you have the muscle memory
- More control over size by changing number of wraps and strand count
Where French knots shine
- Flower centers (daisies, wildflowers, lavender)
- Eyes on simple faces (especially with 1 strand)
- Single dots on lettering or borders
- Lightly textured fill where you do not want heavy bumps
When to use a colonial knot
Colonial knots are a little less famous, but they are beloved for one big reason: many stitchers find them more secure and easier to keep consistent.
Choose a colonial knot when you want
- A knot that feels like it “grabs” and stays put
- Neat, repeatable dots in a big group
- Durability on items that will be handled, like ornaments, pincushions, or mending
- Less slipping if French knots tend to pull through your fabric
Where colonial knots shine
- Dense clusters of berries or buds
- Textured animal fur accents or stippling
- Areas that get touched a lot (small hoop ornaments, patches)
- Anywhere your French knots have been misbehaving
What you need for both knots
- Fabric: Cotton, linen, or even Aida for cross stitch finishing details. Tighter weaves help prevent knots pulling through.
- Needle: A sharp embroidery (crewel) needle works best for woven cotton and linen. If you are working on Aida or evenweave and want to avoid splitting threads, a tapestry needle (blunt) is often easier.
- Thread: Stranded cotton floss is perfect. You can stitch knots with 1 to 6 strands depending on the look. Pearl cotton, wool, and silk also work, but you may want fewer wraps since those threads can be thicker or springier.
- Hoop or frame: Strongly recommended. Good tension makes every knot easier.
Beginner sanity tip: If your knots look messy, try fewer strands first. Clean knots are more about control than bulk.
Don’t skip anchoring: Knots look cute on the front, but they behave best when the back is secure. Start and end with a solid anchor (like a waste knot and tiny securing stitches, or a few small backstitches under nearby stitches), especially on items that will be handled.
How to stitch a French knot
Think of a French knot as a tiny coil that sits on top of the fabric. Your job is to keep the coil snug while the needle goes back down just beside where it came up.
Step by step
- Bring the needle up at point A (where you want the knot).
- Set your hand position: Hold the needle in your stitching hand. With your other hand, hold the working thread so it stays gently taut, like you are making a tiny clothesline over the fabric.
- Wrap the thread around the needle 1 to 3 times. (Start with 2 wraps for a classic medium dot.)
- Keep the wraps snug by pinching them lightly near the fabric surface.
- Insert the needle back down just beside point A, but not in the exact same hole. Think “a pinprick away.” How far depends on your fabric and thread, but you want it close enough that the knot sits neatly on top.
- Pull the needle through while still holding gentle tension on the working thread. Let the knot settle on the surface as the thread tightens.
French knot troubleshooting
- Knot disappears to the back: You went down in the same hole, or your fabric weave is too open for your strand count. Go down just beside the hole, or use fewer strands.
- Knot turns into a loose loop: You let the working thread go slack while pulling through. Keep it gently taut until the knot seats.
- Knot is lumpy: Too many wraps for the thread thickness, or the wraps are stacking unevenly. Try 1 wrap with 3 to 6 strands, or 2 wraps with 1 to 2 strands.
- Thread tangles while pulling: Pull the needle through slowly, and keep the wraps controlled near the fabric until the needle is fully through.
How to stitch a colonial knot
A colonial knot uses a figure-eight wrap that many stitchers find more stable. It looks fancy, but once your hands learn the motion, it is very repeatable.
Step by step
- Bring the needle up at point A.
- Set your hand position: Hold the needle steady. With your other hand, keep the working thread gently taut.
- Make the first loop: Lay the working thread across the needle (front to back), then tip the needle under the thread to catch it. You are forming a small loop around the needle shaft.
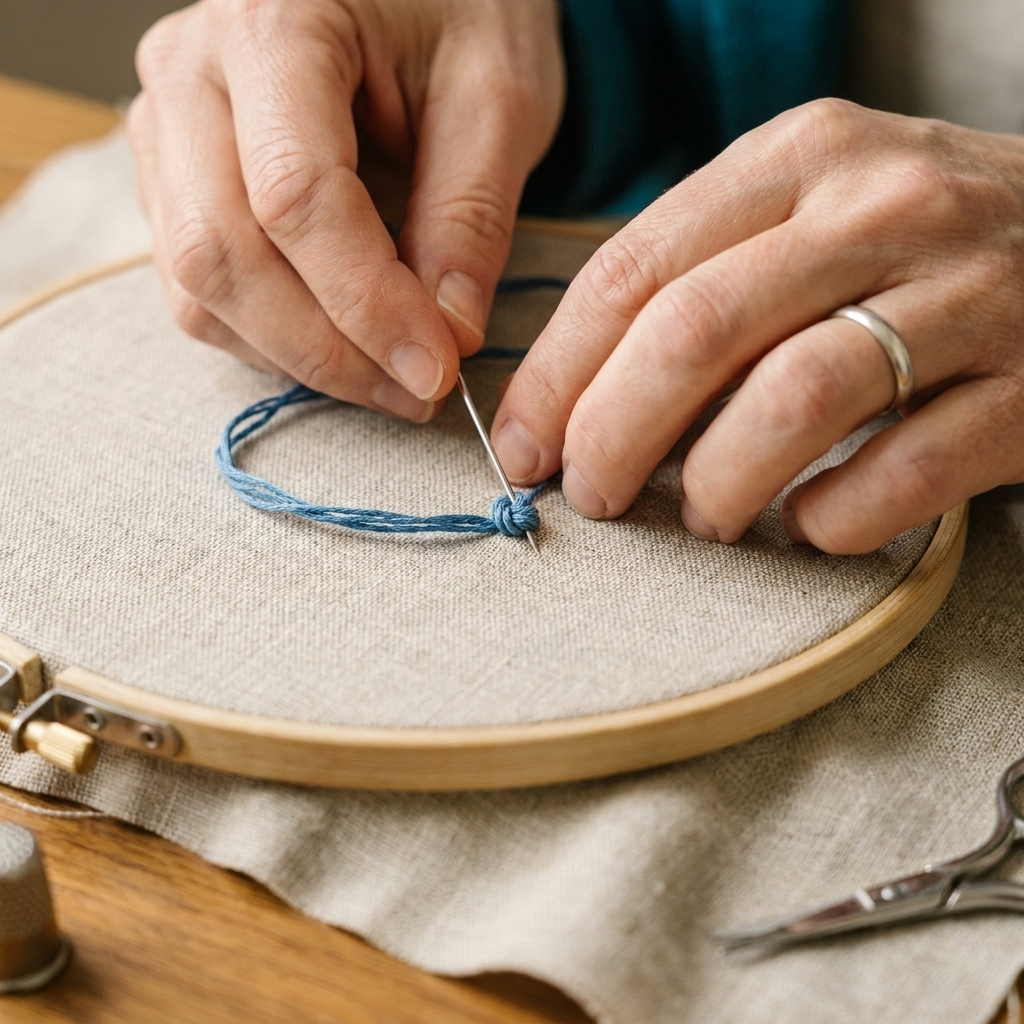
- Cross it to make an “8”: Move the needle tip over the working thread and under it again so the thread crosses itself once on the needle. When you look at the wrap, it should resemble a tiny figure eight.
- Slide the wrap down toward the fabric surface and pinch it lightly so it stays neat.
- Insert the needle back down just beside point A, not in the same hole.
- Pull through slowly while keeping gentle tension on the working thread so the knot seats on top of the fabric.
Colonial knot troubleshooting
- Knot looks like a messy twist: The wrap did not cross cleanly. Slow down and make sure the thread crosses itself once on the needle before you pull through.
- Knot is too big: Use fewer strands, or make sure you are doing a single figure-eight wrap instead of adding extra turns.
- Knot pulls through: Go down just beside the entry point, and match strand count to your fabric weave.
How to choose
If you are deciding for a specific project, here is the easiest way to pick without overthinking it.
Pick French knots if
- You only need a few knots, not hundreds.
- You want a slightly softer, less structured dot.
- You already stitch them confidently and quickly.
Pick colonial knots if
- You are making a dense field of knots and want consistency.
- Your French knots keep loosening, twisting, or pulling through.
- You want a knot that feels secure on items that will be handled.
Even better: Stitch a tiny test patch with both on the same fabric and thread you are using for the project. Two minutes of sampling saves an hour of unpicking later.
Tips for neat knots
Control the tension, not your whole life
The secret sauce is steady, gentle tension on the working thread while you pull the needle through. Not yanking. Not letting it go slack. Just enough to keep the wrap snug.
Go down beside, not through the same hole
If you go down through the exact same hole you came up through, your knot has a higher chance of pulling to the back. Think “next door,” not “same doorway.”
Match knot size to fabric
- Tight fabric (quilting cotton, linen): You can use more strands without knots sinking.
- Evenweave and Aida: Keep the knot small, and avoid dropping into a big open intersection. Sometimes it helps to come up in a hole but go down through fabric threads right beside it.
- Stretchy fabric: Stabilize with interfacing if possible, or choose smaller knots.
Use shorter thread lengths
When floss gets fuzzy, knots get messy. I like working with about 18 to 24 inches so the thread stays smooth.
One or two strands can be magical
If you are learning, try 2 strands with 1 to 2 wraps. It is often the sweet spot for tidy, visible knots without bulk.
Common questions
Which knot is easier for beginners?
Many beginners find the colonial knot easier because the wrap “locks” and feels more predictable. That said, if French knots click for you first, stick with them.
Can I substitute one for the other in a pattern?
Almost always, yes. If a pattern calls for French knots, colonial knots will typically look the same in the finished piece. The only time I would pause is if the designer is using knots in a very specific way for shading and size. In that case, do a small test to match the dot size.
How many wraps should I do?
Start here:
- 1 wrap: tiny, delicate dot
- 2 wraps: classic knot size
- 3 wraps: larger dot, more texture (can get lumpy with thick strand counts)
Bigger is also achievable by using more strands instead of more wraps. That often keeps the knot looking rounder.
Why do my knots look like little commas instead of dots?
That usually happens when the wrap is not snug as the needle goes down, or the knot twists as you pull through. Slow down, keep tension on the working thread, and pull the needle through in a straight, controlled motion.
A quick practice drill
If knots stress you out, try this quick drill on scrap fabric:
- Stitch a row of 10 French knots using 2 strands and 2 wraps.
- Stitch a row of 10 colonial knots with the same thread.
- Do one more row of each, but slow down and focus only on tension and going down beside, not through, the original hole.
By the end, your hands will usually pick a favorite on their own. That is the knot you should use.
If you want, keep your practice scrap. I have a whole little “knot museum” tucked in my floss box, and it is oddly comforting to see how quickly muscle memory builds.