Finishing a piece is the part that can make even confident stitchers suddenly feel like total beginners. I have been there, staring at a beautiful completed motif and thinking, “Now what do I actually do with you?” The good news is that you do not need fancy equipment or a fine arts degree to get a clean, display-worthy finish. You just need a plan, a few supplies, and permission to keep it simple.
Below are seven creative ways to frame and finish embroidery and cross stitch, mostly beyond the traditional wooden hoop (with one upgraded hoop option, because it really can look polished when you finish the back). I will share what each finish is best for, the basic steps, and a few little “learned it the hard way” tips so your hard work stays smooth, centered, and protected.
Before you finish: three easy steps
1) Clean it gently (when appropriate)
For many pieces stitched with cotton floss on cotton or linen, a gentle hand wash can remove hoop marks and oils from your hands. Use cool water, a tiny bit of mild soap, and do not scrub the stitched area.
A quick caution that is worth the extra minute: not all floss is reliably colorfast, especially hand-dyed or overdyed threads, and some fabrics can shrink. If you are not 100 percent sure about your materials, skip soaking and spot clean instead. If you want to test for bleeding, dab a small stitched area with a damp white cloth and see if any color transfers.
If your piece includes specialty threads, beads, felt appliqué, or anything you are unsure about, spot cleaning is the safer choice.
2) Press from the back
Press your work from the back on a fluffy towel so your stitches do not get flattened. Use a pressing cloth if you are nervous about color transfer. Steam can help relax creases, but use it lightly and avoid soaking the fabric. If you have any staining or you are worried about water marks, stick to a dry iron and let the cloth do the work.
3) Decide what you are protecting
If the piece will be in sunlight, near humidity (hello, bathroom art), or in a high-touch area, choose a finish that adds protection, like glass, acrylic, or a shadow box. I also try to avoid hanging textiles near kitchens, fireplaces, or exterior walls that get cold and can create condensation.
- Quick rule: If it is heirloom-level effort, add glass or keep it out of direct light.
- Another quick rule: If it is a gift, choose a finish that looks intentional from the back too.
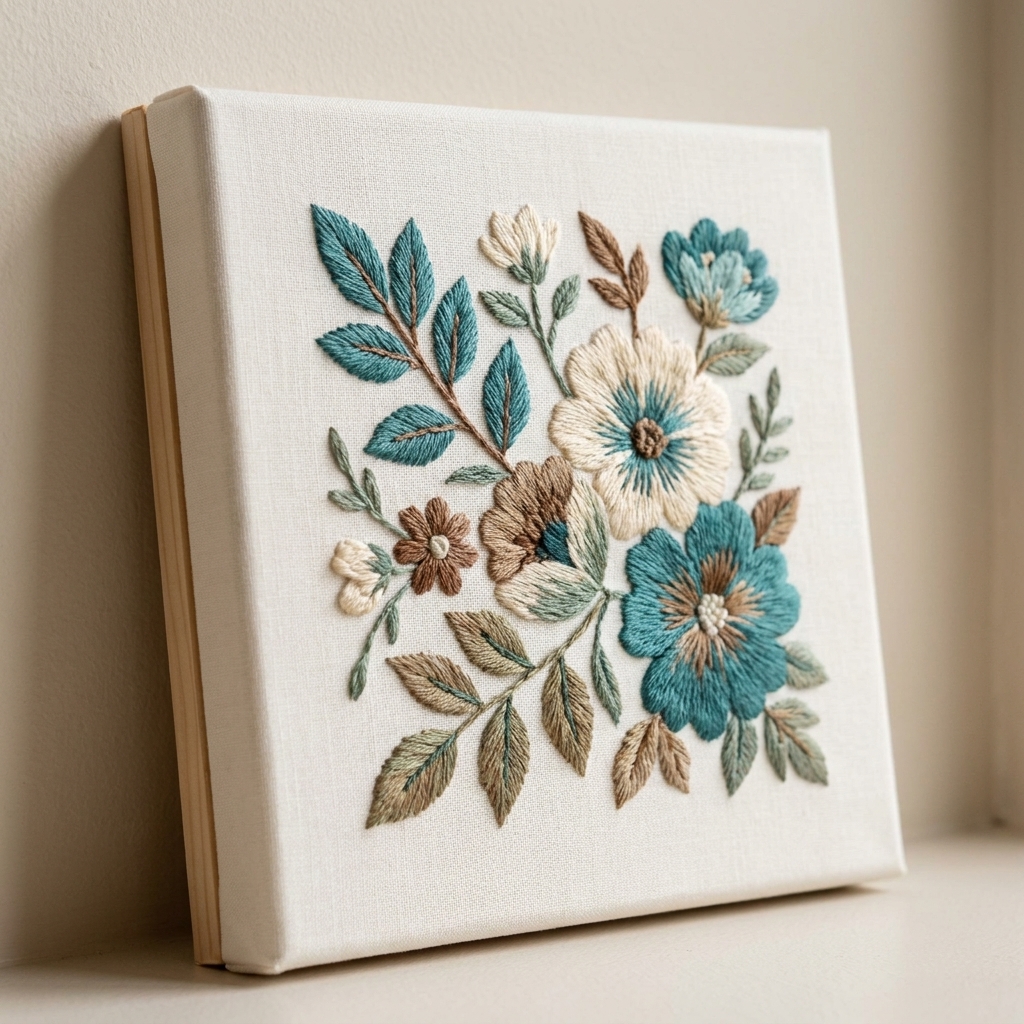
1) Canvas mounting
Canvas mounting gives embroidery and cross stitch a sleek, gallery-style finish with clean edges. It is one of my favorite options for modern patterns, typography, or anything that looks great “floating” without a traditional frame.
Best for
- Medium to large designs
- Pieces with generous margins around the stitching
- Clean, modern decor styles
How it works
You stretch your finished fabric over a blank artist canvas, then lace or staple it neatly on the back. The stitching sits smooth on the front, and the edges disappear around the sides.
Tips that help
- Choose the right canvas depth: A deeper “gallery wrap” canvas hides the fabric edge nicely.
- Center first: Lightly mark the canvas center and your design center, then line them up before you pull anything tight.
- Add a barrier layer if you want to be extra careful: A sheet of acid-free paper or cotton muslin between the embroidery and the canvas can help reduce acid migration over time.
- Staple smart: If you staple, use stainless or rust-resistant staples so you do not get surprise stains later.
- Lacing looks tidy: If you want a back you can be proud of, use strong thread and lace it closed like a corset instead of stapling.
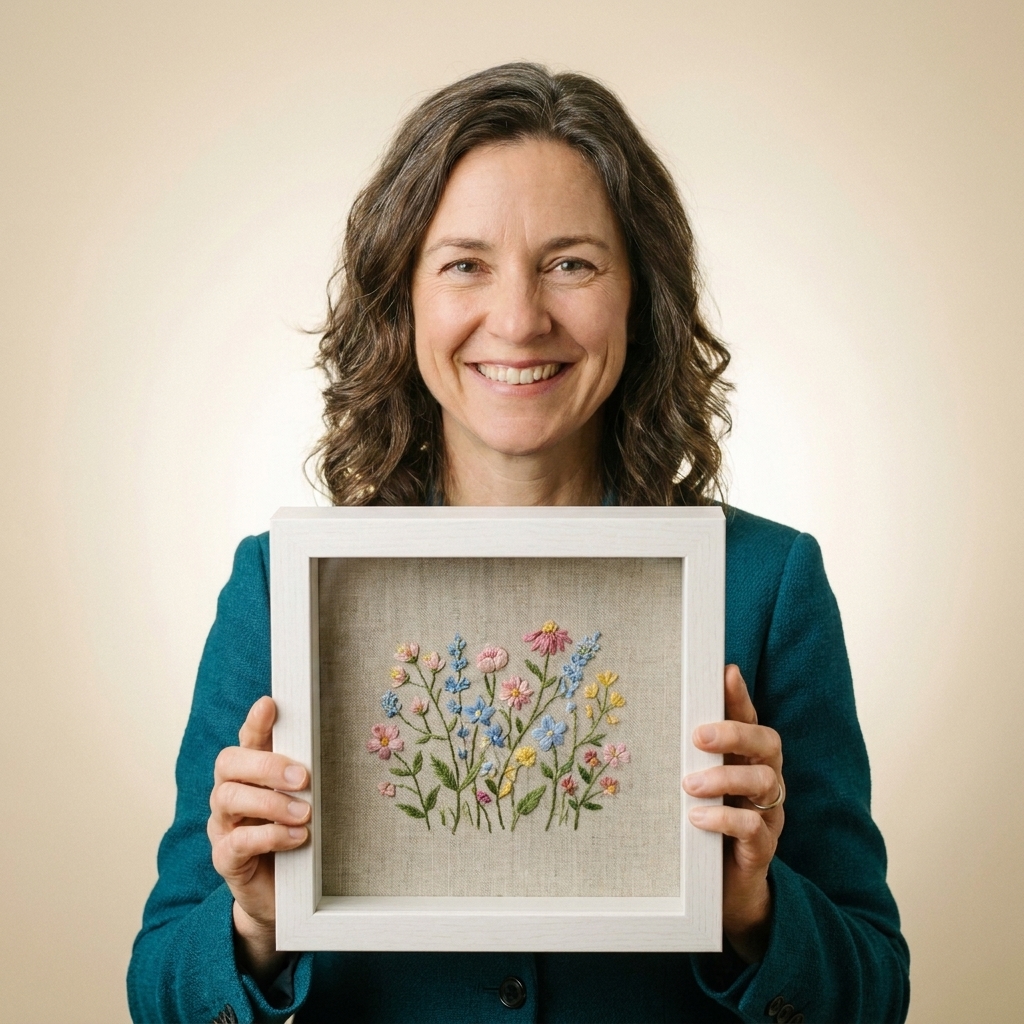
2) Shadow box
If you have ever stitched a tiny design and wondered how to display it without it looking lost, a shadow box is your answer. The depth lets you add extra elements, or simply gives your stitches breathing room behind glass.
Best for
- Mini embroideries and ornaments
- Beaded embroidery, stumpwork, or raised stitches
- Memory projects, like baby stats or wedding samplers
How it works
Mount your stitching on foam board or mat board, then set it inside a shadow box frame. You can add a fabric background, dried flowers, a ribbon bow, or small keepsakes without squashing the stitches.
Tips that help
- Avoid touching the glass: If your stitches press against the front, add spacers or choose a deeper box.
- Use acid-free materials: Acid-free mat board helps prevent discoloration over time.
- Keep extras simple: Let the stitching be the hero. One or two meaningful accents go further than a crowded box.
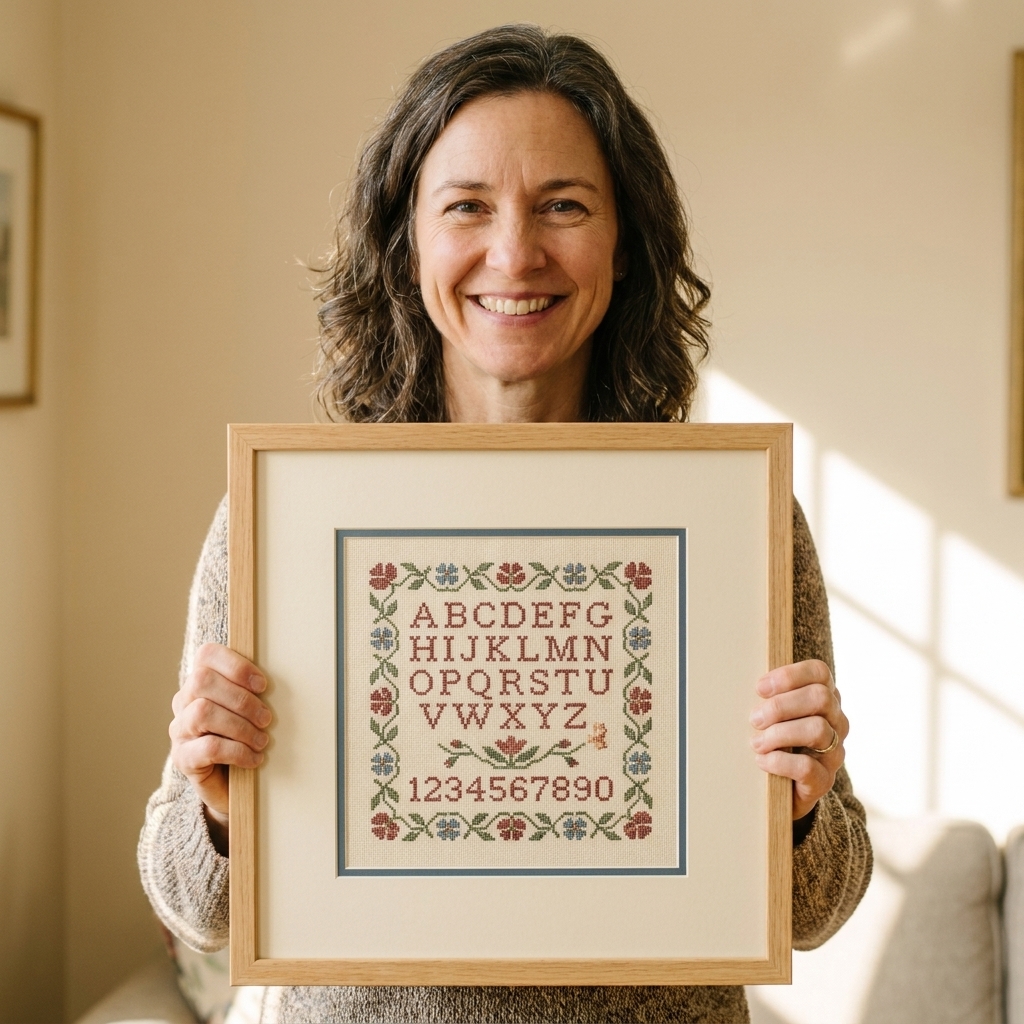
3) Mat and frame it
A classic frame does not have to feel stuffy. The trick is the mat. A clean mat instantly makes embroidery and cross stitch look polished, intentional, and gift-ready.
Best for
- Samplers, quotes, and traditional motifs
- Pieces you want to protect behind glass
- Gifts and heirloom-style projects
How it works
You mount the fabric to a backing board, then place a mat opening over it so the edges are hidden. The mat creates a calm border and helps keep stitches from pressing against the glazing. For extra insurance, you can add frame spacers (or choose a deeper frame) so there is a little breathing room.
Tips that help
- Avoid permanent glue unless you mean it: Lacing or pinning to foam board keeps things reversible and helps prevent puckers. Some archival adhesives can be used by professional framers, but they are best reserved for true conservation methods and projects you are comfortable making non-reversible.
- Mind your margins: If your fabric is cut close, choose a smaller mat opening or add fabric “extensions” behind the mat so you have something to pull tight.
- Mat width matters: For small pieces, a wider mat often looks more intentional. If you are unsure, start around 2 to 3 inches and adjust based on the frame size.
- Glass matters: If the piece will hang in bright light, consider UV-protective glass or acrylic.
- Watch the wood: If you are using a wood frame, an acid-free backing (or a barrier sheet behind the mounted piece) helps reduce long-term discoloration.
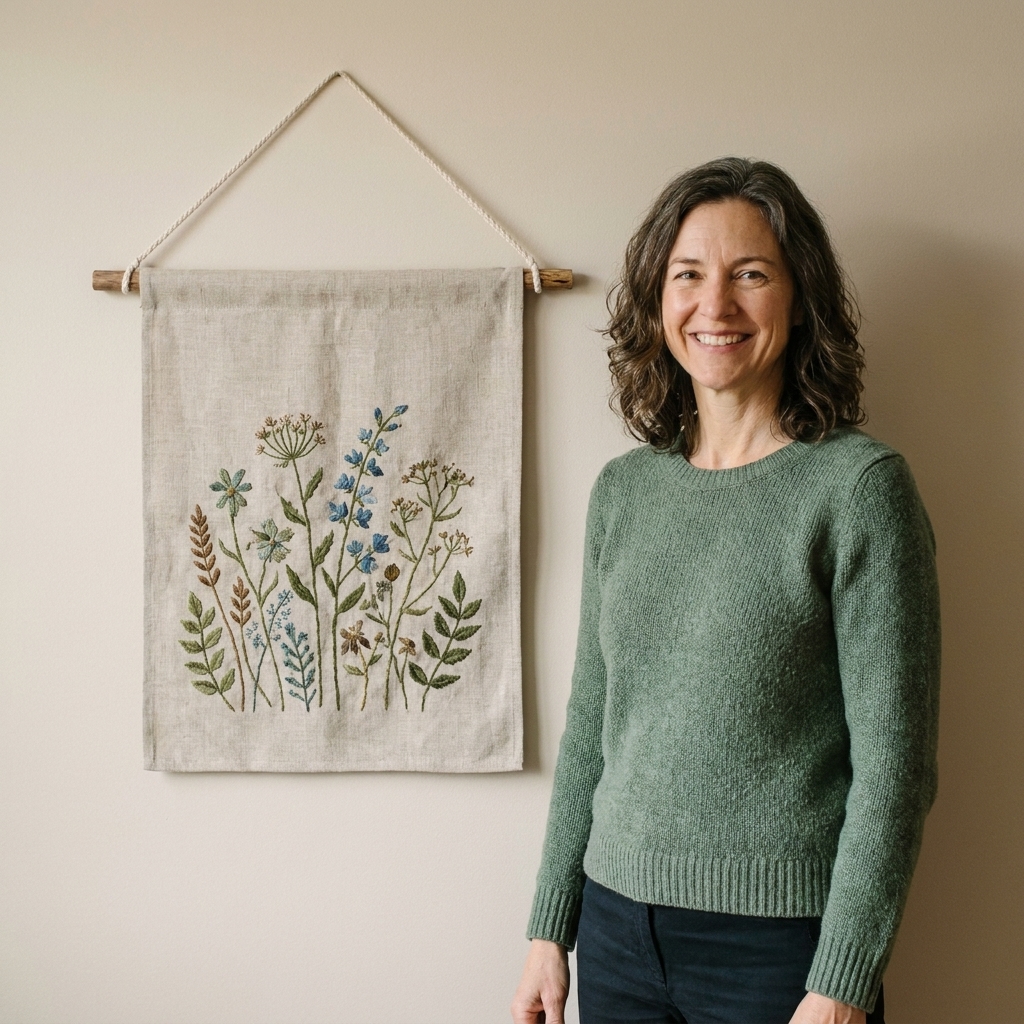
4) Hanging banner
Wall hangings feel cozy and modern, and they are wonderfully forgiving for beginners. No glass, no pressure, and the back can be as simple as a lining fabric. Banners are also perfect for seasonal stitching because you can swap them out without rehanging a frame every time.
Best for
- Long, narrow designs and lettering
- Holiday and seasonal pieces
- Casual home decor and kids rooms
How it works
You hem or stitch a channel at the top (and sometimes bottom), slide in a dowel, and hang it with twine or ribbon. Add fringe, tassels, or pom poms if you want extra personality.
Tips that help
- Stabilize first: Iron-on interfacing on the back reduces rippling and helps it hang straighter.
- Add weight: A thin dowel at the bottom keeps a banner from curling forward.
- Choose the right stitch style: Designs with open negative space look especially good as textiles on the wall.
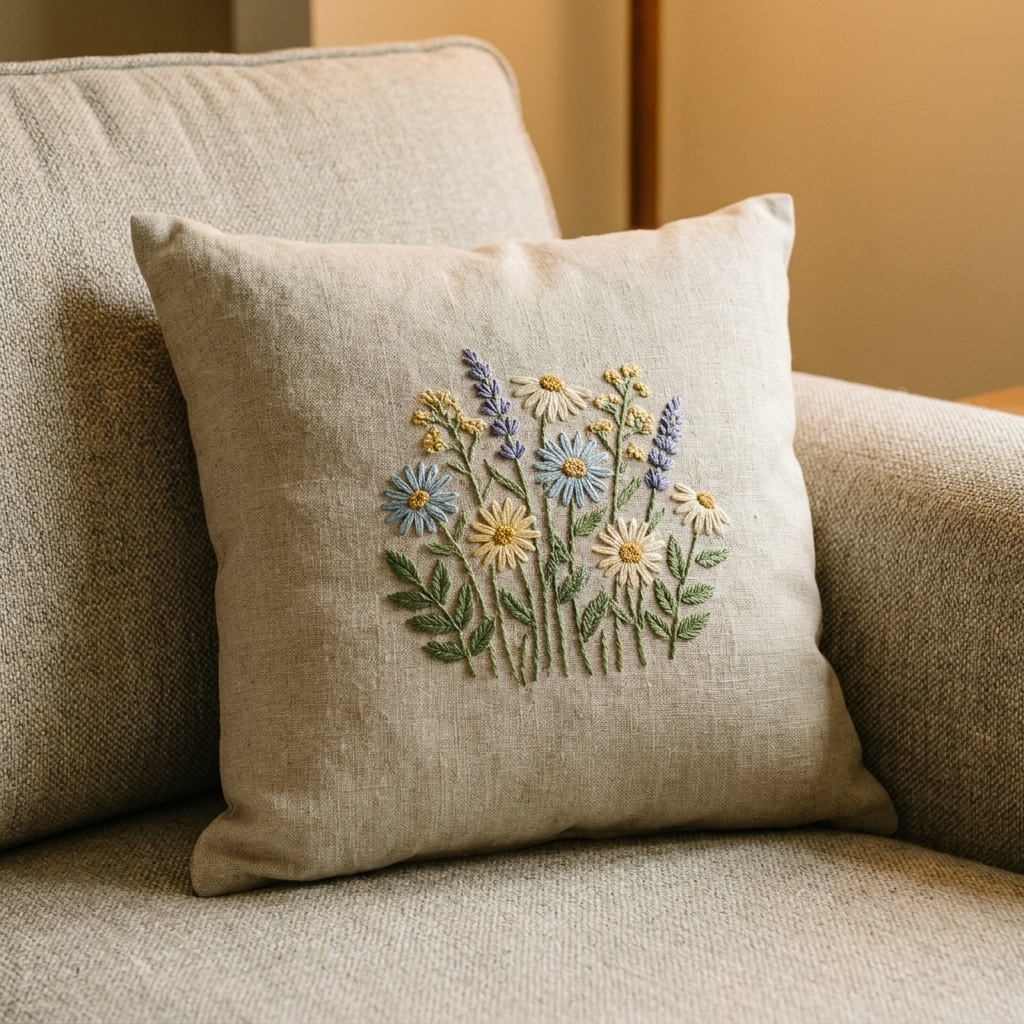
5) Pillow or quilt block
If you have a soft spot for cozy textiles, this is such a satisfying finish. You can treat your embroidery like a “featured fabric” and piece it into a small quilt panel, cushion, or tote. It is also a great way to use smaller motifs that are not quite “frame worthy” on their own but deserve to be enjoyed.
Best for
- Small and medium motifs
- Sturdy stitches that can handle use
- Gifts that feel practical and personal
How it works
Stabilize the back, square up your fabric, then sew it into a larger front panel. For pillows, I love an envelope back because it is beginner-friendly and washable.
Tips that help
- Interfacing is your friend: A lightweight fusible stabilizer reduces stretching when you sew.
- Plan for washing: Pre-wash fabric when possible, and avoid delicate add-ons like loose beads on items that will be laundered.
- Protect the stitches: Consider a slightly recessed panel or avoid placing the embroidery where it will be constantly rubbed.
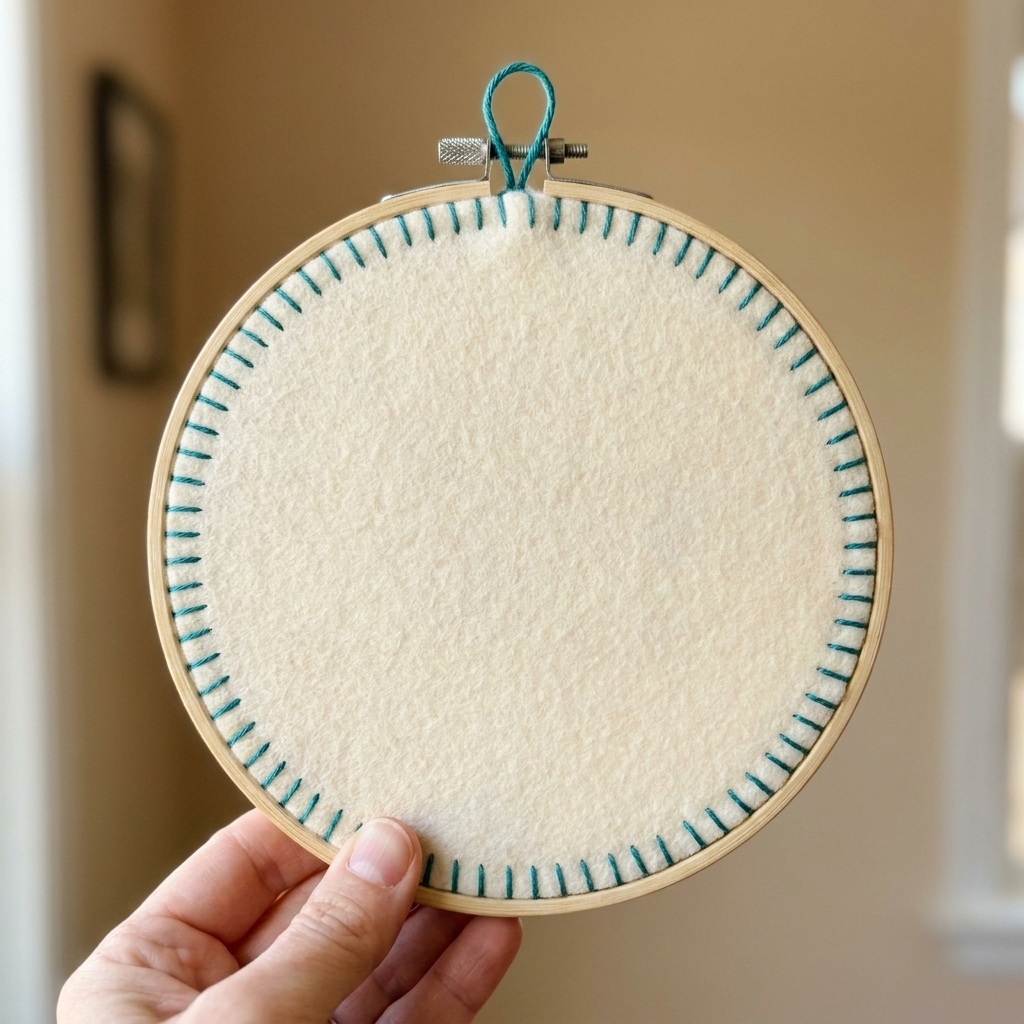
6) Display hoop (finished back)
I know I said we were going beyond the traditional hoop, but hear me out. The hoop becomes a different finish when you treat it like a frame and give it a proper back. This is the fastest way to get a piece on the wall while still looking finished and giftable.
Best for
- Quick gifts and beginner projects
- Round motifs and florals
- Pieces you want to swap seasonally
How it works
After tightening and centering your fabric, you trim the excess, gather-stitch around the back, and pull it tight like a drawstring. Then cover the back with felt or fabric, either glued neatly or whip-stitched in place.
Tips that help
- Upgrade the hoop: A sturdy beechwood hoop looks more frame-like than a soft bamboo one.
- Seal it if you want: A light coat of clear wax or sealant can keep the hoop looking clean over time.
- Do not over-trim: Leave enough fabric to gather smoothly. Too little margin makes the back bulky and stressed.
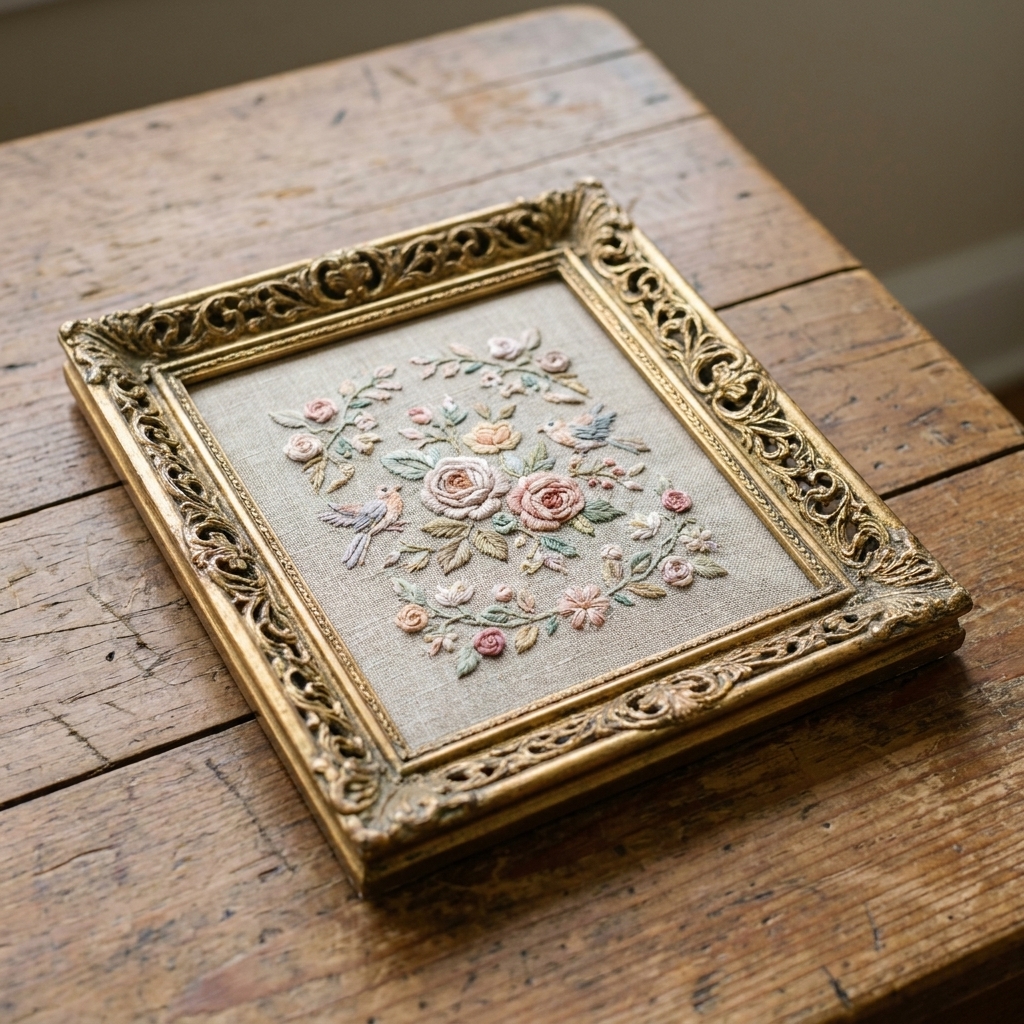
7) Vintage frame mount
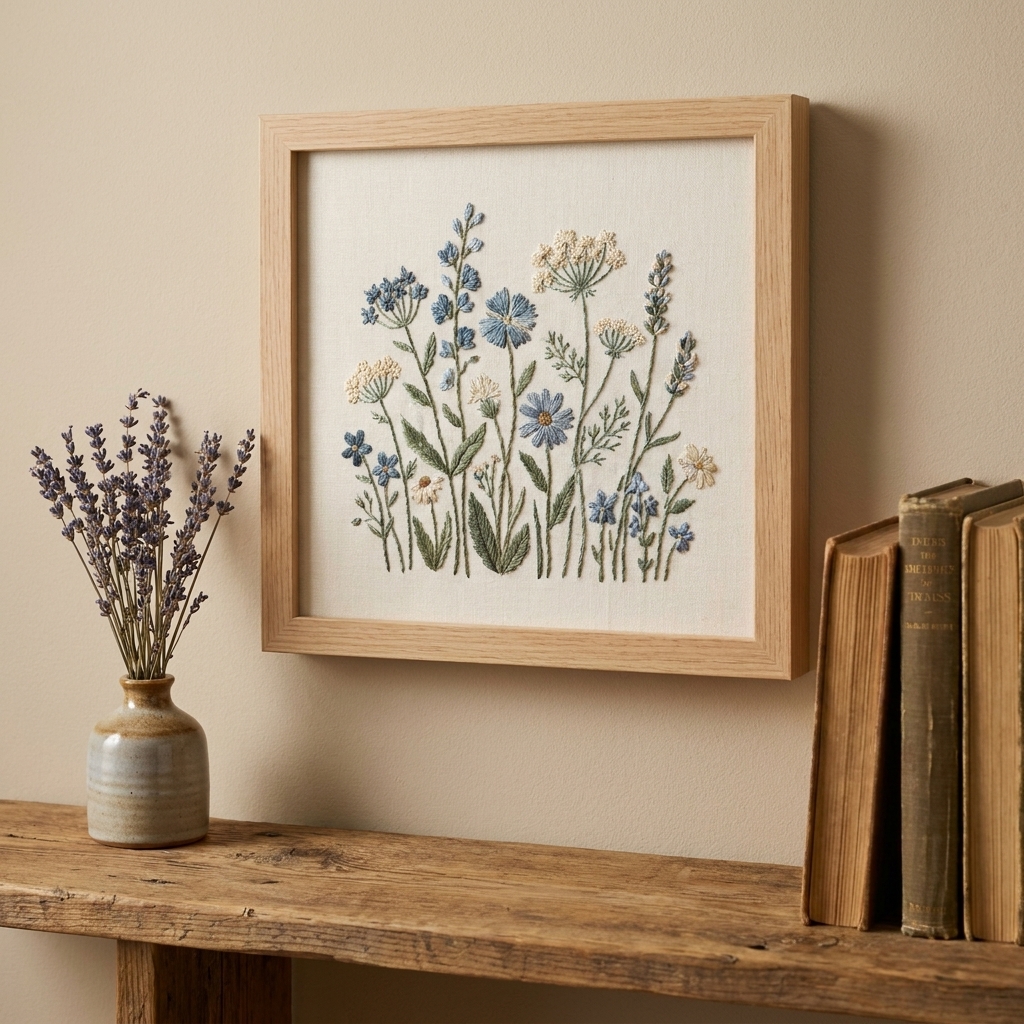
This one is for my fellow antique-shop wanderers. A slightly ornate vintage frame paired with modern stitching is unbelievably charming. Even a thrifted frame with a few scuffs can look intentional when the textile inside is mounted neatly.
Best for
- Botanicals, samplers, and anything nostalgic
- Small to medium pieces
- Gifts with a found-treasure feel
How it works
Instead of trying to squeeze your fabric into a standard frame size, you choose the frame first, then mount the embroidery onto a backing that fits. You can wrap the backing board with coordinating fabric so the edges inside the frame look tidy and elevated.
Tips that help
- Check depth: Some vintage frames are shallow. If your stitches are chunky, skip the glass or use spacers.
- Add a barrier layer: Vintage frames can have acidic cardboard and raw wood inside. Acid-free mat board and an acid-free paper barrier help protect your fabric over time.
- Use framer’s points or flexible tabs: They make it easy to secure the backing without damaging the frame.
- Watch for sun fading: Vintage frames often end up on bright walls. Keep thread colors vibrant by avoiding direct sunlight.
Finish strong: my supply list
You do not need a craft room full of gadgets, but a few finishing basics make a huge difference.
- Acid-free foam board or mounting board for lacing and framing
- Strong thread (button thread or upholstery thread) for lacing
- Stainless steel pins or sewing clips for temporary positioning
- Iron-on interfacing for wall hangings and sewn finishes
- Felt sheets for hoop backs
- Acid-free paper as a simple barrier layer in frames and on canvas
- Fray check or a simple zigzag stitch around raw edges (optional, but comforting)
Quick FAQ
How do I keep my embroidery from getting wavy in a frame?
The two biggest helpers are proper pressing and even tension during mounting. Lacing the fabric to foam board usually gives the smoothest result. If the fabric is very soft, a lightweight interfacing on the back can reduce rippling.
Should embroidery be framed under glass?
Not always, but glass is great protection from dust, moisture, and curious fingers. If your stitches are dimensional, choose a shadow box or use spacers so the embroidery does not touch the glass.
Can I finish cross stitch the same ways as embroidery?
Absolutely. Cross stitch looks especially beautiful matted and framed, mounted on canvas, or turned into a pillow. The main thing to watch is grid alignment. Take your time squaring the fabric and keeping the design straight as you mount it, so it does not end up with a slight lean.
What is the easiest finish for a beginner?
A neatly finished hoop or a simple banner are the most beginner-friendly. They require fewer specialized materials, and they are forgiving if your fabric margins are not perfect.
Your stitches deserve a victory lap
However you finish your piece, remember this: the goal is not perfection. The goal is to see your work out in the world where it can make you smile. Pick one method that matches your project and your energy level, then call it finished with pride. If you want, hang it somewhere you pass every day. Finished stitching is the best kind of motivation.