Blackwork is one of those needlecraft rabbit holes that feels both old-world and delightfully modern. At its heart, it is repeating line patterns (traditionally stitched in black) that can create everything from crisp geometrics to rich, lace-like fills. If you are a cross stitcher, you already have the most important skill: you know how to follow a chart one square at a time.
In this intro, I will show you how blackwork charts work, how to keep the repeats satisfying instead of confusing, and how to stitch a beginner-friendly geometric motif that looks fancy without being fussy. You will get a simple text chart you can follow without needing a separate download.
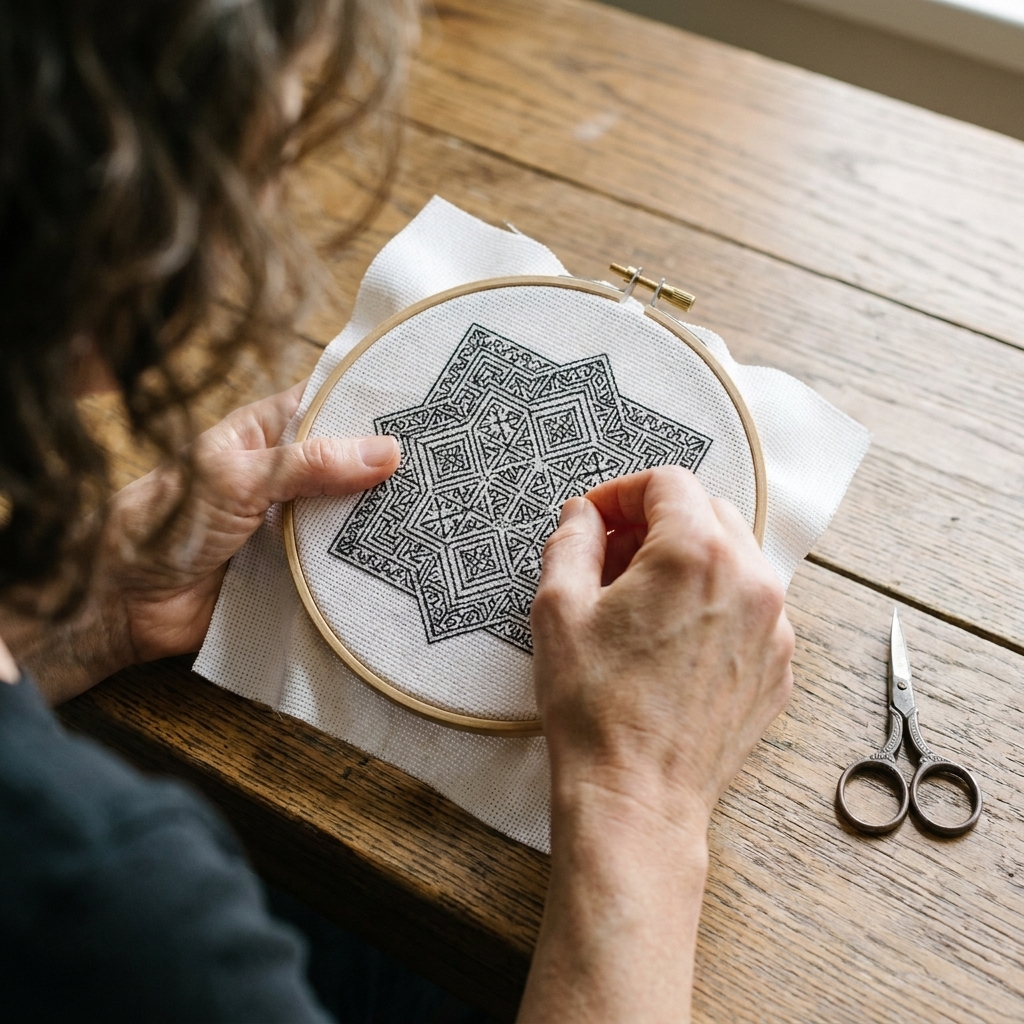
What blackwork is (and what it is not)
Blackwork is closely associated with the styles popularized in Tudor-era England, often stitched in black silk on white linen (and influenced by broader European traditions). Today, blackwork can be traditional, colorful, modern, tiny, huge, strictly geometric, or full of whimsical motifs.
Blackwork versus cross stitch
- Cross stitch is built from X-shaped stitches filling squares.
- Blackwork is primarily line work that travels along a grid, usually with backstitch or double running stitch (also called Holbein stitch).
That means blackwork looks very crisp and graphic, and it is incredibly relaxing once you get into the rhythm of the repeats.
Do you have to stitch it in black?
Nope. Blackwork is a technique, not a color rule. I love a classic black-on-ivory moment, but I also love soft monochrome (charcoal, navy) and modern palettes where different pattern areas get different colors.
How to read blackwork charts
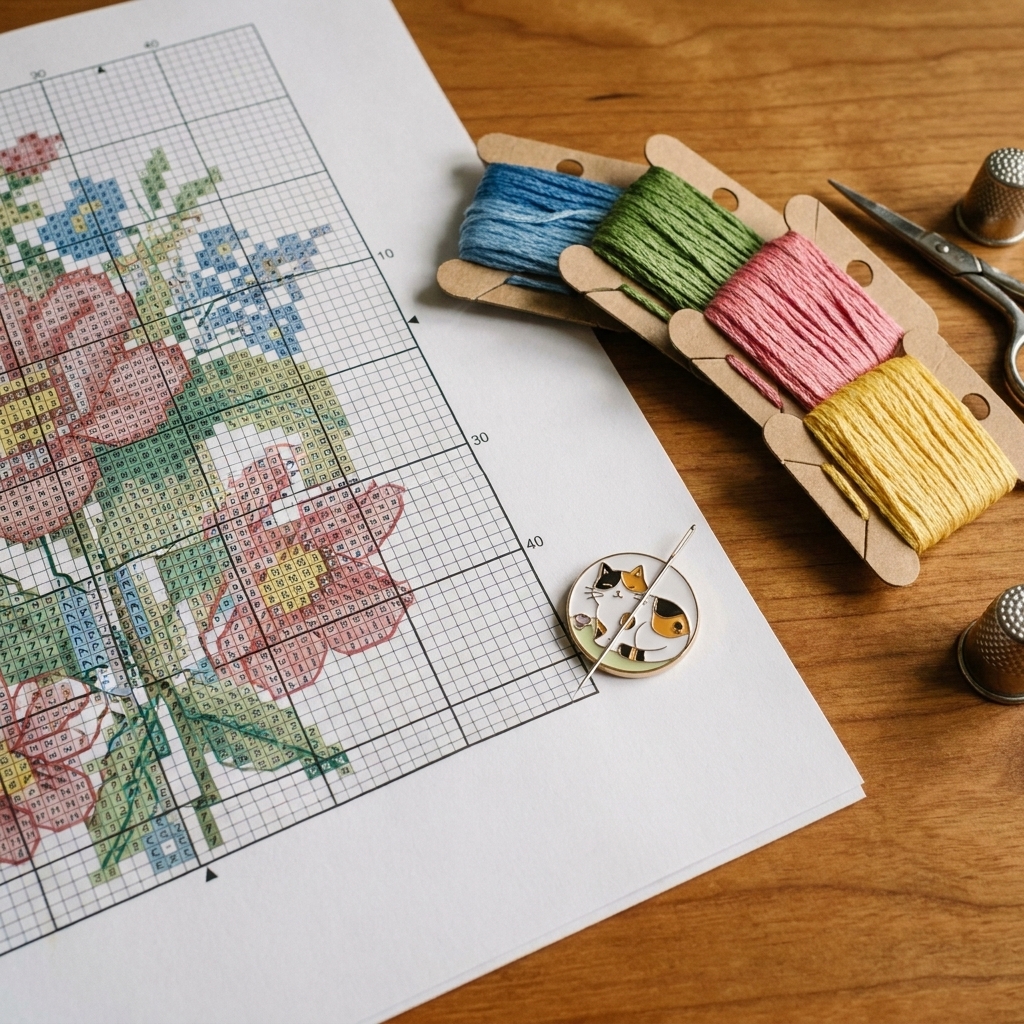
Most blackwork patterns are charted on a grid like cross stitch. The key difference is how that grid maps to your fabric.
Chart grid versus fabric threads
- On the chart: one square usually means one stitch unit (one step on the grid).
- On Aida: one chart square typically matches one Aida square.
- On evenweave or linen: you choose your scale. Many stitchers work over 2 threads, meaning one chart square equals a 2-thread step on the fabric (and your motif finishes larger and a bit more refined). You can also stitch over 1 for tiny, detailed work if your fabric is fine enough.
If a pattern says “stitch over 2,” follow that. If it does not, pick the scale you like and stay consistent.
Common symbols you will see
- Solid lines: stitch these lines (usually backstitch or double running stitch).
- Different line styles (dashed, dotted, thicker): different thread colors, or a way to separate overlapping paths.
- Heavy outlines: sometimes used to show the outer edge of a motif, not necessarily stitched heavier in real life.
Repeats: the secret sauce
Beginner blackwork is basically a friendly repeat workout. Patterns are often made of one small unit that repeats across an area, like tiles. Instead of thinking, “I must stitch this entire maze,” think, “I will stitch this one little shape correctly, then copy-paste it with my needle.”
A cross stitcher tip that helps a lot
Count from anchors, not from vibes. Identify the center, corners, or a bold outline, then build outward. If you ever lose your place, return to the last anchor you are sure about and re-count. It is boring, yes. It also saves you from some very colorful language.
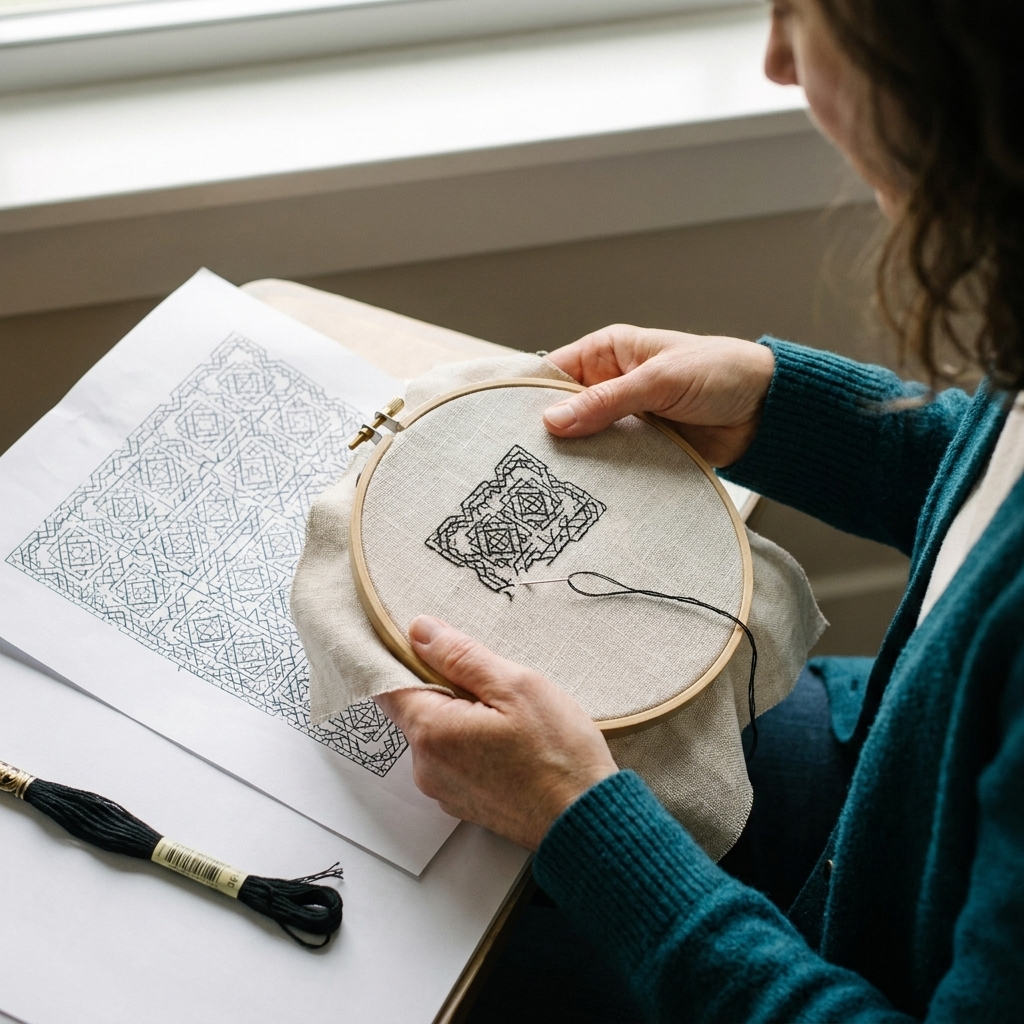
Stitches used in blackwork
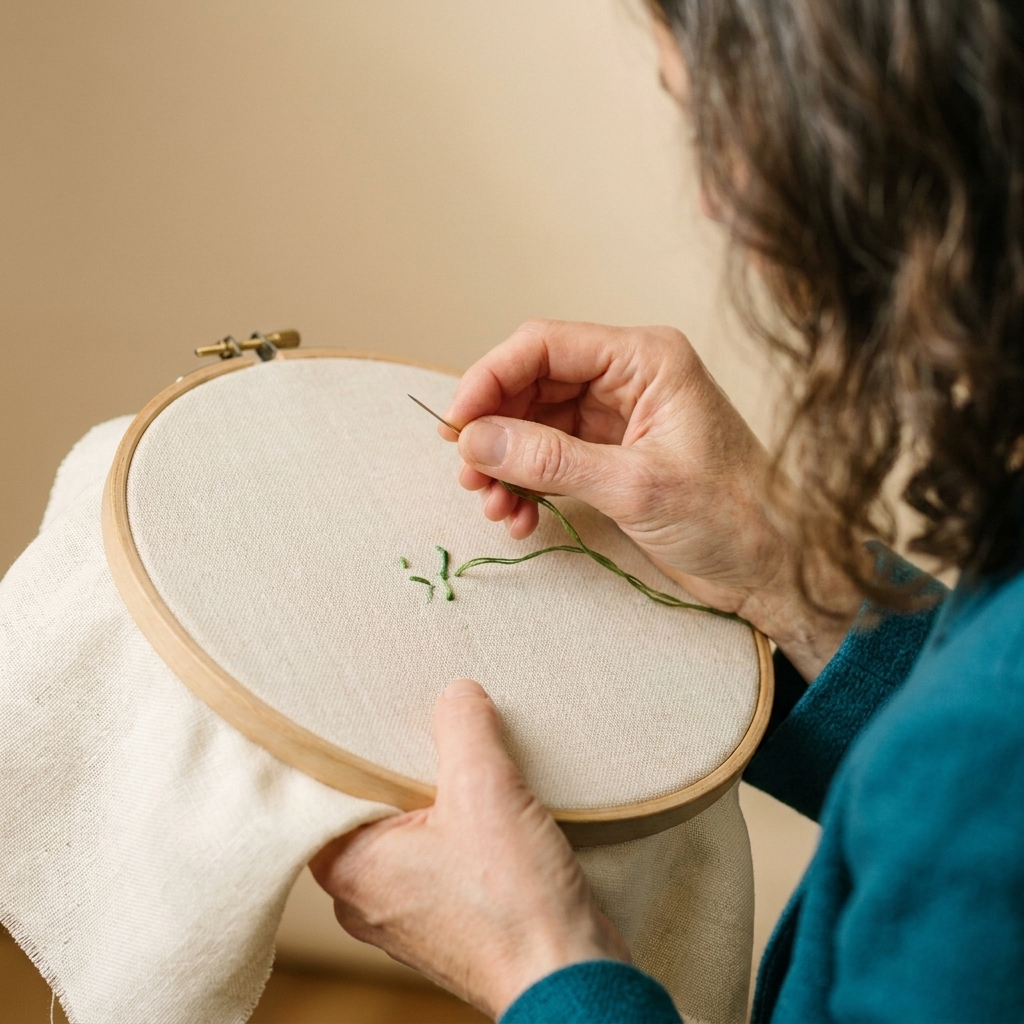
You can stitch blackwork using plain backstitch and get beautiful results. The stitch choice mostly affects how clean the back looks and how smooth long continuous lines feel.
Backstitch
Best for: beginners, small motifs, quick starts.
How it behaves: very straightforward, but the back can get a little steppy and it can use more thread in dense designs.
Make it easier: keep your stitch length consistent (one grid unit at a time is totally fine) and break long outlines into logical sections so you are not wrestling a mile of thread.
Double running stitch (Holbein stitch)
Best for: repeating geometric paths, reversible work, neat backs.
How it behaves: you stitch the line forward with spaced stitches, then come back to fill the gaps. It is oddly satisfying, like zipping and unzipping a tiny zipper.
A quick note on path planning
Double running stitch is magical when the design is made of continuous paths, but not every motif is one unbroken line. Sometimes you will need to end a thread and restart to reach a separate island of stitches, or to avoid an awkward jump across open fabric. That is normal and it does not mean you are doing it wrong.
Which should you use first?
If you are brand new, start with backstitch for the first motif so you can focus on chart reading. Then try the same motif in double running to feel the difference.
Supplies that make blackwork easier
You do not need anything fancy, but a few choices will make your first project smoother.
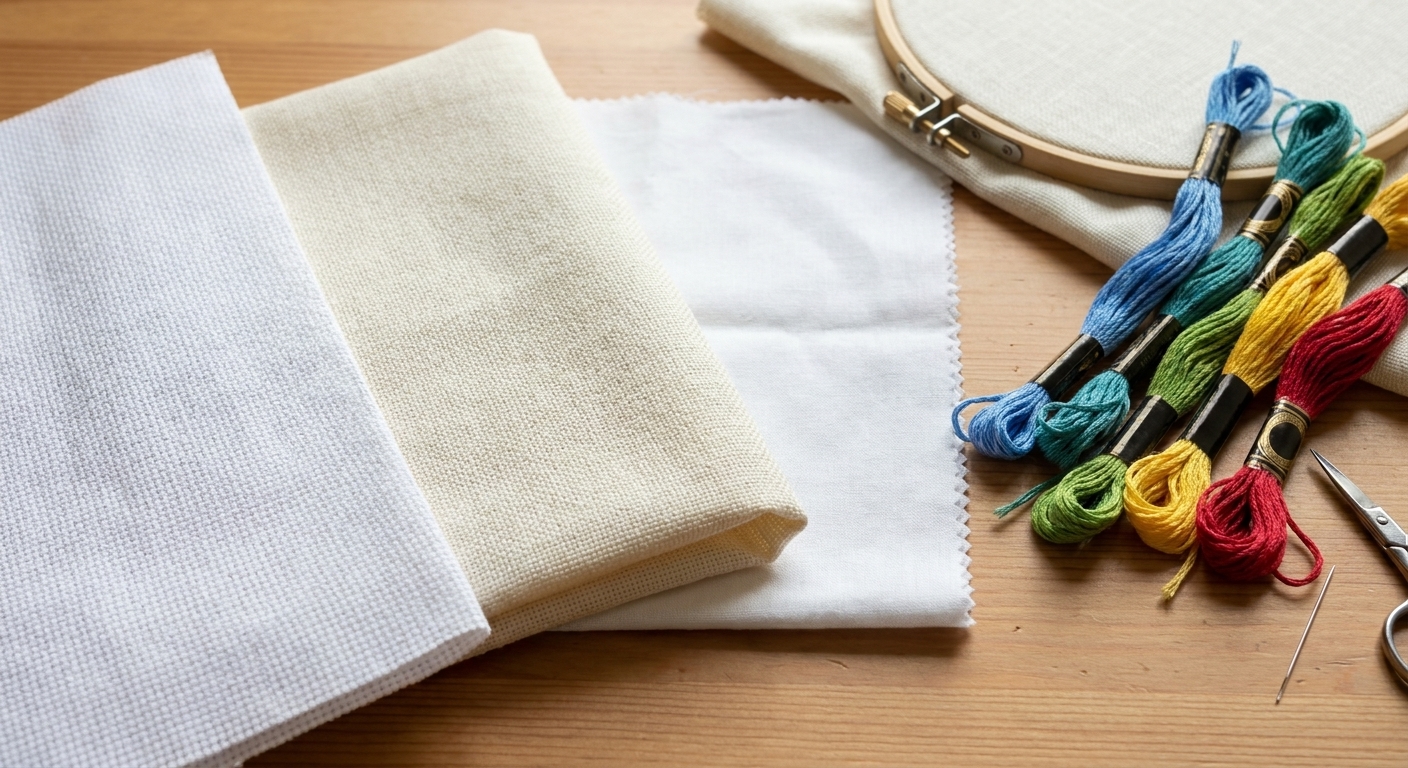
Fabric
- Evenweave (28 count): my favorite for blackwork. The grid is clear, and the lines look refined. Stitch over 2 for a classic scale.
- Linen: beautiful, traditional, slightly more alive because threads can vary. Great once you are comfortable counting.
- Aida (14 or 16 count): totally fine, especially if you are a cross stitcher who loves clear squares. The lines will look a touch more pixel-y, which can be a look you want.
Thread
- Stranded cotton (DMC): easy to find, easy to control. Use 1 strand on 28 count evenweave over 2 for delicate lines, or 2 strands for bolder lines.
- Pearl cotton: gives a slightly raised, rope-like line. Lovely for modern geometrics, but it can feel less forgiving on tight counts.
Needle and hoop
- Tapestry needle for Aida or evenweave, size 24 or 26 depending on fabric count.
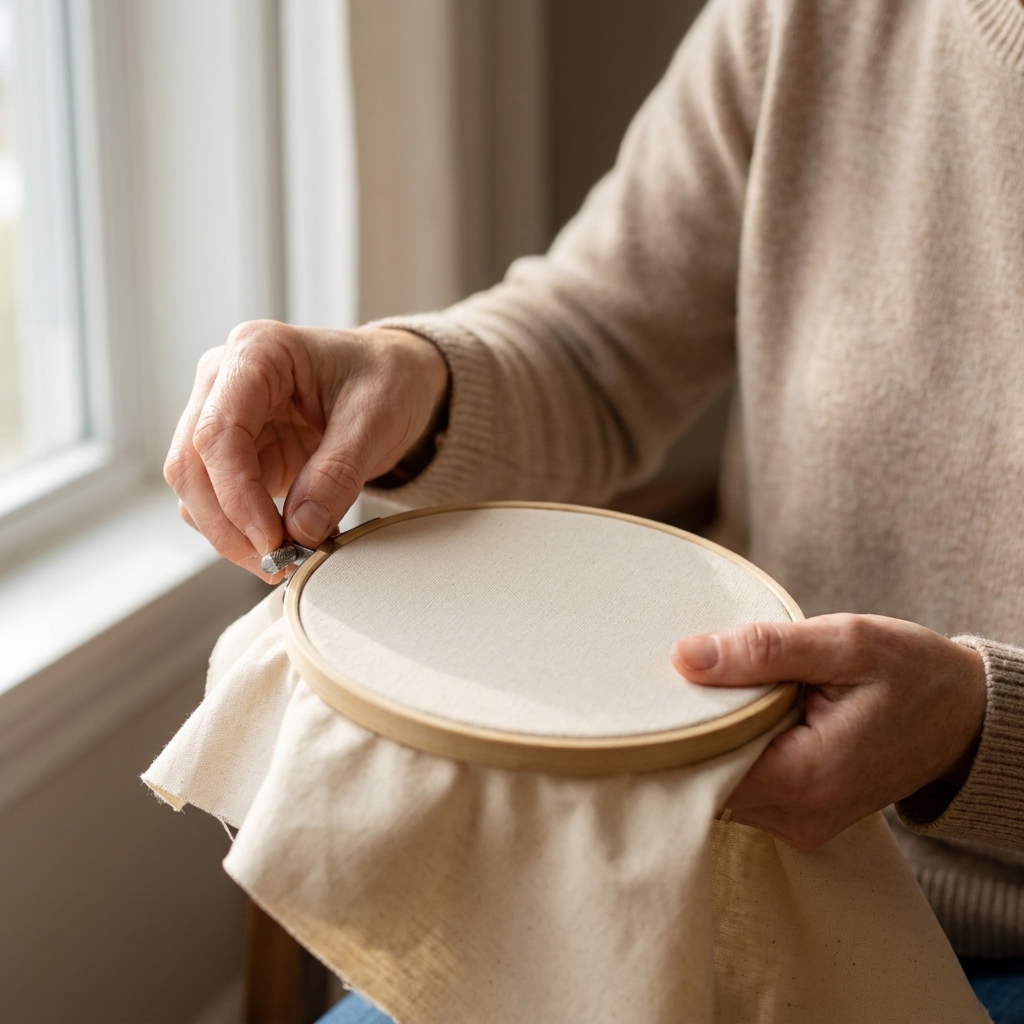
- Hoop or Q-snap to keep tension even. Blackwork shows wobbles more than cross stitch, so steady tension helps.
My “save your sanity” extras
- Magnetic needle minder so your needle stops teleporting into the couch.
- Good lighting. Repeats are relaxing until your eyes are not.
- A water-soluble fabric marker or a few basting threads for light grid lines if you like extra guidance. If you use a marker, test it on a scrap of the same fabric first and follow the brand’s directions for removal.
Beginner project: a simple motif
This mini project is designed for cross stitchers: small, centered, and built from a repeat you can memorize quickly. Stitch it as a mini ornament, a pincushion top, a scissor fob panel, or a sweet sampler square.
Project overview
- Finish size: about 2 to 3 inches square depending on your fabric and stitch scale
- Fabric: 28 count evenweave (recommended) stitched over 2, or 14 count Aida
- Thread: DMC 310 (black) or your favorite dark neutral
- Stitch: backstitch or double running stitch
The unit you will repeat
Each unit is a diamond outline with a tiny plus sign on each corner. You will repeat the unit in a grid with a little breathing room between diamonds.
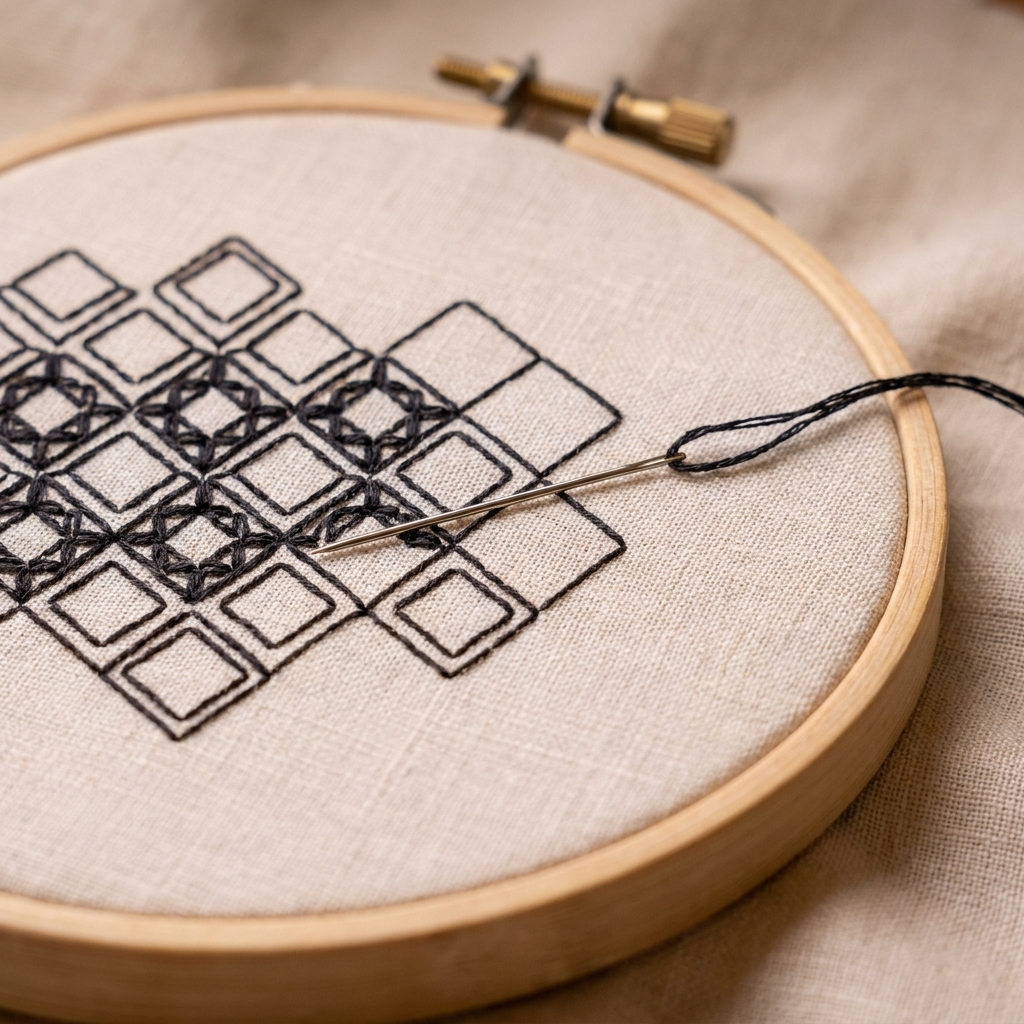
Motif chart
This is a small, followable chart in plain text. Each character is one grid unit.
- # = stitch
- . = no stitch
Repeat unit chart (11 by 11):
.....#.....
....#.#....
...#...#...
..#.....#..
.#.......#.
#....#....#
.#.......#.
..#.....#..
...#...#...
....#.#....
.....#.....
How to place it: Treat this 11 by 11 block as one unit. When you repeat units, leave 2 empty grid units between them horizontally and vertically. That is your “breathing room.”
Want a quick first finish? Stitch a 3 by 3 grid of units (nine total). It looks impressive, but the counting stays friendly.
Step-by-step stitching
1) Prep and find center
Cut fabric with at least 2 inches of margin on all sides. Fold in half, then half again to find the center. Make a tiny temporary mark or place a single basting stitch at the center.
2) Start cleanly
Because blackwork is so line-forward, bulky starts can show. My go-to beginner options:
- Waste knot: start with a knot away from your first stitches, stitch over the tail on the back for a few stitches, then snip the knot off.
- Pin stitch: a tidy, knotless start that anchors in a small area. It is especially nice on evenweave.
- Loop start: works when you are using an even number of strands (like 2). It is quick and very neat.
3) Stitch the first unit
Start with the unit chart above and stitch it centered. If you are using double running stitch, do the forward pass first, then fill the gaps on the way back.
4) Repeat outward
Repeat the same 11 by 11 unit around the first one. Remember the spacing rule: 2 empty grid units between units. Work one unit at a time and keep returning to anchors (corners of the diamond are great anchors).
5) Add a simple border (optional)
Stitch a square border around your block, staying 3 to 4 grid units away from the outermost diamonds. For extra charm, add a tiny diagonal stitch at each corner of the border.
6) End neatly
Weave thread ends under existing stitches on the back for about 1 inch, then trim close. Try not to carry thread across open areas, especially on light fabric.
Tension and tidy lines
If you have ever cross stitched a full coverage piece, you know how forgiving those fluffy X stitches can be. Blackwork lines are a bit more honest.
My go-to habits for crisp blackwork
- Use shorter thread lengths. About 18 inches keeps twist and fuzz under control.
- Let the needle dangle. Every so often, drop the needle and let the thread untwist.
- Stitch in a consistent direction. For example, work vertical lines top to bottom when you can, and horizontals left to right.
- Do not over-tighten. Snug, not strangled. Tight stitches can distort the grid and make lines look wobbly.
If your lines look a little uneven up close, take a breath and look from arm’s length. Blackwork is meant to read as pattern and texture. Your eye blends tiny imperfections, I promise.
Color and filled blackwork
Once you feel comfortable with basic repeats, you can play with density. Blackwork can create shading by changing how tightly the lines are packed.
Three beginner-friendly ways to add depth
- Change density: swap to a busier fill in shadow areas.
- Change thread weight: use 2 strands for outlines and 1 strand for fills.
- Add a second color: keep the main pattern dark and add a soft accent (gray, red, blue) in select units.
Common hiccups
I lost my place
Stop and find the last unit you know is correct. Re-count from a clear corner or intersection. If it is only off by one grid unit, you can often nudge the next repeat back into alignment without ripping.
My back looks messy
Totally normal at first. Try double running stitch for long paths, and avoid carrying thread across open areas. When you must travel, do it under existing stitches on the back.
The fabric looks puckered
Loosen your tension a touch and make sure your hoop is snug, not drum-tight. A gentle wash and block at the end fixes a surprising amount.
Quick caution: test your thread for colorfastness if you are using hand-dyed floss or strong colors. Use cool to lukewarm water, mild soap, and avoid aggressive agitation. If you used a marker, follow its removal directions.
The lines look fuzzy
Use shorter lengths of thread, and consider 1 strand instead of 2 on higher count fabric. If your floss is older, it can pill a bit. I say this with love as someone with a “vintage” floss hoard.
Finishing ideas
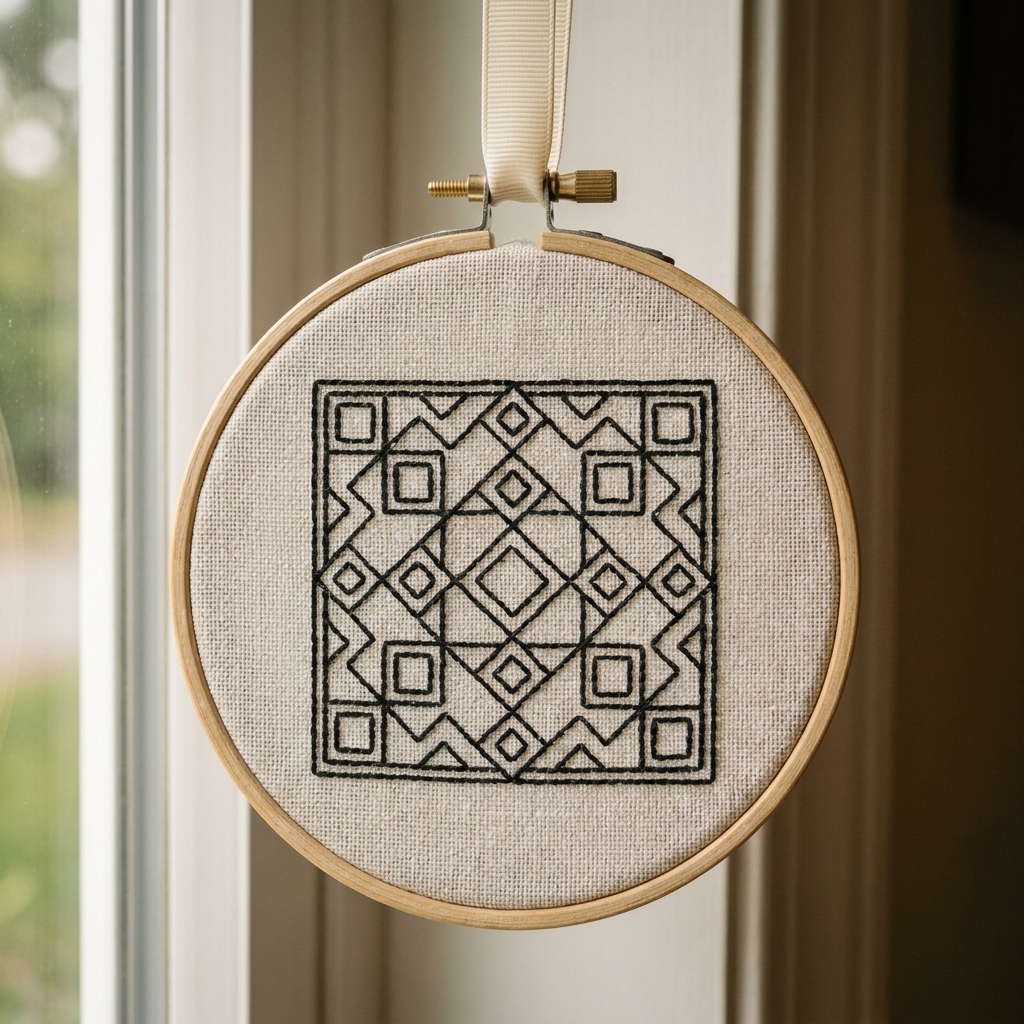
- Mini hoop finish: trim, lace the back, and hang it by ribbon.
- Ornament: stitch two squares, place right sides together, sew, turn, and lightly stuff.
- Pincushion: mount the stitching on fabric or felt, then stuff firmly.
- Needle book cover panel: blackwork makes a gorgeous outer cover because it wears well visually.
Quick FAQ
Is blackwork the same as backstitch embroidery?
Blackwork often uses backstitch, but it is defined more by its repeating, charted patterns and fills than by one specific stitch.
Can I do blackwork on Aida?
Yes. Aida is beginner-friendly because the holes are clear. Your lines will look slightly more gridded, which can be very charming for geometrics.
How many strands should I use?
On 28 count evenweave over 2, start with 1 strand for a classic blackwork look. On 14 count Aida, 2 strands usually looks balanced.
Do I need to grid my fabric?
Not required, but a light grid can be comforting when you are learning repeats. If gridding stresses you out, skip it and use the center start with frequent counting checks.
Your next step
If you enjoyed the steady rhythm of that first motif, try swapping in a different repeat inside the same border. That is one of my favorite low-pressure ways to design in blackwork without feeling like I need to be an artist. Pick a tiny unit you like, repeat it, and let the pattern do the heavy lifting.
And if your first attempt has a wonky corner or two, welcome to the club. Blackwork is about the calm of the process as much as the finished piece. The neatness comes with time, and the joy can start immediately.