Bullion knots are one of those stitches that look like embroidery magic: tidy little coils that add instant texture to roses, wheat stalks, antennae, and fancy monograms. And then you try one, your thread snarls into a tiny bird nest, and suddenly you are questioning every life choice that led you to owning 47 shades of DMC pink.
The good news is that bullion knots are not “hard”, just picky. They want the right thread, the right tension, and one small hand position that makes everything behave. Let’s walk through a bullion knot method that creates smooth, even wraps without tangling your thread.
What it is
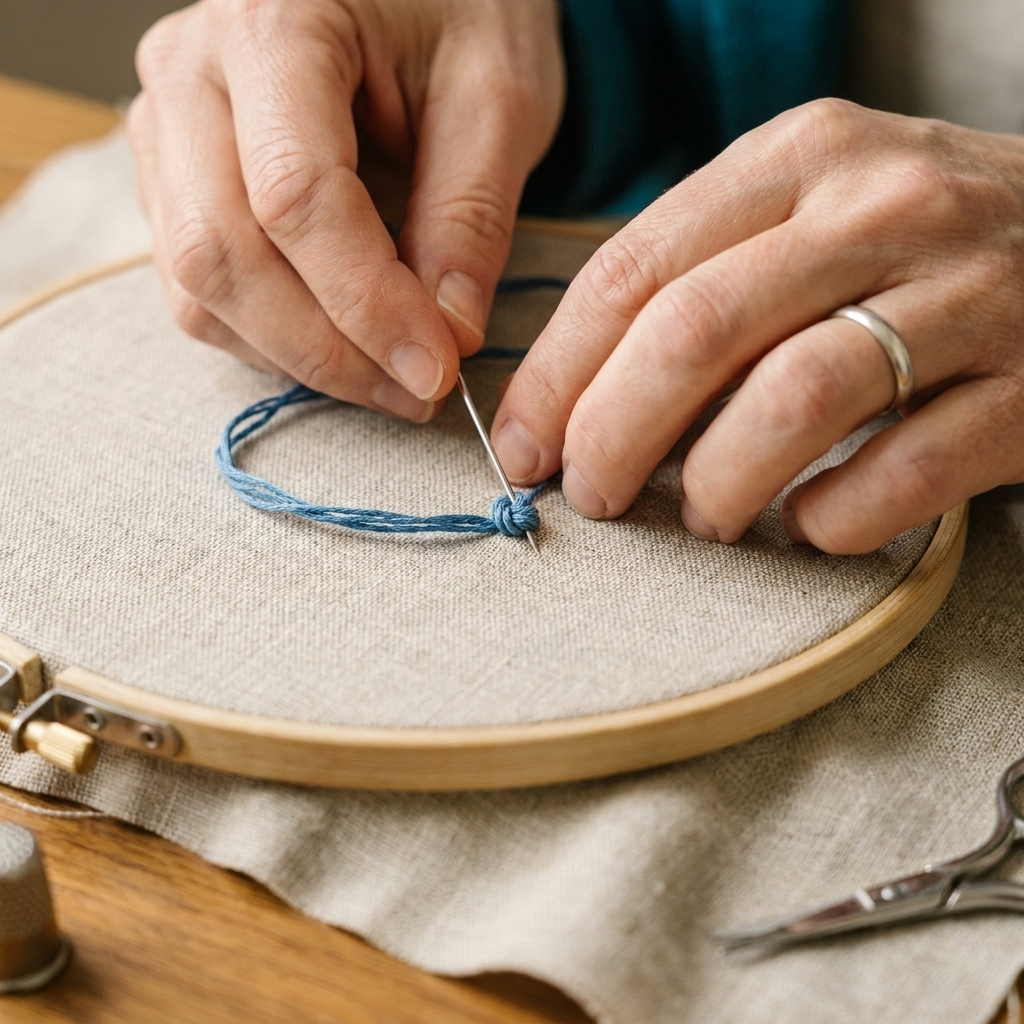
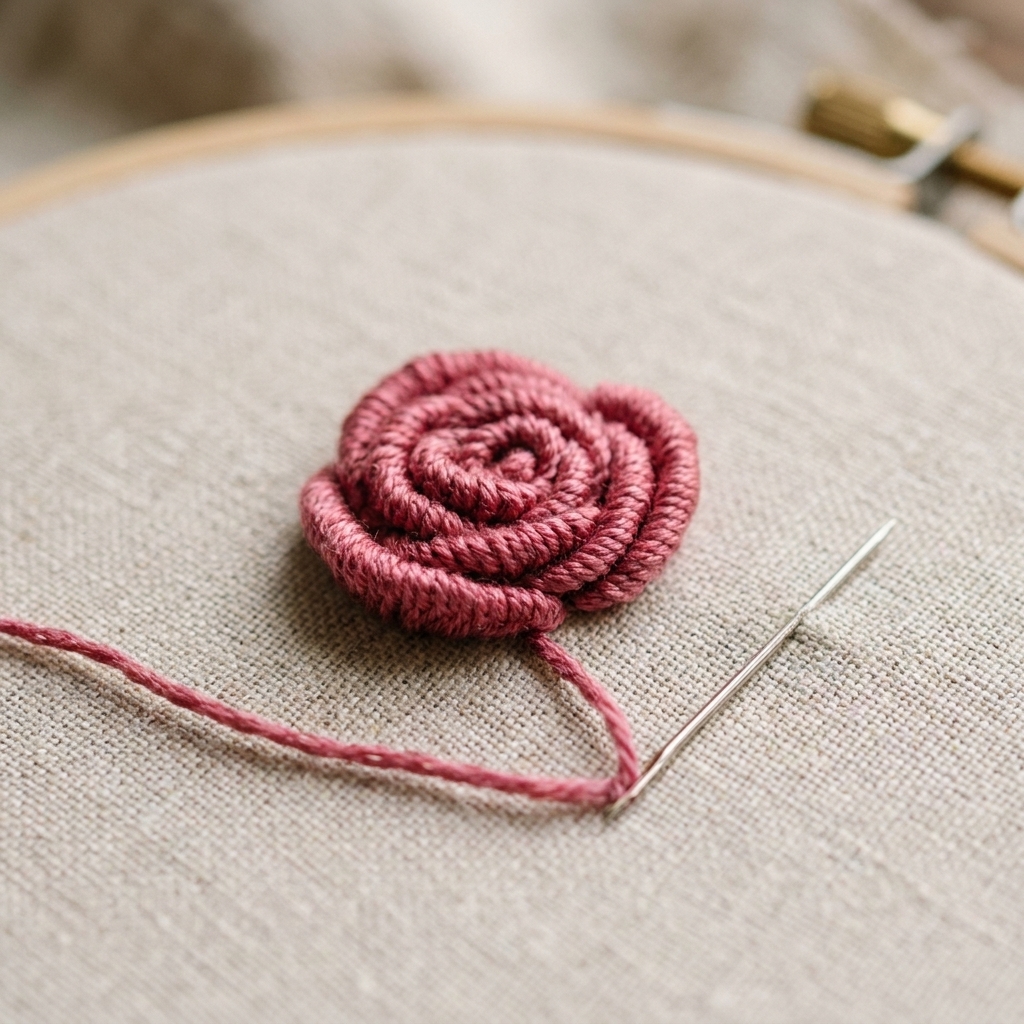
A bullion knot is basically a long, wrapped knot. You bring your needle up, take it down a short distance away (but do not pull all the way through), wrap the working thread around the needle several times, then pull the needle through those wraps to form a little coil that lies on the fabric.
Most tangles happen at one of two moments:
- While wrapping: wraps jump over each other, twist, or stack unevenly.
- While pulling through: friction builds, wraps tighten too fast, and the thread kinks or knots on itself.
Before you start
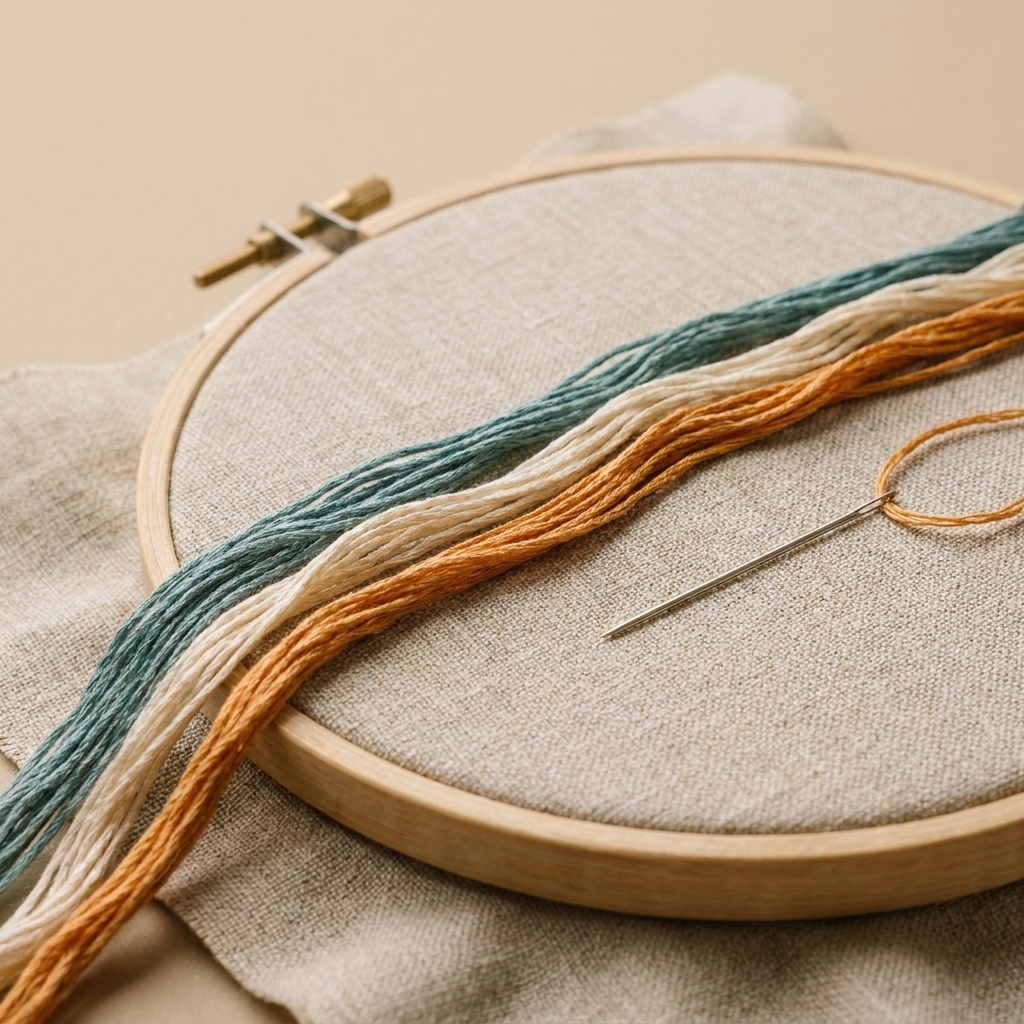
Thread choices
You can make bullions with lots of threads, but some are friendlier than others.
- Embroidery floss (stranded cotton): Great. Start with 2 strands for practice. If you are stitching on a looser weave, 3 strands can work, but it increases friction.
- Pearl cotton: Also great. Size 8 often feels smooth and manageable for bullions; size 5 is a good pick when you want a chunkier, more dramatic coil.
- Metallics: Possible, but not beginner-friendly. Save them for later unless you enjoy dramatic thread tantrums.
Needle choice
A bullion knot is easier when the needle can slide through the wraps without snagging. That means:
- Use a needle with a longer shaft. A crewel/embroidery needle in about size 7 to 9 often works well, but adjust up or down based on your fabric weight and thread thickness.
- Choose the smallest needle that still behaves. You want it small enough to pass through your fabric cleanly, with an eye that lets your thread slide comfortably, but long enough on the shaft to hold your wrap count without forcing wraps onto the taper.
- Match the eye to your thread. If the eye is too big, it drags through the wraps. If it is too small, it can fray your floss.
If you have a milliner (straw) needle, it can be especially nice for bullions because the eye is close in thickness to the shaft, so it tends to glide through wraps more smoothly.
Fabric and hoop tension
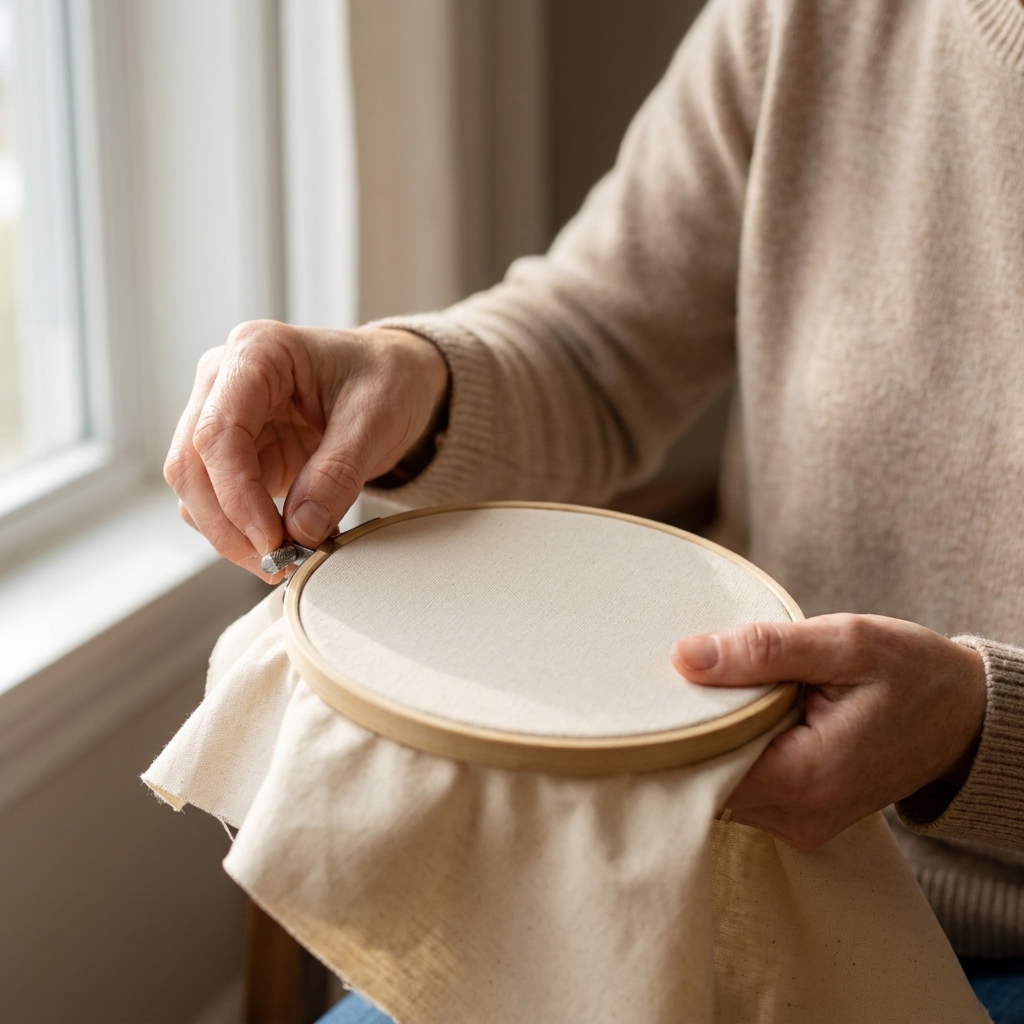
Keep your fabric drum-tight in the hoop. Bullions get messy when the fabric flexes while you pull through. Tightly woven cotton, linen, or quilting cotton is ideal for practice.
Step by step
I call this the “pinch and pull” method because the secret is keeping the wraps gently trapped between your fingers while the needle slides through.
1) Set the length
Bring your needle up at point A. Decide the length of your bullion and insert the needle down at point B, but do not pull the thread all the way through.
Now park the needle so it makes a little bridge. Keep the eye end of the needle underneath the fabric near point B, and bring the tip back up at point A (or just a thread’s width away from A). Do not pull the needle through. Most of the needle shaft should be visible on top of the fabric between A and B, ready to wrap.
2) Wrap neatly
Hold the working thread in your non-dominant hand and wrap it around the needle shaft. Wrap in the same direction each time, and (this helps a lot) wrap toward the needle tip, which is the direction you will pull the needle through. Wraps should sit side-by-side like little stacked bracelets.
Try to keep your wraps on the smooth shaft of the needle. If they creep onto the tapered area near the point (or bunch up against the eye), they are more likely to snag and fight you when you pull through.
How many wraps? A good rule: use roughly the same number of wraps as the distance between A and B in thread thickness. If your wraps are too few, the bullion will look skinny and strained. Too many and it will buckle or twist.
3) Pinch the wraps
With your non-dominant thumb and index finger, pinch the wraps against the fabric right where they meet the needle. This stops the wraps from springing loose and keeps them aligned as the needle moves.
4) Pull through slowly
Still pinching the wraps, pull the needle through the coil. Go slowly. If you feel resistance, pause and wiggle the needle slightly.
One more thing that prevents chaos: keep the working thread slack while you draw the needle through. You are pulling the needle through the wraps, not yanking the thread like you are starting a lawn mower.
As the needle comes through, the wraps will transfer from the needle onto the thread, forming the coil.
5) Set, then snug
Once the needle is through, gently pull the thread until the bullion coil settles on the fabric between points A and B. Use your needle tip to nudge the coil so it sits straight. Then snug the tension a tiny bit at a time just until it looks smooth and stable.
6) Anchor the end
Take the needle down at point B (right at the end of the coil) to anchor the bullion. If you go down too far from the coil, it can look like a loose spring.
Keep it smooth
Keep wraps flat
If your thread is twisting as you stitch, your wraps will look bumpy. Every few stitches, let your needle dangle and allow the thread to untwist naturally. This is especially helpful with stranded floss.
Use shorter thread
Long thread equals more friction, more kinks, and more chances for tangles. For bullions, I love working with 18 to 24 inches of thread. If your fabric is grabby or you are using fussy thread, going shorter (even closer to 12 to 18 inches) can feel calmer.
Condition, lightly
If your floss is fuzzy or your fabric is high-friction, a tiny bit of thread conditioner can help the needle glide through wraps. Keep it light. Too much can make stitches look dull or attract lint.
Pull in line
When you snug the bullion, pull the thread in line with the coil, not up and away. Pulling straight up encourages the wraps to climb over each other.
Start and end neatly
If you are stitching a bunch of bullions, bulky knots on the back can make your fabric feel lumpy in the hoop. Two easy options:
- Away knot: Tie a knot, start a few inches away from where you will stitch, then clip the knot off later once surrounding stitches secure the tail.
- Waste knot and weave: Make a knot to start, stitch over the tail on the back for a few stitches (or weave under nearby stitches), then trim the excess.
For finishing, run the needle under a few stitches on the back and trim. Bullions are showy on the front; the back can be boring and tidy.
Choosing the right knot
If you are not sure which textured stitch to use:
- Bullion knot: best for long, raised coils (buds, petals, antennae, wheat).
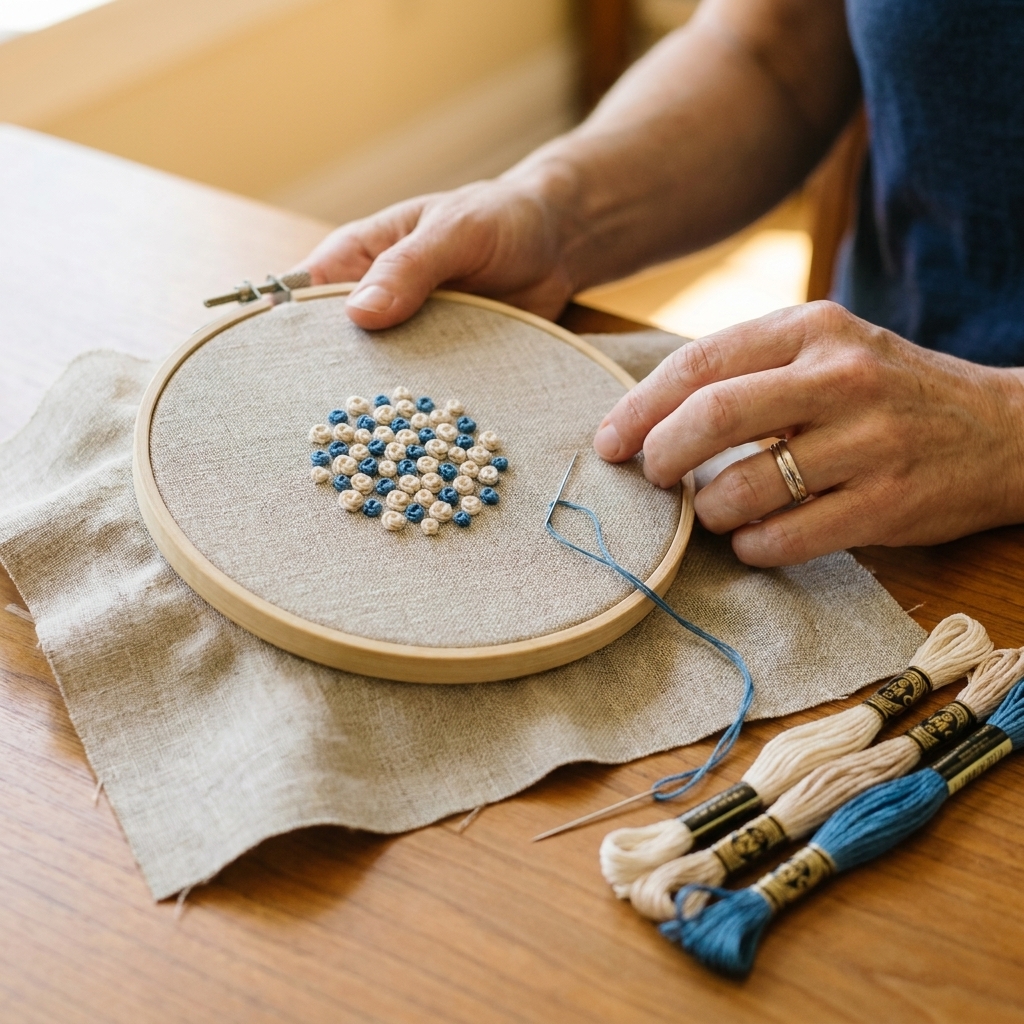
- French knot: best for tiny, round dots (flower centers, sprinkled texture).
- Cast-on stitch: similar vibe to a bullion, often a bit softer and loopier.
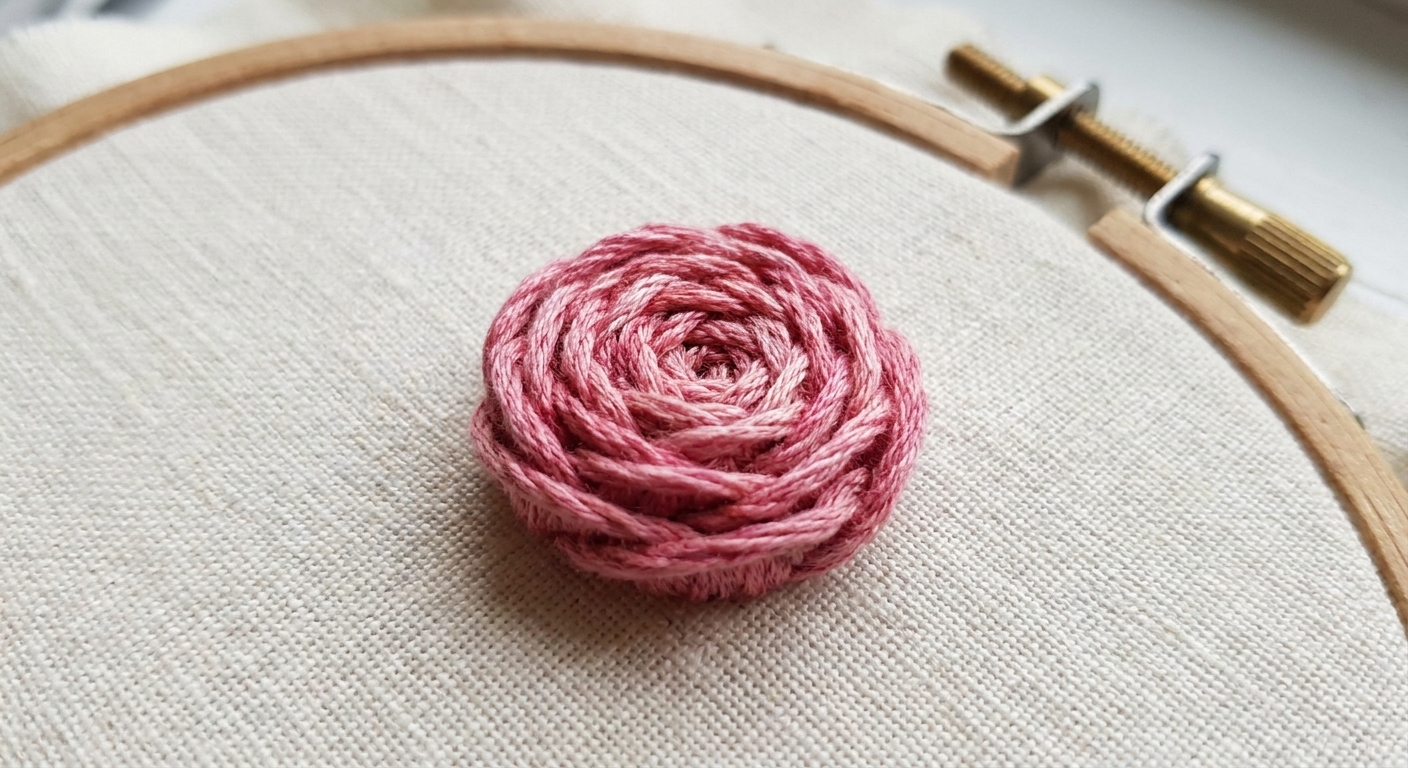
- Woven wheel rose: best for a full, round rose with a woven look.
Troubleshooting
“It tangles when I pull through.”
- Pinch the wraps firmly enough that they cannot loosen while you pull through.
- Slow down. Most tangles are rushed pulls.
- Keep the working thread slack while you draw the needle through.
- Check your needle eye. A bulky eye drags and catches wraps.
- Try fewer strands. If you are using 3 to 6 strands of floss, drop to 2 strands until your hands learn the motion.
“My bullions are lumpy.”
- Wrap with consistent tension. You want snug wraps, not tight wraps.
- Keep wraps side-by-side. If they overlap on the needle, they will overlap on the fabric.
- Nudge the coil straight with your needle tip before anchoring.
“The coil won’t slide off the needle.”
- You wrapped too tightly. Next time, relax the wraps a notch.
- Your thread is snagging. Switch to a smoother needle, fewer strands, or a different thread type like pearl cotton.
- Too many wraps for the length. Either reduce wraps or increase the distance between A and B.
“It looks like a sloppy spring.”
- Anchor at point B right at the end of the coil.
- Keep fabric taut. Slack fabric lets the coil wobble.
- Snug gradually. A sudden tug can distort the coil.
“It twists sideways.”
- Bring the needle tip up very close to point A. If the return point is too far away, the coil forms at an angle.
- Wrap toward the needle tip and pull through in that same direction.
- Pull in the direction of the stitch as you snug it down.
10 minute practice
If you want your hands to learn bullions fast, repetition helps more than perfection.
- Draw five short lines on fabric (about 1/4 inch each). Keeping the lines the same length helps you compare results without guessing.
- Stitch one bullion knot on each line using 2 strands of floss.
- Change only one variable each time: number of wraps, thread length, or how tightly you pinch.
- Circle your best one. Then try to repeat that exact setup.
Keep that little practice scrap. It is surprisingly motivating to look back and see how quickly your stitches tidy up.
Where to use them
Bullion knots are technically an embroidery stitch, but they play beautifully with cross stitch finishes and mixed-technique pieces.
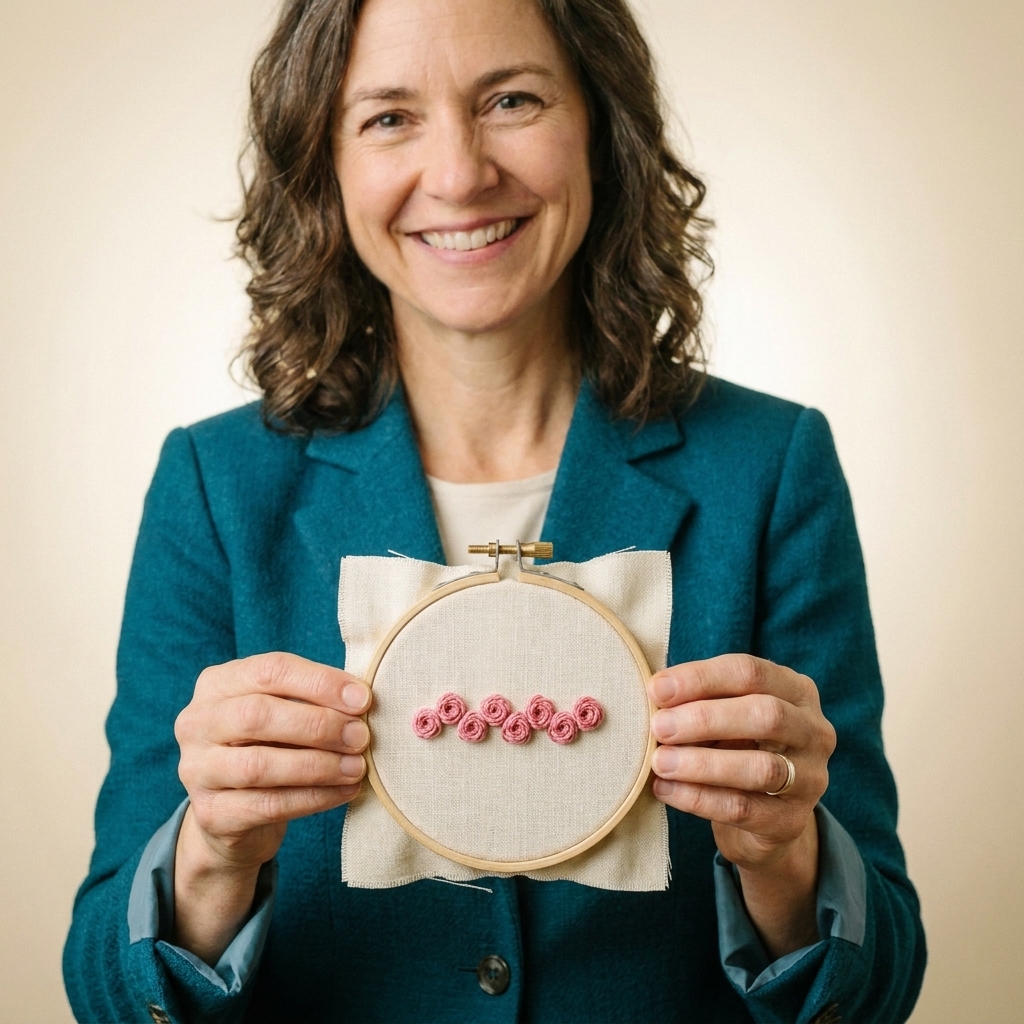
- Embroidered roses: Bullions make gorgeous rolled petals.
- Lavender and wheat: Use elongated bullions as textured buds.
- Insects and botanicals: Antennae, caterpillars, seed pods.
- Cross stitch embellishment: Add a bullion rose to a floral border, or stitch bullions on top of backstitched stems for extra dimension.
FAQ
Do I wrap clockwise or counterclockwise?
Either is fine, as long as you wrap consistently. If you switch directions mid-knot, wraps tend to fight each other and look messy.
Should I use a milliner needle?
If you have one, yes, it can be lovely. Milliner (straw) needles have an eye that is similar thickness to the shaft, so they glide through wraps smoothly. That said, you can absolutely master bullions with a regular embroidery needle, especially if it has a longer shaft.
How many strands of floss are best?
For beginners: 2 strands. Once you can stitch a smooth coil reliably, experiment with 1 strand for delicate details and 3 to 4 strands for chunkier texture.
Why do my wraps gap on the fabric?
Usually the wraps were not snug enough on the needle, or the thread twisted while pulling through. Try pinching more firmly, keeping the working thread slack, and pulling through more slowly, then gently nudge the coil into place before anchoring.
How do I keep bullions consistent for petals or rows?
Mark your start and end points first. Even tiny dots or short guide lines help you keep the A to B distance consistent, which makes your wrap count easier to repeat. If you are stitching a row, you can also bring the needle up for the next bullion close to where you just ended to keep the back tidy and reduce jump threads.
Reminder
Your first bullion knots do not need to be flawless. They just need to get a little better each time. If one turns into a lumpy noodle, snip it out, take a breath, and try again. This stitch is mostly hand position with a sprinkle of patience, and you have plenty of both.
Once it clicks, you are going to want to put bullion knots on everything. Consider this your friendly warning.