The woven wheel rose is one of those stitches that feels like magic the first time you pull the thread through and suddenly you have a little 3D bloom sitting on your fabric. If you are brand new to embroidery, this is a perfect “wow” stitch because it is built from two simple parts: a spoke base, then a relaxed weave.
In this Needle Via stitch library guide, I will walk you through the woven wheel rose step by step, show you how to control the size and fullness, and share fixes for the most common beginner hiccups (hello, lumpy petals and tangled thread).
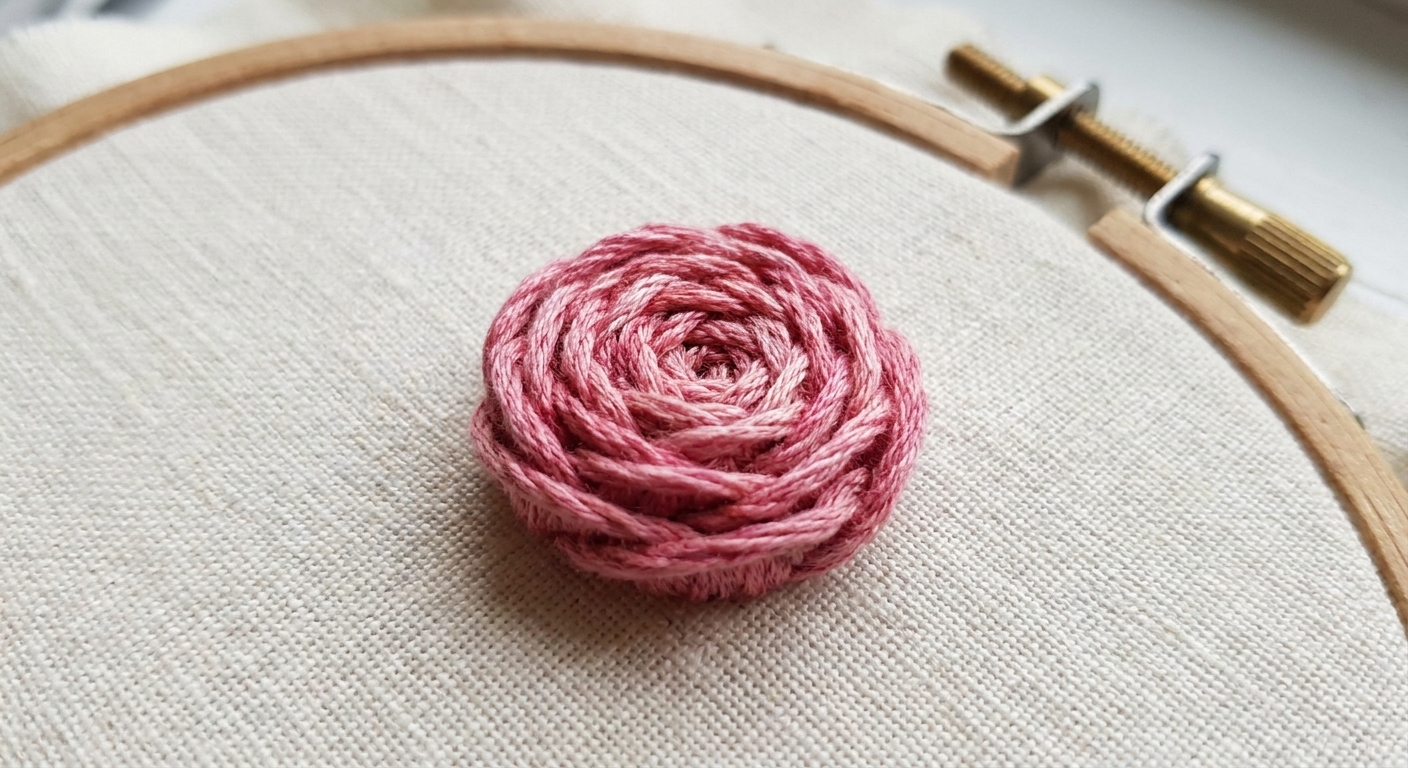
What is a woven wheel rose?
A woven wheel rose (sometimes called a woven spider wheel) is a dimensional embroidery flower made by weaving thread over and under a set of straight stitches (spokes) arranged like a wheel. As you weave, the thread builds up into a rounded, petal-like spiral.
It is ideal for:
- 3D floral embroidery where you want height and texture
- Modern embroidery motifs like bouquets, wreaths, and wildflower meadows
- Upcycling linens, napkins, tote bags, and denim jackets with tiny roses
Supplies you will need
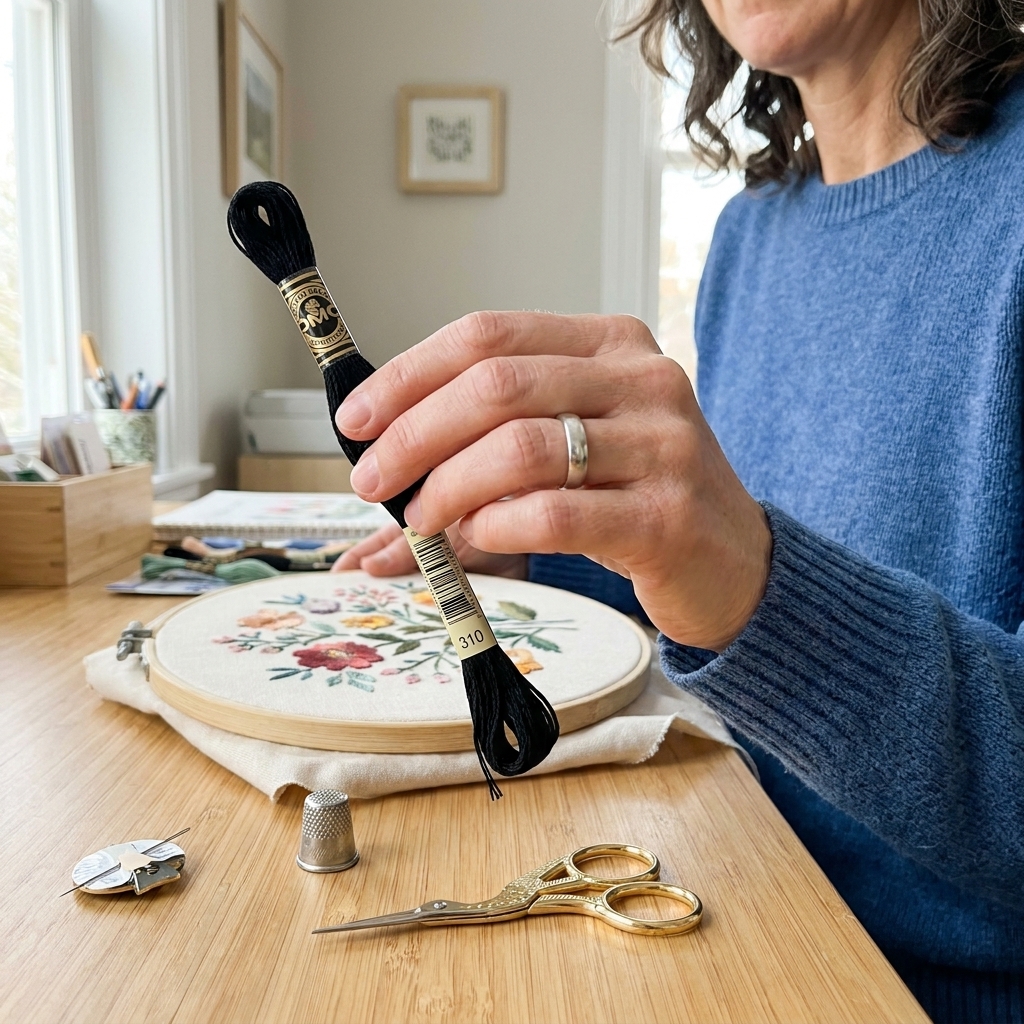
You do not need anything fancy here. The woven wheel rose works beautifully with standard stranded cotton floss.
- Fabric: tightly woven cotton or linen (medium weight is easiest)
- Hoop: any size, but keep the fabric drum-tight
- Needle: embroidery needle (crewel) in a size that matches your fabric and floss. Size 7 or 8 often works well on medium cotton or linen, but adjust as needed if the floss feels draggy.
- Floss: DMC or similar stranded cotton
- Scissors
- Optional: needle minder, water-soluble fabric marker for placing your center point
How many strands of floss?
This is the easiest lever for controlling your rose texture.
- For petite, tidy roses: 2 to 3 strands
- For plump, very dimensional roses: 4 to 6 strands (save 6 strands for larger roses and fabrics that can handle the bulk)
If your fabric is lightweight, start with fewer strands so you do not distort the weave of the fabric.
How to start cleanly
If knots make you nervous, try an away knot (knot the end, start a few inches away, then snip the knot later) or leave a short tail on the back and stitch over it as you make your spokes. Either way, you want your starting thread secure before you begin weaving.
Before you start: pick your rose size
Your woven wheel rose size comes from two choices:
- Spoke length (how far out your straight stitches reach)
- How much you weave (more weaving equals a fuller rose)
As a quick guide:
- Small rose: spokes about 1/4 to 3/8 inch (6 to 10 mm)
- Medium rose: spokes about 1/2 inch (12 mm)
- Large rose: spokes 3/4 inch (18 mm) or more
My honest beginner tip: start medium. Tiny roses are adorable, but they can feel fiddly when you are learning the over-under rhythm.
Step-by-step: woven wheel rose
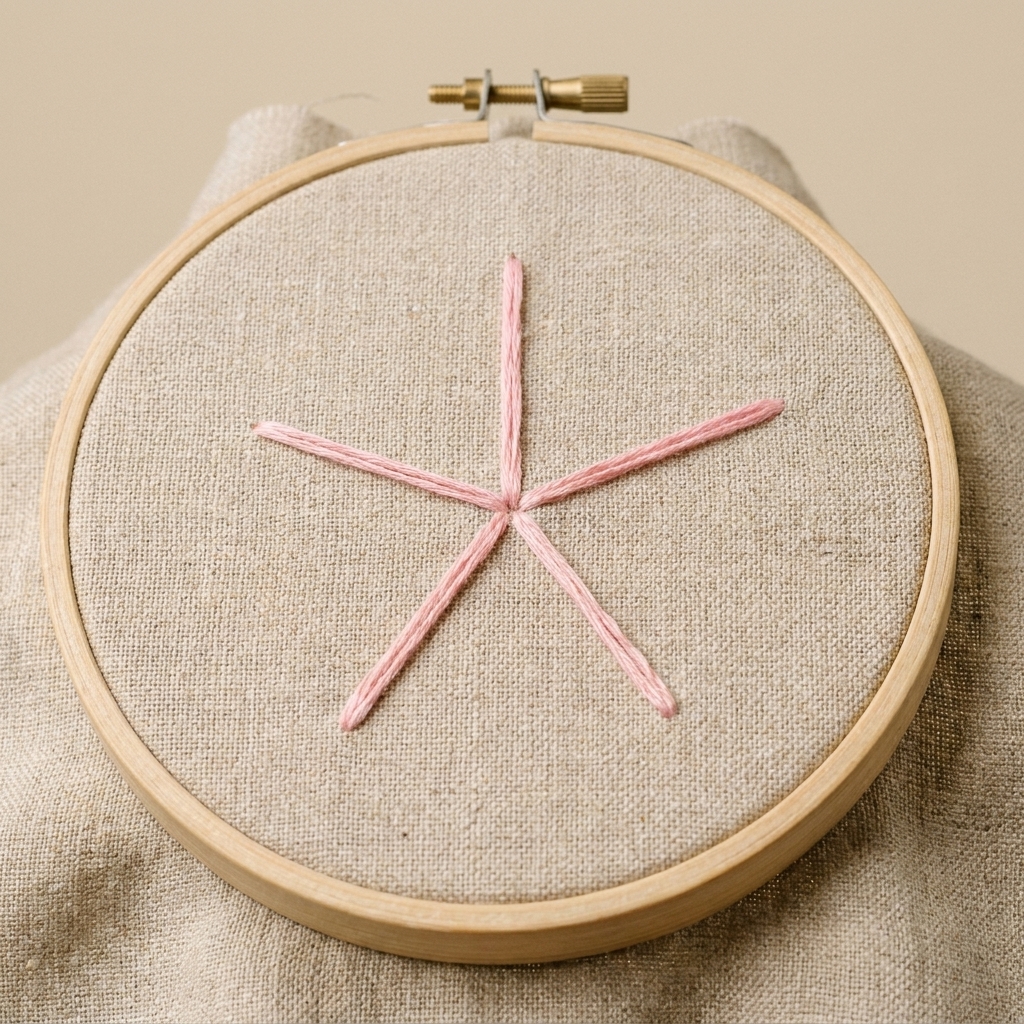
Step 1: Start at the center
Bring your needle up from the back of the fabric at the point where you want the center of the rose.
Tip: If you are placing multiple roses, make a tiny dot with a water-soluble marker so your cluster looks intentional, not random.
Step 2: Stitch the spokes
Make straight stitches that radiate out from the center like bicycle spokes. Each spoke begins in the center and ends at the same distance away.
Use an odd number of spokes. This matters because the weave alternates over and under, and an odd number helps the pattern shift naturally as you go around.
- 5 spokes is the classic beginner choice
- 7 spokes makes a smoother, fuller-looking rose
- 9 spokes can look extra lush, but it is more weaving
To stitch them:
- Come up at the center.
- Go down at the outer edge to form the first spoke.
- Come back up at the center.
- Repeat until you have your full set of spokes.
Keep your spoke stitches snug. They are the framework, so you want them stable, but not so tight that the fabric puckers.
Optional (but helpful): If you want a smoother weave, stitch the spokes with 1 to 2 strands (in the same color), then weave with more strands for the petals. Less spoke bulk means less chance of spokes showing through.
Step 3: Come up beside the center
After your last spoke, bring your needle up just beside the center point, not through the exact same hole. This reduces bulk and helps the center stay tidy.
Important: From this point on, try not to stab through the spoke stitches. You want to weave around them, not pierce them, so the rose stays smooth and round.
Step 4: Weave over and under
Now for the satisfying part. Slide your needle under one spoke, then over the next, repeating over-under as you travel around the circle.
As you weave:
- Do not pull tight. Think “fluffy scarf,” not “shoelace knot.”
- Let the thread sit on top. The height comes from relaxed weaving.
- Keep the needle shallow. You are gliding under spokes, not stitching into the fabric.
You will notice the weaving naturally forces the thread into a spiral. That is exactly what you want.
If your spokes start pulling inward: that is usually a sign the weave is too tight. Loosen a round or two and re-pack instead of tugging.
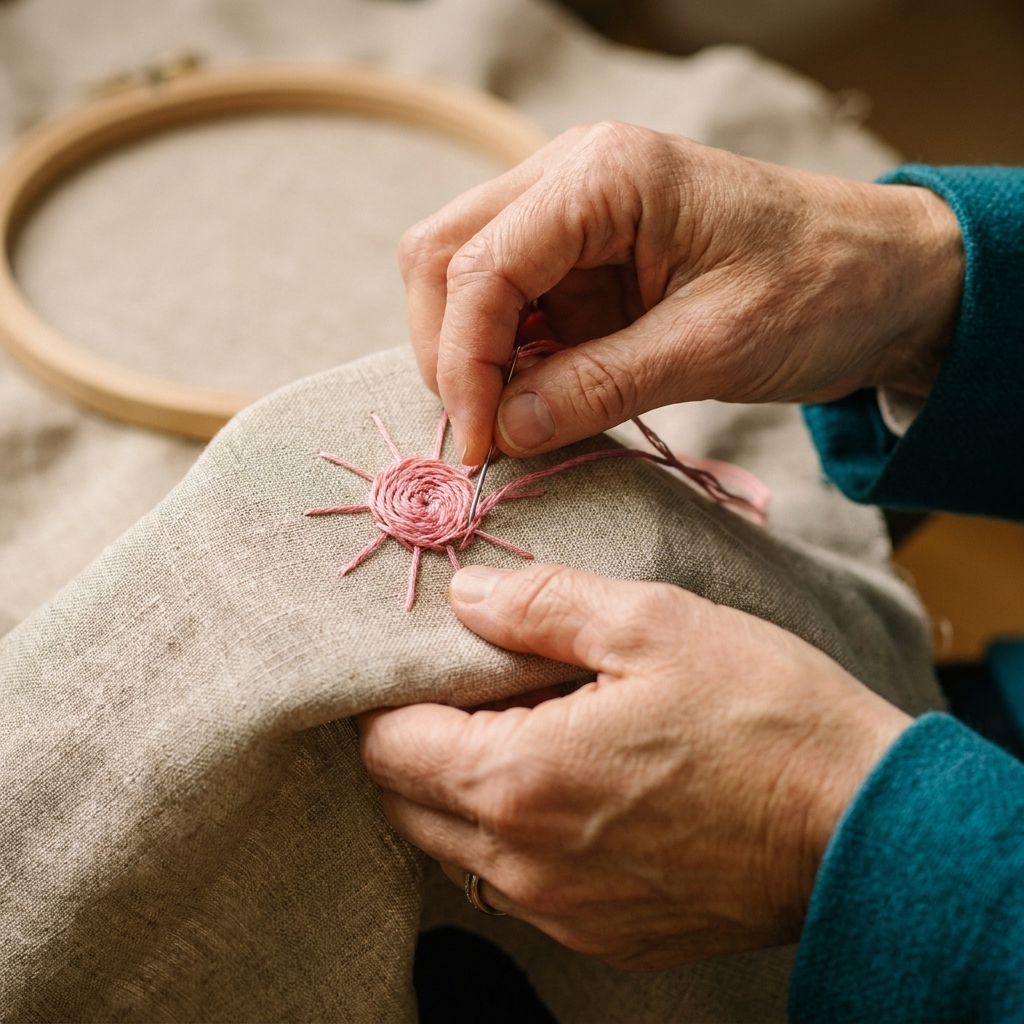
Step 5: Pack the petals
Every couple of passes, use the side of your needle to nudge the woven thread inward toward the center, like you are tucking petals into place. This helps your rose look full instead of gappy.
Beginner-friendly rule: If your rose looks flat, you are probably pulling too hard. If it looks messy, you may need to pack the weave more evenly.
Step 6: Finish and secure
Stop weaving when your woven circle reaches (or slightly covers) the ends of your spokes. To finish:
- Take your needle down to the back just outside the woven edge (not through the woven petals) so you do not dent the rose.
- Secure the thread by weaving under a few stitches on the back, or with a small knot if that is your preference.
If you want the outer edge to look extra clean, do one last gentle “petal fluff” with your needle tip before you tie off.
Make it look neat
“Perfect” in embroidery mostly means “looks intentional from normal viewing distance.” Here are the small habits that make a big difference.
1) Use an odd number of spokes
This is the secret to a smooth spiral. Five or seven spokes are the sweet spot for most projects.
2) Relax your tension
The woven wheel rose is a puffy stitch. If you pull your weaving thread tight, the spokes can show through and the rose can turn into a sad little knot.
3) Keep spokes evenly spaced
You do not need a protractor, but aim for a pizza-slice spacing. Uneven spokes can create lopsided petals.
4) Match needle size to strand count
If you are using 6 strands and a tiny needle, the floss can shred and fight you. Go up a needle size if the thread feels draggy.
5) Stop at the right moment
If you keep weaving far past the spoke ends, the rose can loosen and slouch outward. When your weave reaches the spoke tips, you are done.
Common problems and fixes
My rose looks flat
- Cause: weaving tension is too tight
- Fix: unweave a few passes (gently pull back), then reweave with a looser hand. Also consider using more strands.
My spokes are showing through
- Cause: not enough weaving, or spoke thread is much darker than the rose thread
- Fix: weave a few more rounds, stitch spokes in the same color as the rose, or use fewer strands for the spokes so the weave covers more easily.
My rose is lopsided
- Cause: uneven spoke spacing, or you are packing the weave more on one side
- Fix: use your needle to redistribute the woven thread, nudging “extra” fullness toward the thinner side.
My thread keeps tangling
- Cause: thread length is too long, or floss is twisting
- Fix: cut a shorter length (18 to 20 inches is a comfortable starting point), let your needle dangle occasionally to untwist, and slow down on tight turns.
The fabric puckered around my rose
- Cause: spoke stitches or finishing stitch pulled too tight
- Fix: loosen the finishing anchor, re-hoop with firm tension, and keep spokes snug but not straining the fabric.
Variations to try
Two-tone rose
Stitch the spokes in a darker shade, then weave the rose with a lighter shade. The depth looks like natural petal shadows.
Mini rosebuds
Make very short spokes and stop weaving early, so the rose is a tight little bud. Add a simple detached chain leaf nearby and you have an instant floral moment.
Rose cluster
Stitch three roses in different sizes close together, then fill gaps with lazy daisies, French knots, or little seed stitches. It is my favorite way to make a project look “finished” without a ton of complicated stitches.
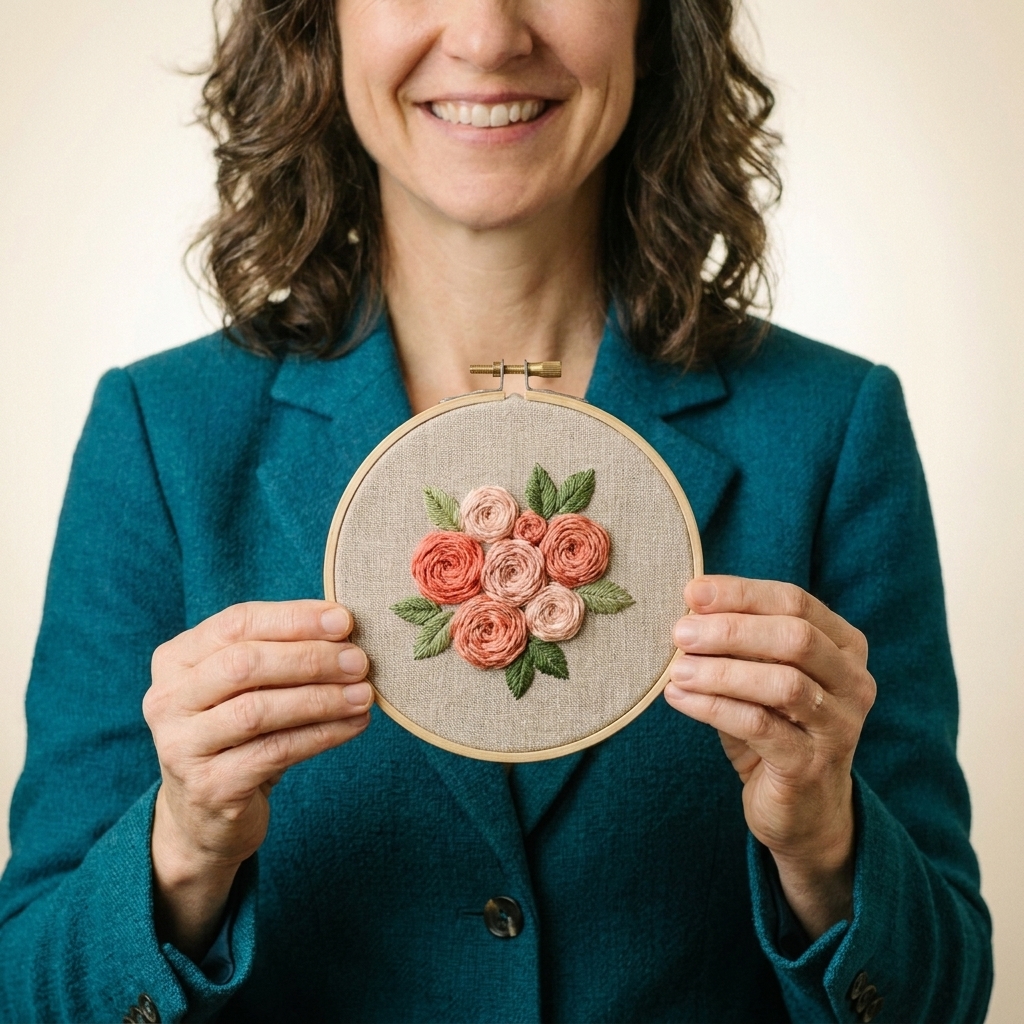
Where to use woven wheel roses
- Hoop art: floral wreaths, initials, and sampler borders
- Clothing: denim jacket collars, sweater patches, pocket corners
- Home linens: napkins, tea towels, pillowcases (especially vintage finds)
- Accessories: canvas tote bags, zip pouches, needle books
If your item will be washed often, keep roses modest in size and avoid extremely loose weaving so they do not snag. For garments, I also like to place roses away from high-friction areas like underarms and tight waistbands.
Quick FAQ
Can I stitch a woven wheel rose with perle cotton?
Yes. Perle cotton can make a beautifully bold, ropey texture. Use a needle with a slightly larger eye and keep the weave loose so it does not look stiff.
Do I have to use an odd number of spokes?
It is not a law of the universe, but it makes the over-under pattern behave nicely. With an even number, you tend to stack the weave in the same places, which can look less petal-like.
How do I keep the center from looking like a hole?
Start weaving close to the center and take your time on the first few over-under passes. You can also take one tiny straight stitch at the very center before weaving to give the rose something to hug.
Is this the same as a spider web stitch?
They are close cousins. Both use a spoke base and a weave. The woven wheel rose is usually packed more densely to look like petals, while a spider web stitch is often left more open and web-like.
A gentle reminder
Your first woven wheel rose might be a bit wonky. Mine absolutely was, and I still keep that hoop around because it makes me smile. This stitch rewards practice fast, and every rose you make teaches your hands the rhythm.
If you want a low-pressure way to practice, stitch a little “rose garden” sampler: ten tiny roses in different colors, different strand counts, and different spoke numbers. It is relaxing, and you will learn more in one quiet evening than you would from a dozen perfect photos.