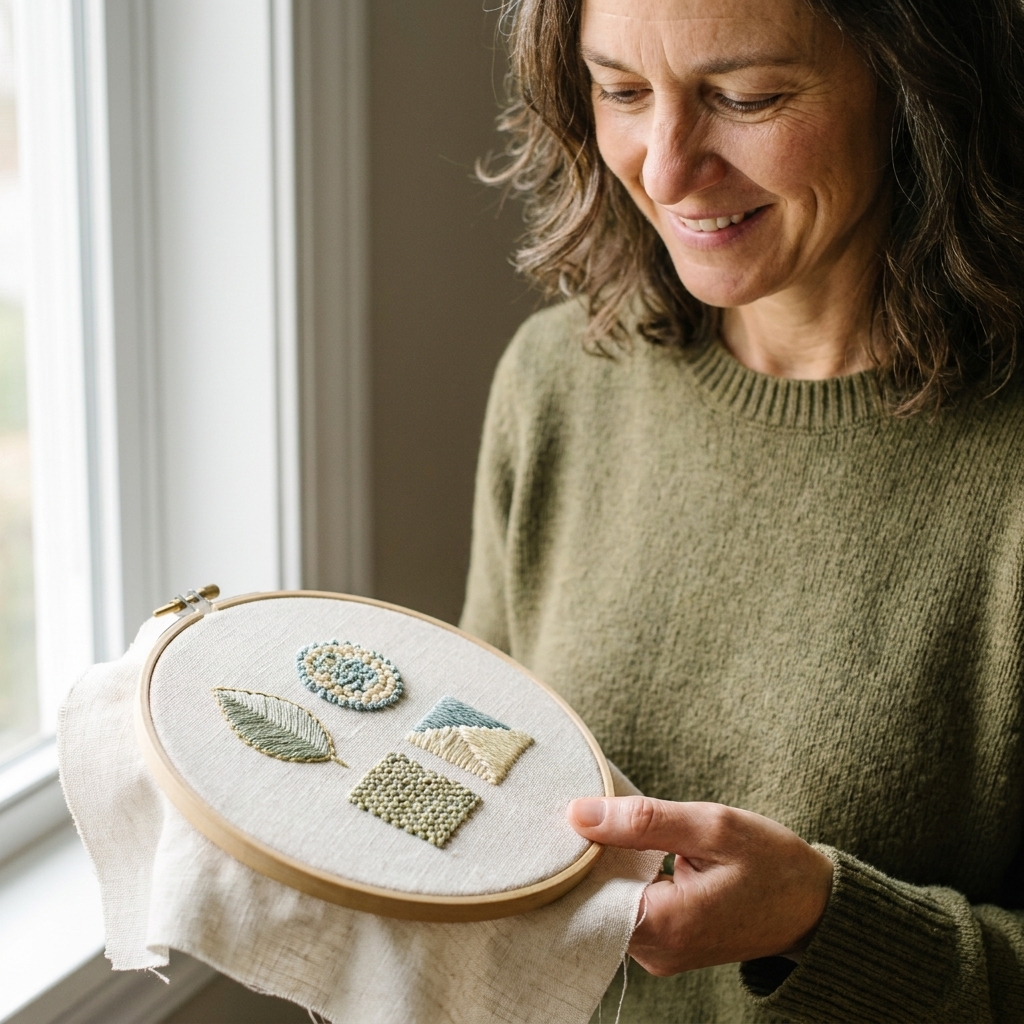
If you love cross stitch but sometimes wish your finished piece had a little more pop, texture is the secret sauce. I adore a neat field of Xs, but sprinkling in a few specialty stitches can make a chart feel luxe and intentional, like you planned that wow moment from the start.
These stitches are all cross-stitch-friendly, meaning you can mix them right into counted cross stitch on Aida, evenweave, or linen using the same grid you already understand. A small note for accuracy: a few of these (like Rhodes and satin stitch) are technically counted embroidery stitches that just happen to play very nicely with cross stitch. You do not need a fancy art degree. Just a needle, some floss, and a willingness to try one new thing at a time.
Before you start
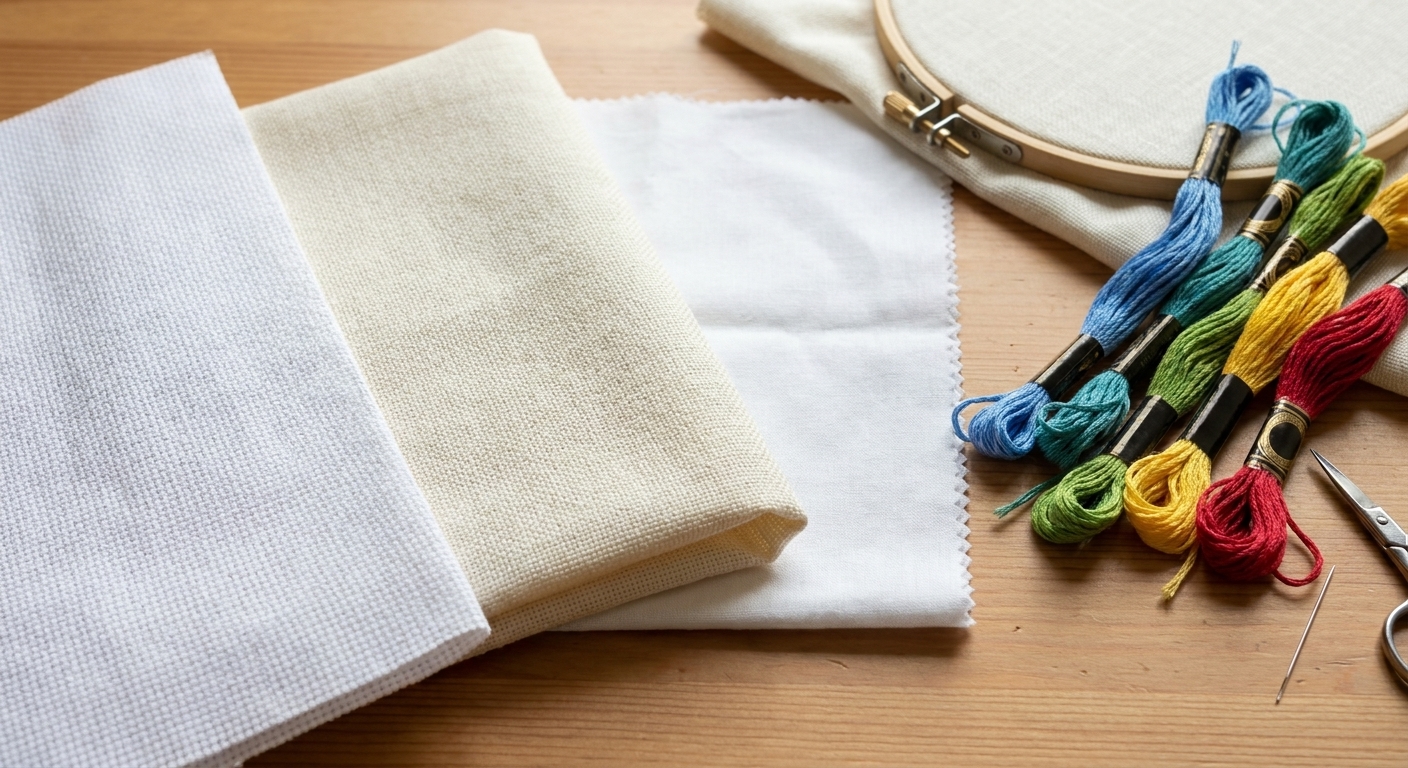
Pick the right fabric and needle
- Aida: Easiest for counting and learning. Specialty stitches look crisp because the holes are clear.
- Evenweave or linen: Beautiful drape, but you will want to stay consistent about whether you are stitching over 2 threads (most common) or over 1.
- Needle: A tapestry needle keeps you from splitting fabric threads. Sizes vary by fabric count and personal tension, but common picks are size 24 for 14 count Aida, size 26 for 16 to 18 count, and size 28 when you want a slimmer needle on higher counts or tighter stitching.
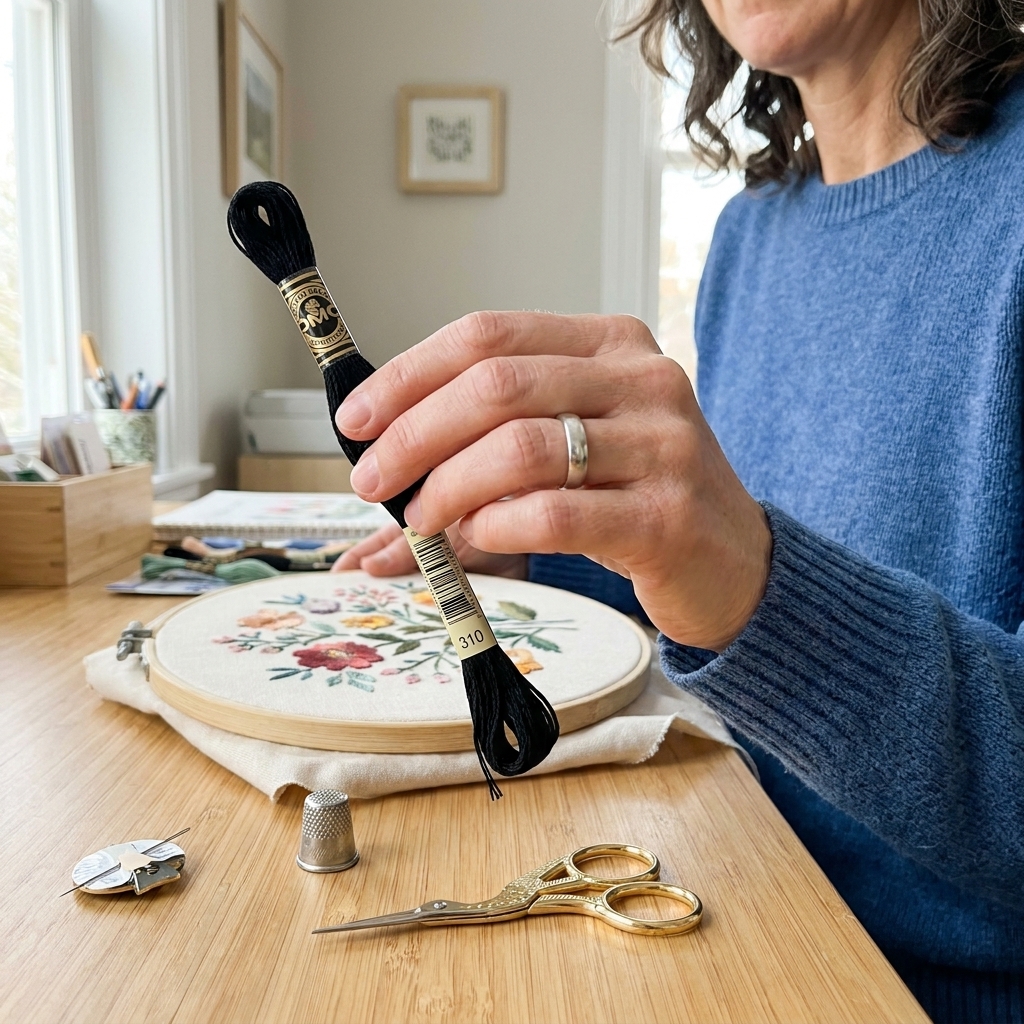
Use shorter lengths of floss
Textured stitches like to twist. I keep lengths around 18 to 20 inches so the floss stays smooth and the stitch sits plump instead of fuzzy.
Mind your tension
The goal is snug, not strangled. If you pull too hard, eyelets will not open and Rhodes stitches can warp the fabric. If you pull too loose, the stitch can look floppy. I aim for “flat against the fabric, but still bouncy.”
Test on a scrap
I keep a little “stitch doodle” square in my project bag. It saves so much unpicking when I try a stitch for the first time.
1) Smyrna cross
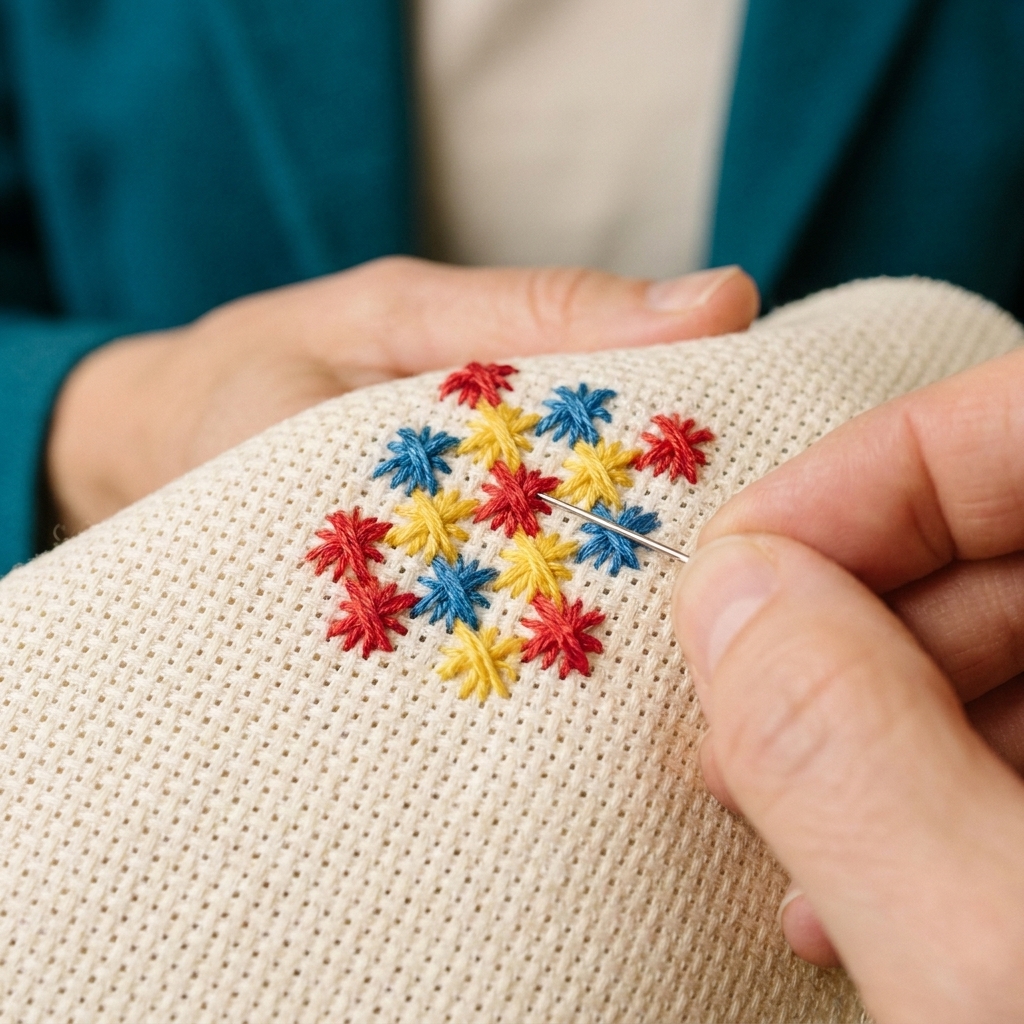
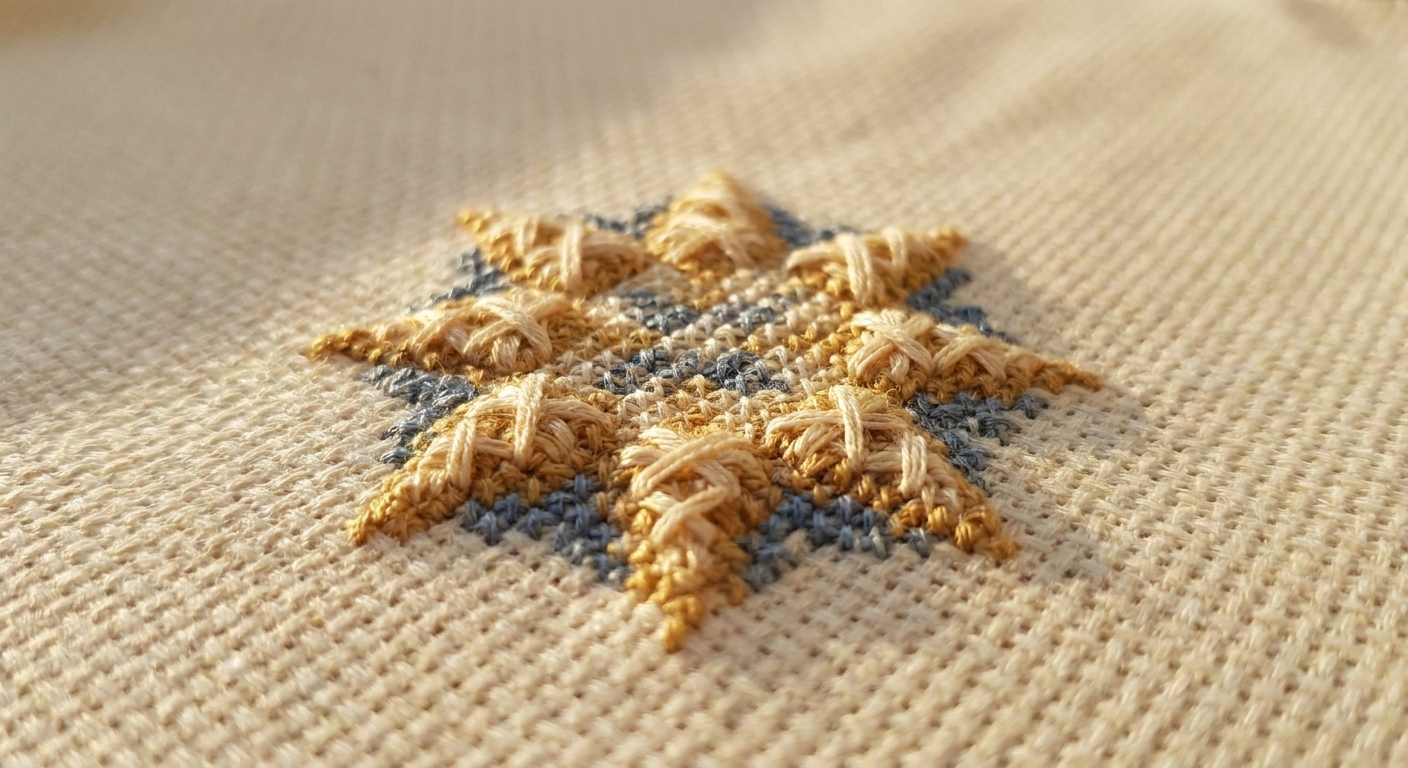
The Smyrna cross is a classic canvas stitch that feels like a fancy upgrade to a regular cross stitch. It is sturdy, symmetrical, and delightfully raised. If you want texture that reads from across the room, start here.
Best uses
- Snowflakes, stars, and confetti accents
- Centers of flowers
- Jewelry details on a character pattern
- Border “beads” around a sampler
How to stitch it (over one square)
- Make a full cross stitch (your usual X) over one square.
- Bring your needle up at the top hole of that same square and go down at the bottom hole to make a vertical stitch.
- Bring your needle up at the left hole and go down at the right hole to make a horizontal stitch.
You end with an X plus a + on top. That layered structure is what creates the nice loft.
Clara’s tips
- Do it last: If your chart mixes regular Xs and Smyrnas in the same area, stitch your base Xs first, then add Smyrnas at the end so you are not constantly fighting the bulk.
- Adjust strands by count: On 14 count, two strands can look lush. On 16 count, two strands is often fine. On 18 count, try one strand if two looks crowded.
2) Algerian eyelet
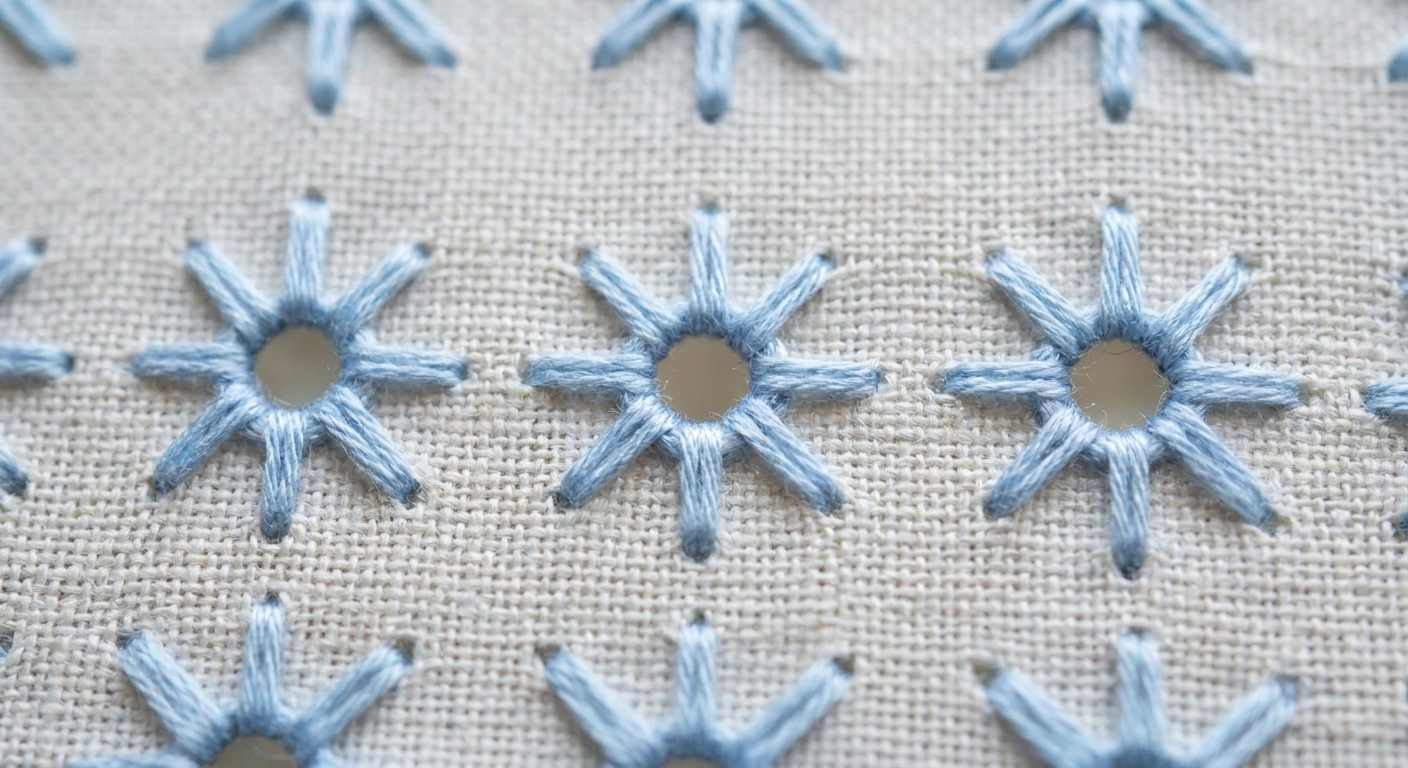
Algerian eyelets are little open holes that look like tiny lace details. They are made by pulling stitches outward to create a deliberate opening in the fabric.
One quick caveat: you can work eyelets on Aida, but the “hole” is often more subtle because the Aida blocks do not shift as readily. If you want a really dramatic eyelet, evenweave or linen usually shows it off best.
Best uses
- Snow, sparkly highlights, and bubbles
- Flower centers and seed pods
- Decorative borders that need a light, airy texture
How to stitch it (classic 8-leg eyelet)
This is worked around a center hole. You are basically making spokes that all start in the center and go out to surrounding holes.
- Bring your needle up at the center hole.
- Go down in a hole above the center (north).
- Come back up at the center.
- Go down in a hole to the upper right (northeast).
- Repeat, always coming up at the center and going down to the next surrounding hole, until you have 8 spokes: N, NE, E, SE, S, SW, W, NW.
As you snug the spokes, the center opens into a neat little eyelet.
Clara’s tips
- Don’t yank: Think “firm hug,” not “tug of war.” You want an open center, not distorted fabric.
- Use a laying tool if you have one: Even a spare tapestry needle can help you keep the spokes smooth so the hole looks clean.
- Plan for breathing room: Eyelets look best when they have space around them. Avoid placing them right beside heavy stitches like French knots or dense blocks of full crosses.
3) Rhodes stitch
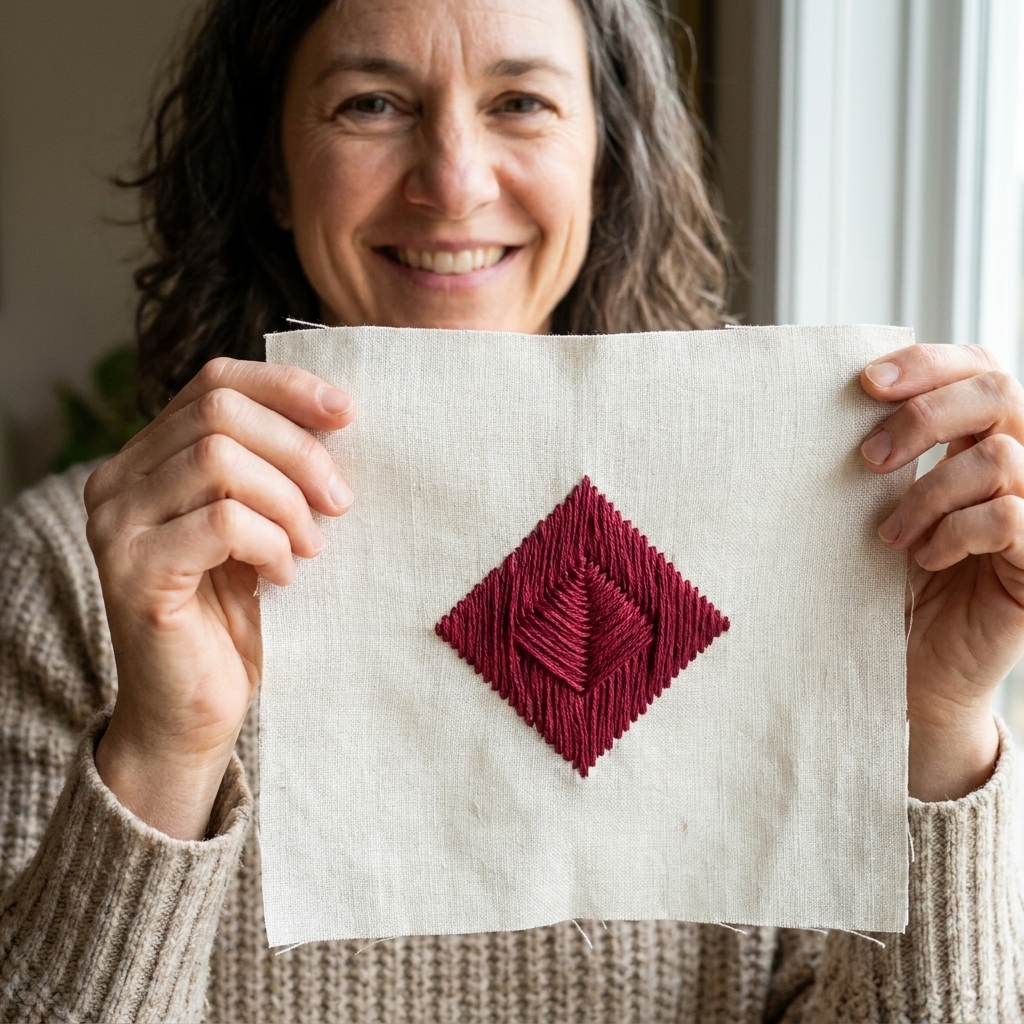
The Rhodes stitch is a showstopper. It creates a raised, satin-like diamond or square made from straight stitches that cross over the center. It is perfect when you want a bold focal detail without changing colors or adding beads.
Best uses
- Ornaments and baubles
- Flower petals and stylized leaves
- Decorative quilt blocks in sampler-style patterns
- Geometric borders
How to stitch a Rhodes diamond (over a 5 by 5 area)
Rhodes stitches can be any size, but a 5 by 5 is friendly for learning and fits nicely in most modern charts. For clarity, you are stitching long straight lines from hole to hole across that 5 by 5 area, and every stitch passes over the same center point.
- Find the center of your 5 by 5 area.
- Work the longest stitch first: bring your needle up at the top center of the area and go down at the bottom center.
- Next, make the stitch that is one hole shorter on the left side: come up one hole left of the top center, go down one hole left of the bottom center.
- Then mirror it on the right side: come up one hole right of the top center, go down one hole right of the bottom center.
- Keep alternating left, then right, each time stepping one hole farther out and making the stitch one hole shorter, until you reach the outer points of the diamond.
- Turn your work a quarter turn and repeat the same “longest, then alternate sides” process in the other direction to complete the diamond.
The magic is that the stitches overlap at the center, building a padded look.
Clara’s tips
- Keep it smooth: Let your floss untwist occasionally by dropping the needle and letting it dangle.
- Watch direction: Place stitches in the same order so the overlaps stack neatly and the surface looks even.
- Give it space: Rhodes stitches are dimensional. If you pack them tightly beside other raised stitches, your fabric can feel bumpy in a way that is less “texture” and more “speed bump.”
4) Satin stitch blocks
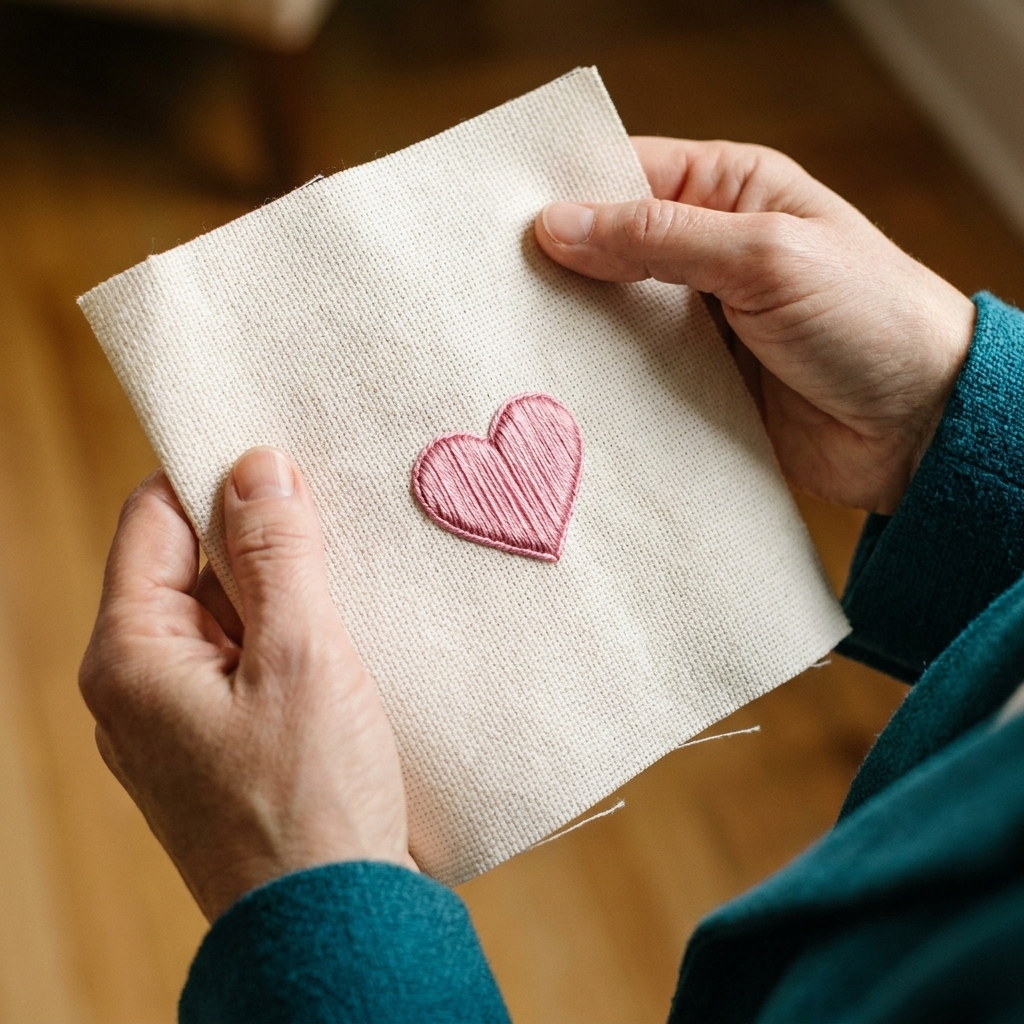
Satin stitch is not only for surface embroidery. In cross stitch patterns, small satin blocks can replace solid areas of full crosses when you want a glossy, modern finish. Think of it like turning a pixel into a sleek tile.
Just know the tradeoff: satin stitch can show more ground fabric on open weaves, and it can snag more easily than a field of Xs. Keep it small and strategic.
Best uses
- Letters in small monograms
- Animal noses, eyes, and tiny graphic shapes
- Simple florals where you want petal shine
- Minimalist motifs with big areas of one color
How to stitch it neatly on a grid
- Outline the shape you want to fill (optional but helpful) with backstitch.
- Bring your needle up on one edge of the block and go down on the opposite edge, making straight stitches laid side by side.
- Keep each stitch parallel and close, with no fabric showing between them.
- For a slightly padded look, lay a few “foundation” stitches underneath in the opposite direction first.
Clara’s tips
- Small is best: Satin stitch behaves beautifully in small areas. For larger fills, it can snag and look uneven, so consider a different textured stitch or break the area into sections.
- Use fewer strands: One strand often looks smoother than two, especially on 16 to 18 count.
- Check coverage early: If you can see too much fabric peeking through, switch to an extra strand or choose a different fill before you get too far.
- Start and stop cleanly: Run your thread under nearby stitches on the back rather than knotting. Knots can create lumps that show through satin areas.
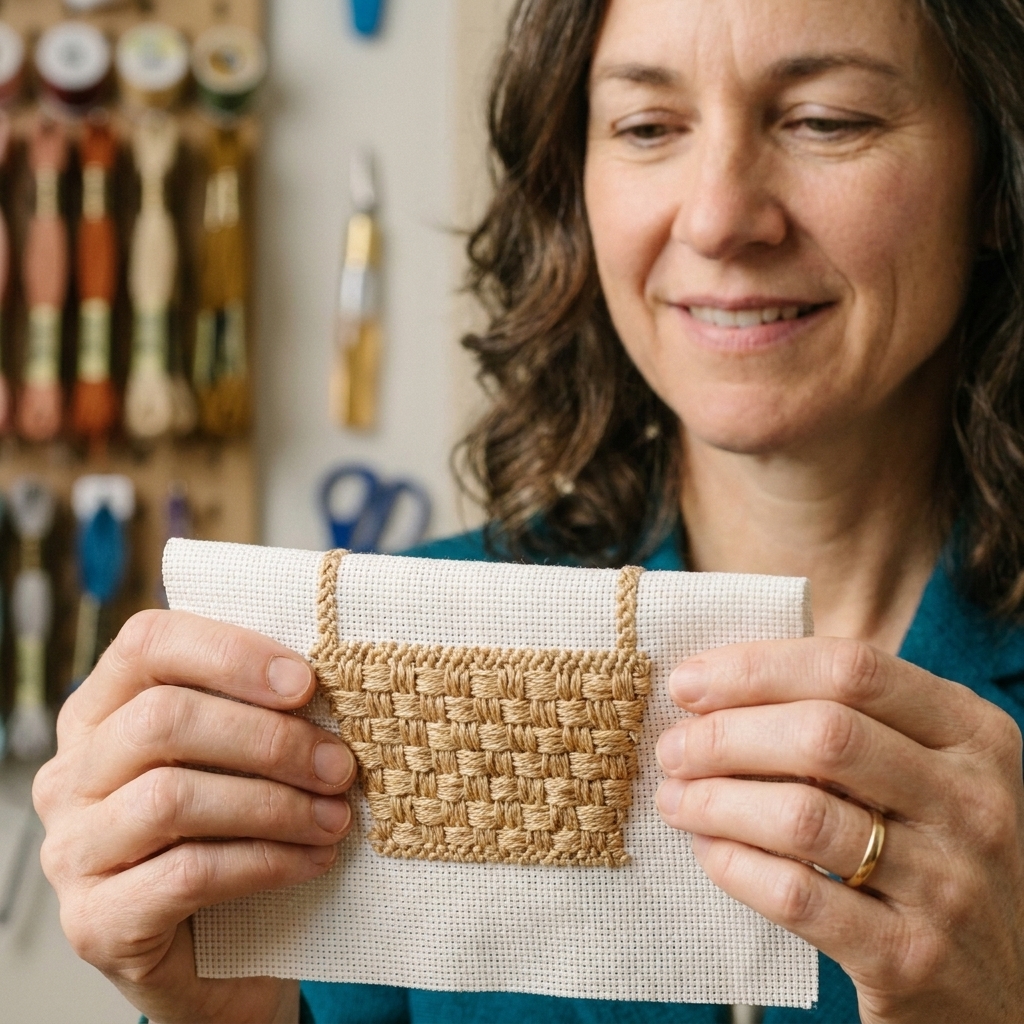
5) Woven stitch
If you have ever looked at a cross stitch basket and thought, “How do I make that look more like weaving?” this stitch is for you. A simple woven fill creates a tactile, over-under texture that feels warm and handmade.
Best uses
- Baskets, wreath bases, and background panels
- Cozy sweater texture on characters
- Hair, fur, and thatched roof details
- Rustic sampler borders
How to stitch a simple woven fill
There are a few versions, but this beginner-friendly method uses vertical “posts” you weave under and over. This is easiest on Aida because the holes are clear, and it is especially helpful to use a blunt tapestry needle so you slide between threads instead of piercing them.
- Mark the area you want to fill (a rectangle works great).
- Stitch evenly spaced vertical straight stitches from top to bottom of the area, like fence posts. These are your warp threads.
- Bring your needle up at the left side of the area and weave your thread over and under the vertical posts as you travel across. Try not to split the posts.
- At the end, go down to secure, then come up just below and weave back in the opposite over-under order.
- Continue row by row until the area is filled.
Clara’s tips
- Use a blunt needle: A tapestry needle helps you slide between posts instead of piercing them.
- Do not pull tight: Let the weave sit relaxed so it looks dimensional. Tight weaving can collapse the texture.
- Consider a slightly darker shade: Woven texture reads better with gentle contrast, even within the same color family.
Swap into a chart
You do not need a special pattern to start using these. Here are a few easy ways to swap them in without changing the whole design.
- Replace a single full cross: Use a Smyrna cross in place of one X to make a starry accent.
- Upgrade a “dot” detail: Any single stitch used as a highlight can become an eyelet (subtle on Aida, airier on linen) or a tiny Rhodes stitch.
- Fill a solid block: If a chart has a 3 by 3 or 5 by 5 square of one color, try satin stitch or a Rhodes shape for a smoother, bolder fill. Always test first to make sure you like the coverage.
- Add texture to borders: Borders are the safest playground. If you dislike the result, it is easy to redo without touching the main motif.
If you are stitching from a designer chart, a gentle reminder: some patterns are designed with specialty stitches in mind, and changing stitch types can slightly shift coverage. My go-to move is to test the substitution in the margin of my fabric first, then commit once I like the look.
Troubleshooting
My eyelet will not open
- Check tension. Snug, not tight.
- Try fewer strands.
- On linen over 2, make sure you are going into the same center hole each time.
- If you are on Aida, expect a smaller opening. The look can be more “starburst” than “hole,” and that is still pretty.
My Rhodes stitch looks lopsided
- Count your area again and confirm the true center.
- Work the longest stitch first, then alternate left and right so it stays balanced.
- Keep your stitch order consistent so overlaps stack neatly.
My textured stitches look messy next to regular Xs
- Stitch all the regular Xs first, then add specialty stitches last.
- Railroad your stitches (separate the strands with your needle as you pull through) for a smoother finish.
- Reduce strand count for the specialty stitches if they feel too bulky.
I am worried about the back getting bulky
Totally fair. Specialty stitches can build up. I keep starts and ends tidy by running the thread under nearby stitches, and I avoid jumping long distances on the back in heavily textured sections.
Finishing textured pieces
Texture can compress if you smash it with an iron. When you wash and press a finished piece, I recommend letting it air dry mostly flat, then pressing from the back on a thick towel so the raised stitches have somewhere to sink. If you must press from the front, use a pressing cloth and the lightest touch.
A cozy little challenge
If you want a low-pressure way to practice, pick a tiny motif you have already stitched before, like a heart, star, or mini flower. Stitch it once with regular Xs, then stitch it again and swap in two specialty stitches. A Smyrna center plus a couple of Algerian eyelets around it is such a satisfying combo.
And if your first attempt looks a bit wonky up close, welcome to the club. Texture is forgiving, and honestly, a little handmade imperfection is part of the charm.