Denim is one of my favorite “everyday canvases” because it is sturdy, washable, and forgiving. It is also… thick. Which means the techniques that feel effortless on quilting cotton can suddenly feel like you are trying to stitch through a polite little wall.
In this project, you will embroider a simple, bold design onto a denim jacket (or jeans, a tote, or a shirt jacket) using the right needle, the right stabilizer, and a few small habits that keep your stitches neat and your hands happy.
Why denim feels different
Denim is a twill weave with a dense structure. That density is wonderful for durability, but it creates three common embroidery headaches:
- Harder needle penetration: you need a sharper, stronger needle than you would on evenweave or plain cotton.
- Inconsistent tension or stitch length: thick fabric can make it harder to keep stitches even, especially if the fabric is not stabilized.
- Puckering and rippling: denim can distort around dense stitching unless you support it properly.
The good news is that each of those problems has a very practical fix.
Supplies you will want (and why)
Needles for denim
For hand embroidery on denim, a sharp embroidery needle is your best friend.
- Crewel (embroidery) needles: sizes 5 to 8 are a common sweet spot, depending on brand, fabric thickness, and your thread choice. Choose 5 or 6 for thicker layers and stubborn seams, and 7 or 8 for most jacket panels.
- Chenille needles: great if you are using thicker threads (like pearl cotton) because the eye is larger while still staying sharp.
- Optional for very heavy denim: a sturdy hand-sewing “jeans” needle can help you get through seam ridges, then you can switch back to a crewel needle for regular stitching.
- What to avoid: tapestry needles (blunt tip) will fight the weave and make you miserable on denim.
Hand saver tip: keep a small thimble or a leather needle pusher nearby if you are stitching a lot of satin stitch or working near seams.
Thread choices
- Six-strand embroidery floss: the most versatile. For denim, I usually use 2 to 3 strands for linework and 3 to 6 strands for bolder fills.
- Pearl cotton (size 8 or 5): gives a ropey, modern line that looks amazing on jackets. It is also less likely to tangle, which I appreciate with my talent for making thread nests.
- Wool or crewel yarn: cozy and dimensional, but use a chenille needle and stabilize well.
Stabilizers (the secret sauce)
Denim loves stabilizer. If you remember one thing from this whole article, let it be this: stabilize first, stitch second.
- Tear-away stabilizer: great for many jacket panels and lighter designs. It supports stitches while you work and tears away from the back when finished.
- Cut-away stabilizer: best for dense designs or spots that get heavy wear (elbows, pockets). You trim it down and leave it in permanently for support. Some stitchers default to cut-away on clothing in general because it helps prevent long-term distortion, especially on larger motifs.
- Wash-away stabilizer (water-soluble film): perfect for transferring designs and for stitchers who hate tracing. It sits on top of the fabric, you stitch through it, then rinse it away.
Hoop or no hoop?
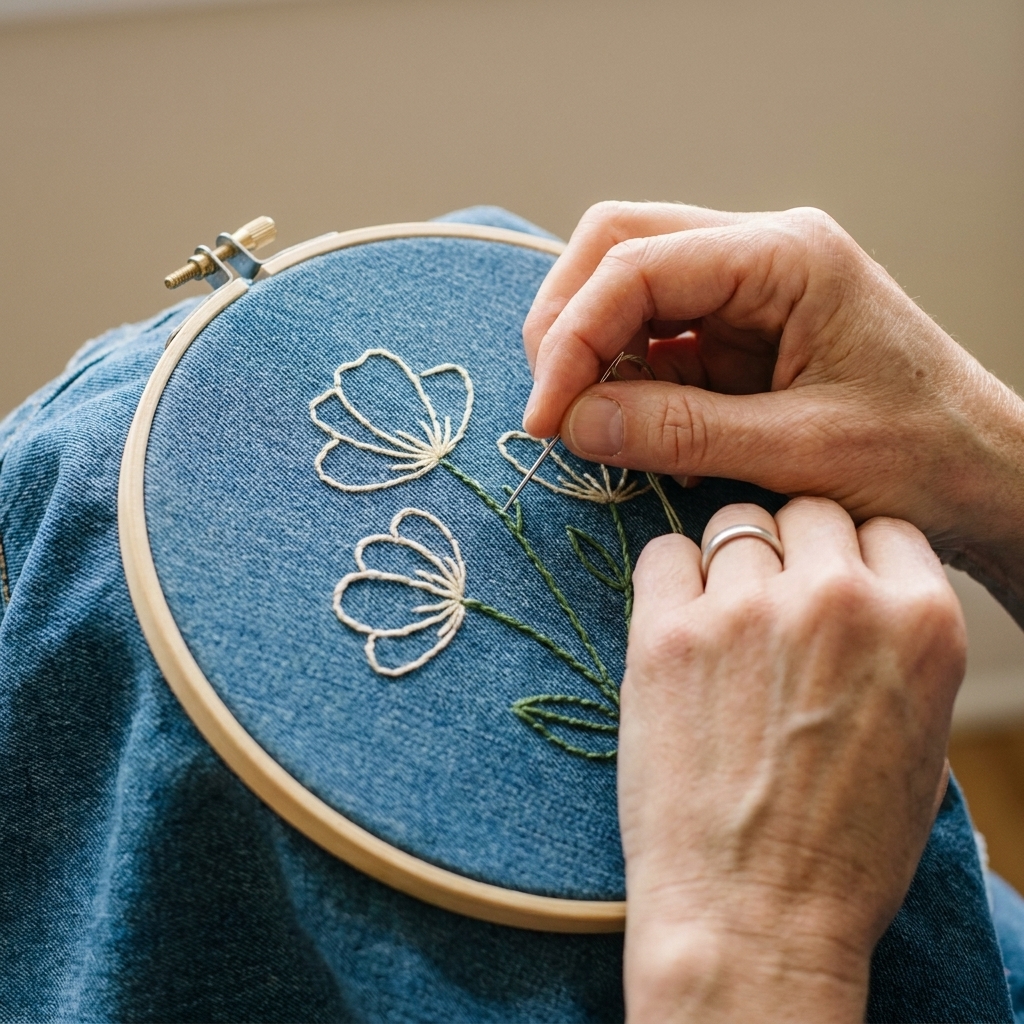
You can embroider denim with a hoop, but sometimes a hoop hates thick fabric.
- Use a hoop when: you are stitching on a flat area (back panel, yoke) and you want crisp tension.
- Skip the hoop when: you are near seams or bulky areas. In those spots, I prefer stitching “in hand” with stabilizer behind the fabric.
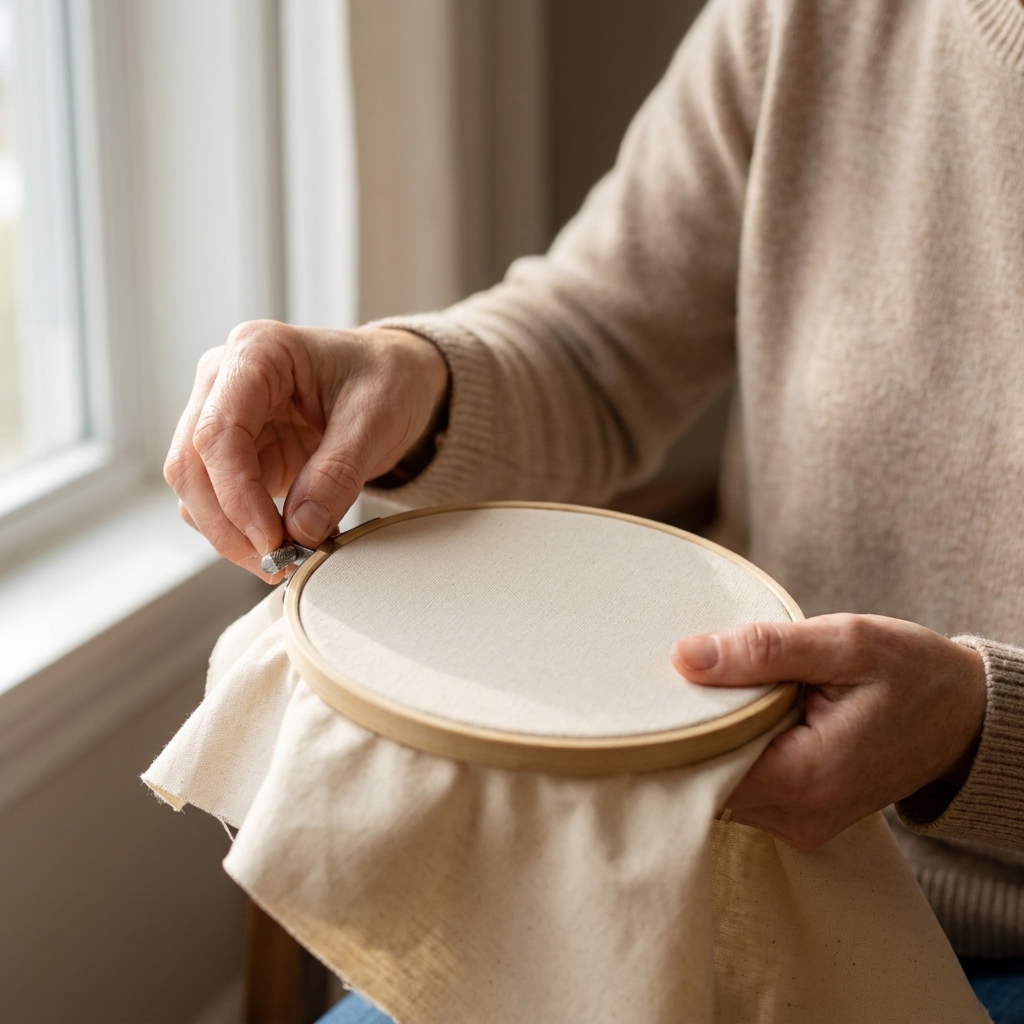
If you do hoop up, a sturdy wooden hoop or a screw tension hoop grips denim better than a flimsy plastic one.
Hoop mark tip: do not leave the hoop clamped on the jacket between sessions. Take it off when you stop stitching to avoid stubborn rings or creases.
Other helpful tools
- Fabric marking pencil or water-erasable pen
- Small sharp scissors
- Removable fabric tape or safety pins for positioning stabilizer
- Optional: needle-nose pliers (for pulling a stubborn needle through a seam)
Pick a jacket and choose the placement
Any denim jacket works, but your experience will vary depending on thickness and stretch.
- Best for beginners: mid-weight, non-stretch denim (classic jackets and chore coats).
- Trickier: stretchy denim. It can ripple more easily, so stabilize generously and avoid super dense fills.
- Very thick raw denim: stunning, but expect slower stitching and consider a thimble.
Where to stitch (and what to avoid)
- Easiest: back panel, upper back yoke, chest area away from pockets.
- Possible but fiddly: pocket flaps, cuffs, collar tips.
- Avoid as a first project: thick side seams and areas with multiple layers unless you are feeling brave.
Placement trick: Put the jacket on and use a mirror. If you want a motif on the shoulder or near the pocket, check where it sits when you move. Denim shifts more than you think.
Design ideas that look great on denim
Denim is visually “busy” because of its texture, so simple shapes read beautifully.
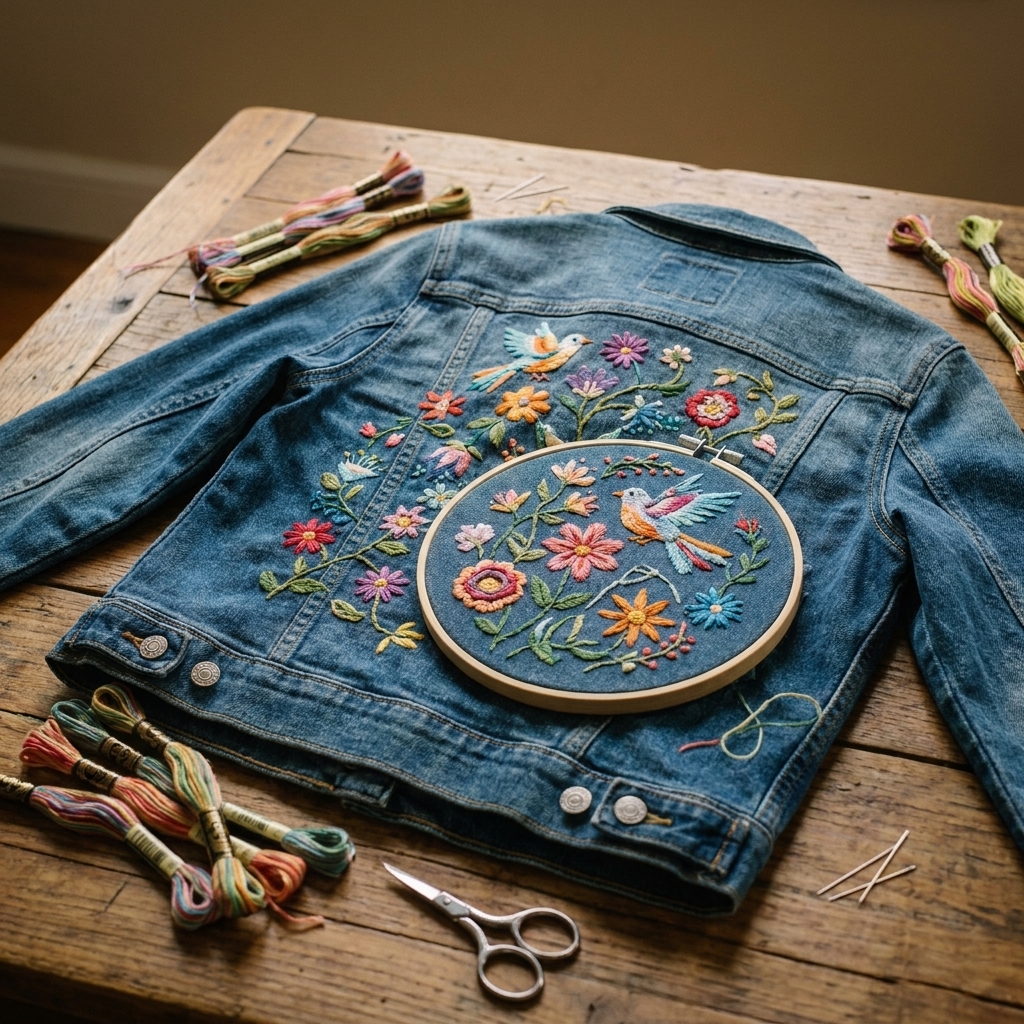
- Bold florals: daisies, wildflowers, simple vines
- Small icons: stars, moons, cherries, little mushrooms
- Text: one short word or phrase in backstitch or stem stitch
- Classic motifs: a border along the yoke, a mini sampler feel on a pocket
Beginner-friendly stitch menu
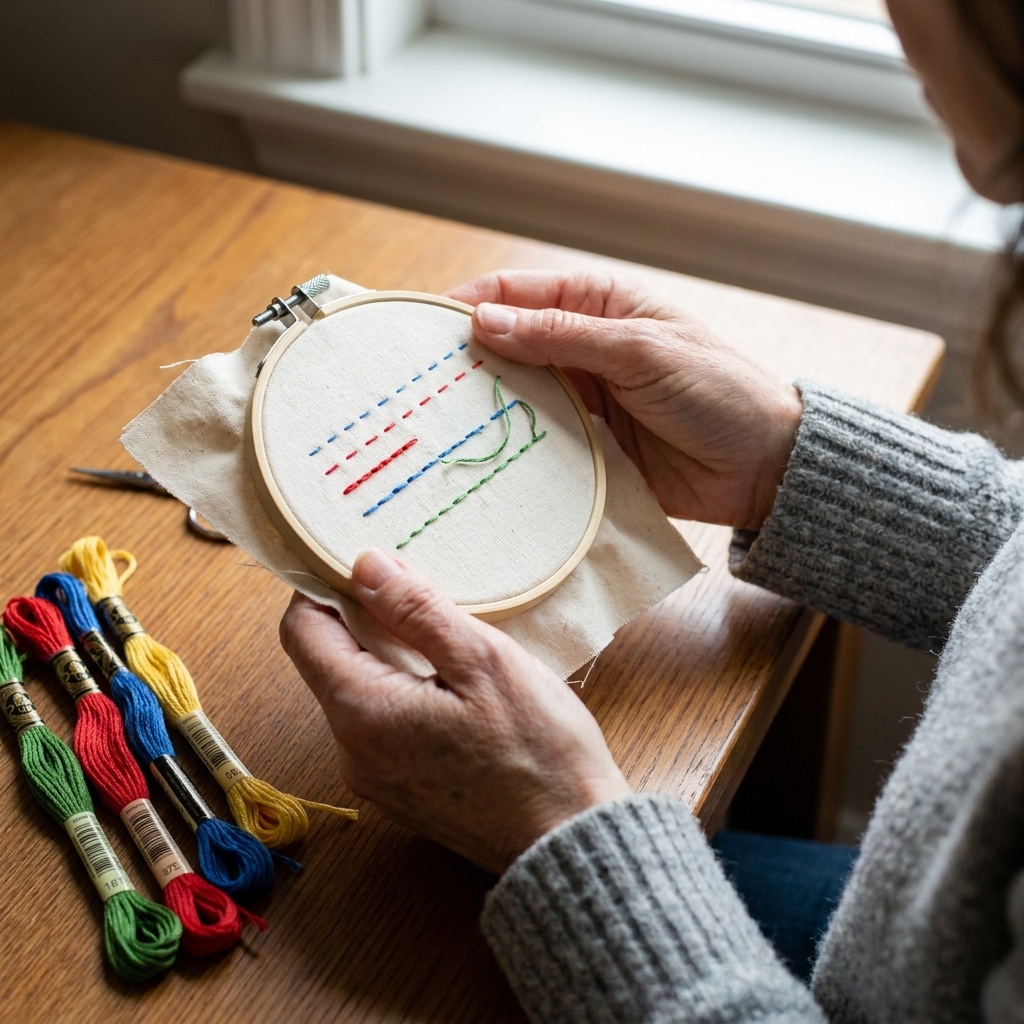
- Backstitch: crisp outlines and lettering
- Stem stitch: smoother curves for vines and florals
- Satin stitch: solid fills for petals or shapes (use stabilizer, keep it small)
- Long and short stitch: lovely for shading, optional for your first jacket
- French knots: cute texture, but do a few practice knots first so you do not rage-quit at minute ten
Transfer your design onto denim
Denim is dark and textured, which makes transferring the design the part that trips up a lot of beginners. Pick the method that feels least fussy for you.
Option A: Trace with a washable pen (best on light denim)
- Print or draw your design at the size you want.
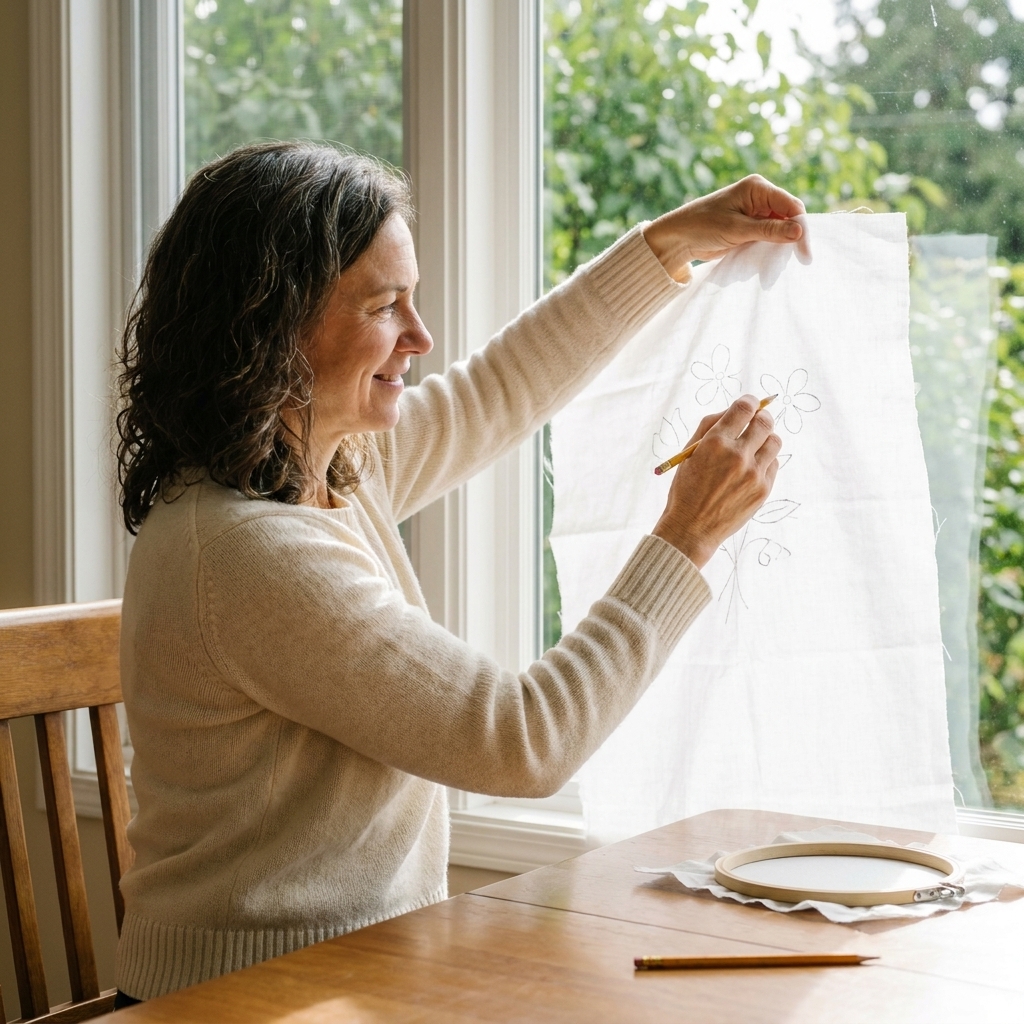
- Tape it to a window in daylight or use a light pad.
- Place the denim over it and trace with a water-erasable pen.
Option B: Carbon or dressmaker transfer paper (good for medium and dark denim)
- Slide transfer paper between the paper design and the denim, waxy side down.
- Trace firmly with a ballpoint pen or stylus.
- Test first on the inside hem to be sure the color transfers clearly.
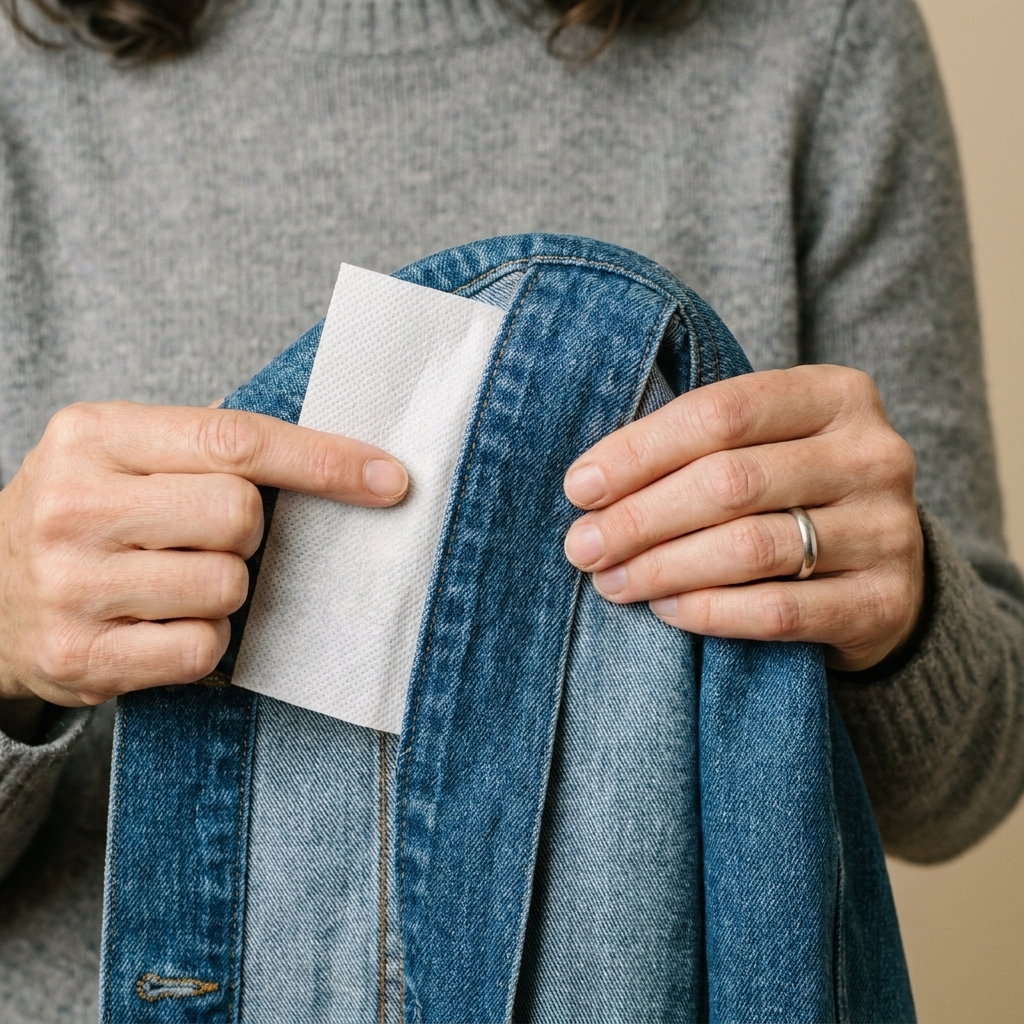
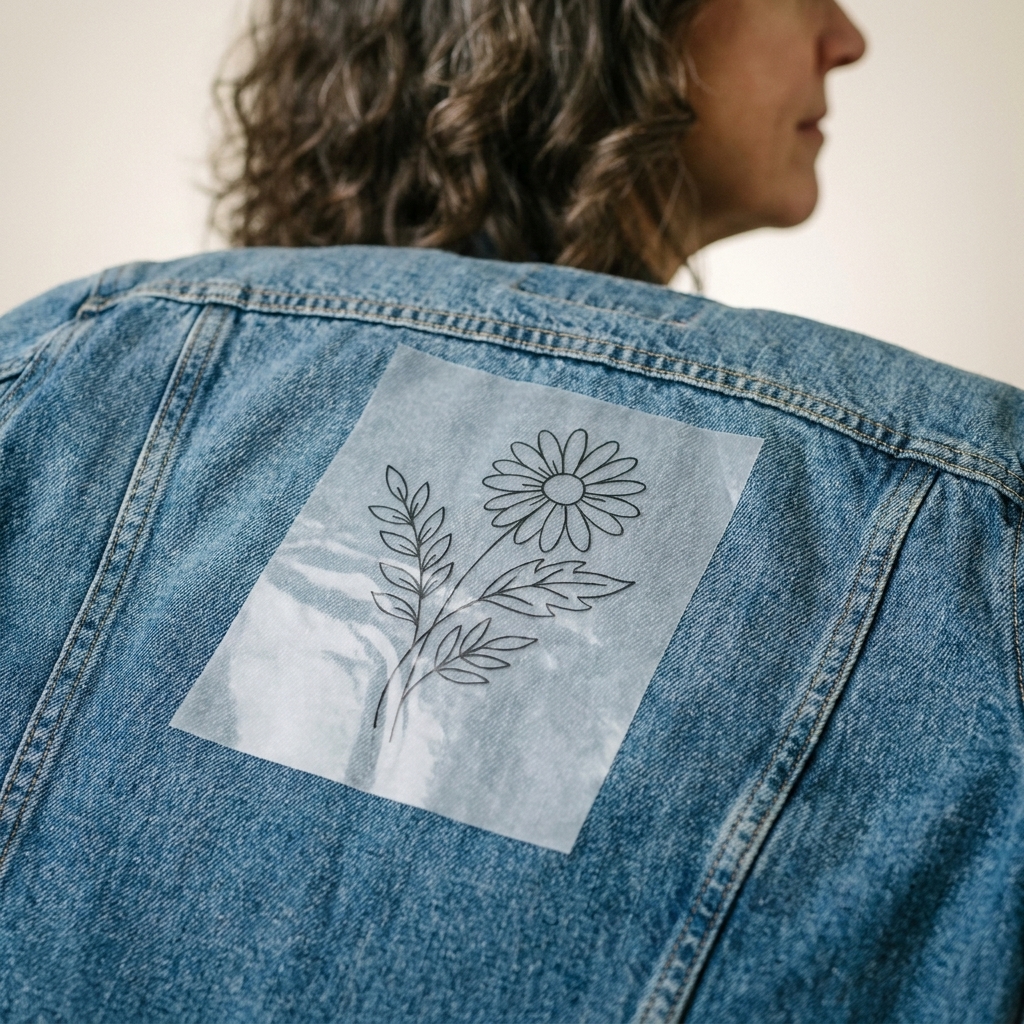
Option C: Water-soluble stick-on stabilizer (my favorite for jackets)
- Print your design onto the stabilizer sheet (follow the product directions).
- Stick it directly onto the jacket where you want the design.
- Stitch right through it.
- Rinse away when finished.
Step-by-step: Custom embroidered jacket project
This is my go-to project structure because it keeps things manageable: a simple motif, clean outlines, a few filled elements, then tidy finishing on the inside.
Step 1: Prep the jacket
- Wash and dry the jacket if it is new. Denim can shrink a little, and you want that shrinkage to happen before you stitch.
- Press the area you will stitch so it lies flat.
- Lint roll if needed. Denim loves grabbing every fuzz in a two-mile radius.
Step 2: Stabilize the fabric
Choose one:
- Tear-away behind the fabric: cut a piece at least 1 to 2 inches larger than your design on all sides. Pin or baste it in place on the inside of the jacket.
- Wash-away on top: apply it over your design area, then add an extra piece of tear-away or cut-away behind if your design will be dense.
If the jacket has a lining or inner facing, you can still stabilize. Just tuck the stabilizer behind the denim layer you are stitching, not through the lining.
Step 3: Hoop (optional) and check tension
If you are using a hoop, tighten it until the fabric feels firm like a tabletop, not drum-tight like you are about to launch it into space. Denim does not need extreme tension.
Step 4: Start with outlines
Thread your needle with 2 to 3 strands of floss. For garments, I like starting with a waste knot on the front, then weaving the tail under stitches on the back later, so I do not end up with itchy lumps.
- Use backstitch for crisp shapes and lettering.
- Use stem stitch for curves like vines and petals.
My habit that helps: Keep your stitches a touch longer on denim than you would on fine linen. Very tiny stitches can look “stiff” against the heavier texture.
Step 5: Add fills and texture
Now bring in the fun parts.
- Satin stitch: keep fills fairly small. Make sure your outline is clean, then place satin stitches snugly next to each other without pulling tight.
- Long and short stitch: use it for gentle shading in petals if you want a painterly look.
- French knots: use 2 strands, wrap once or twice, and keep the working thread taut as you re-enter the fabric close to where you came up.
Step 6: Mind the jacket construction
Jackets are three-dimensional, which means you have to watch what you accidentally stitch through.
- Slide your non-stitching hand inside the jacket and feel for extra layers before you go down with the needle.
- If you are near a pocket, make sure you are only stitching the outer layer unless you intentionally want the pocket sewn shut (ask me how I learned this one).
Step 7: Finish threads neatly
Because denim is heavy, knots can create uncomfortable lumps, especially on areas that rub.
- Weave thread tails under several stitches on the back to secure.
- If you must knot, keep it tiny and place it where it will not sit against your skin.
Step 8: Remove stabilizer
- Tear-away: gently tear away from the edges toward the stitching. Hold the stitches with one hand so you do not tug them.
- Cut-away: trim close, leaving about 1/4 inch around the design for support. Go slowly, do not clip your stitches, and round corners so you do not create poky little scratch points.
- Wash-away: soak or rinse per directions, then blot in a towel and let air dry.
Step 9: Press (carefully)
Press from the back with a pressing cloth. Avoid crushing raised stitches. If your design is textured, a fluffy towel under the embroidery helps protect the dimension while you press.
Denim-specific tips that prevent frustration
Use shorter lengths of thread
Denim creates more friction, so floss wears faster. Cut lengths around 18 inches to reduce fraying and tangles.
Let the needle do the work
If you feel like you are forcing the needle, switch to a larger, sharper needle. A dull or too-thin needle is the fastest path to sore fingers.
Plan around seams
If your design crosses a seam, simplify that part or move it slightly. When you must cross a seam:
- Use a sharp size 5 or 6 needle.
- Take slower, firmer stitches.
- Consider a thimble or needle pusher.
Choose durable stitches for high-wear spots
Pockets and cuffs get rubbed. Outline stitches like backstitch and stem stitch hold up wonderfully. Very long satin stitches can snag, so keep them shorter or couch thicker thread for a raised look.
Think about abrasion over time
Denim is tough, and it can be tough on embroidery, too. If you are stitching a high-friction spot (cuffs, side seams, pocket edges), use sturdier thread (pearl cotton is great), keep stitches a bit shorter, and avoid delicate floats that can catch and fuzz.
How to protect the inside of the jacket
If the back of your embroidery will rub against clothing or skin, finishing matters.
- Soft backing: Iron-on soft knit interfacing over the stitched area on the inside can reduce scratchiness and protect stitches. Follow product directions and test on a hidden part of the jacket first.
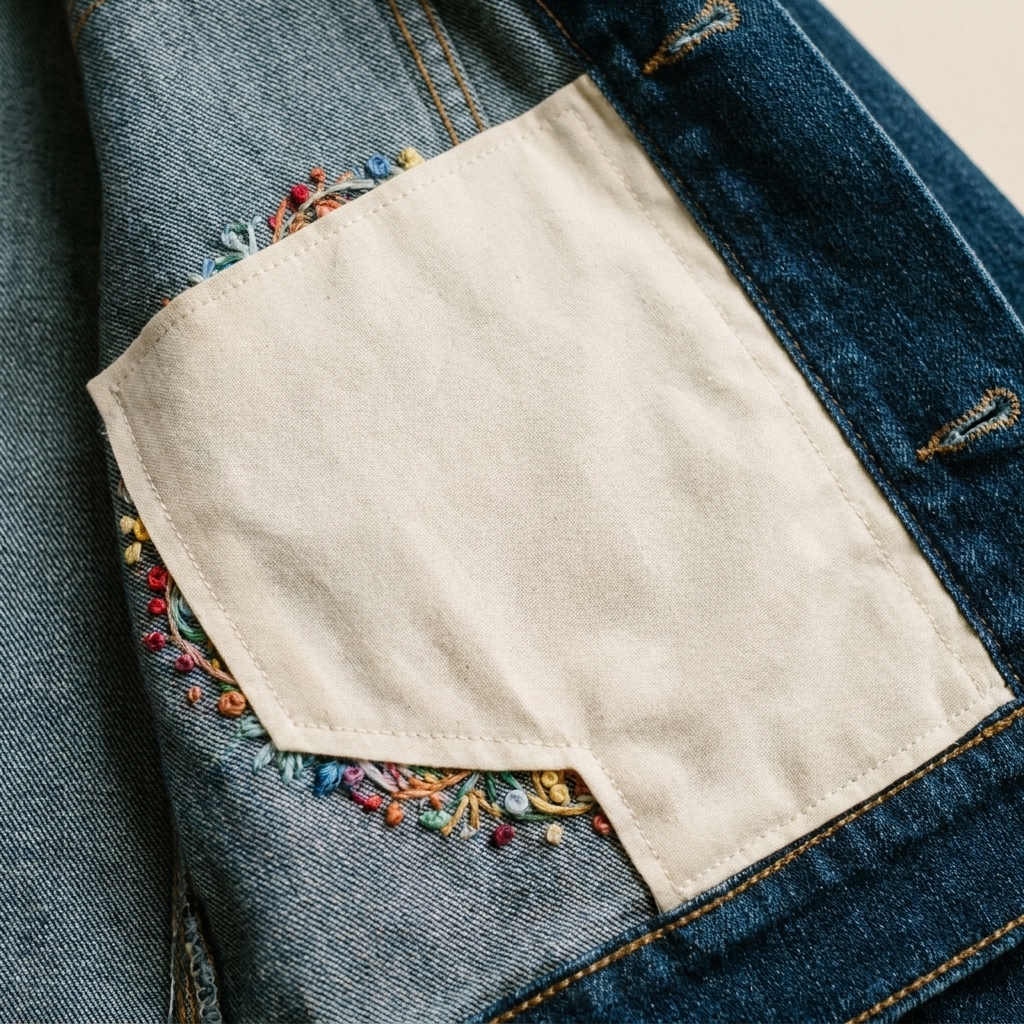
- Patch backing: A piece of flannel or cotton stitched down around the edges (like a neat little “cover patch”) looks tidy and adds comfort.
Washing and care
Hand embroidery on denim is surprisingly hardy if you finish your threads well.
- After rinsing wash-away stabilizer or removing markings, let the jacket dry fully before heavy wear, so the fabric and stitches can settle back into shape.
- Turn the jacket inside out before washing.
- Choose cold water and a gentle cycle, or hand wash if you are nervous.
- Air dry when possible to reduce wear on stitches.
- Avoid harsh stain removers directly on the embroidery.
Color check (worth one minute)
If you are using deep reds, navies, or very saturated floss, do a quick colorfastness test. Dampen a scrap length of thread and press it on a white cloth. If it bleeds, avoid hot water and long soaks, and consider pre-rinsing that floss before stitching.
Troubleshooting
My needle keeps bending or breaking
Switch to a larger sharp needle (size 5 or 6), avoid forcing through seams, and use a thimble. If you are stitching through multiple layers, reposition the design away from that area.
The fabric is puckering
Add stabilizer, loosen your stitch tension slightly, and avoid pulling satin stitches too tight. If you hooped the fabric, check that it is not over-tightened.
My stitches look wobbly on denim texture
Use slightly thicker thread (3 strands instead of 2, or try pearl cotton size 8) and keep lines confident. Denim texture smooths out the more you cover it.
The design markings will not come off
Always test your pen or transfer method on an inside seam first. For stubborn marks, try cool water and gentle soap. Heat can set some marks, so avoid ironing until you are sure they are gone.
Quick project idea: a simple back-panel motif
If you want a starting point, here is a super approachable plan that looks polished:
- One medium flower (about 4 to 6 inches wide) centered on the back panel
- Two leafy sprigs extending outward
- Backstitch outline in dark brown or navy
- Satin stitch petals in one or two colors
- French knot centers in yellow
It is bold enough to read from across the room, but not so dense that you will be stitching until next season.
FAQ
Do I need a special needle for denim?
You do not need anything fancy, but you do need a sharp embroidery needle. Crewel needles in sizes 5 to 8 often work beautifully, depending on brand and thread thickness. The sharper tip makes a huge difference.
Can I embroider denim without a hoop?
Yes. In fact, I often stitch denim “in hand,” especially near seams. The key is stabilizer behind the fabric and steady, even tension.
What stabilizer is best for denim?
For many jacket projects, tear-away on the back is the easiest. If your design is very dense, very large, or the area gets heavy wear, choose cut-away. If you want the easiest transfer method, use wash-away on top.
Will the embroidery hold up in the wash?
Yes, with secure thread endings and sensible care. Turn it inside out, wash cold, and air dry when you can.
A gentle pep talk before you start
Your first stitches on denim might feel awkward. That is normal. Thick fabric magnifies every little “new stitcher” habit, like pulling too tight or trying to muscle the needle through. Slow down, stabilize generously, and remember that the goal is a jacket you love wearing, not a museum specimen.
If you make it to the end with only a few tiny thread snippets on the couch, you are doing better than I usually do.