Satin stitch is gorgeous when it behaves, but large satin areas can be a little… dramatic. They snag. They go wavy. They eat floss like it’s a competitive sport. If you’ve ever finished a big petal only to realize it looks slightly lumpy in certain light, welcome to the club. I’ve been there with my hoop in one hand and a growing pile of thread snippets on the couch.
The good news is you’ve got options. These satin stitch alternatives are easier to control over big spaces, often more durable, and many can use less thread depending on your strand count and stitch density. They also add texture, which can make simple designs look instantly more finished without needing perfect, glass-smooth stitches.
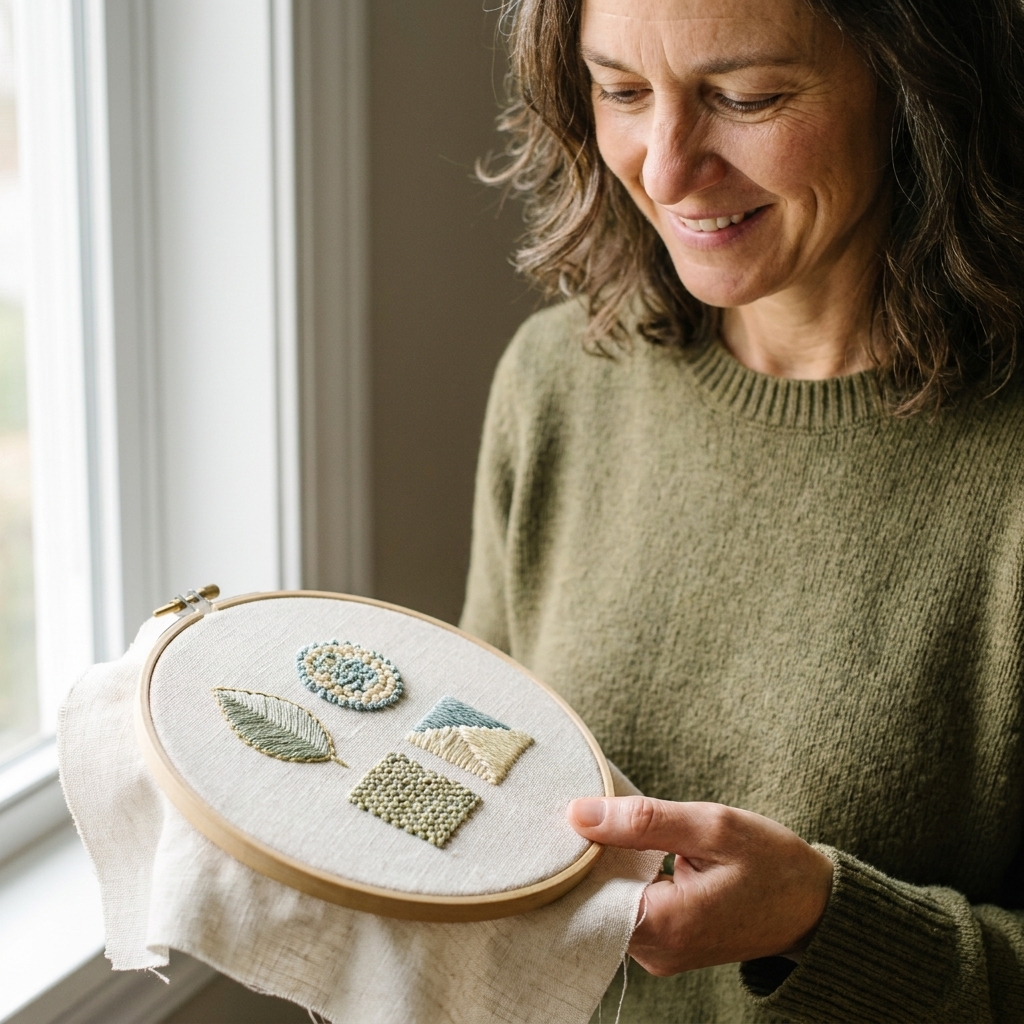
Why satin stitch struggles
Satin stitch shines on small to medium shapes where the stitches stay short, snug, and well supported. As the span gets wider, a few common issues pop up:
- Loose tension and waviness: Longer stitches are easier to pull unevenly.
- Snagging: Floats sit on the surface and catch on fingernails, jewelry, or life in general.
- Shine shows everything: Satin stitch reflects light, so any tiny gap or unevenness becomes more visible.
- Thread hunger: Covering a large shape with full strands can burn through floss fast.
If you still want that smooth look but with more control, start with long and short stitch. If you want texture and toughness, the others below are your best friends.
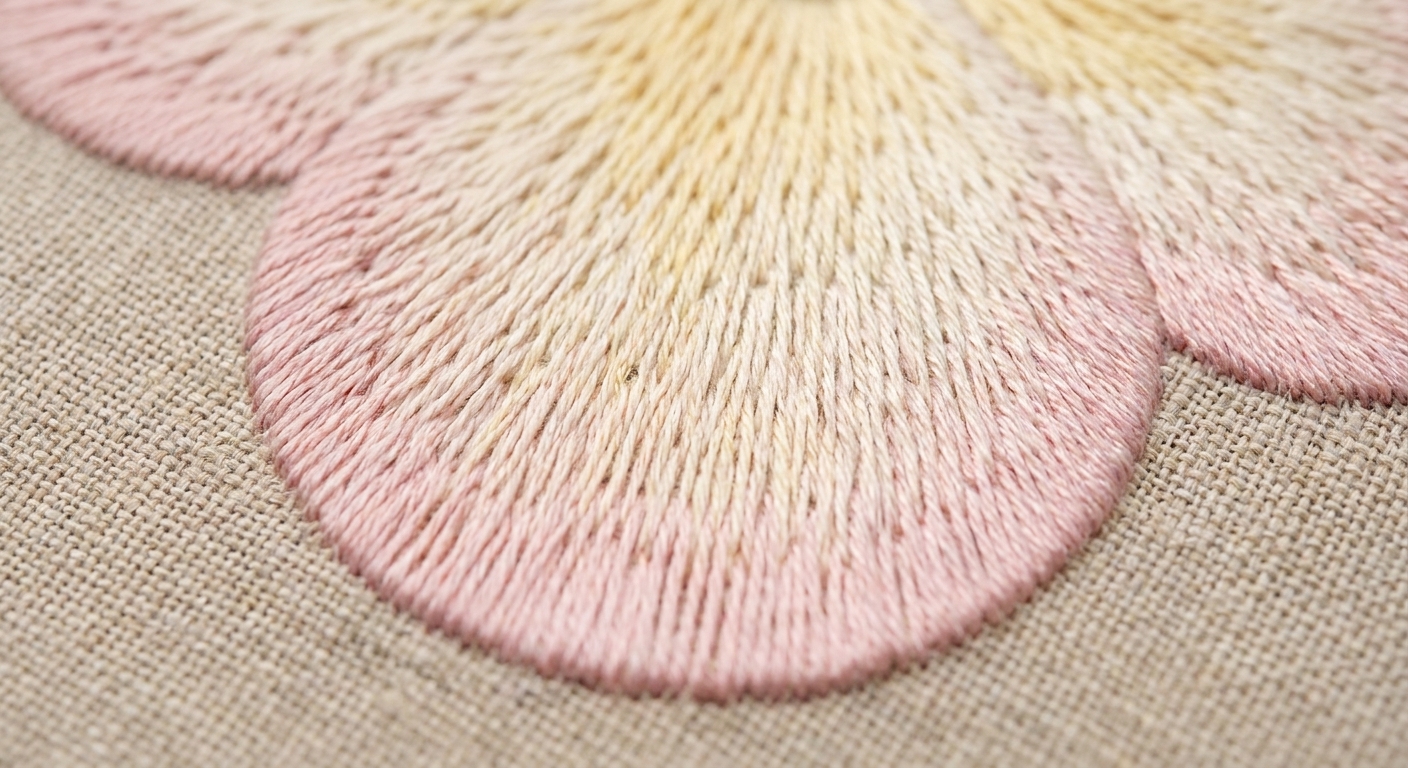
1) Long and short stitch
Best for: Smooth fills, shading, petals, animals, realistic motifs
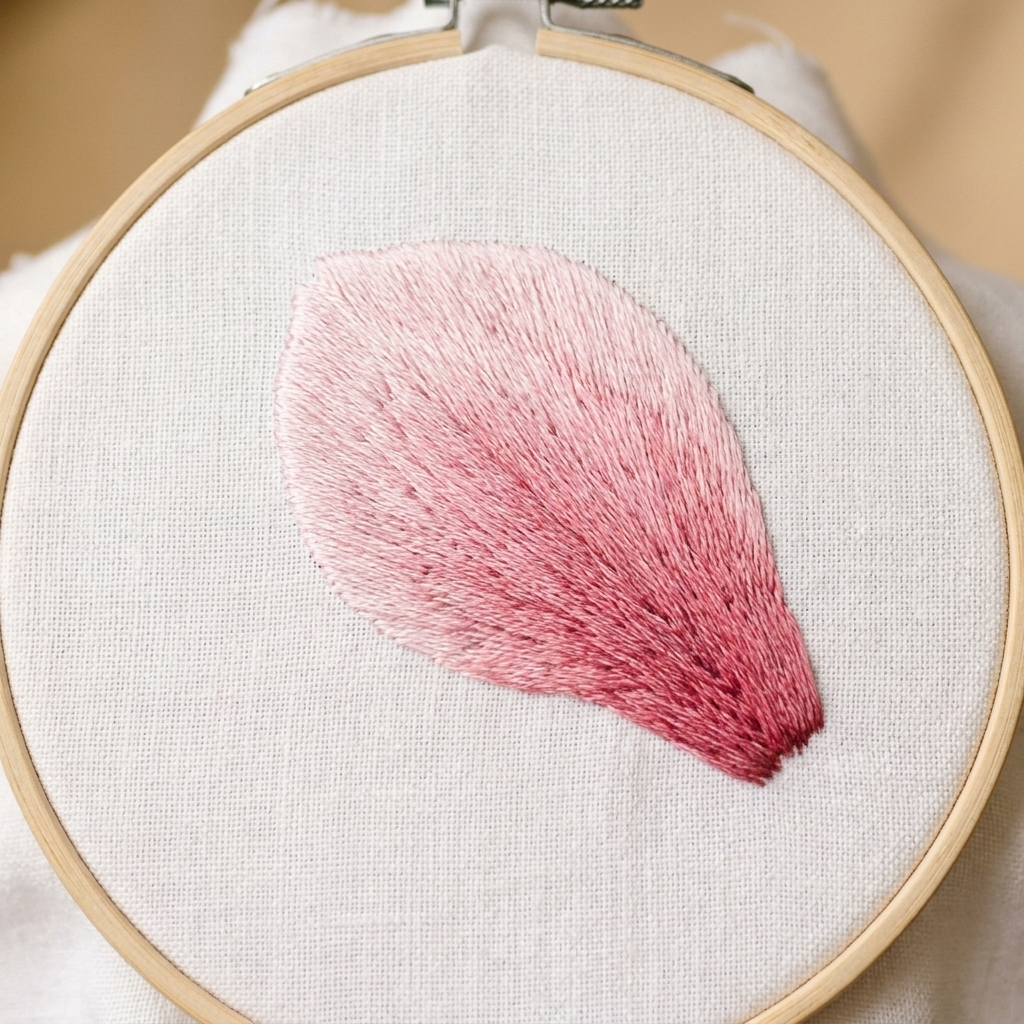
Look: Soft, painterly, and surprisingly forgiving once you get the rhythm
Long and short stitch is my go-to recommendation if you want a satin-like finish without the satin stitch stress. Instead of laying one set of long parallel stitches, you build the fill in staggered rows so the threads interlock and support each other.
How to stitch it
- Outline the shape (split stitch is my favorite for this because it grips the fabric and gives a tidy edge).
- Work the first row along the edge using alternating long and short stitches.
- Add the next row by placing stitches into the gaps and coming up through a few threads of the previous row to blend the boundary.
- Keep filling inward until the area is complete.
Clara tips for smoother results
- Use 1 or 2 strands for cleaner blending and less bulk, especially on tightly woven cotton or linen.
- Keep stitch direction consistent within one section, like petal to petal.
- Don’t panic about the first row. It often looks jagged until the next rows settle everything down.
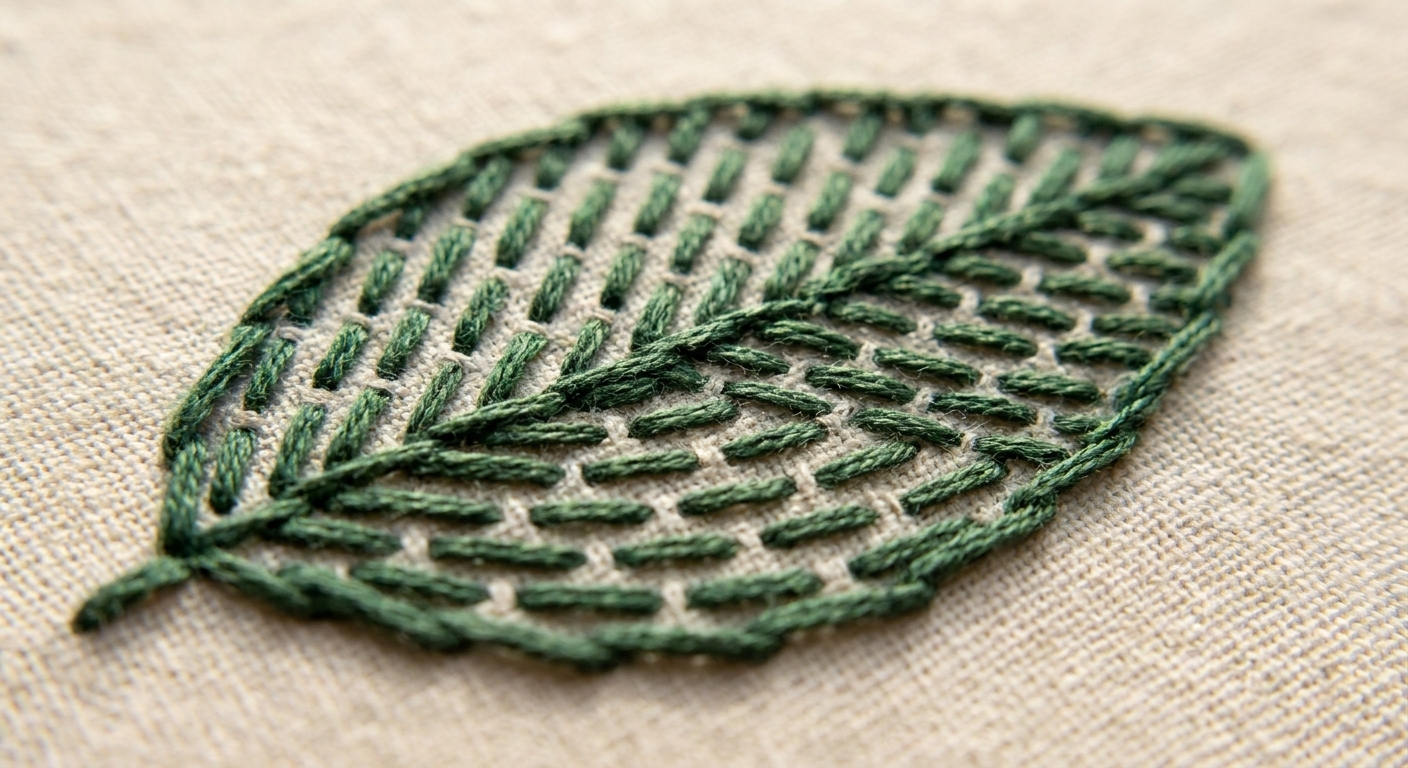
2) Brick stitch
Best for: Bold graphic fills, modern motifs, areas that need durability
Look: Tidy, slightly textured, and very stable
Brick stitch is basically the practical, hard-working cousin of satin stitch. You fill the shape with small, offset stitches that resemble bricks in a wall. Because the stitches are short, they’re more snag-resistant than long satin floats and they help keep the fill from getting wavy.
How to stitch it
- Decide your stitch direction (horizontal bricks are most common).
- Make a row of evenly spaced straight stitches.
- On the next row, offset your stitches so they land between the stitches above, like brickwork.
- Repeat, keeping tension even.
Clara tips
- Stitch length matters. Shorter bricks look neater and hold curves better.
- For curved shapes, shorten stitches near the edge rather than forcing long bricks into a curve.
- Thread-saver potential: Use fewer strands for a woven, matte finish that can use less floss than a dense satin fill.
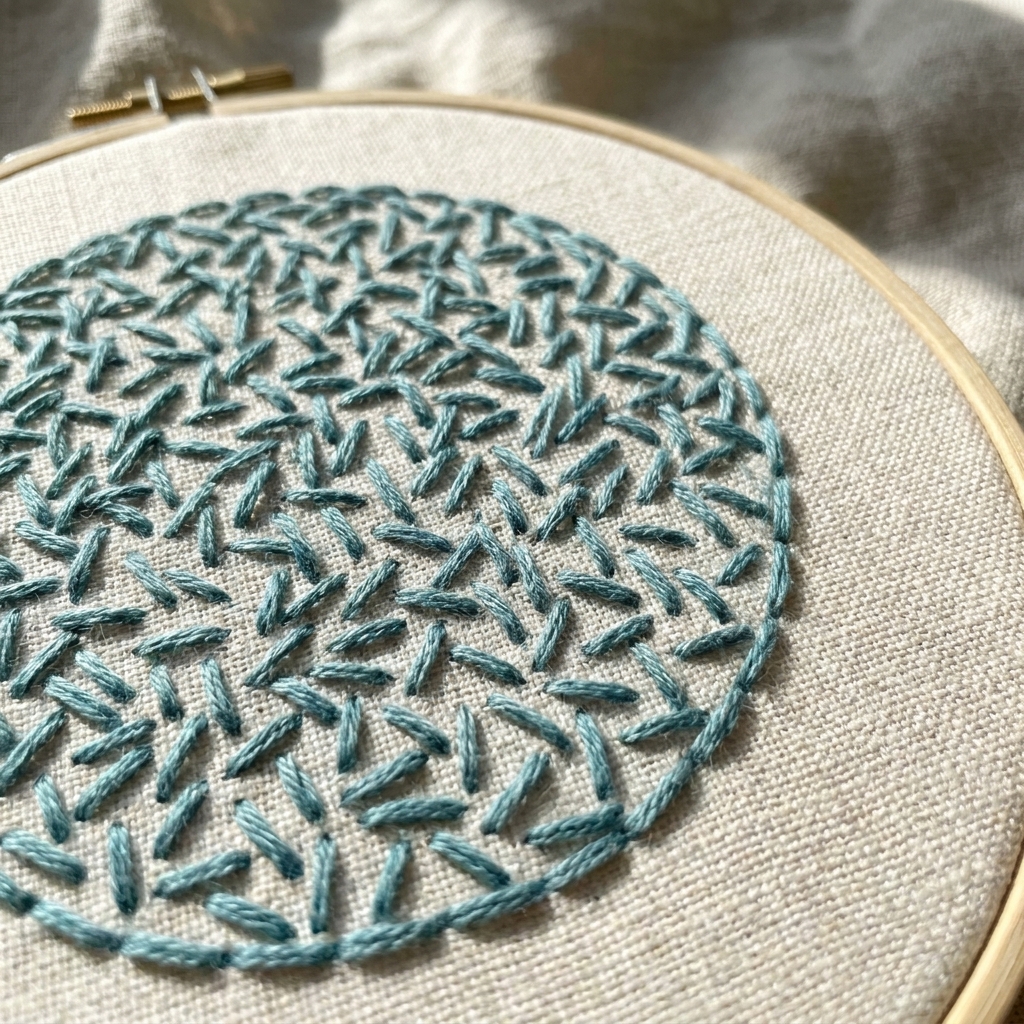
3) Seed stitch
Best for: Background fills, whimsical texture, hiding tiny fabric imperfections, quick coverage
Look: Sprinkly, cozy, and intentionally imperfect in the best way
Seed stitch is the stitch I reach for when I want a filled area that feels light and modern. Instead of trying to make everything perfectly smooth, you sprinkle small straight stitches across the shape, changing direction slightly as you go.
How to stitch it
- Work small straight stitches (think rice-grain size).
- Scatter them evenly across the area, varying the angle.
- Fill any obvious gaps until the density looks balanced.
Clara tips
- Do it in layers. A light first pass, then a second pass to even things out.
- Mix directions on purpose. That’s what keeps it from looking like messy satin stitch.
- Perfect for variegated floss when you want gentle color shifts without harsh stripes.
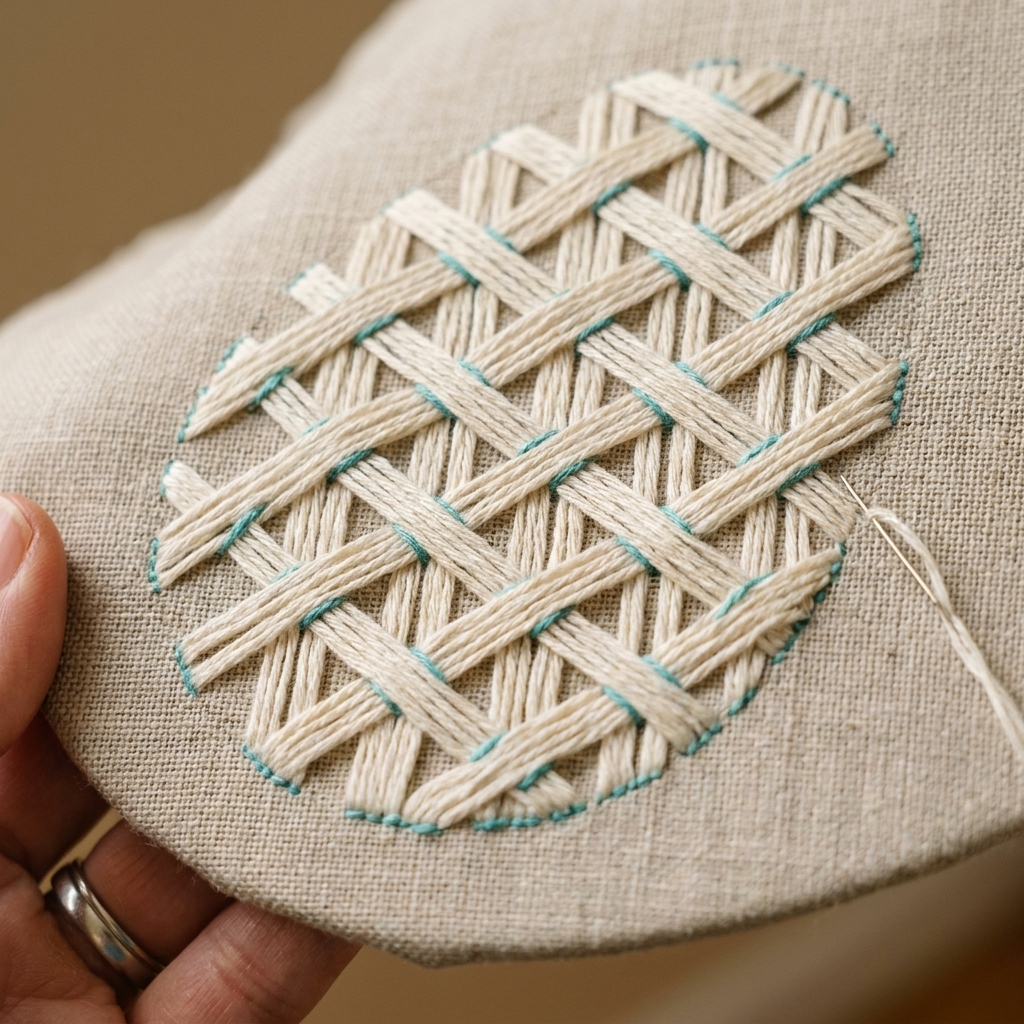
4) Trellis couching
Best for: Large background areas, statement texture, saving floss, adding a fancy-but-not-fussy look
Look: A lattice or net on the surface, often with tiny anchoring stitches at intersections
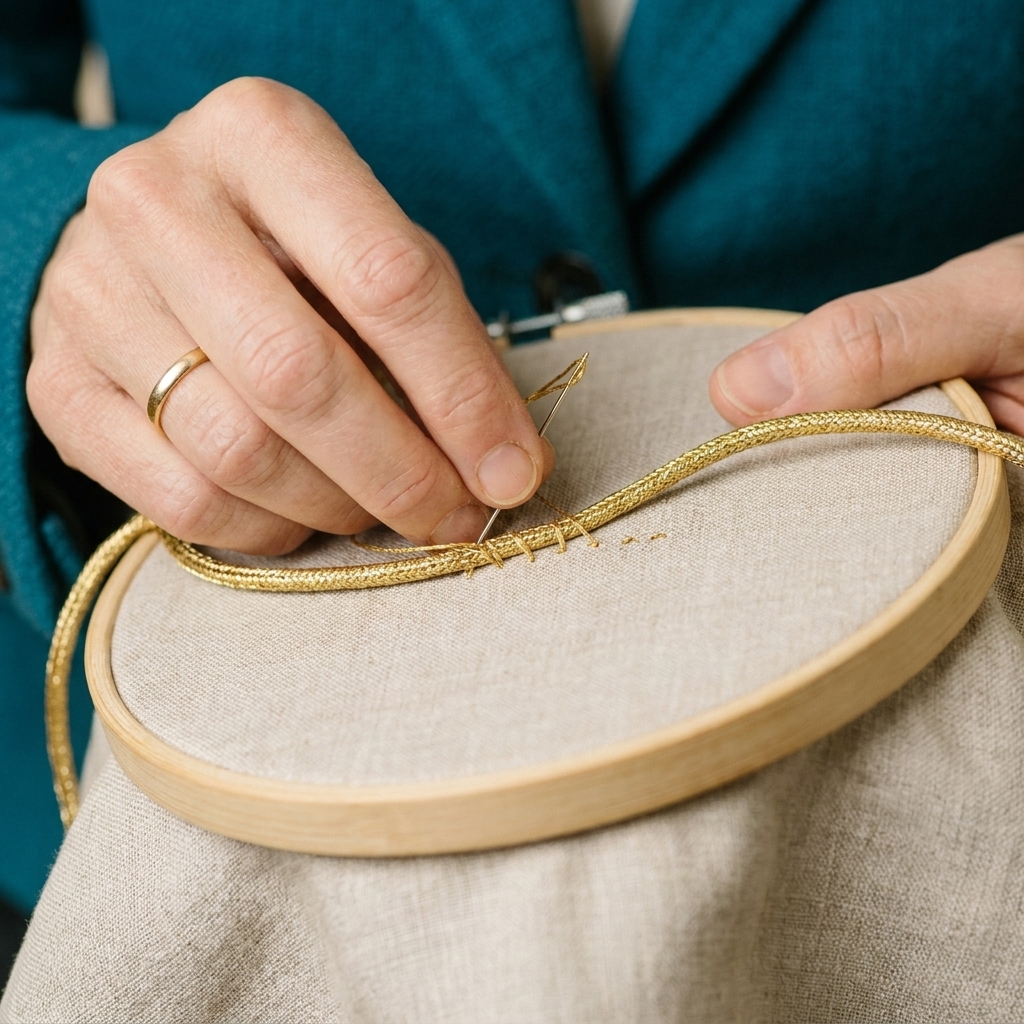
Trellis couching is one of my favorite big-impact, potentially less-thread fills. You lay long threads across the surface in a crisscross pattern (the trellis), then tack them down with small stitches (the couching). When the couching is frequent and the spacing isn’t too wide, it can be both durable and often less snag-prone than a huge satin field. If you leave big open spans, though, those laid threads can still catch.
How to stitch it
- Lay a set of long parallel threads across the shape, keeping them smooth with even tension, without packing them edge-to-edge like satin.
- Lay a second set crossing the first, making a lattice.
- Couch the intersections down with tiny stitches in a matching or contrasting color. If the spacing is wide, add extra couching between intersections.
- Trim or tuck ends neatly along the outline as you go.
Clara tips
- Outline first. A firm outline (split stitch or stem stitch) gives you a clean boundary for laying threads.
- Use a laying tool or even the blunt end of a needle to nudge threads into place before couching.
- Try a contrast couching color for a sweet quilted look.
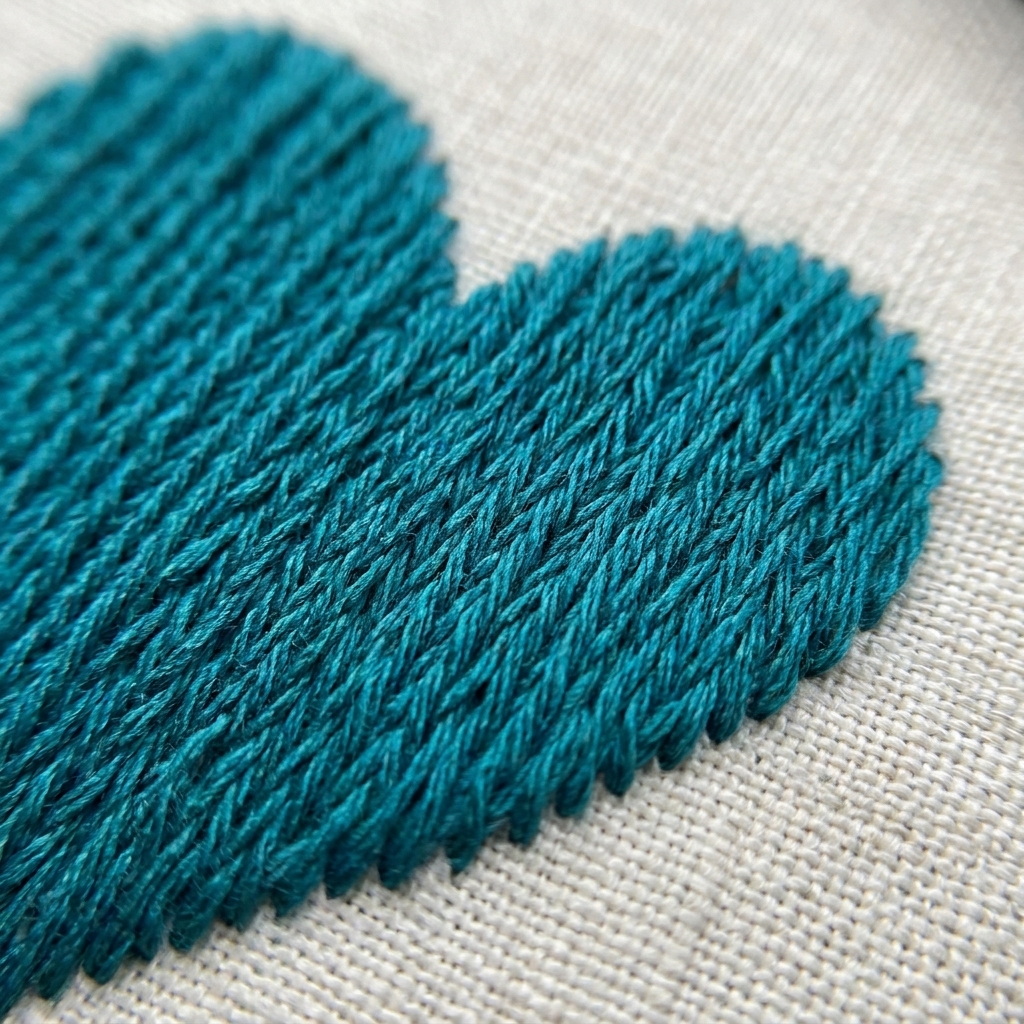
5) Split stitch fill
Best for: Sturdy fills, slightly raised texture, shapes with lots of curves, outlines that need blending into the fill
Look: Soft matte, gently textured, and a little plush
If satin stitch feels too shiny and delicate, split stitch fill is a workhorse alternative. You fill the area with rows of split stitch, which naturally grips the fabric and the stitches around it. It’s also great for beginners because it’s hard to completely mess up. Even if your stitches aren’t identical, the texture evens things out.
How to stitch it
- Work split stitch in rows, keeping your stitch direction consistent.
- At the end of each row, step down slightly and begin the next row.
- Fill the shape edge to edge, using smaller stitches along curves.
Clara tips
- Use 1 strand for detail, 2 strands for faster coverage with a plush look.
- Keep rows close. Gaps are more noticeable in matte fills.
- Watch-out: Keep your stitches fairly short so the split lands cleanly. Super long split stitches can look bumpy and snag more easily.
Quick chooser
| If you want… | Try… | Why it works |
|---|---|---|
| A smooth, satin-like finish | Long and short stitch | Interlocking rows control tension and reduce snagging |
| A crisp graphic fill | Brick stitch | Short stitches hold curves and wear well |
| A relaxed, modern texture | Seed stitch | Fast, forgiving, and intentionally speckled |
| A dramatic textured background | Trellis couching | Big coverage with less floss and lots of dimension (especially with frequent couching) |
| A durable matte fill | Split stitch fill | Grippy stitches stay put and blend edges nicely |
Prep for better fills
- Stabilize your fabric. Keep it drum-tight in the hoop and consider a light backing fabric or stabilizer for dense fills.
- Outline first. A good outline is like a fence. It keeps your fill from wandering.
- Use a laying tool when you can. Even a spare needle helps you keep threads flat and side-by-side.
- Consider light padding. A layer of split stitch or a few guiding stitches underneath can smooth uneven fabric and give cleaner edges on big shapes.
My best tips
- Mind your strand count. More strands cover faster, fewer strands look smoother and often behave better.
- Keep your thread length reasonable. Long lengths fray and twist, which makes fills look fuzzy.
- Couch more than you think you need. For trellis and other laid-work fills, more anchoring usually means less snagging.
- Let texture be texture. Not every fill needs to look like polished satin. A little stitch personality is part of the charm.
If you’re filling something truly huge, try mixing fills: a smoother stitch for the focal motif and a textured stitch for the background. It makes the design pop and saves your sanity.
If it’s going on something that’ll be handled or washed a lot (clothing, tote bags, pillow covers), lean toward shorter-stitch fills like brick or split stitch, and keep those ends secured neatly on the back.
FAQ
What stitch is most similar to satin stitch for large areas?
Long and short stitch is the closest cousin. It can look very smooth, but it’s built in rows so it’s easier to control over wide shapes.
Which fill stitch uses the least thread?
Trellis couching can be a thread-saver because much of the coverage comes from laid threads secured with tiny couching stitches, instead of packing the whole area with dense rows. How much you save depends on lattice spacing, whether you run long continuous passes, and how heavy your couching is. Seed stitch can also be economical because you control the density.
What is the most durable fill for items that will be handled?
Brick stitch and split stitch fill are both sturdy choices. Shorter stitches tend to snag less, and split stitch naturally locks into the fabric.
Can I use these fills in cross stitch projects?
Yes. If you’re doing cross stitch on evenweave or linen, these stitches work beautifully for mixed-media accents like filled petals, small motifs, or textured backgrounds. If you stitch on Aida, these fills are easiest when they do not rely on tiny fractional placements. You can still fudge placement by piercing the fabric or working over adjacent holes, but choose simple shapes and take your time for neat edges.