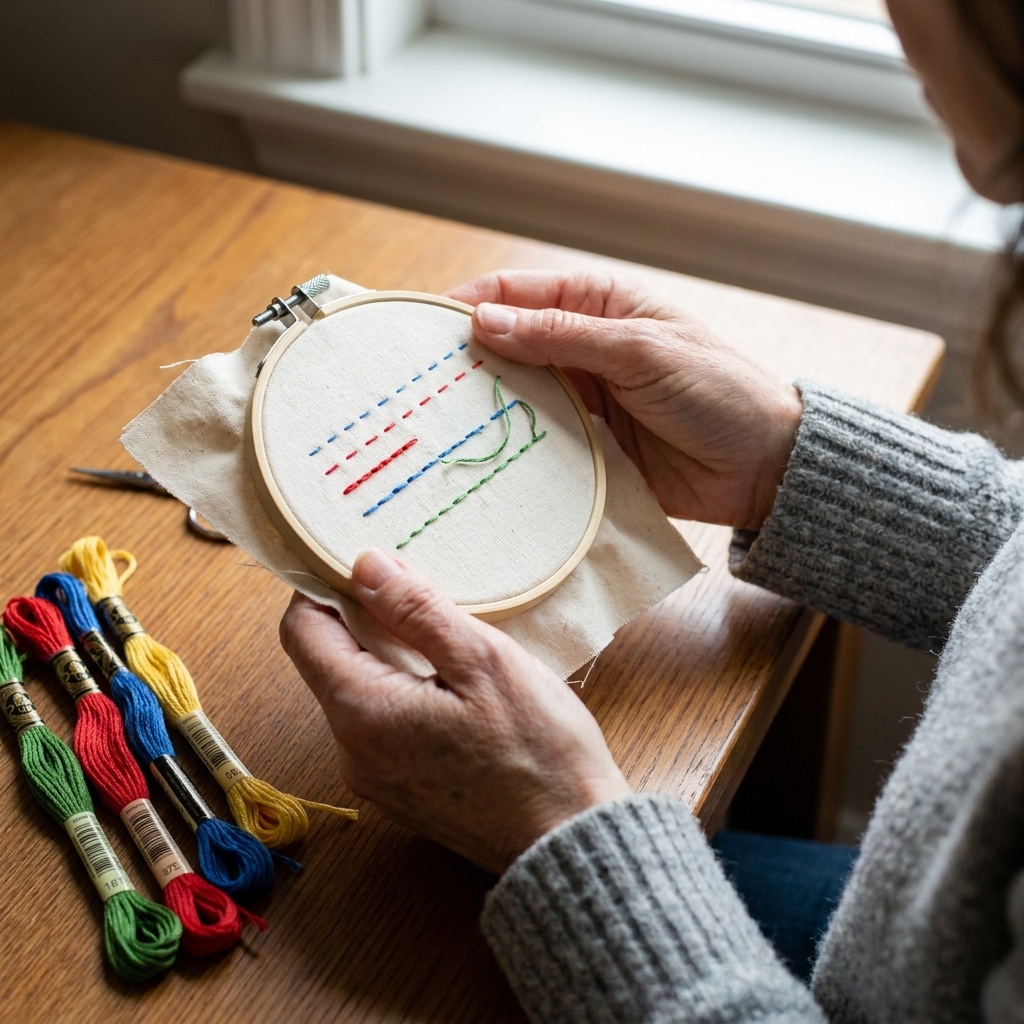
Couching is my favorite “cheat code” stitch for when a thread is too thick, too fuzzy, too springy, or too metallic to behave like normal floss. Instead of forcing that specialty thread through the fabric repeatedly (hello, fraying and heartbreak), you lay it on the surface and tack it down with tiny stitches using a second, well-behaved thread.
The result looks bold and dimensional, and it is gentler on fancy fibers. If you have ever tried to pull metallic braid through linen and watched it shred into sparkly confetti, couching is about to become your best friend.
What couching is
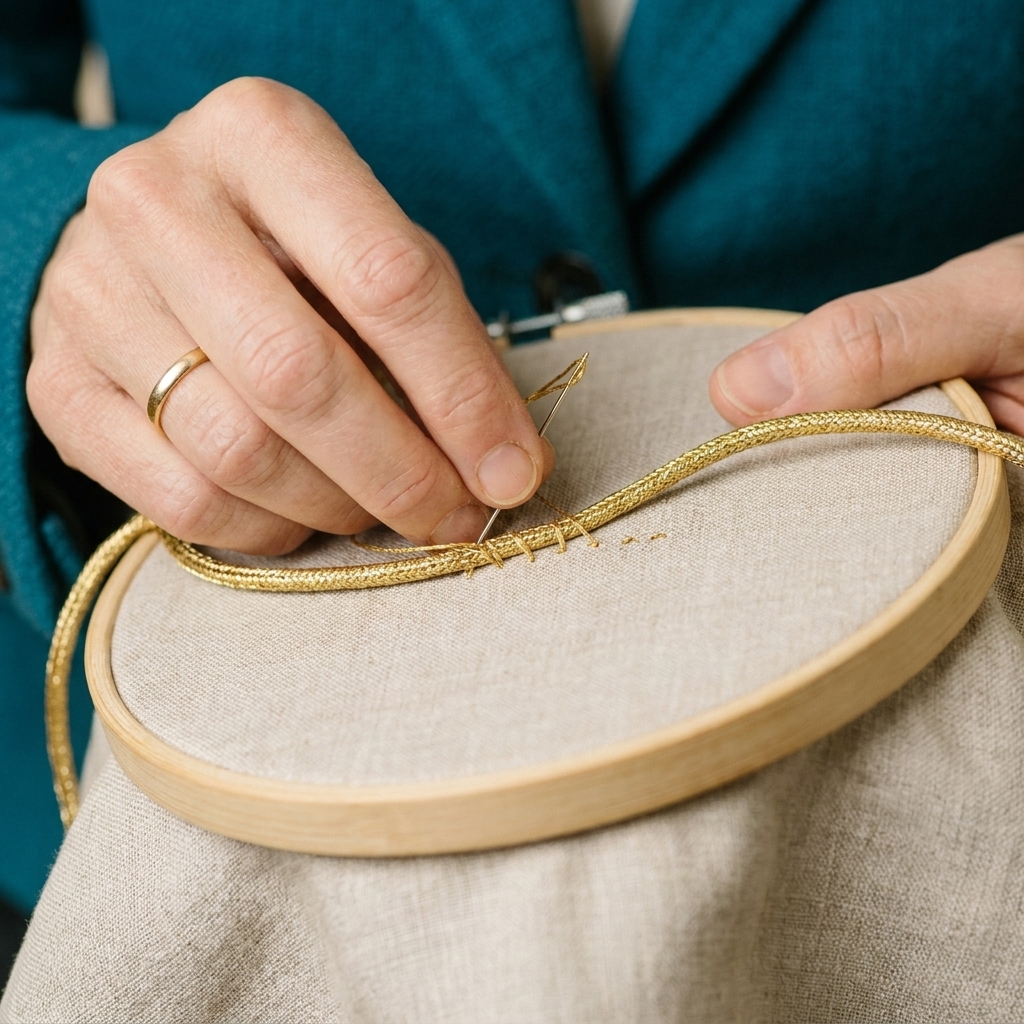
Couching is a technique where a “laid” thread sits on top of the fabric and a separate “couching” thread makes small stitches over it to hold it down.
- Laid thread: the star of the show, like metallic cord, pearl cotton, ribbon, bouclé yarn, or fuzzy novelty thread.
- Couching thread: a thinner thread that goes through the fabric easily, like 1 strand of floss, sewing thread, or fine silk.
Because the laid thread stays on the surface, you avoid wear from repeated fabric passes. That is exactly why couching is so helpful for threads that kink, shed, or snag.
When to use couching
You can couch almost anything, but it really shines for these situations:
- Metallics: metallic braid, cord, passing thread, Japanese thread, or any metallic that frays when stitched normally.
- Thick threads: pearl cotton sizes 3 and 5, tapestry wool, or multiple strands bundled together.
- Fuzzy threads: mohair, angora blends, eyelash yarn, bouclé, chenille, or anything that would shed if pulled through fabric.
- Ribbons and cords: narrow ribbon, soutache, silk cord, or crochet cotton.
- Clean outlines: smooth, controlled lines around lettering, florals, or modern motifs.
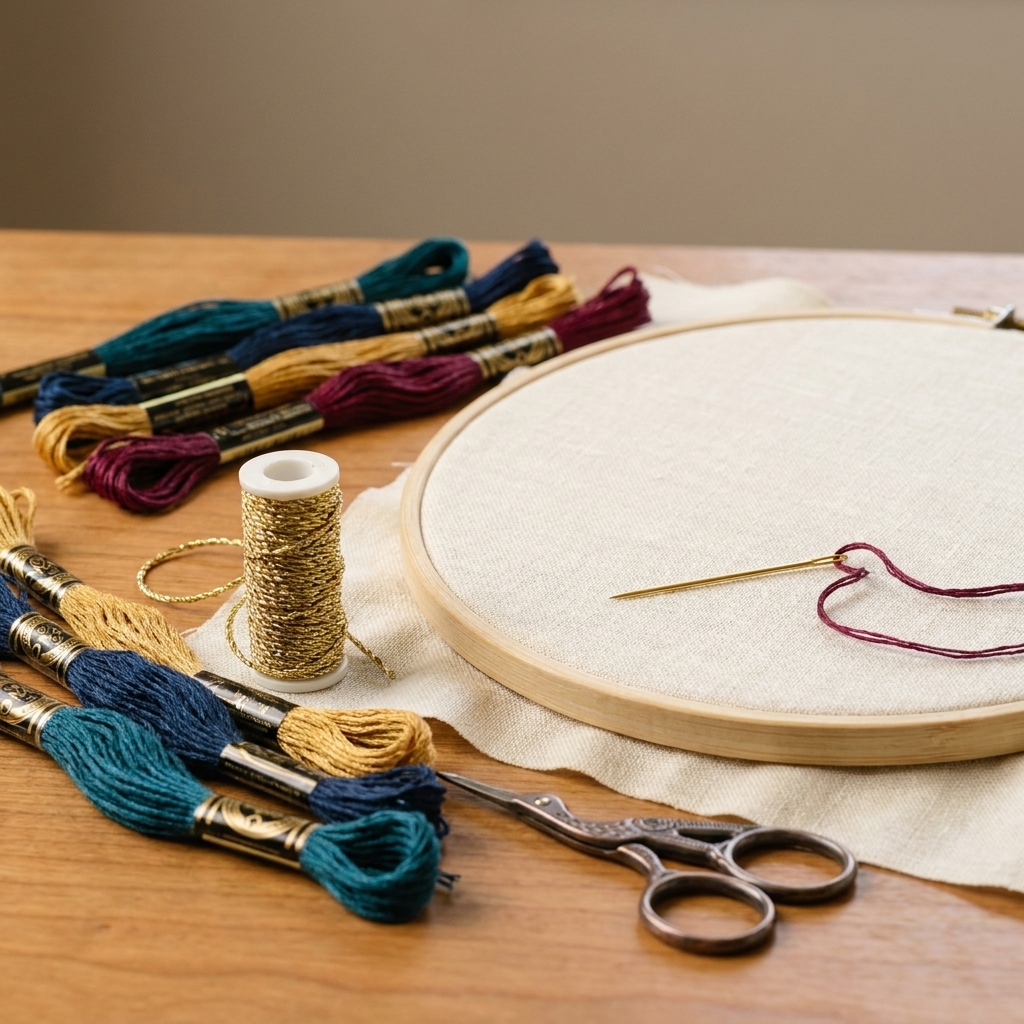
Supplies
Fabric
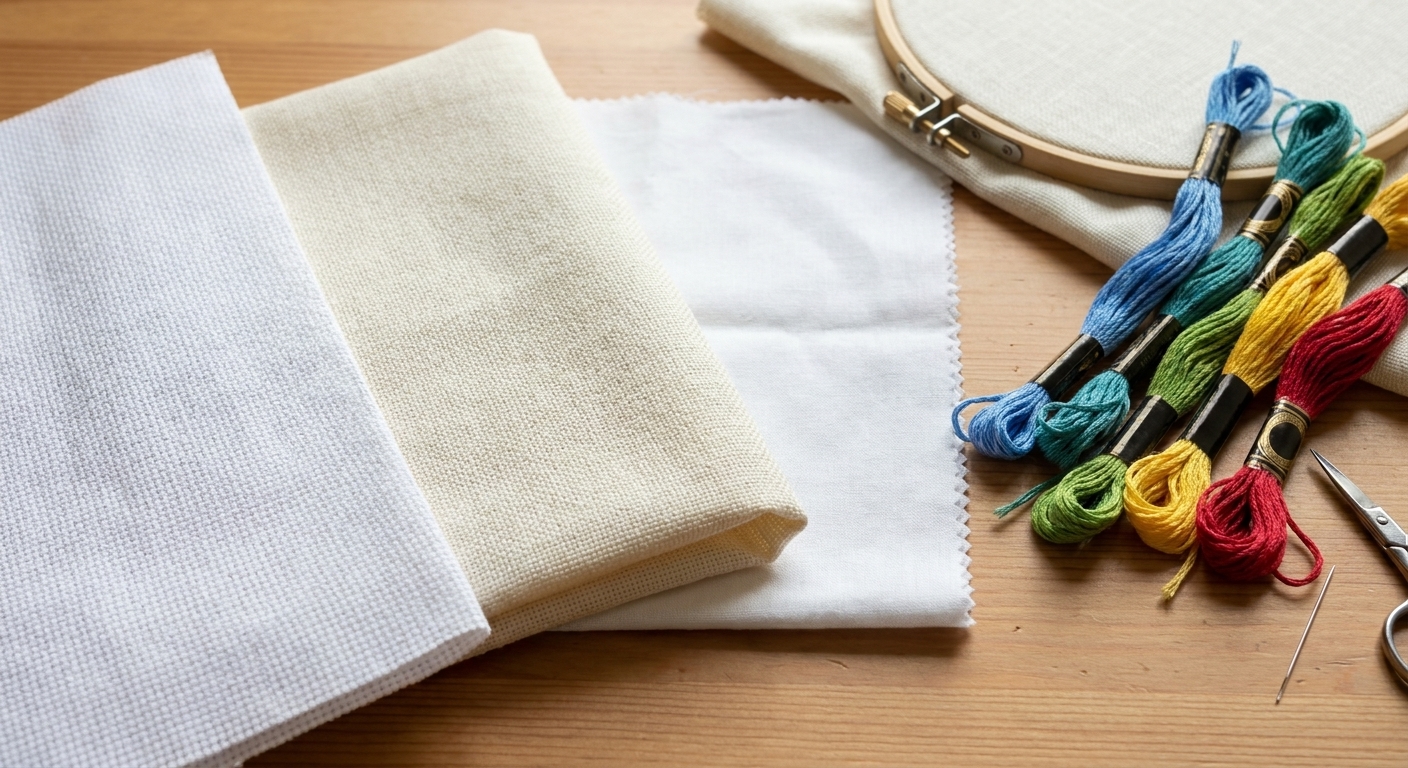
Couching works on most embroidery fabrics. If you are brand new, use a stable, medium-weight ground fabric like quilting cotton, linen-cotton blend, or evenweave. Very loose weaves can let couching stitches wobble, and they can also let the laid thread sink or shift. If your fabric feels airy or stretchy, adding a lightweight backing or stabilizer can make everything behave.
Needles
- For the couching thread: a sharp embroidery needle (crewel) is perfect for most fabrics.
- For the laid thread: often you do not need to sew it through the fabric at all. If you do, a chenille needle (big eye, sharp point) helps with thick or fuzzy fibers.
Threads
- Couching thread options: 1 strand of DMC floss, a fine cotton sewing thread, or a matching silk. Choose something strong that will not snap under tension. For high-wear pieces, a fine polyester sewing thread is a very dependable choice.
- Color choice: match the laid thread for invisible couching, or contrast on purpose for a dotted, beaded look.
Tools I actually use
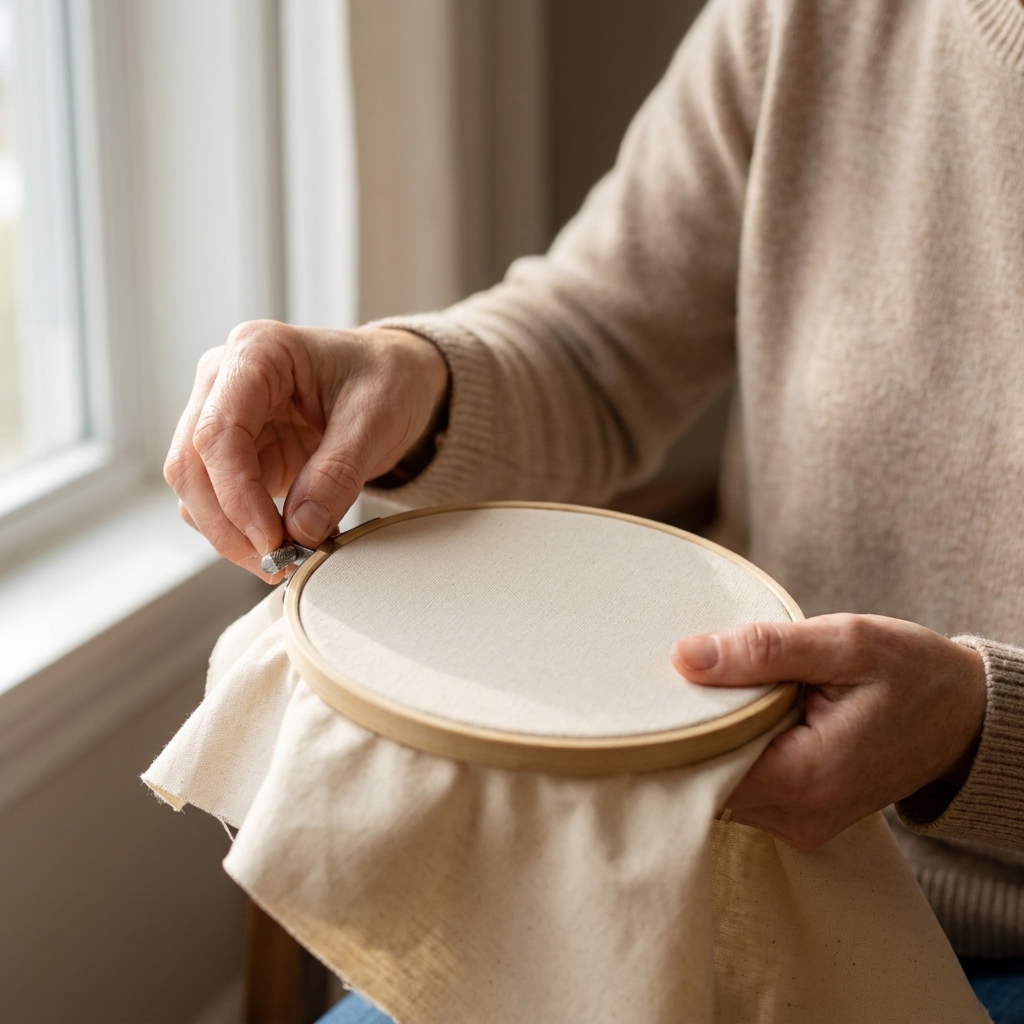
- Embroidery hoop or frame (a frame is extra helpful for long smooth curves)
- Thread conditioner or beeswax for metallic couching thread (optional, but helpful)
- Laying tool or a spare tapestry needle to nudge cords into place and keep them from twisting
- Small sharp scissors
Basic couching steps
This is the classic method I teach beginners first. It is tidy, flexible, and works for straight lines and curves.
1) Plan the path
Lightly mark your line with a water-erasable pen or a pencil meant for fabric. For cross stitchers, you can couch right along the holes of evenweave or Aida as a built-in spacing guide.
2) Start the couching thread
If you are not sure how to begin neatly, do what feels easiest:
- Away knot or waste knot: knot the end, start a few inches away, then snip the knot off later and stitch the tail down on the back.
- Small anchoring stitches: take two or three tiny stitches in the seam allowance area or under where the couched line will cover them.
- On the back: weave under a few existing stitches if you are adding couching to a finished piece.
There is no prize for suffering through a fussy start. Secure is the goal.
3) Secure the laid thread at the start
You have a few options:
- Start on the back: bring the laid thread up from the back, leave a tail, and later stitch or lace it down on the back.
- Fold-under start (my neat-and-easy favorite): lay 1 to 2 cm of the end along the marked line and couch right over that tail to trap it.
- Tiny anchoring stitch: if the laid thread can tolerate one pass, take it down and up once at the start, then begin couching.
4) Lay the specialty thread on the surface
Hold it gently in place with your non-stitching hand. Let it sit on the fabric without pulling it tight. For fuzzy yarns, try not to rub it back and forth, since that can cause shedding.
If your laid thread is the type that twists (soutache, ribbon, some cords), slow down and keep it flat as you lay it. A laying tool helps, but your fingers work just fine. The main trick is to guide it into place, not drag it there.
5) Make small tacking stitches over the laid thread
Thread your couching needle with the couching thread. Bring it up right next to the laid thread, cross over it, and take it down on the other side. You are basically making tiny straight stitches that hug the laid thread.
- Spacing: start with couching stitches every 3 to 6 mm.
- Curves: place stitches closer together on tight curves so the laid thread cannot spring out.
- Do not strangle it: snug is good, but you should not squash a fluffy thread flat unless that is the look you want.
6) Finish securely
At the end, you can fold the laid thread under and couch over the tail, or take it to the back once and secure it with a few tiny stitches. If you are working on an item that will be handled a lot (like an ornament or a tote), I prefer taking the end to the back for extra security.
Useful variations
Bricked couching
If you want a smooth line with less chance of gaps, use a “brick” pattern, also called staggered couching: alternate where your couching stitches land so they are not all lined up like rungs on a ladder. This helps the laid thread stay evenly distributed, especially on thicker cords.
Wrapped couching
Make a couching stitch over the laid thread, then wrap the couching thread around the laid thread once or twice before taking the needle down. It adds a tiny spiral grip and can look decorative, like micro candy stripes.
Double couching
For very thick or springy fibers, couch with two lines of tacking stitches, one on each side, angled slightly. This “cradles” the laid thread so it cannot roll.
Cross stitch couching
If you want your couching to blend into counted work, make tiny diagonal couching stitches that mimic half stitches or backstitch placements along the grid. This looks especially nice when couching metallic braid as an outline around a cross stitched motif.
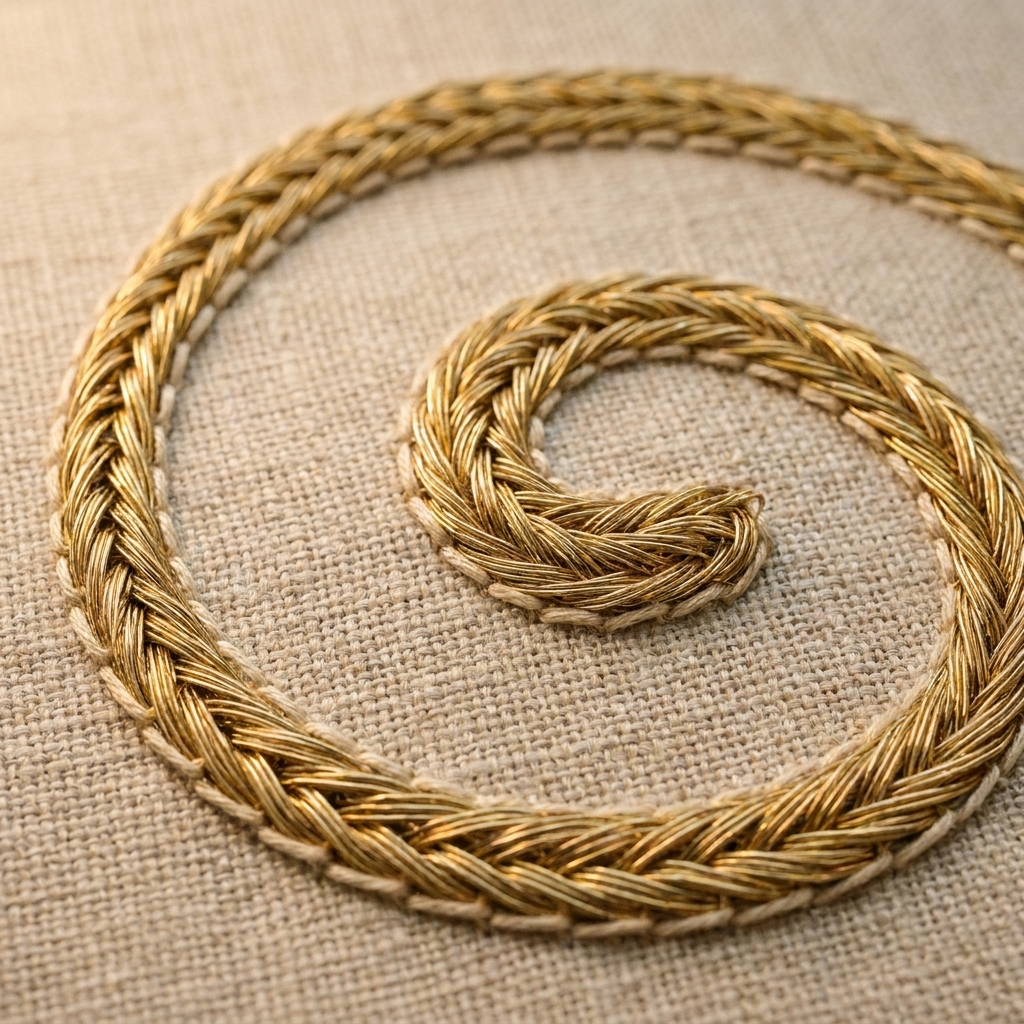
Metallic couching tips
Metallics are dramatic, stubborn, and worth it. Couching is the lowest-stress way to use them.
- Choose a metallic meant to be laid: metallic braid, cord, and passing threads couch beautifully.
- Use a smooth, strong couching thread: a single strand of cotton floss or a fine sewing thread is often sturdier and less snaggy than metallic for the tacking stitches.
- Short working lengths: if your couching thread is metallic, keep it short (about 20 to 30 cm) to reduce fraying.
- Mind the twist: let your needle dangle now and then to untwist the couching thread.
- Use closer spacing on corners: metallic cords love to spring out at sharp angles, so add extra tacks right before and after the turn.
If your metallic cord wants to kink, coax it into curves with your fingers instead of forcing it into place with tension. Metallics remember everything.
Thick and fuzzy thread tips
For fuzzy, lofty threads, the goal is usually to keep that cozy texture on top of the fabric.
- Use a matching couching thread: it will visually disappear into the fluff.
- Stitch over the “spine”: if the yarn has a core with halo fibers, aim your couching stitches over the core so the fluff can bloom around it.
- Go gently: snug the couching stitches just enough to hold the yarn, but stop before you compress it.
- Consider wider tacks: slightly wider couching stitches can reduce the “pinched” look.
One more cozy tip: if the yarn sheds, avoid pulling it repeatedly across the fabric surface. Lay it once, then couch it down as you go.
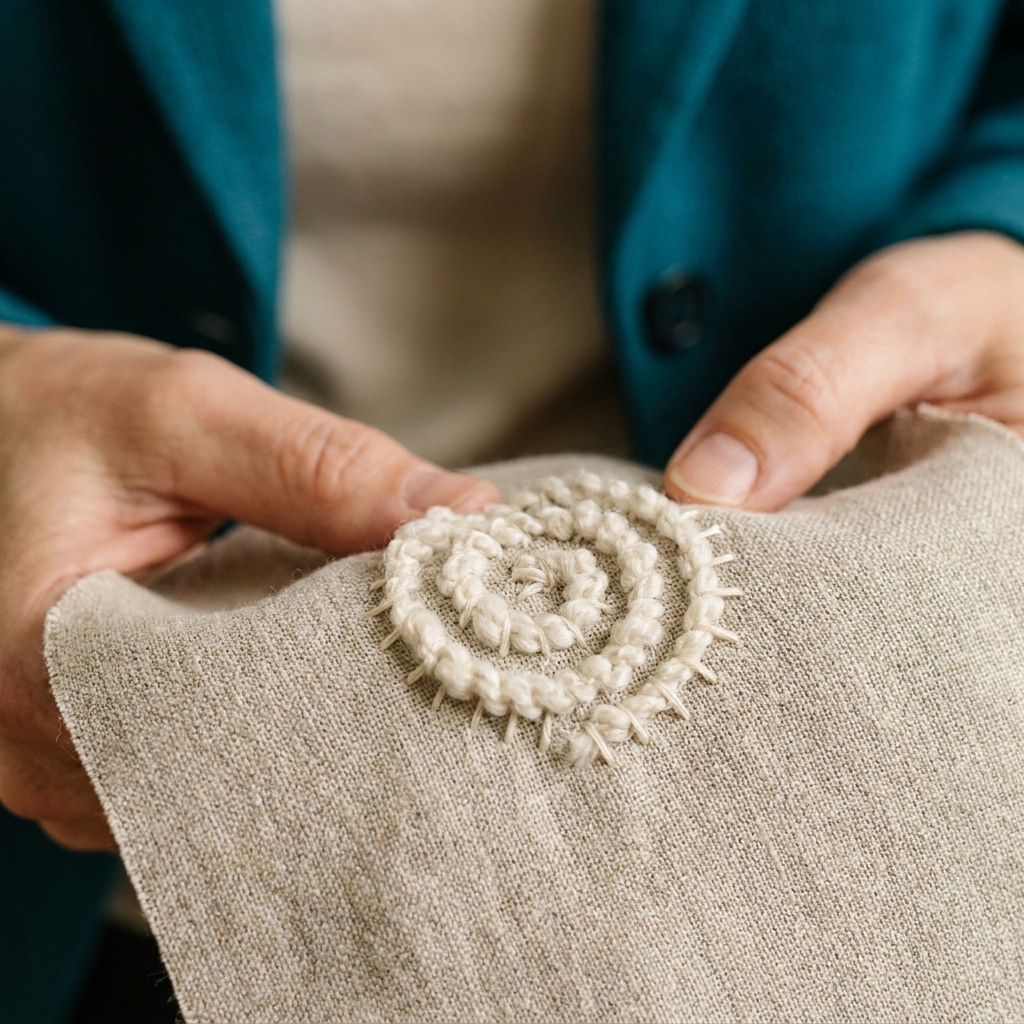
Spacing and tension
How far apart?
It depends on the thickness and stiffness of your laid thread, plus how curvy the line is. Use this as a starting point:
- Thin cord or metallic braid: every 3 to 4 mm
- Medium pearl cotton or soft cord: every 4 to 6 mm
- Chunky yarn or rope-like cord: every 5 to 8 mm, plus extra stitches on curves
When in doubt, stitch closer together on curves and farther apart on long straight runs.
How tight?
Think “gentle hug,” not “zip tie.” Your tacking stitch should sit neatly over the laid thread without denting it. If you see your line looking wavy, that is usually a sign of uneven tension, not your fabric misbehaving.
Common problems
The laid thread pops out
- Add more couching stitches, especially around curves and corners.
- Try bricked (staggered) couching so the tacks do not line up in one row.
- For stiff cords, make the path gentler. Sharp angles need extra anchoring.
The couching stitches look obvious
- Switch to a closer color match.
- Use a thinner couching thread (1 strand instead of 2, or sewing thread).
- Place the couching stitches at a consistent angle for a cleaner rhythm.
The fabric puckers
- Loosen your couching tension slightly.
- Make sure the fabric is drum-tight in the hoop.
- If you are couching something heavy, consider stabilizer on the back, especially on lightweight or loose-weave fabrics.
The metallic looks kinked
- Undo just the last few couching stitches and re-lay the metallic with your fingers.
- Use more couching stitches at the kink point to hold a smooth curve.
- Try a thicker metallic cord that holds its shape better when laid.
The ends look messy
- Fold the end under and couch over the tail for a clean finish.
- Or take the end to the back and secure it with a few tiny stitches.
- For slippery cords, a tiny dab of fray check on the very tip (off the hoop first) can prevent unraveling, but test on scraps.
Couching in cross stitch
If you are primarily a cross stitcher, couching is a lovely way to add texture without changing your whole workflow.
- Outlines: couch metallic braid around a finished motif for a clean, glowy border.
- Highlight details: add couched “strings” to ornaments, couched whiskers on animals, or a couched halo around stars.
- Textural fills: couch chunky yarn in loose curves behind a design for a cozy background.
On Aida, you can couch by placing your couching stitches in the holes, which helps spacing look extra even. If you want the couching stitches to vanish, use a matching couching thread and keep those tacks tiny.
Mini practice project
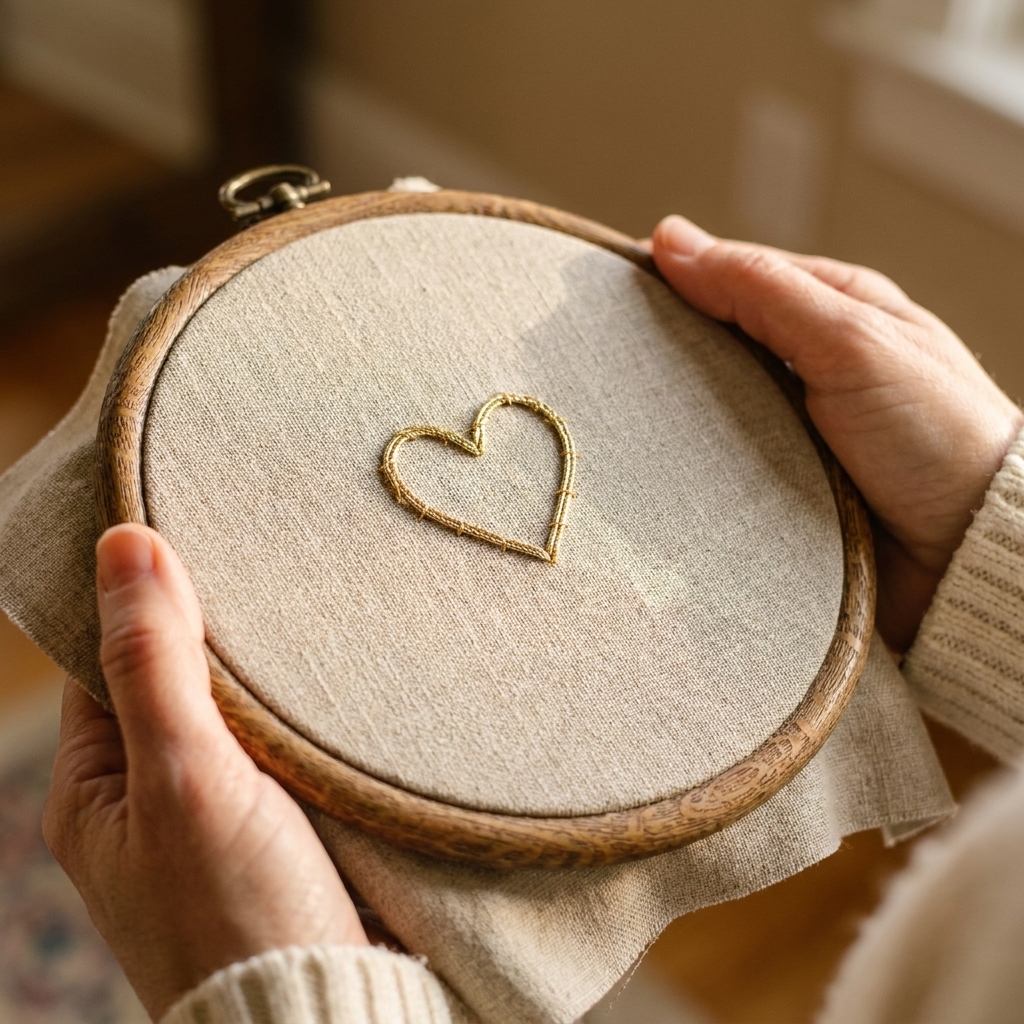
If you want a low-pressure way to try this, stitch a simple heart outline with a specialty thread.
- Draw a small heart (about 5 to 7 cm tall) on your fabric.
- Choose a laid thread: metallic cord or pearl cotton size 5 works great.
- Start by folding under the first end and couch over it.
- Couch around the heart, placing stitches closer together at the top curves and point.
- Finish by taking the end to the back and securing it neatly.
This little heart is also adorable as a patch, ornament, or the beginning of a sampler of specialty stitches.
FAQ
Is couching strong enough for items that get handled?
Yes, if you secure the ends well and use enough couching stitches. For high-wear items like bags or clothing, use bricked (staggered) couching and take the laid thread ends to the back instead of only folding under on the front.
Can I couch with monofilament or invisible thread?
You can, especially for crystals, cords, or when you want the tacks to disappear. Just know monofilament can be springy and sometimes itchy on wearables. A close color match in cotton is often easier to manage.
Do I need a laying tool?
No. Your fingers work fine. A laying tool is helpful for fussy metallic cords or for keeping ribbon and soutache flat, but it is absolutely optional.
What if my specialty thread is too thick to start from the back?
Use the fold-under start. Lay the tail along your line and couch right over it for the first few stitches. It is tidy and avoids wrestling a chunky thread through tight fabric.
Can I wash couched embroidery?
Sometimes. Metallic cords, some novelty yarns, and some specialty finishes do not love washing. If the piece needs to be washable, test your exact threads on a scrap first. For many metallic or fuzzy projects, I treat the finish as spot-clean only.
Before you start
Couching looks fancy, but it is basically just “set it down, tack it in place.” If your first line is a little wobbly, you are doing it right. Specialty threads have personalities, and half the craft is learning how to coax them gently instead of fighting them.
If you want, practice on a scrap for five minutes with the chunkiest, most ridiculous thread in your stash. Couching was made for that thread.