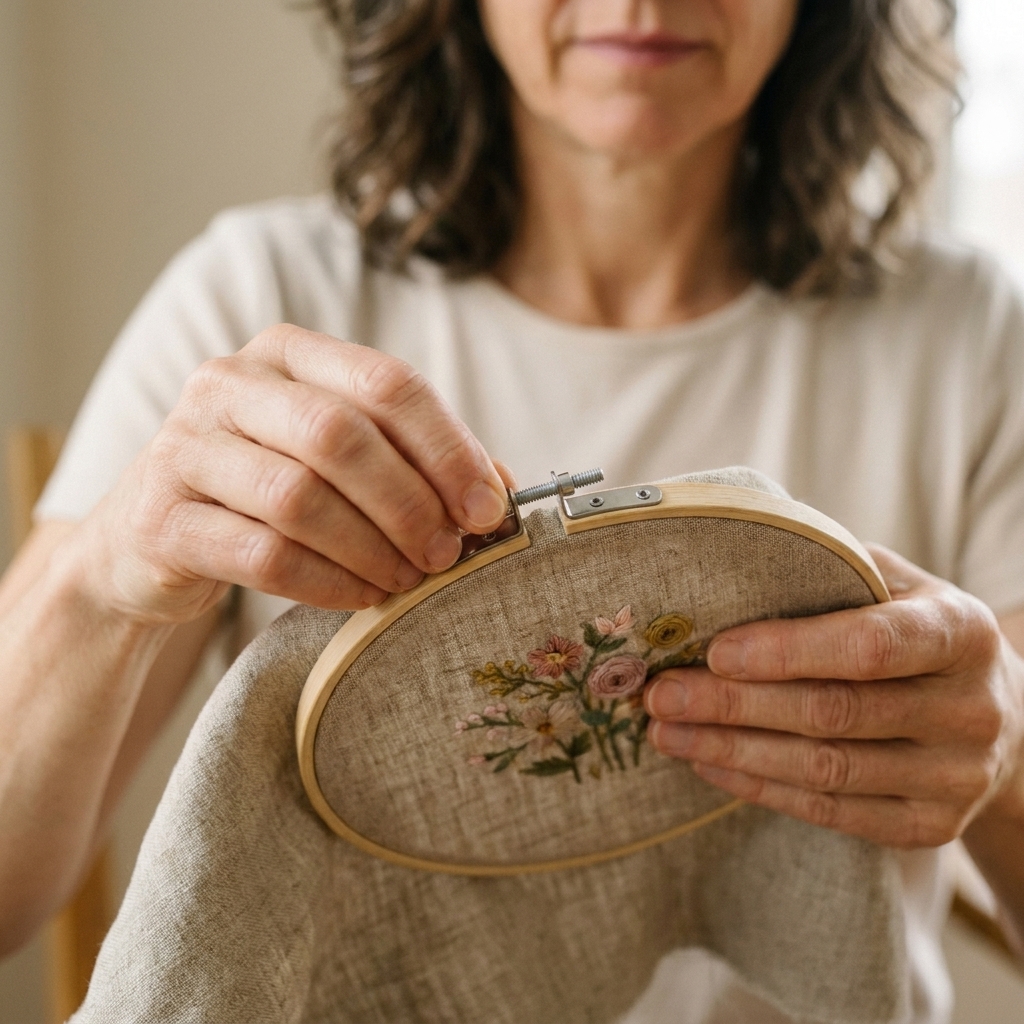
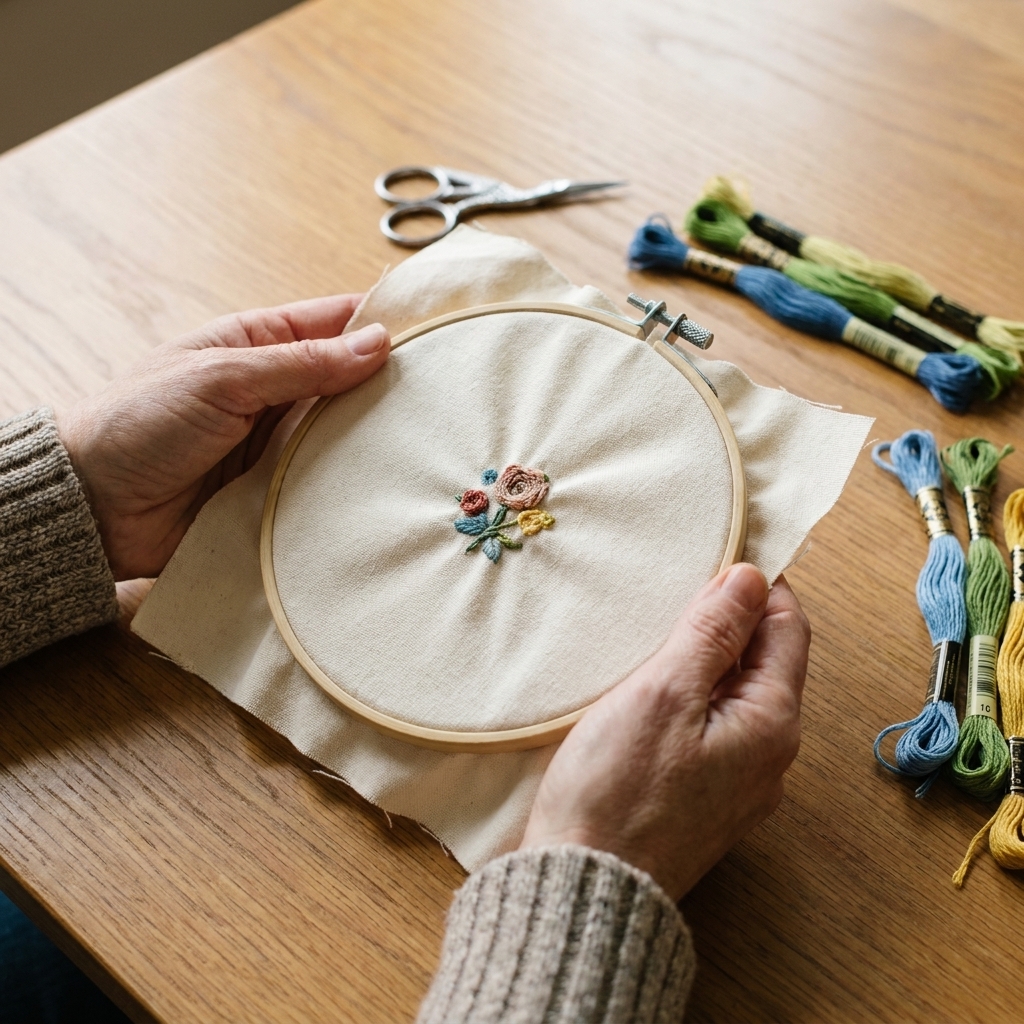
If you have ever set your needle down “for one second” and then spent the next ten minutes patting your lap, your couch cushions, and the floor like a frantic detective, you are my people. A needle minder is the tiny little tool that saves your sanity. It is simple, cute, and genuinely useful, which is why I consider it one of those once-you-try-it-you-never-go-back accessories for embroidery and cross stitch.
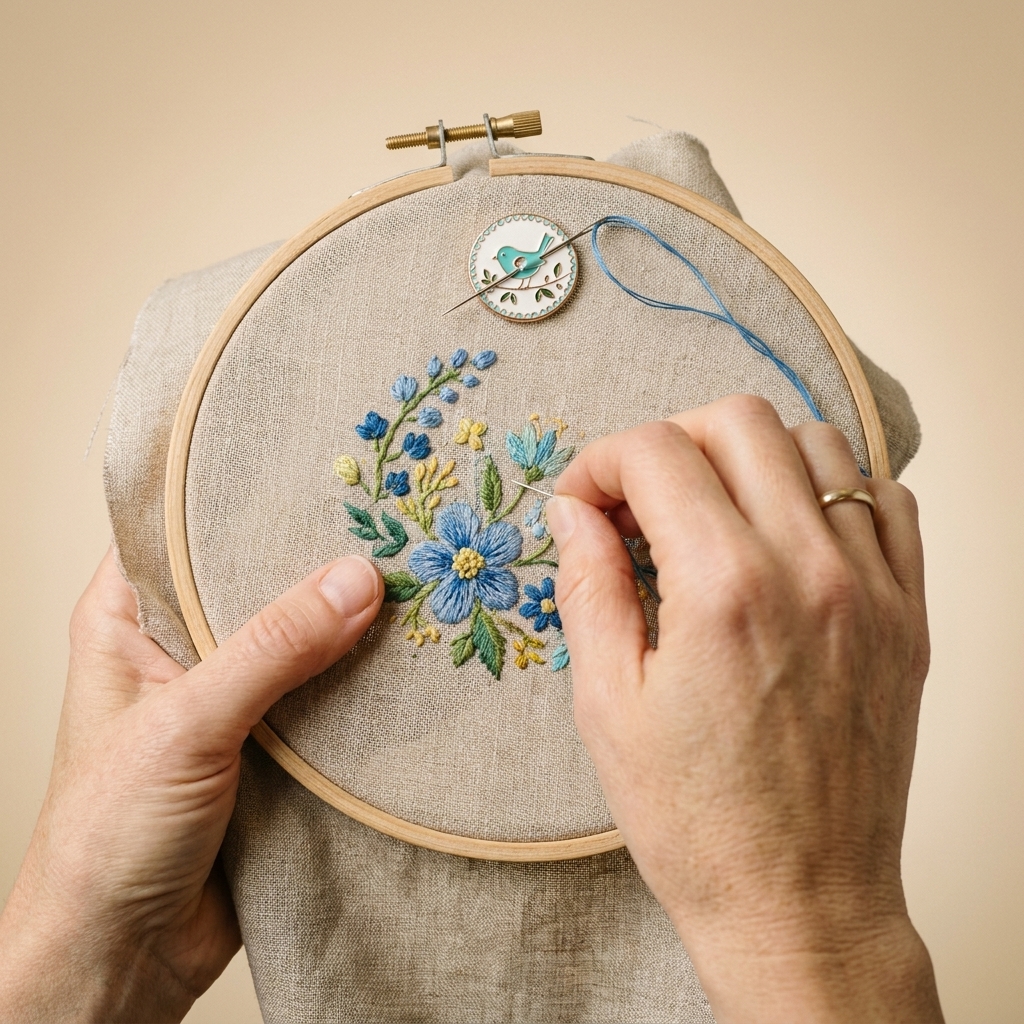
Let’s break down what a needle minder is, how it works, and what to look for if you want to buy one or make your own.
What a needle minder is
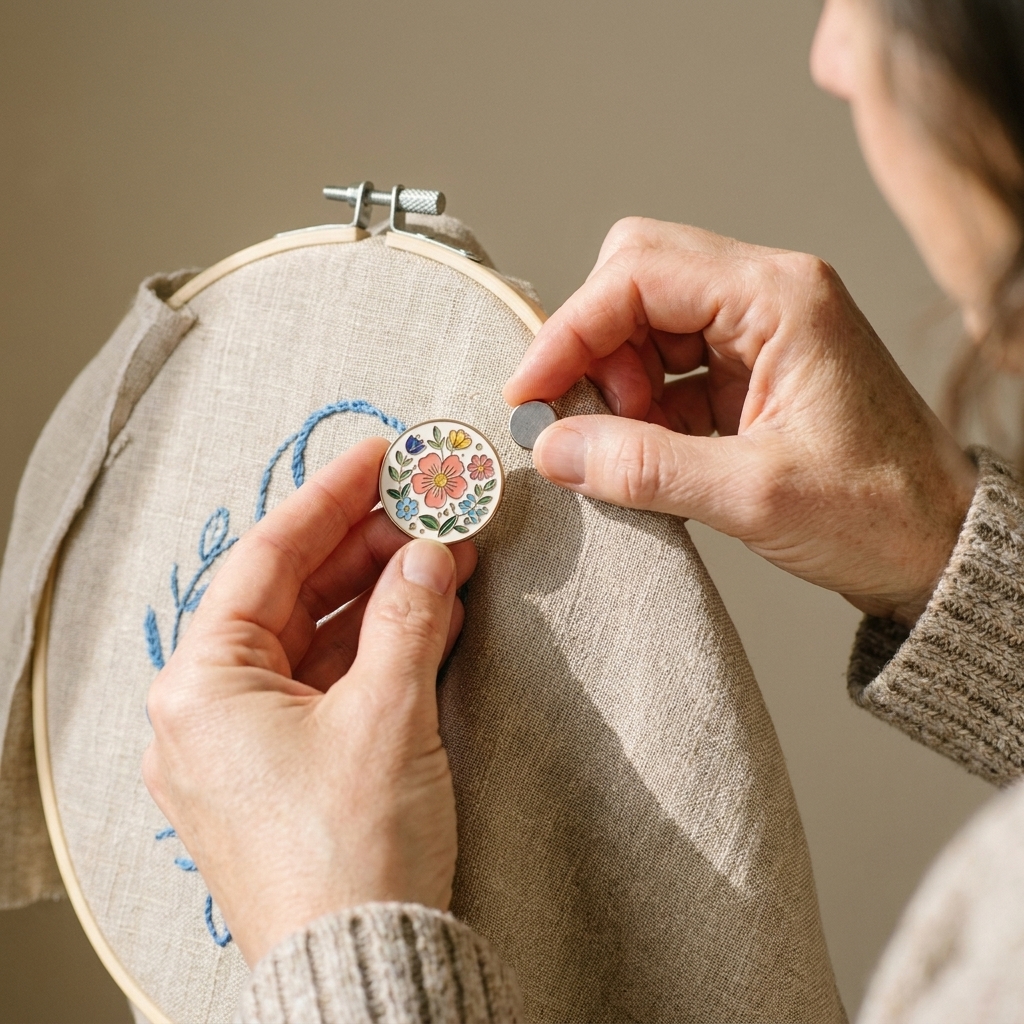
A needle minder is a two-part magnetic accessory that attaches to your fabric (usually while it is in a hoop, Q-Snap, or scroll frame) and gives you a safe, convenient spot to “park” your needle when you pause.
Most needle minders have:
- A decorative top magnet (the part you see) made from enamel, acrylic, resin, wood, or metal
- A backing magnet that sits behind your fabric to hold everything in place
When you need to stop stitching, you simply place your needle on the top magnet. The magnet grips the needle so it stays put instead of sliding into the abyss.
How needle minders work
Needle minders work because most embroidery and tapestry needles are made from iron-based steel (often nickel-plated), which is attracted to a magnet. The minder itself stays on your project because the front magnet and back magnet are clamped together with the fabric sandwiched in between.
What it does for you
- Prevents lost needles in couch cushions, carpet, sleeves, and blankets
- Keeps your needle cleaner by avoiding drops onto the floor (pet hair is persistent)
- Helps protect your fabric since you are not repeatedly stabbing the needle into the working area just to “hold it”
- Makes breaks easier, especially if you stitch in short pockets of time
Minder vs. parking in fabric
A lot of us start by just sticking our needle into the fabric or the edge of the hoop. It works, but it can leave tiny distortions in delicate fabrics, and it is surprisingly easy to snag floss or poke yourself later. A minder turns “where did I put my needle?” into a non-issue.
How to use one
- Separate the two magnets. Slide them apart rather than pulling straight, which can be tough on your fingers.
- Choose a spot near your stitching area. I like the upper right edge of my hoop so my thread stays out of the way.
- Place the decorative side on the front of the fabric.
- Place the backing magnet behind the fabric so it snaps into place.
- Park your needle on the top piece whenever you pause.
Tip: If you are working with a grime-prone project (looking at you, high-touch travel stitching), keep the minder on a section of fabric that will be under a frame edge or finished into a seam allowance, if possible.
Where to put it
On an embroidery hoop
Attach it just inside the hoop edge, away from where your thread travels. If your thread keeps catching on the minder, move it a few inches up or to the side.
On a Q-Snap
Place it on the fabric area near a corner. Avoid putting it right on top of the thick plastic clamp because the magnets will not grip as well through bulky layers.
On a scroll frame
Park it on the side margin of your fabric, not on the rolled portion. Rolling can shift the minder or create extra bulk.
What to look for
Needle minders range from sweet and simple to full-on collectible, and I say this as someone with an absolutely unnecessary number of them. Here is what actually matters when choosing one.
1) Magnet strength
You want a magnet strong enough to hold:
- a tapestry needle (often a bit bulkier)
- a crewel needle with a thread tail tugging on it
- your fabric securely without sliding around
If you mostly stitch on thicker fabrics or like to use a grime guard, choose a stronger magnet so it still grips through the extra layers.
2) Size and profile
Bigger is not always better. A very large minder can bump your hand while you stitch. I love a smaller, flatter minder for tight work areas, and a slightly larger one for parking multiple needles.
3) Surface finish
Look for smooth edges and a finish that will not snag floss. Enamel and acrylic are typically very smooth. If the top has raised textures, just make sure your thread is not catching on it.
4) Backing magnet quality
The backing magnet does the unglamorous heavy lifting. A strong, smooth backing magnet is easier to handle and less likely to slip. If a minder comes with a very tiny backing magnet, consider swapping it for a larger one if it feels weak.
5) Safety and storage
Strong magnets can pinch fingers, and they can also snap together hard enough to chip if they are brittle. Store needle minders away from kids and pets, and keep them separated or stacked carefully so they do not slam together in a tin.
If you use a pacemaker or other implanted medical device, follow your medical guidance for magnet exposure and keep strong magnets at a safe distance. It is also smart to keep needle minders away from magnetic stripe cards and sensitive electronics, and not loose in the same pocket as your phone.
Will it hurt anything?
Will it magnetize my needle?
It can happen over time, especially with very strong magnets, but it is usually not a problem for hand embroidery or cross stitch. A slightly magnetized needle might pick up other needles or cling to small metal items in your tin, which is mostly harmless but can get annoying. If it bothers you, swapping needles fixes it quickly.
Can it damage fabric?
Used normally, a needle minder should not damage fabric. The main risk is dragging the top magnet across delicate fabric, which can snag. Slide the magnets apart to remove them, and lift them away gently rather than scraping them over stitches.
What about specialty needles?
Most embroidery and tapestry needles will stick. Some specialty needles are non-magnetic or only weakly magnetic, so if your needle does not stick well, it may be the needle material rather than the minder.
Any placement spots to avoid?
Try not to clamp a minder over heavily stitched, raised, or delicate areas. Beads, sequins, metallic threads, and textured stitches can get squished or snagged, and it is easier to accidentally drag the magnet where you do not want it.
Other options
A needle minder is not the only way to keep track of a needle, but it is one of the most convenient while you are actively stitching.
- Pincushion: Great on a desk, less convenient on the couch. Also easier to knock over.
- Needle book: Perfect for storing needles long-term, not ideal for quick “park it” moments.
- Magnetic needle case: Excellent for travel, but you still have to open it every time.
- Parking the needle in fabric: Quick, but can distort delicate areas and is easy to forget.
One quick note: A needle minder is for holding your needle on your fabric. A magnetic chart holder (or magnet bar) is a different tool used to hold patterns in place on a stand or board. Both are handy, but they solve different problems.
DIY needle minder
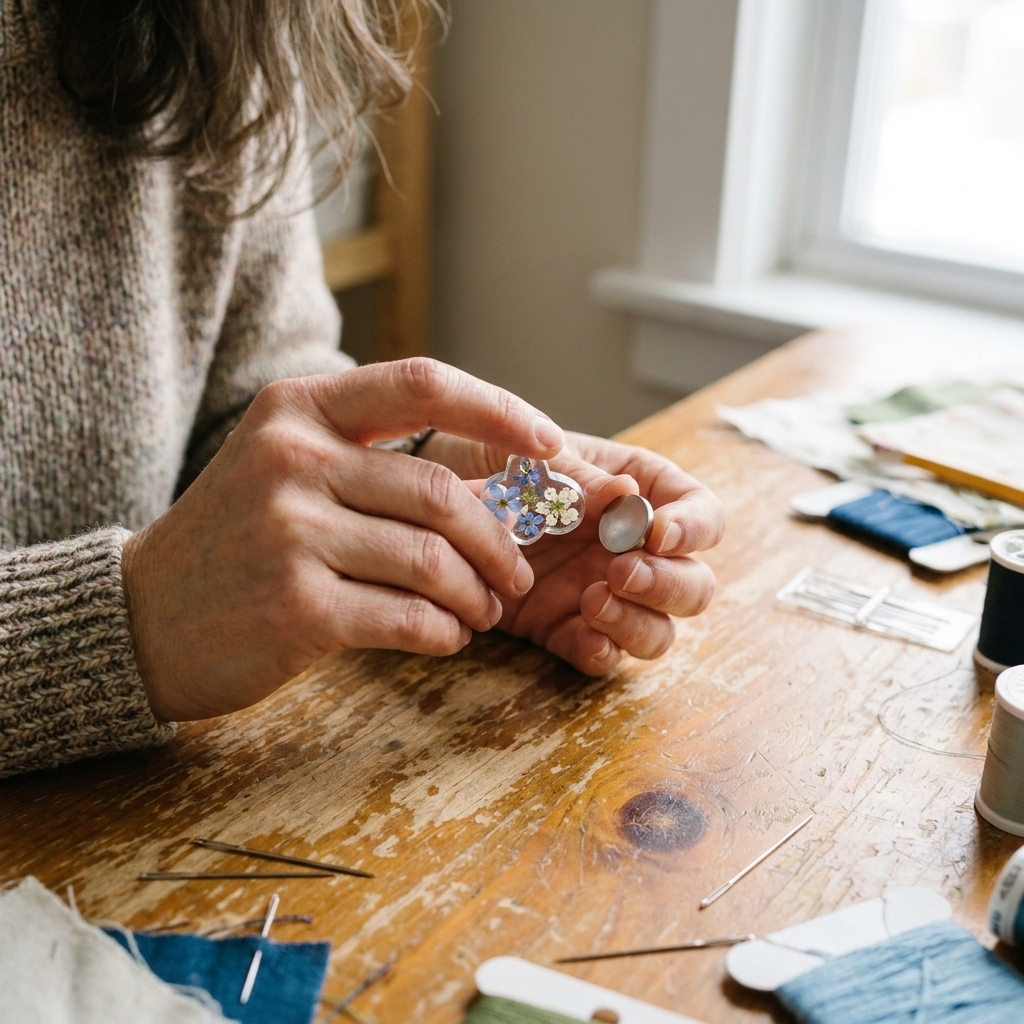
If you love the idea of customizing your tools, you can absolutely make a needle minder at home. The simplest method is to turn a small flat embellishment into the decorative top magnet.
What you need
- A small flat item for the top (an enamel pin with the post removed, a flat resin cabochon, a small wooden shape, or a smooth button without a shank)
- Two strong magnets (neodymium magnets are common for DIY minders)
- Strong adhesive (a two-part epoxy is the most reliable)
- Optional: a bit of felt or thin craft foam for the backing magnet to make it gentler on fabric
How to do it
- Prep the top piece. If you are using a pin, remove the post and sand any sharp bits so the back is smooth.
- Glue one magnet to the back of the top piece. Let it cure fully according to the adhesive instructions.
- Use the second magnet as the backing magnet. Optional: glue a small circle of felt to it for a softer feel.
- Test the hold through fabric. If it slides, upgrade to a stronger or slightly larger magnet.
Important: Keep fingers clear when magnets snap together, and do not use this project as a “craft with toddlers” activity. Strong magnets are no joke.
Common mistakes
My needle keeps falling off
- Try a stronger magnet.
- Park the needle flat, not dangling by the thread.
- Move the minder to a spot where your working thread is not tugging on the needle.
My minder slides around
- Your fabric may be thick, layered, or under tension. Use a stronger backing magnet.
- Avoid placing it over bulky seams, grime guards, or Q-Snap clamps.
It keeps grabbing my scissors
- Totally normal. Keep metal tools a few inches away, or use a separate magnetic tool holder for your scissors if you like the magnet life.
FAQ
Can I use one for cross stitch?
Absolutely. It works beautifully with tapestry needles, and it is especially handy if you use multiple needles for color parking.
Can it hold more than one needle?
Yes, as long as the magnet is strong enough and the needles are not stacked in a way that makes them slide. Some stitchers keep one needle threaded and one unthreaded on the same minder.
Do they work on plastic canvas?
Sometimes. The magnet has to grip through the material, and plastic canvas can be thick and rigid. A very strong magnet helps, but it may still be awkward compared to using a magnetic tray nearby.
How do I travel with one?
I keep mine attached to the project fabric and park the needle on it, then I put the whole project in a pouch. If you store minders loose, keep them in a small tin so they do not wander into your bag and latch onto random metal items.
My take
For me, a needle minder is one of those tiny upgrades that makes stitching calmer. No more surprise pokes, no more “where did it go,” and no more feeling like your needle has developed legs. Pick one that makes you smile, stick it on your hoop, and enjoy the little ritual of parking your needle when you take a break. Crafting should be fun, not a scavenger hunt.