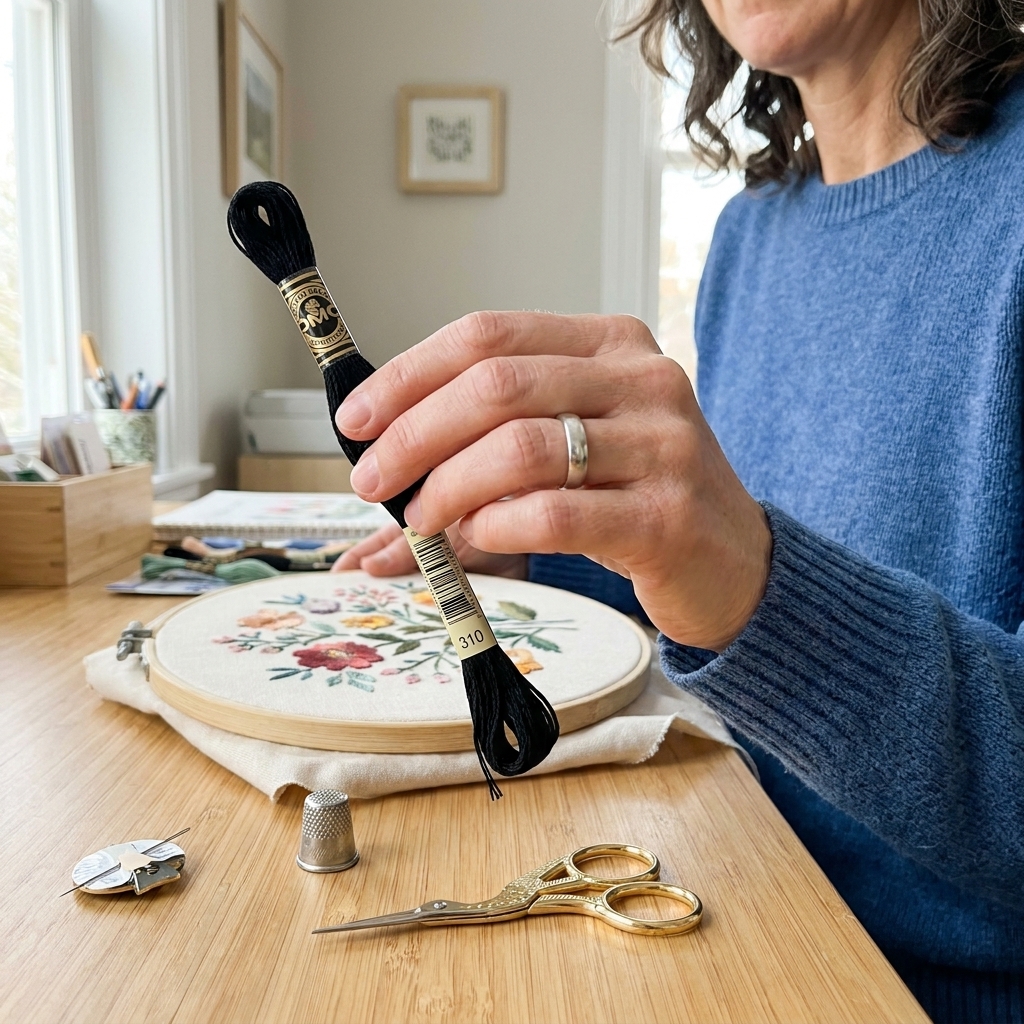
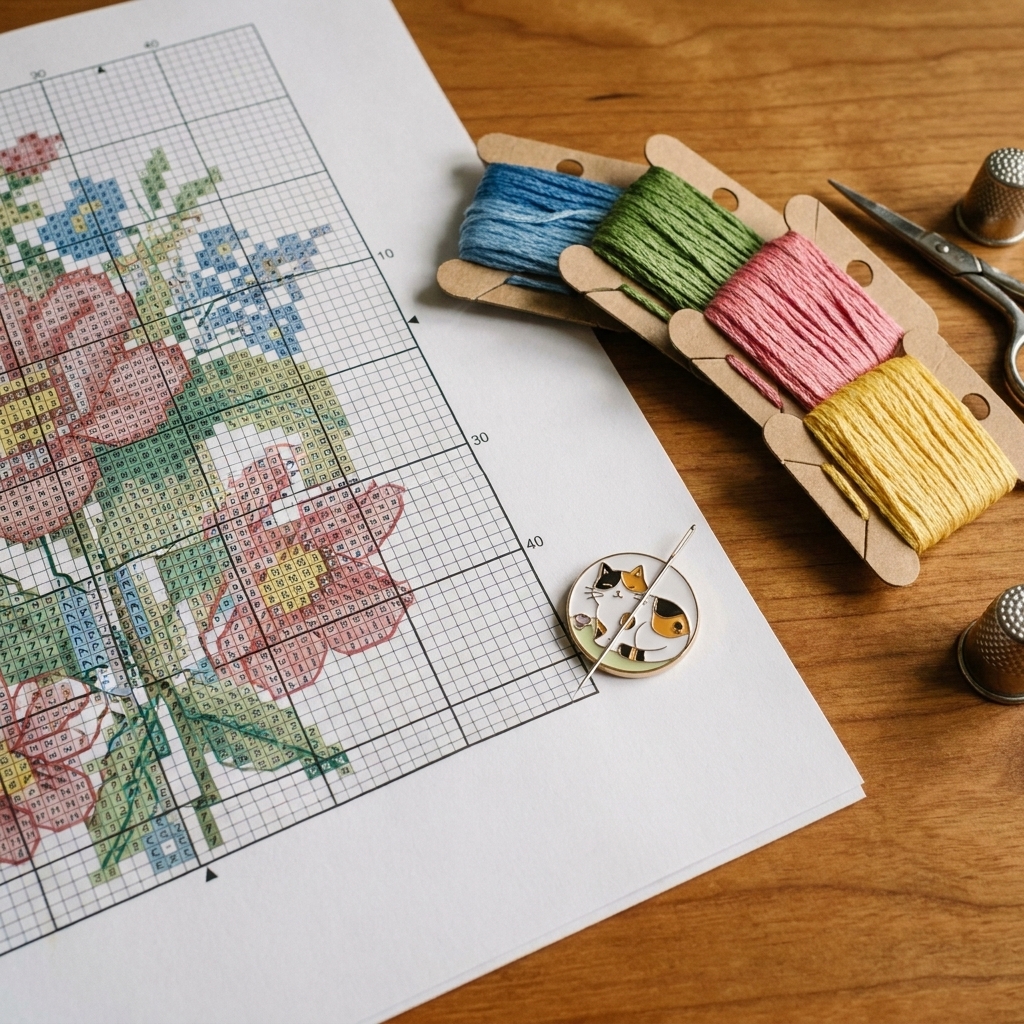
If you have ever bought “just one more” skein of DMC because you could not find the one you swear you already own, welcome. An embroidery floss stash grows fast, and it gets chaotic even faster. The good news is that organizing floss does not have to be fussy. You just need a system that matches how you stitch and how your brain likes to sort things.
Below are seven clever ways to organize, wind, and store your embroidery floss, plus my favorite little habits for labeling color numbers, managing strands, and preventing tangles.
Before you organize: 3 floss rules that save your sanity
I learned these the hard way, usually while unpicking a knot the size of a blueberry.
- Keep the color number with the floss. Whether you use bobbins, bags, or drops, make sure the number stays physically attached. Future you will thank you.
- Pick one “master sort.” Sort by DMC number or by color family or by project. Mixing systems is how stashes get messy.
- Do not over-wind. Pulling floss too tight around a card or bobbin can add kinks. Snug is good. Death-grip tight is not.
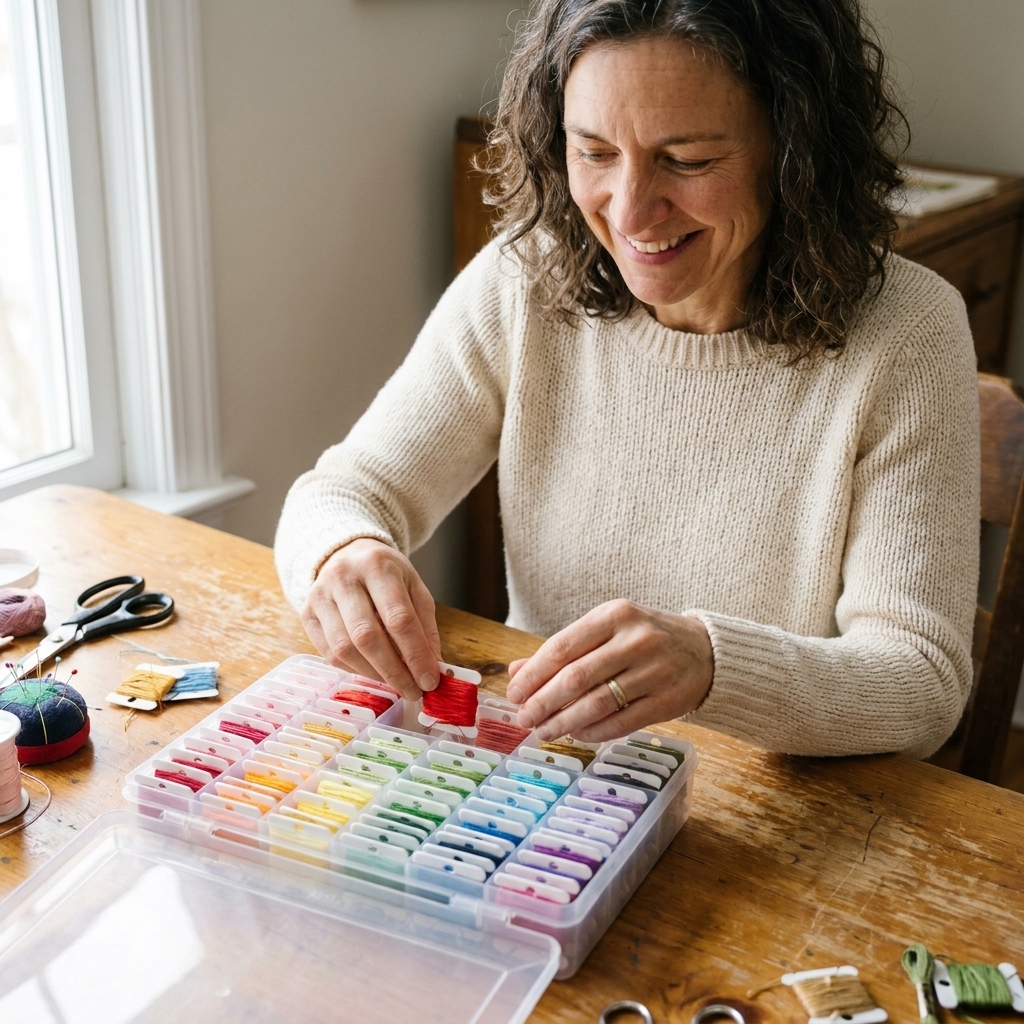
1) Classic bobbins in a divided floss box
This is the “library system” of floss storage: tidy, predictable, and easy to expand. If you like seeing every color at once and you want the quickest way to find DMC 310 at midnight, bobbins are hard to beat.
How to wind bobbins without twisting your skein
- Find the free end of the skein. If you want, keep one paper band on while you start winding so nothing springs loose.
- Slide off the other paper band and smooth out any twists as you go.
- Start winding with gentle tension. If you notice the floss wanting to spiral, pause, let it untwist, and keep going.
- Leave a short tail and tuck it into a bobbin slit to secure.
Labeling tips
- Write the DMC number directly on the bobbin with a fine permanent marker.
- If you want extra durability, add a tiny clear piece of tape over the number so it does not rub off with handling.
- For non-DMC floss, write both brand and code (for example, “Anchor 403”).
Best for: Cross stitchers, color-by-number stitchers, and anyone who wants a neat, expandable stash.
Watch-outs: Bobbins can kink floss a bit. To minimize that, do not yank while winding and avoid crushing overstuffed boxes that bend bobbins and crease thread. Heat is less about kinks and more about keeping plastic boxes, labels, and tape adhesives from warping or getting gummy.
2) Floss drops on binder rings (the “project palette” method)
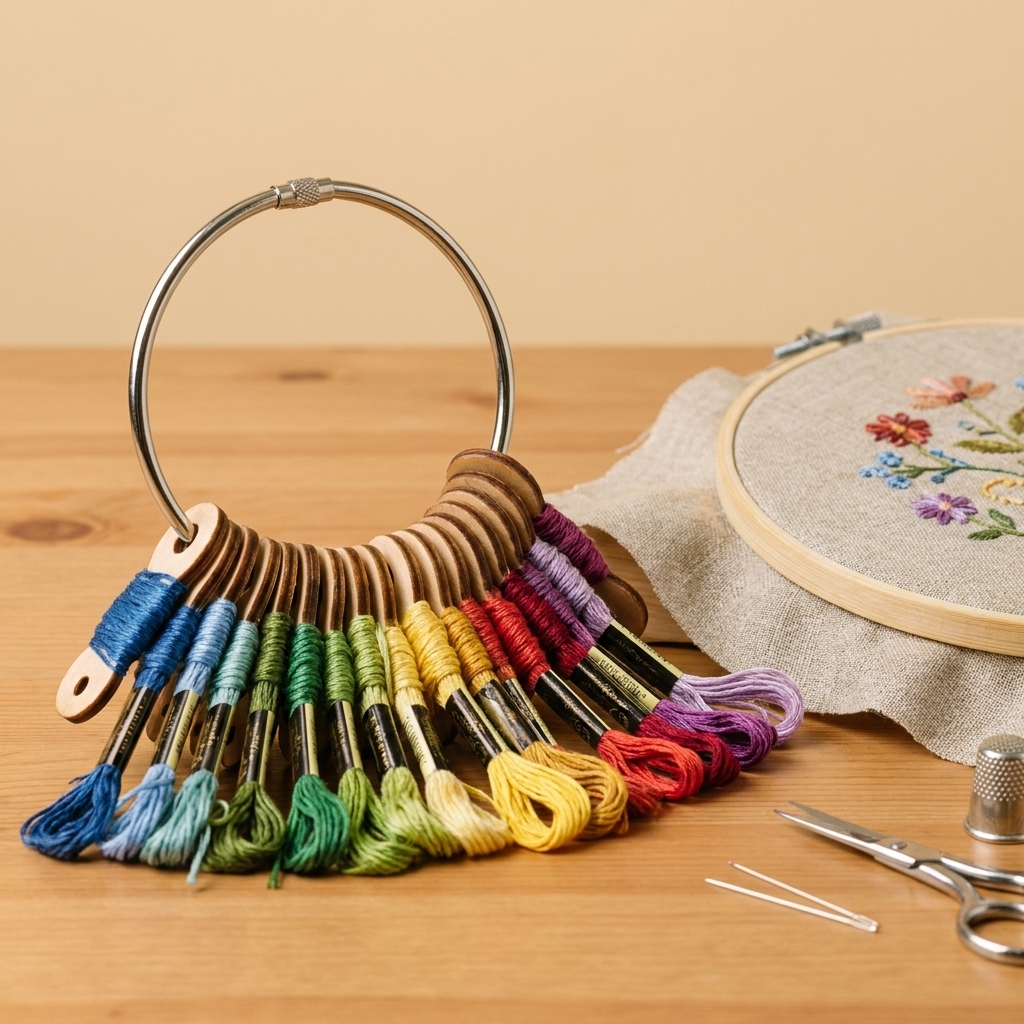
Floss drops are little cards with holes, and they are perfect if you like working from a set of project colors. I love this system for cross stitch kits or any pattern with a defined palette because it is grab-and-go.
How it works
- Cut your lengths (or keep strands folded) and loop them onto drops.
- Write the color number on each drop.
- Put all drops for a project on a binder ring.
This keeps threads airy and visible. Bonus: it is much harder for floss to migrate across your couch and reproduce into tiny snippets. Ask me how I know.
3) Photo storage cases for bobbins, bags, or mini skeins
Those plastic photo keeper cases (the kind that hold 4x6 photos) are a stash-tamer’s dream. You get one sturdy outer box with multiple small inner cases. Sorting feels satisfying, and it is easy to grab one case and stitch somewhere else.
Smart ways to divide it
- By number range: 1–199, 200–399, etc.
- By color family: reds, blues, greens, neutrals, variegated.
- By craft: cross stitch, surface embroidery, friendship-bracelet experiments (no judgment).
Pro tip: Put a little slip of paper inside each inner case that lists what is supposed to live there. It is a tiny step that keeps the system from drifting over time.
4) Floss in mini zip bags (with labels that stay readable)
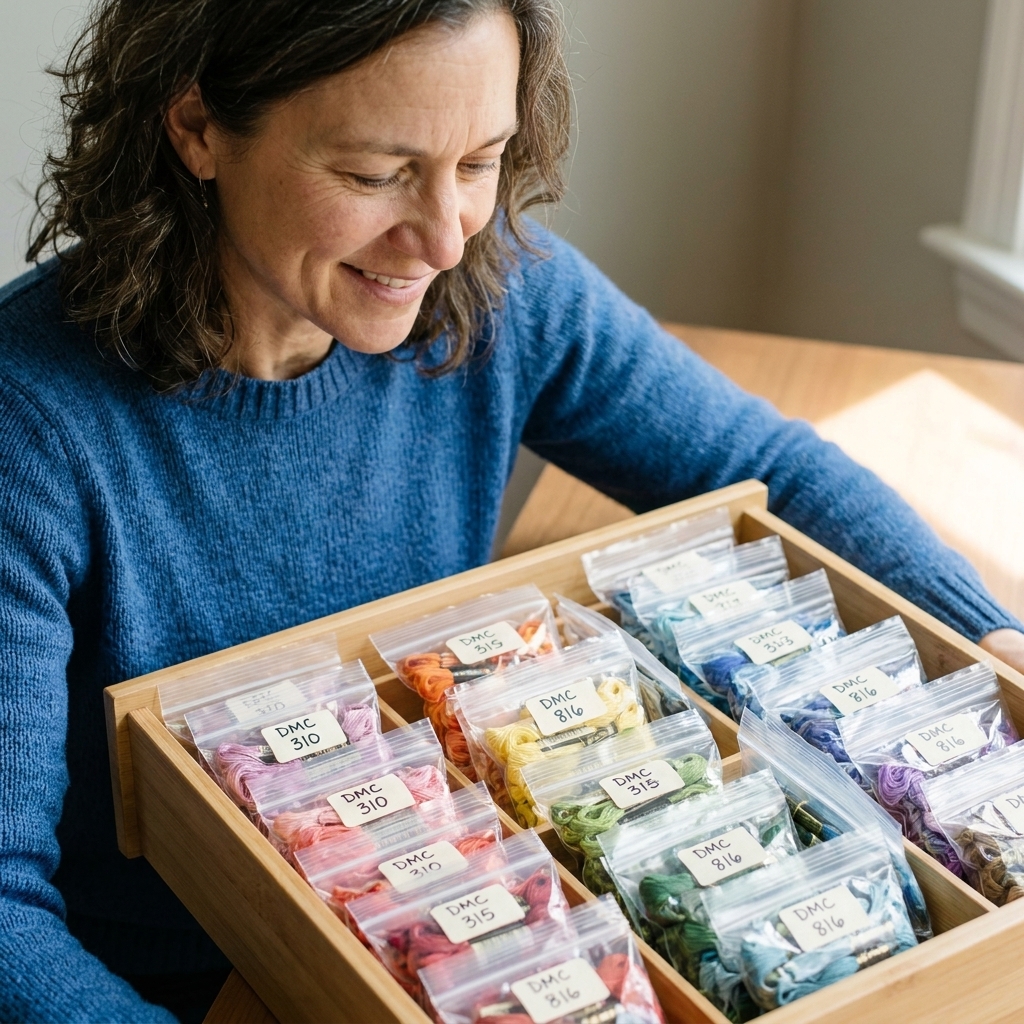
If bobbins are not your thing, mini zip bags are wonderfully low-effort. You can keep floss in skeins, partials, or pre-cut lengths, and you still get a clean, searchable system.
My favorite labeling setup
- Write the color number on white washi tape and stick it to the bag. (Tip: some alcohol-based markers can smear on slick tape, so use a permanent pen you trust, or a label maker if you are feeling fancy.)
- Or slide a small paper label into the bag facing outward so the number stays crisp.
- If you store multiple partial strands, add a quick note like “2 strands left” or “already separated.”
Best for: Surface embroiderers and anyone who wants to avoid bobbin kinks entirely.
Watch-outs: Squeezing bags too tightly into a box can crimp floss. Give it a little breathing room.
5) The binder method: trading-card pages for a flip-through stash
This one feels oddly luxurious, like you are flipping through a color catalog. Use a ring binder with clear pocket pages (trading card pages, coin collector pages, or small craft pockets). Store bobbins, mini baggies, or even short bundled floss lengths.
Why it works
- Visual: you can see a lot at once without dumping a box.
- Expandable: add pages as your stash grows.
- Easy inventory: missing colors jump out at you immediately.
Easy upgrade: tuck a simple checklist in the front pocket (paper is fine) and mark what you own as you buy floss. It is not glamorous, but it really does stop duplicate purchases.
Tip: If you sort by DMC number, slip a little cardstock divider in between number ranges (no fancy printing needed, just a handwritten tab).
6) Keep skeins “as-is” on floss pegs or in a thread drawer
If you love the look of full skeins and you want the least prep time, store floss in its original form. A small drawer unit, a craft cart, or a wall-mounted pegboard can work beautifully.
How to keep it from becoming a tangled skein jungle
- Secure the ends: tuck the loose tail under the paper band, or add a tiny silicone band.
- Group by number: skeins look pretty by color, but number sorting is faster when you are matching a chart.
- Separate special floss: metallics and satin floss deserve their own space so they do not snag on everything else. I like individual bags or a little tube for metallics because they fray if you look at them funny.
Best for: Stitchers who buy a lot of full skeins at once, or anyone who hates winding.

7) A “current projects” caddy that prevents pile-ups
This is the system that saves my living room couch. Even if you keep the bulk of your stash elsewhere, having a dedicated place for active threads stops the slow creep of floss across every surface.
What to include
- A small zip pouch, tin, or plastic case
- A binder ring of floss drops or a handful of labeled bobbins for that project
- A needle minder or needle book so needles do not vanish into the rug
- A tiny scrap of fabric or felt to park orts (thread snippets) until trash day
My rule: when I start a new project, it gets its own caddy. When I finish, any leftover floss goes back to the main system immediately. Not tomorrow. Immediately. This is the difference between “organized stash” and “mysterious craft gremlins.”
Quick safety note: If you have pets or small kids, keep floss and orts in a closed container. Thread is a surprisingly tempting snack and it is not a fun one.
Extra winding and storage tips
Strand management: keep it smooth
Most cotton embroidery floss is six strands. I store it as-is, then pull strands as I stitch. When you separate strands, pull one strand at a time from the cut length while holding the rest steady. It feels slower, but it cuts way down on tangles and surprise knots.
How to store leftover lengths
If you have cut strands left over, do not just stuff them into a skein band and hope for the best. Try one of these:
- Floss drops: loop leftovers on the matching color drop.
- Mini bags: dedicate a bag to that color and keep all partials together.
- “Shorts” bobbin: wind short lengths around the same bobbin, but keep them separate from your full skein by tucking shorts under a different slit.
Prevent fading and dust
- Store floss out of direct sunlight, especially if you use a wall display.
- Keep it in closed boxes or drawers if your home is dusty or you have pets who consider thread a snack.
What about kinks from bobbins?
Most bobbin kinks relax as you stitch, especially with standard cotton floss. Specialty threads can keep their memory more stubbornly, especially metallics and satins. If you want to minimize kinks, wind loosely and let the floss hang for a minute before threading your needle. For very cranky kinks, gently smooth the strand between your fingers.
Quick cheat sheet: what to choose
| If you want… | Try… |
|---|---|
| Fastest color lookup by number | Bobbins in a divided floss box |
| Grab-and-go project setup | Floss drops on binder rings |
| Flexible storage for skeins and partials | Mini zip bags in a case |
| A flip-through visual catalog | Binder with pocket pages |
| No winding, minimal prep | Store skeins in drawers or on pegs |
| Less mess between sessions | A dedicated project caddy |
My gentle recommendation
If you are new and overwhelmed, start with one small win: organize only the floss you use most (black, white, a few neutrals, your current project colors). Once you feel how nice it is to reach for a shade without digging, you will naturally want to keep going.
And if your system is not Instagram-perfect, that is not a flaw. It is proof you are actually stitching.