Handmade ornaments are my favorite kind of holiday decor because they feel personal in a way store-bought never quite matches. The best part is that embroidered ornaments are small, fast, and forgiving. If you can thread a needle and make a few basic stitches, you can absolutely make a tree full of them.
This guide walks you through the whole process: choosing a mini design, stitching it neatly, turning it into a soft ornament (stuffed or flat), and adding those finishing touches that make it look like a keepsake. I will share options for embroidery and cross stitch as we go, so you can use the style you love.
Pick your style
Before you stitch anything, decide how you want the finished ornament to look and feel. Your choice will affect fabric, backing, and finishing.
Stuffed plush ornament
- Best for: felt, wool blend felt, quilting cotton, linen
- Look: cozy, handmade, heirloom-style
- Finish: whipstitch, blanket stitch, or ladder stitch around the edge
Flat ornament
- Best for: linen, quilting cotton, evenweave
- Look: tidy and classic
- Finish: backed with felt or fabric, usually topstitched
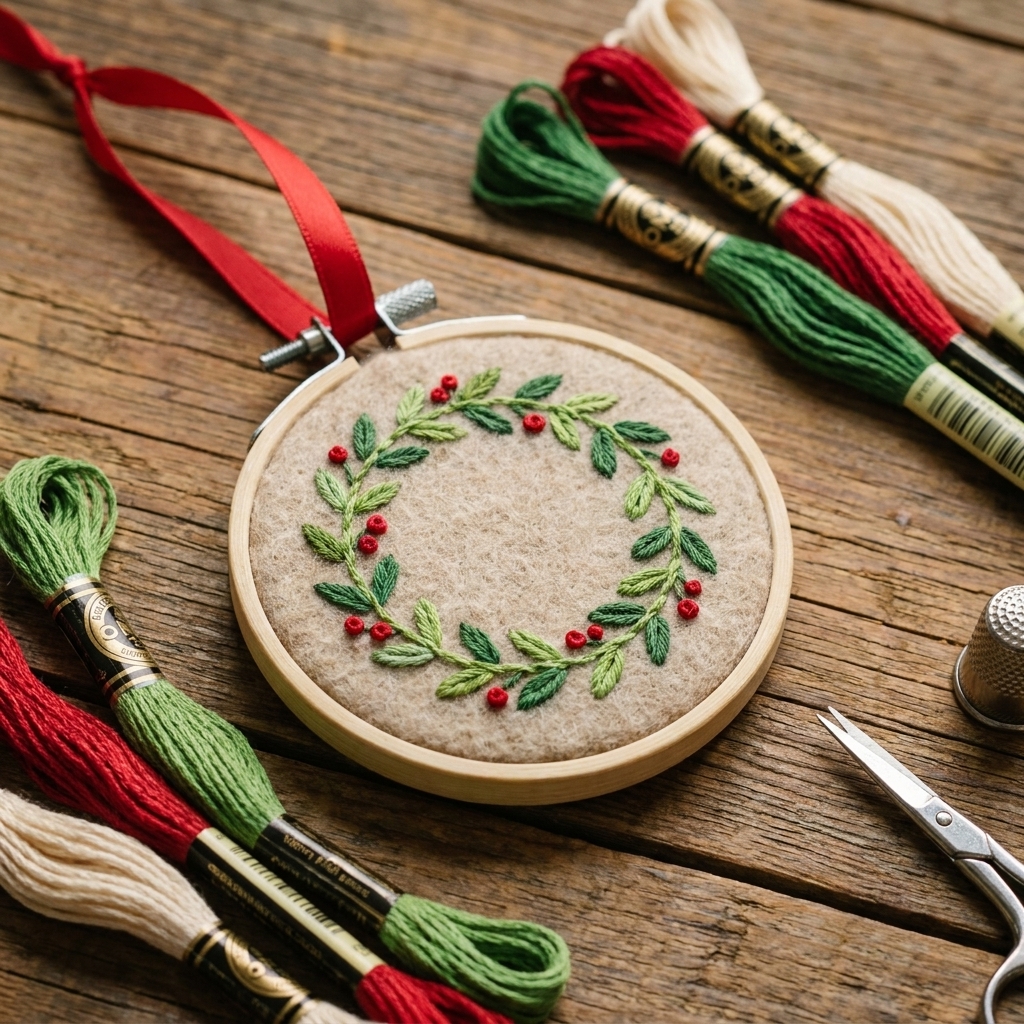
Mini hoop ornament
- Best for: embroidery on linen or cotton
- Look: polished, giftable
- Finish: tighten hoop, cover the back, add a ribbon
If you are brand new, I suggest felt plush ornaments first. Felt does not fray, and the edges are easy to stitch neatly.
Materials and tools
You do not need anything fancy, but a few basics will make the process smoother.
For embroidery ornaments
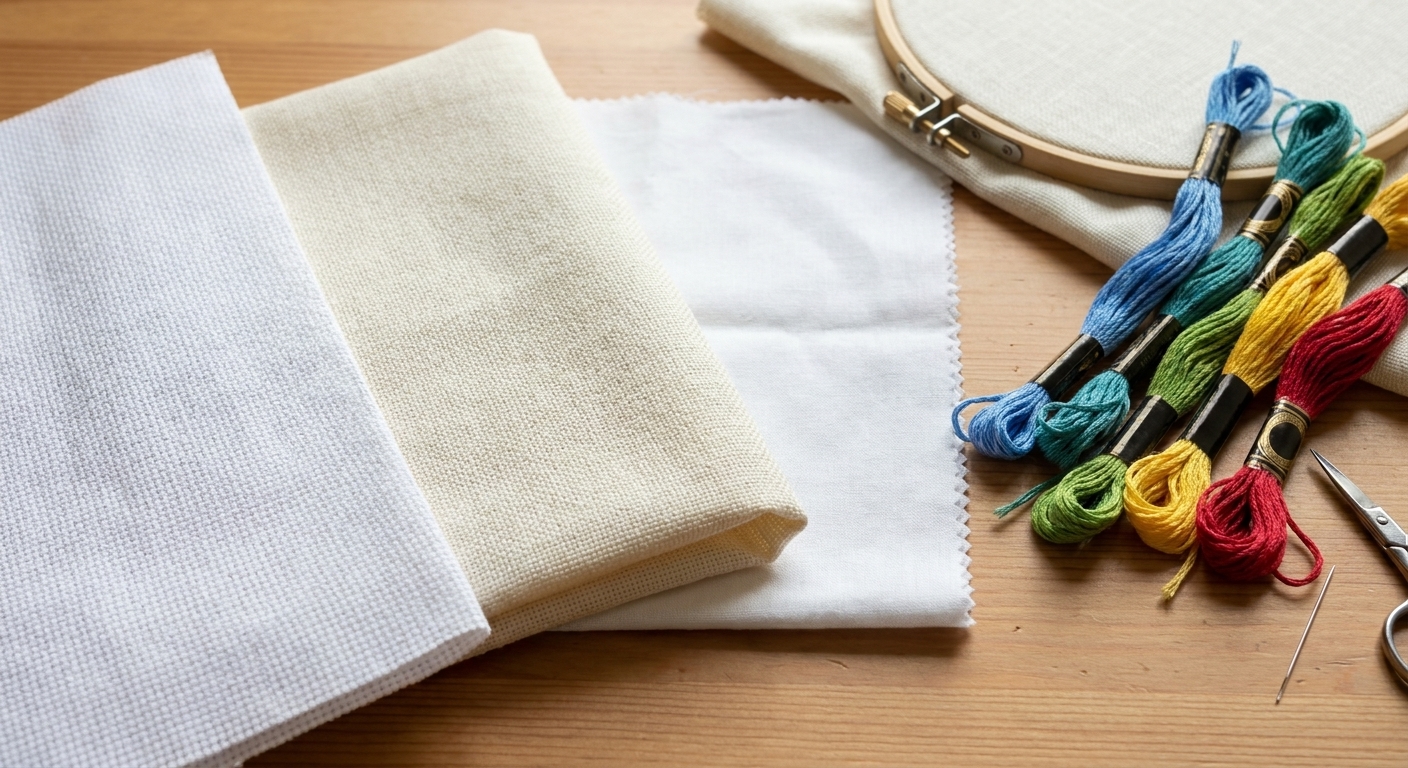
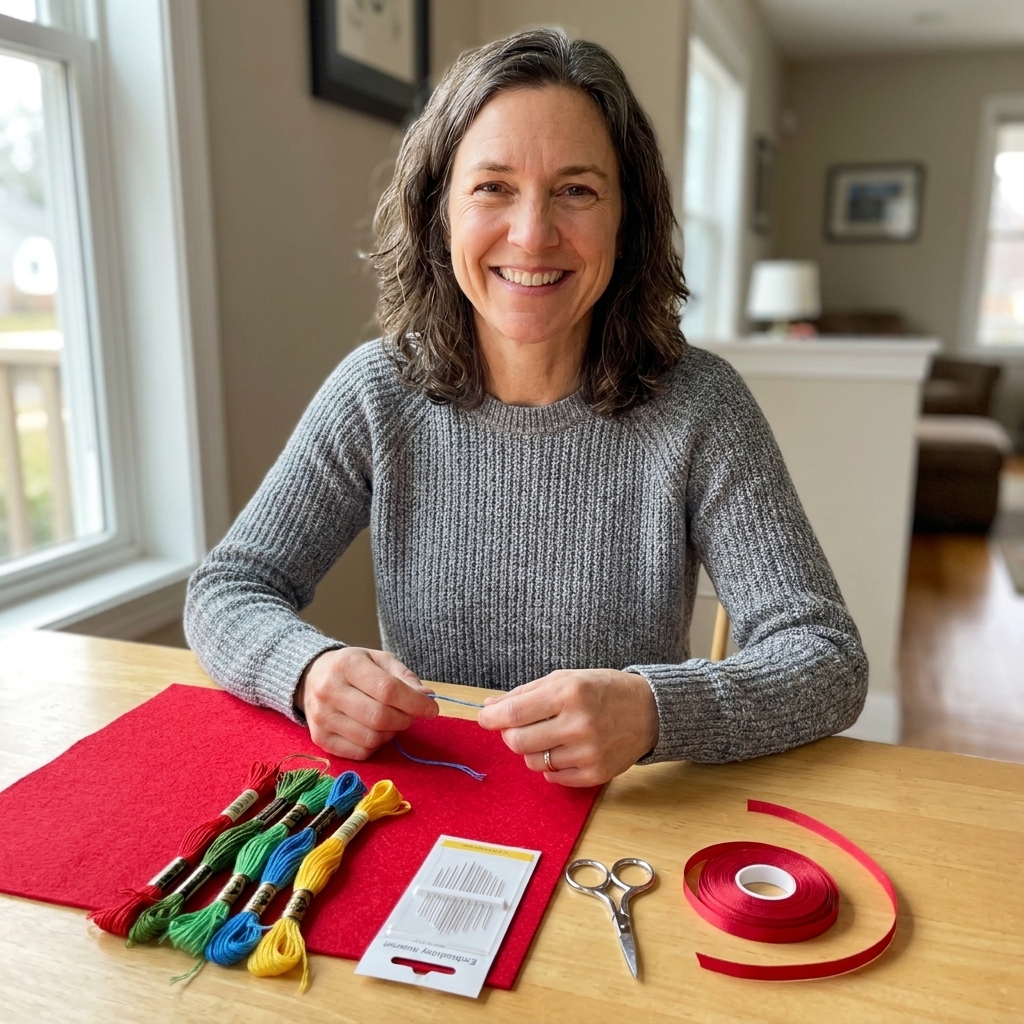
- Embroidery floss (cotton floss like DMC is perfect)
- Needles: a sharp embroidery needle, usually around size 7 to 10 (choose one that fits your fabric and the number of strands you are using)
- Fabric: felt, linen, quilting cotton, or cotton twill
- Embroidery hoop (4 to 6 inch is easiest to handle)
- Stabilizer (optional but helpful): stick-and-stitch, tear-away, or a backing layer like muslin to support light fabrics
- Sharp scissors (tiny snips are life-changing)
- Marking tool: water-erasable pen or pencil (a friction pen can work, but test first and do not use heat until marks are completely gone since they can reappear)
For cross stitch ornaments
- Aida or evenweave (14 count Aida is beginner-friendly)
- Needles: tapestry needle (blunt tip), size 24 or 26
- Floss (usually 2 strands on 14 count, but follow your pattern)
- Embroidery hoop or Q-snap (optional, but keeps tension even)
Finishing supplies
- Backing fabric: felt, wool felt, quilting cotton, velvet, or faux suede
- Stuffing: fiberfill, wool roving, or tiny fabric scraps
- Trim (optional): ribbon, ric-rac, mini pom-pom trim, lace
- Hanging loop: satin ribbon, twine, embroidery floss, or metallic cord
- Glue (optional): fabric glue or Fray Check for reinforcement, not as the only thing holding a hanger or seam
Easy mini motifs
Ornaments are tiny, so simple is not only okay, it is ideal. These motifs stitch up quickly and read clearly from a few feet away on a tree.
- Star, heart, mitten, stocking, snowflake
- Little wreath, holly sprig, pine branch
- Simple house, tree silhouette, candy cane
- Initials and tiny dates for a keepsake set
- Mini sampler: a border with a word like “joy” or “peace”
Design tip: Use bold outlines and fewer tiny details. If you love detail, save it for one focal area and keep the rest open so the ornament does not look busy.
Step 1: Prep fabric
If you are using felt
Felt is wonderfully low-maintenance. Cut a piece at least 1 inch larger than your design on all sides so you have room to hold it while stitching.
If you are using linen or cotton
- Press your fabric first. Wrinkles love to become permanent once you stitch over them.
- If the fabric frays easily, zigzag or overcast the edges, or use masking tape around the perimeter while you stitch.
- If you are planning a plush ornament, consider adding a lightweight stabilizer or a backing layer behind the stitching area so the fabric does not pucker when you stuff it.
If you are using Aida
Bind the edges with masking tape, painter’s tape, or a quick whipstitch to prevent fraying. Find the center of your fabric by folding it in half twice. That center point makes pattern placement much easier.
Step 2: Transfer pattern
For embroidery
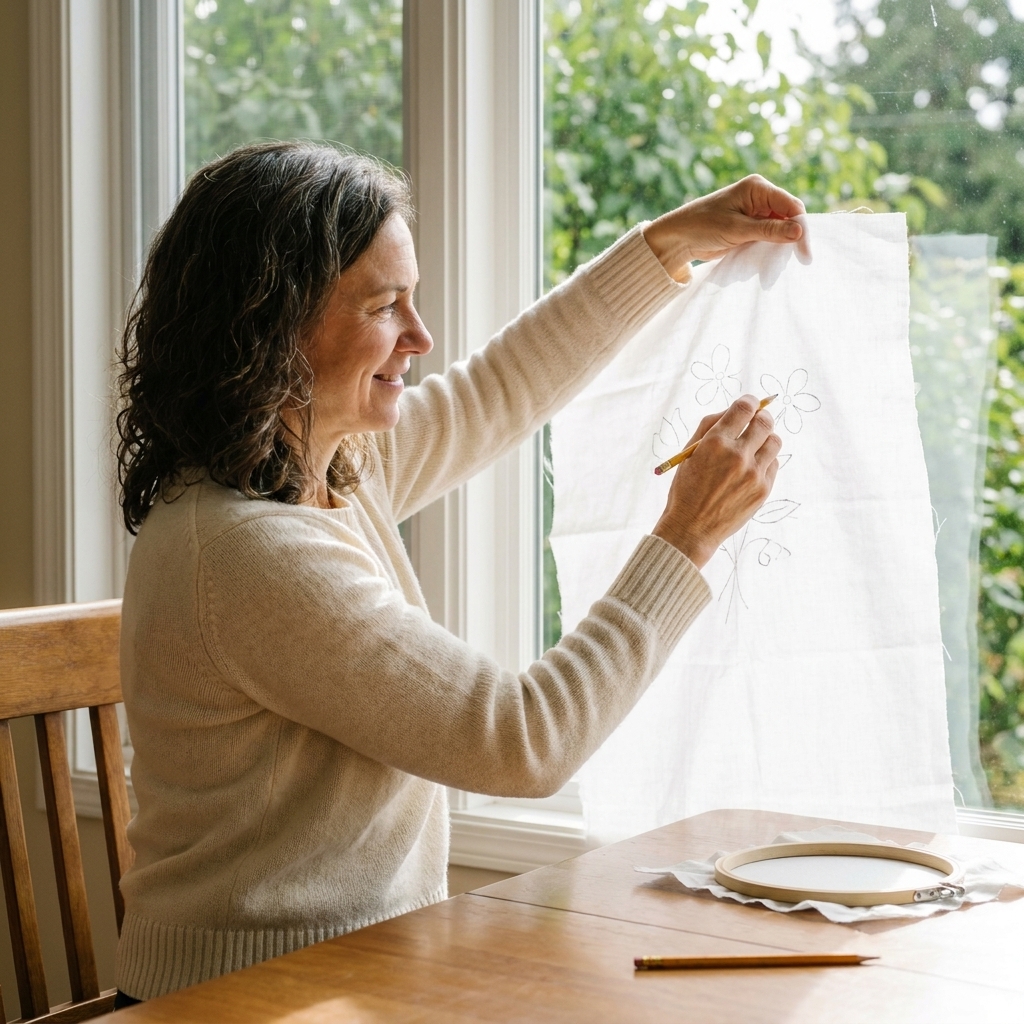
- Lightbox or window method: Trace your design onto light fabric with a water-erasable pen.
- Stick-and-stitch: Peel, stick, stitch, then rinse away. This is my favorite for tiny ornaments because it keeps the design crisp.
- Iron-on transfer pen: Great for repeated ornaments, but test first and follow the pen directions.
For cross stitch
Most cross stitch patterns are counted, so you do not transfer lines. Start at the center of the pattern and the center of the fabric, then work outward.
Beginner-friendly choice: If counted patterns make you nervous, look for cross stitch patterns designed for ornaments with a clear center marker and minimal confetti stitches.
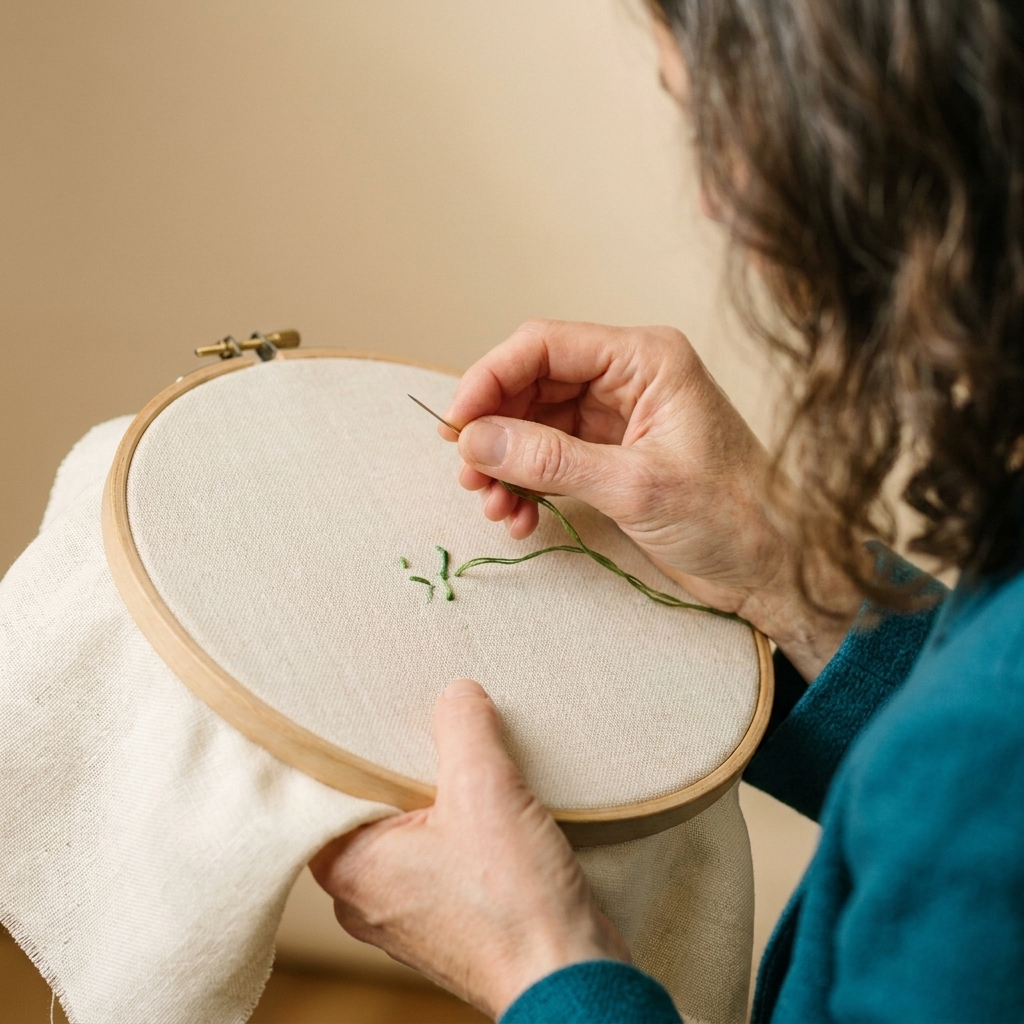
Step 3: Stitch the motif
Small stitching has one main rule: keep it simple and keep your tension gentle. Pulling too tight is the fastest way to get puckers.
My go-to stitch recipe
- Outline: backstitch or split stitch
- Fill: satin stitch for tiny areas, long and short stitch for larger, or simple seed stitch for texture
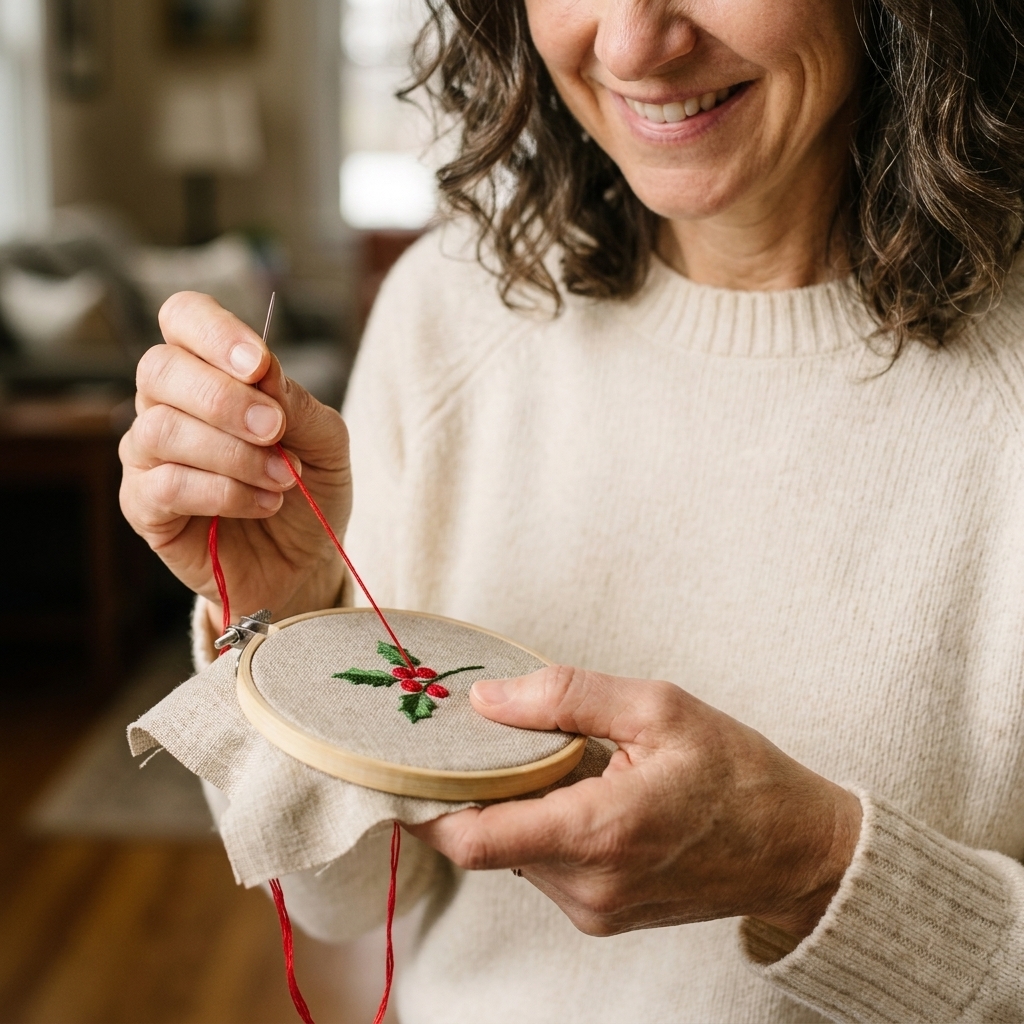
- Details: French knots for berries, straight stitches for snowflake arms, tiny lazy daisies for petals
Thread strand tips
- Embroidery on felt: 2 to 3 strands (felt likes a little heft)
- Embroidery on linen or cotton: 1 to 2 strands for crisp details
- Cross stitch on 14 count Aida: usually 2 strands (pattern may vary)
Sanity-saving tip: For satin stitch, draw (or lightly mark) the direction of your stitches first. Even a tiny fill looks smoother when all the stitches march the same way.
Step 4: Clean and press
Before you turn your stitching into an ornament, take two minutes to tidy.
- Trim jump threads on the back so you do not get lumps when stuffing.
- If you used a marking pen, remove it now following the pen instructions. If you used a friction pen, make sure the marks are fully gone before you press.
- Press from the back on a towel to protect stitches. Use a warm iron, not a scorching one, and avoid flattening textured stitches too aggressively.
Step 5: Finish it
Here are three reliable finishing methods. Pick the one that fits your vibe and your time.
Option A: Stuffed ornament
1) Cut your shapes. Cut the stitched front into your ornament shape. Then use it as a template to cut a matching backing piece.
2) Add a hanging loop. Cut 6 to 8 inches of ribbon or cord. Fold into a loop and place the raw ends between the layers at the top.
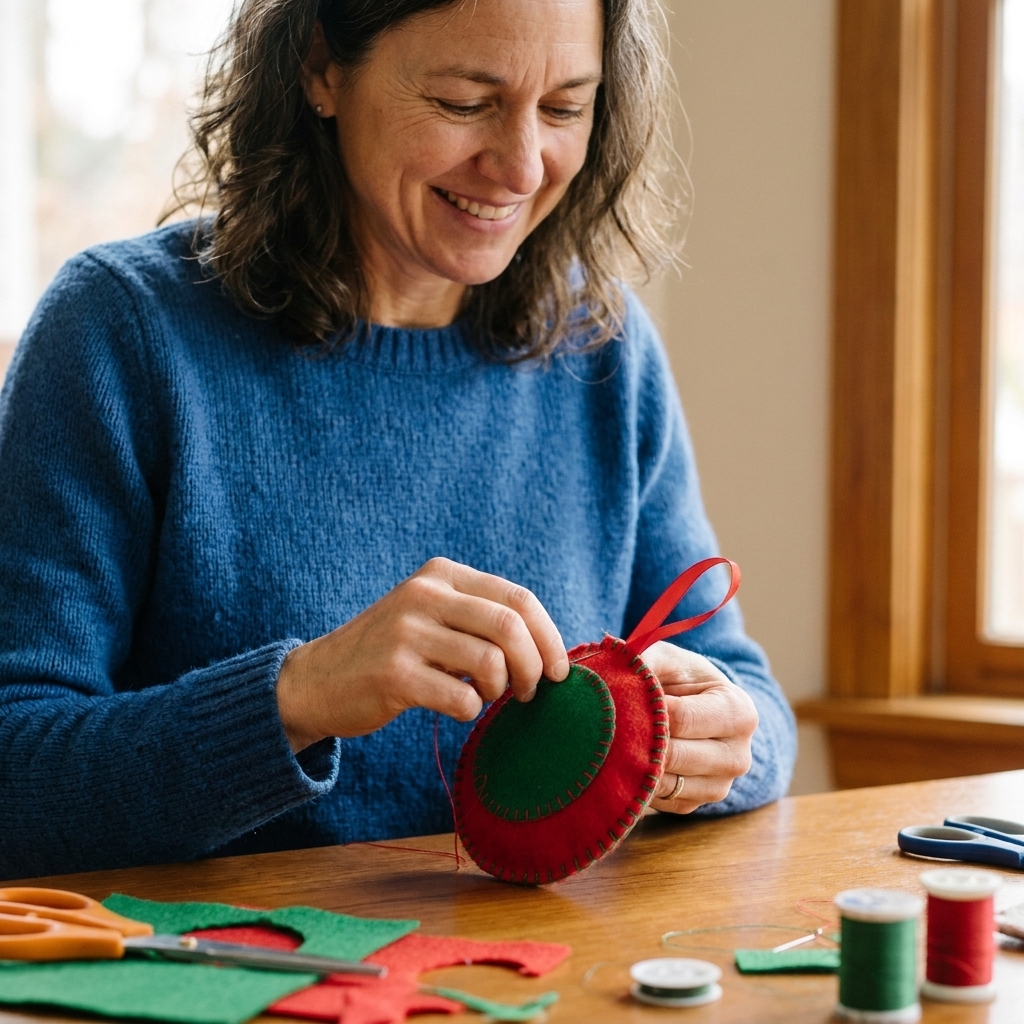
3) Stitch around the edge. Use embroidery floss or pearl cotton and whipstitch, blanket stitch, or a snug ladder stitch. Leave a 1.5 to 2 inch opening. (A running stitch can work, but it needs to be very small and tight, and it is not as durable for a stuffed edge.)
4) Stuff lightly. Add small pinches of stuffing. Use the blunt end of a pencil to nudge stuffing into corners. Stop before it becomes rock-hard. A softly stuffed ornament hangs better.
5) Close the seam. Finish stitching the opening. Secure your thread by weaving it under nearby stitches, then hide the tail between layers. If you want extra insurance, add a tiny dab of fabric glue to the woven-in tail (keep it minimal so it does not soak through).
Option B: Flat ornament
1) Cut the stitched front and felt back. Keep shapes simple: circles, ovals, stars.
2) Add interfacing (optional). If your stitched fabric is floppy, add a lightweight fusible interfacing to the back of the stitched piece for structure.
3) Sandwich and topstitch. Place the stitched front on top of felt. Stitch around the edge close to the border. You can use a sewing machine or hand stitch with a neat running stitch.
4) Add the loop. Either stitch it into the top edge as you sew, or hand tack it securely after with several passes.
Option C: Mini hoop ornament
1) Stitch in a hoop-friendly area. After stitching, center the design in a mini hoop (typically 2 to 3 inches).
2) Tighten and trim. Pull the fabric snug, tighten the screw, and trim around the hoop leaving about 1 inch excess.
3) Gather the back. Thread a needle with strong thread, sew a running stitch around the edge of the excess fabric, then pull tight like a drawstring. Knot securely.
4) Cover the back. Cut a felt circle to fit and glue or stitch it over the gathered back for a clean finish.
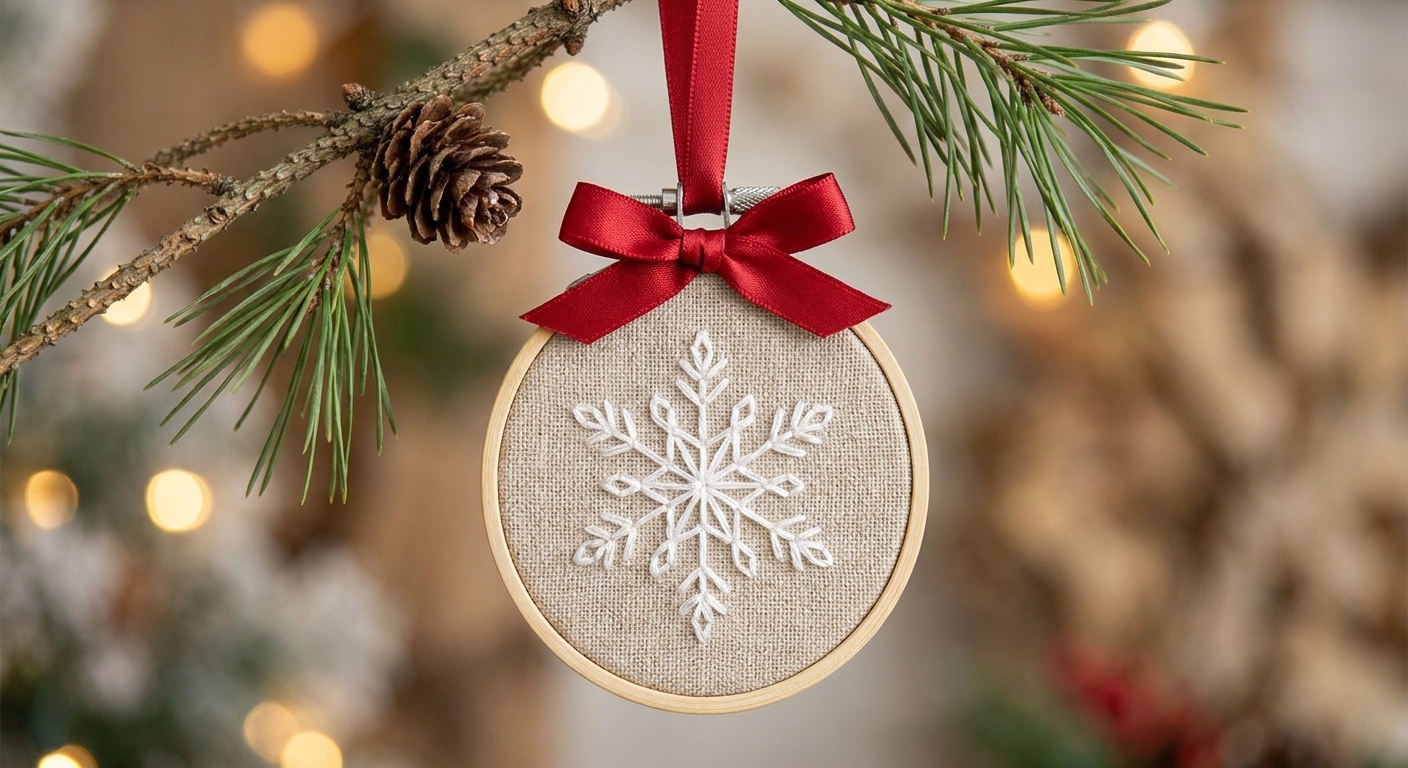
5) Add a hanger. For the strongest hold, tie ribbon at the hoop screw or around the hoop hardware. If you prefer a hidden loop, stitch the loop through the felt back cover and around the inner ring, then use a dot of glue only as reinforcement.
Polished details
- Edge trim: Add tiny pom-pom trim, rickrack, or lace sandwiched between front and back for a boutique look.
- Beads and sequins: A few seed beads as “snow” can make a simple motif sparkle. Use beading thread or matching floss and stitch each bead securely.
- Personalization: Stitch initials, a year, or a tiny location name on the back with a simple backstitch line.
- Consistent sets: Make a batch in the same shape with different motifs. A matching set looks instantly intentional on the tree.
If your stitches are not perfectly even, you are in excellent company. Ornaments are viewed in warm twinkle lights from across the room. Tiny quirks disappear, and the handmade charm shines.
Cross stitch finishing
If your ornament starts as cross stitch on Aida or evenweave, the stitching part is only half the story. A few finishing steps make it look crisp and last longer.
Square and press
- After stitching, rinse away any grime if needed (and only if your floss is colorfast). Blot in a towel, do not wring.
- Press from the back on a towel so the stitches stay raised.
- Square it up before cutting. A clear ruler helps you keep borders even.
Back it neatly
- For a flat ornament, fuse lightweight interfacing to the back of the Aida if it feels floppy.
- Cut a felt backing the same shape and topstitch, or use the stuffed method and add a thin layer of batting if you want a smoother front.
- To hide the back of the stitching completely, cover it with felt before you assemble, either by stitching around the edge or using tiny dots of fabric glue at the perimeter.
Simple size math
If you are following a cross stitch pattern and want a specific ornament size, this quick reference helps.
| Fabric | Stitches per inch | 30 stitches wide equals |
|---|---|---|
| 14 count Aida | 14 | About 2.1 inches |
| 16 count Aida | 16 | About 1.9 inches |
| 18 count Aida | 18 | About 1.7 inches |
Once you add finishing space and backing, most small motifs end up in the 3 to 4 inch ornament sweet spot.
Troubleshooting
My fabric puckered
- Use fewer strands next time or ease up on tension.
- Try stabilizer or a backing layer behind the fabric.
- Press from the back on a towel to relax the stitches.
Stuffing looks lumpy
- Add stuffing in tiny pinches instead of one big wad.
- Use the eraser end of a pencil to smooth corners.
- If it is very lumpy, pull the seam open a bit and redistribute stuffing.
My loop feels flimsy
- Use a stronger ribbon or fold it double.
- Stitch the loop ends down with several passes before closing the ornament.
- If you use glue, treat it as backup, not the only support.
Edges look messy
- Cut with sharp scissors and slow down on curves.
- For felt, a blanket stitch hides little wobbles nicely.
- Consider adding trim to distract the eye and add structure.
Care and storage
These are heirloom-style pieces, so a little care goes a long way.
- Store in a dry box away from direct sunlight to prevent fading.
- If you used beads, wrap ornaments so they do not snag on other pieces.
- For light dust, a soft clothing brush is the gentlest first step. A lint roller can work on felt too, but test gently first, especially on craft felt or around embellishments.
Safety notes
If these will be handled by kids or curious pets, keep safety in mind.
- Avoid beads, sequins, and long dangling trim on ornaments that might be chewed or pulled.
- Keep hanging loops short and secure so they do not tangle.
- If you are gifting to a family with little ones, a flat felt-backed ornament is usually the most worry-free option.
Quick starter project
If you want a first ornament that feels festive and forgiving, stitch a simple wreath.
What to stitch
- Make a circle outline in backstitch (green, 2 strands)
- Add small straight stitches radiating outward for pine needles
- Add 3 to 5 French knots for berries (red, 2 strands)
- Add a tiny bow with lazy daisy stitches (red or gold)
How to finish
Cut into a circle and back with felt. Add a ribbon loop at the top, whipstitch or blanket stitch around, and stuff lightly if you want it puffy.
FAQ
What fabric is best?
Felt is the easiest for beginners because it does not fray and it holds shape well. If you want a more classic heirloom look, linen with a felt backing is gorgeous.
Do I need stabilizer?
Not always, but stabilizer is helpful when stitching on quilting cotton or linen, especially if you plan to stuff the ornament. It helps prevent puckering and keeps your motif looking crisp.
How do I hide thread tails?
Whenever possible, weave ends under nearby stitches instead of relying on bulky knots. For plush ornaments, tuck any tiny knots and tails between the front and back layers. For flat ornaments, cover the back with felt. For mini hoops, the felt back cover is your best friend.
Can I wash an embroidered ornament?
I treat finished ornaments as spot-clean only. If you used water-soluble transfers, that rinsing step happens before finishing. After it is assembled and stuffed, avoid soaking it.