When I want embroidery to feel like it is gently growing across the fabric, I reach for two quiet little workhorses: feather stitch and fly stitch. Feather stitch gives you that flowing, vine-like backbone with perfect little “branches,” and fly stitch makes the sweetest leaf shapes and airy fillers.
The best part is that neither stitch needs perfect spacing to look good. A slightly quirky vine often still reads as a vine. Botanical embroidery is forgiving like that.
Quick supplies and fabric setup
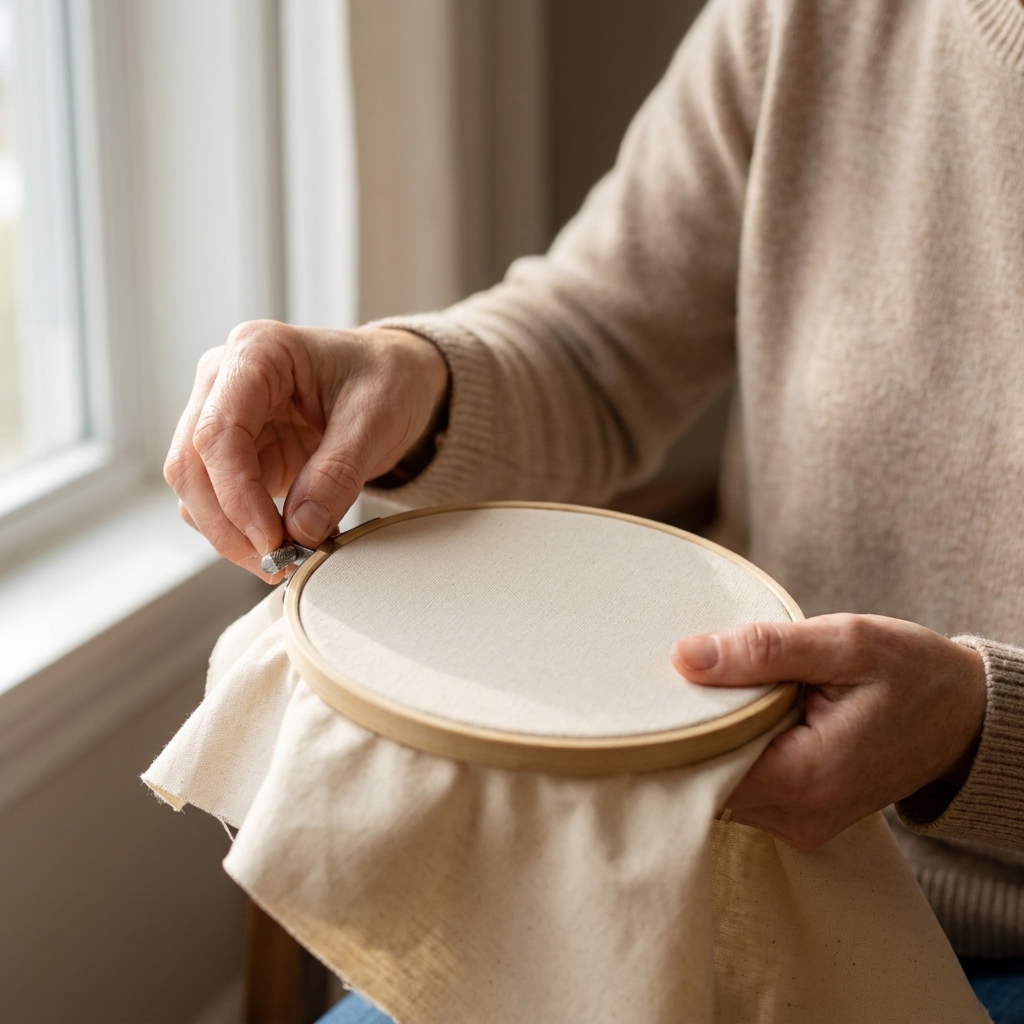
You can practice both stitches with almost any embroidery setup, but if you want your vines to look delicate (instead of chunky), a few small choices help a lot.
- Fabric: medium weight linen, quilting cotton, or a cotton-linen blend. Avoid anything super stretchy for your first try.
- Needle: an embroidery needle around size 7 to 9 often works well for 2 to 3 strands, but adjust based on your fabric and how easily the thread glides.
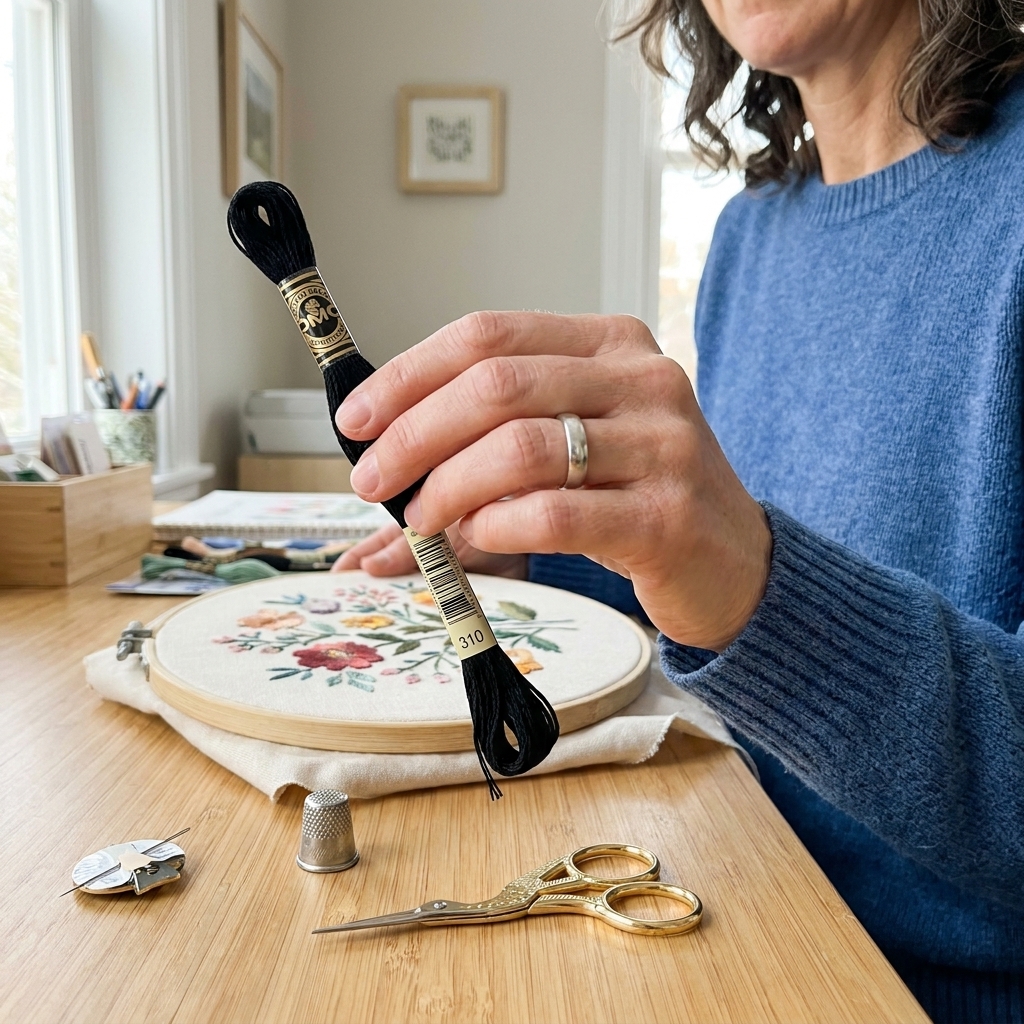
- Thread: DMC or similar floss. Use 2 strands for fine vines, 3 strands for bolder borders.
- Hoop tension: keep the fabric taut and smooth. If the weave starts to distort, back off a touch.
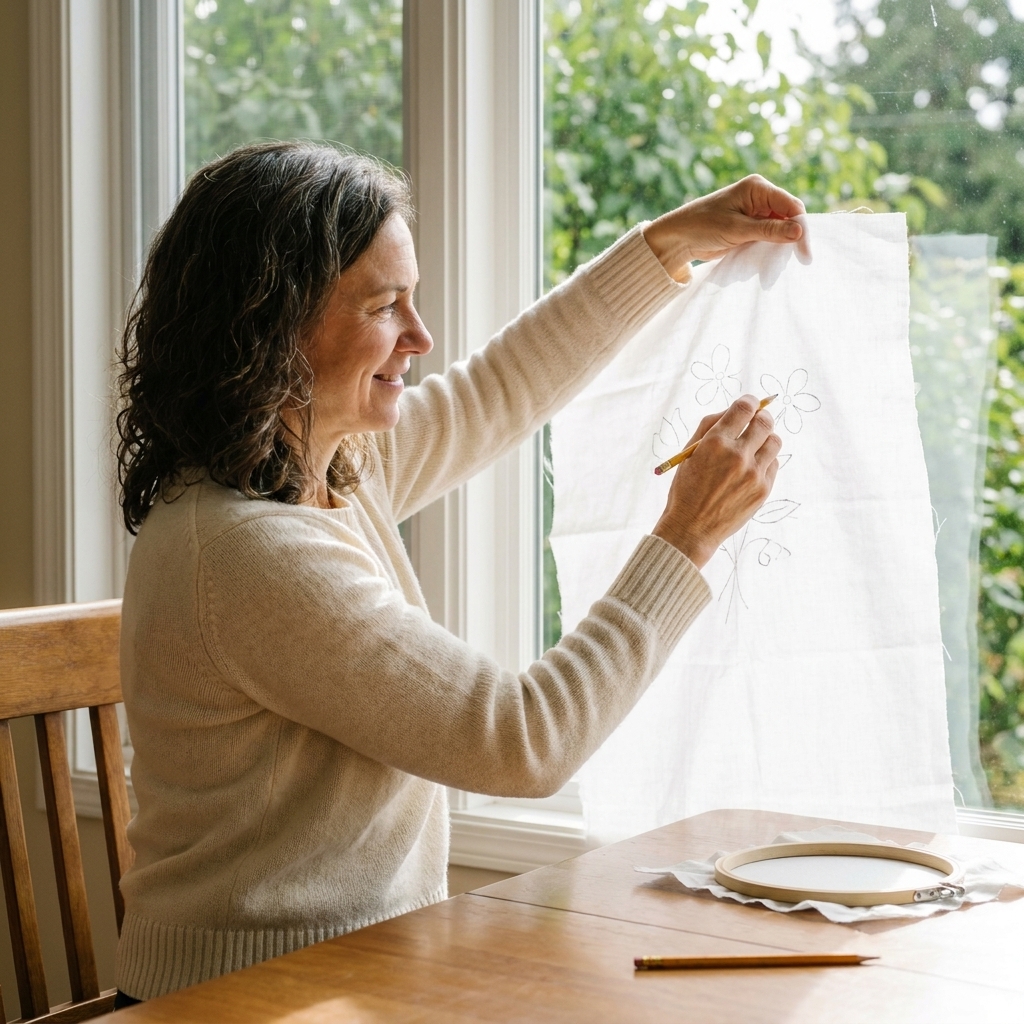
- Marking: a water-erasable pen or a very light pencil line for a vine guideline.
Beginner-friendly tip: If your stitches look lumpy, it is often because the fabric is a bit loose in the hoop. Tighten first before you blame your hands.
Another small habit that helps: if you are stepping away for a while, loosen the hoop or take your fabric out between sessions to reduce hoop marks, especially on linen.
Starting and ending neatly
If you are new to surface embroidery, this is the part that makes everything feel instantly more polished.
- To start: Use a small waste knot away from your stitching line, then take a few tiny stitches on the back to anchor the tail. When you reach the waste knot later, clip it and weave in the remaining tail.
- To end: Run the thread under several stitches on the back, then trim close. On delicate fabrics, avoid bulky knots whenever you can.
If your floss tangles easily, separate your strands one at a time before recombining them. It sounds fussy, but it makes the stitching smoother and more even.
Feather stitch basics
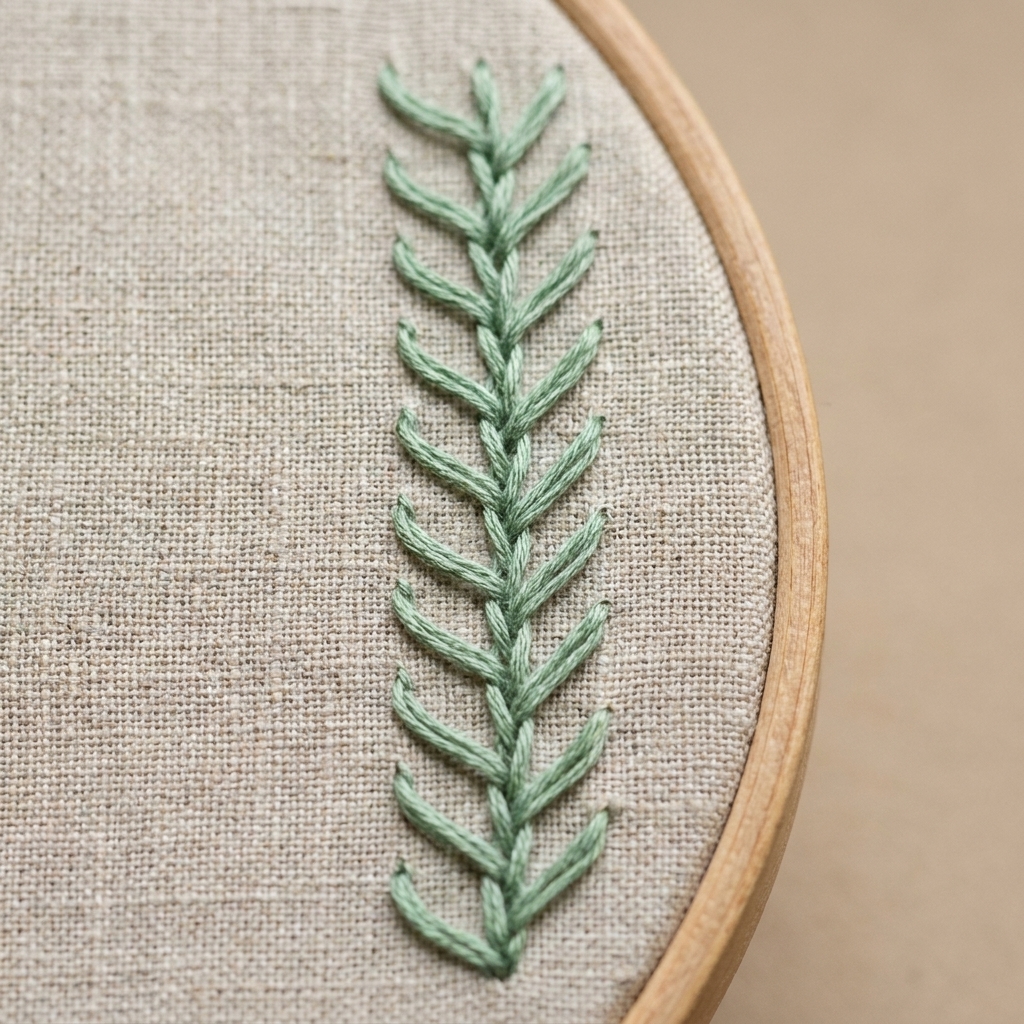
Feather stitch is a line stitch that zigzags from side to side, creating a central “spine” with angled arms. It is classic for borders, stems, seaweed, and anything that should feel light and feathery.
How to stitch feather stitch
- Bring your needle up at the top of your vine line. This is your starting point.
- Take a stitch down a short distance below, just to one side of the line, but do not pull tight yet.
- Bring the needle up on the opposite side of the line, level with where your stitch went down, and catch the thread loop as you come up.
- Pull gently so the loop snugly hugs the needle exit point. That creates one “arm.”
- Repeat on the other side, alternating left and right as you move downward.
The key move is always the same: the needle needs to come up through the loop before you snug it down. That is what makes feather stitch lock into those tidy little V shapes.
If you want a concrete starting scale, try arms around 1/8 to 1/4 inch long, then adjust to suit your fabric and the look you want.
Spacing
Feather stitch can look very structured or very organic depending on spacing.
- For tidy borders: keep each stitch length similar and place your needle exits evenly.
- For natural vines: vary stitch length and angle. Let one side branch farther out, then rein it back in.
If you want it to resemble a real plant stem, avoid making every arm identical. Nature rarely does that.
Feather stitch fixes
- Problem: The stitch looks like a messy zigzag, not a spine with arms.
Fix: Make sure you are bringing the needle up through the loop each time before pulling snug. - Problem: Loops look loose and floppy.
Fix: Pull the working thread just until it lies flat. If your fabric is loose in the hoop, tighten it. - Problem: The center line wanders too much.
Fix: Draw a very faint guideline and keep your “down” points near it.
Fly stitch basics
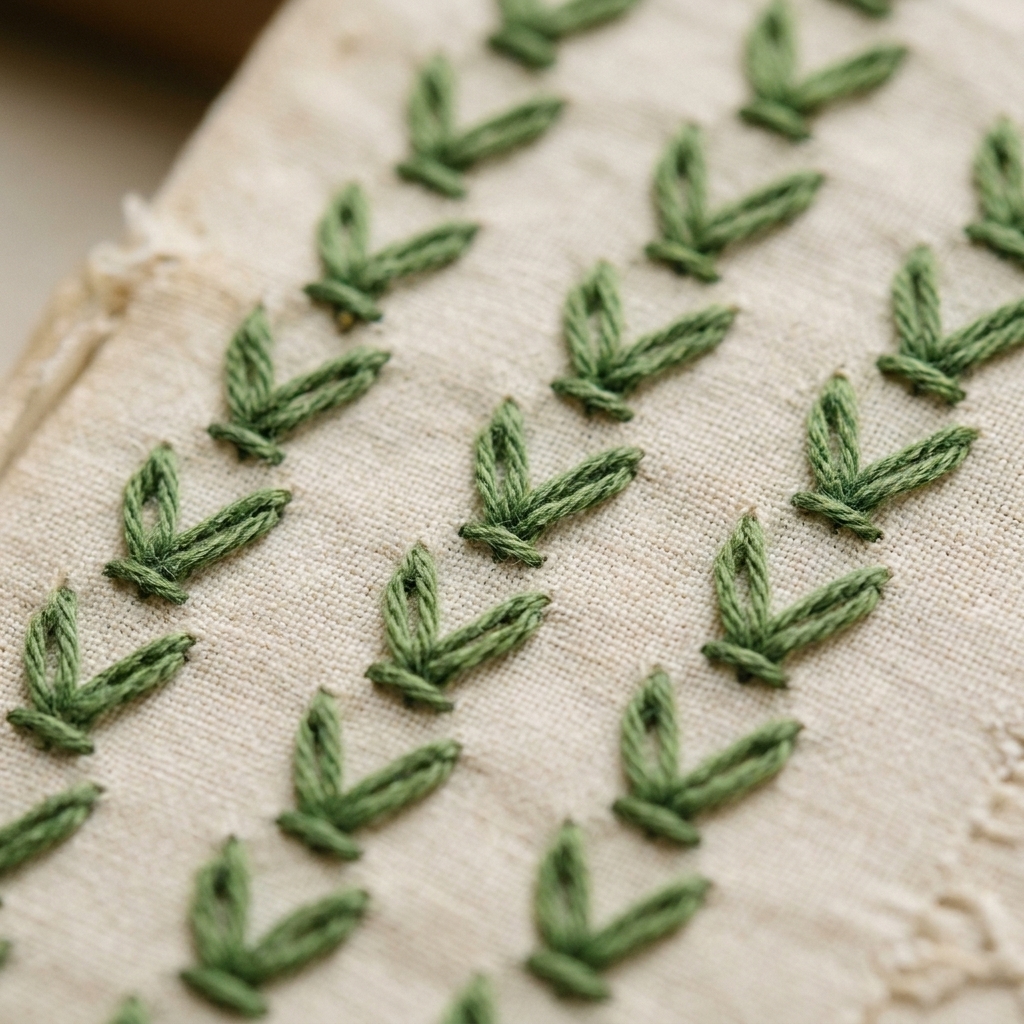
Fly stitch is a charming little V-shaped stitch that can look like a leaf, a tiny bird in flight, or a lacey filler depending on how you anchor it. For botanicals, I use it constantly for leaf clusters along a stem.
How to stitch fly stitch
- Bring your needle up where you want one top corner of the V to start.
- Insert the needle down at the opposite top corner (across from your first point), but do not pull tight yet.
- Bring the needle up at the point where you want the V to meet (the bottom point), coming up through the loop.
- Pull gently to form a clean V shape.
- Make a tiny anchoring stitch straight over the bottom point to hold the V in place.
That tiny anchor is what turns fly stitch from “loopy V” into a crisp, leaf-like shape.
For a first try, make the V about 1/8 to 1/4 inch wide. Smaller reads like texture. Larger reads like leaves.
Fly stitch variations
- Long, slim leaves: place the top corners far apart and the bottom point lower.
- Rounder leaves: keep the top corners closer and anchor sooner.
- Leaf pairs: stitch one fly stitch angled left, then one angled right, sharing a stem line.
- Airy filler: make fly stitches without packing them tightly, then scatter them like little sprigs.
Fly stitch fixes
- Problem: The V twists or looks uneven.
Fix: Before anchoring, nudge the loop into place with your needle tip, then pull the thread slowly. - Problem: The V collapses when you continue stitching.
Fix: Make sure you added the small anchoring stitch at the bottom point. - Problem: Holes show at the corners.
Fix: Use fewer strands, and avoid yanking the thread tight. Let it lie, not bite.
Using both stitches together
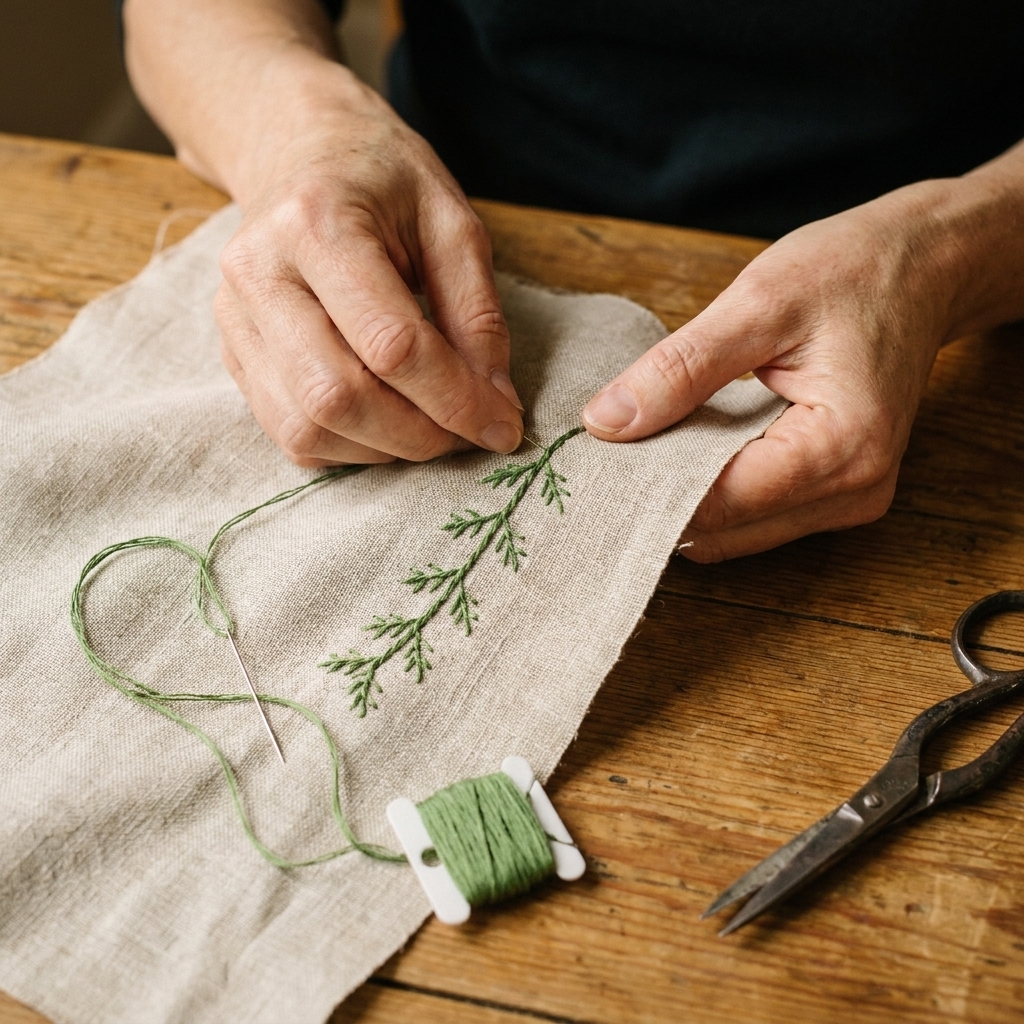
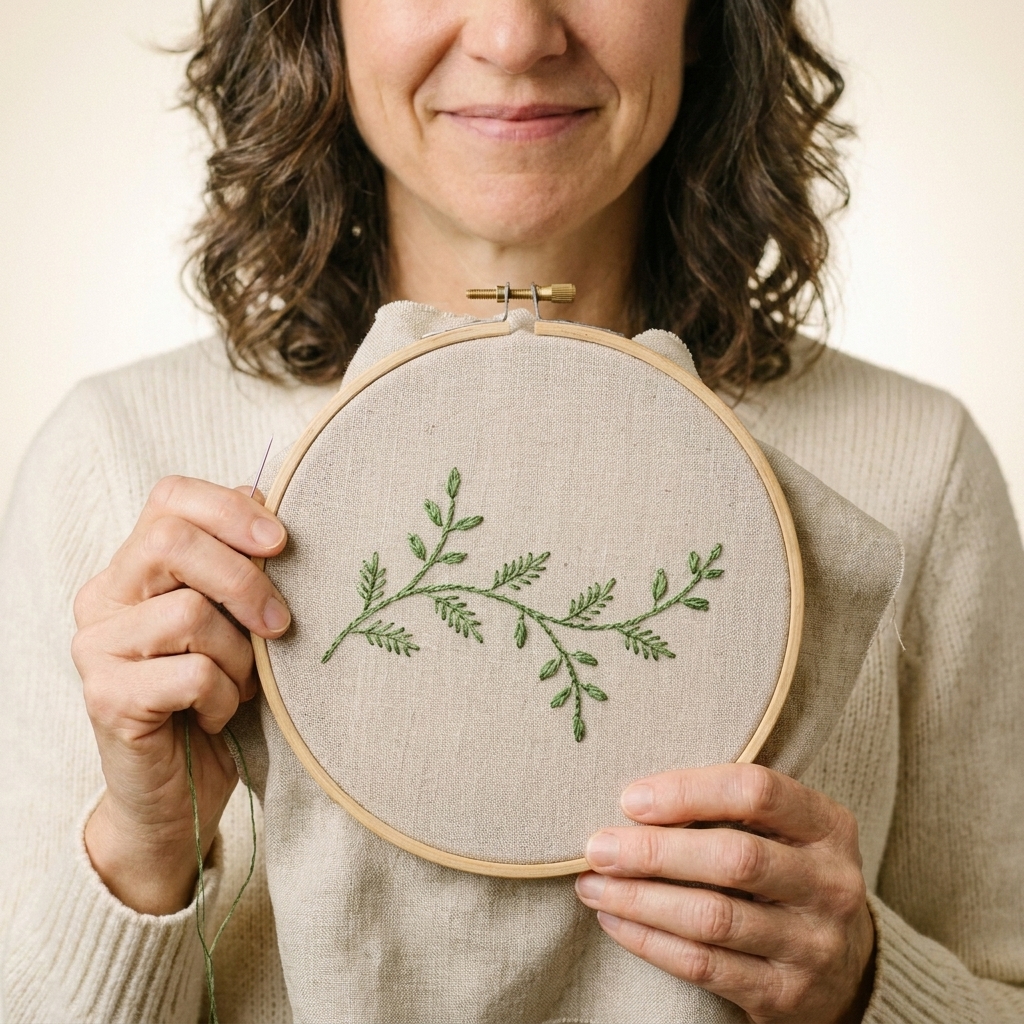
This is where the magic happens. Think of feather stitch as the vine and fly stitch as the leaves. You can use them separately, but together they instantly read “botanical.”
Combo 1: Vine plus leaves
Stitch a feather stitch line first. Then add fly stitches along one side, or both sides, using the feather arms as natural attachment points.
- Work the feather stitch in 1 to 2 strands so the vine stays delicate.
- Add fly stitch leaves in 2 to 3 strands if you want the foliage to pop.
- Angle the fly stitch so the bottom point aims toward the vine.
Combo 2: Sprigs on a spine
If you want a more whimsical border, stitch a feather line, then place small fly stitches at the ends of every few arms. It creates a repeating sprig pattern that looks fancy but stitches up quickly.
Combo 3: Layered foliage
For a fuller look, stitch feather stitch in a slightly darker green, then scatter lighter fly stitches over and around it. Overlap is allowed. Plants overlap in real life, and it is a great way to disguise spacing you are not thrilled with.
Direction, tension, and thread
Direction
You can stitch feather and fly in any direction, but I recommend working top to bottom while learning. Your hands naturally keep the thread from snagging on finished stitches.
Tension
Both stitches like a gentle hand. If your thread is pulled too tight, the fabric puckers and the stitch loses its airy look. Aim for “snug enough to lie flat,” then stop.
Thread ideas
- Soft, vintage look: 1 to 2 strands in muted greens, dusty blues, or warm browns.
- Modern pop: brighter greens for leaves and a darker stem for contrast.
- Shaded leaves: alternate two close green shades every other fly stitch.
Mini project: leafy border
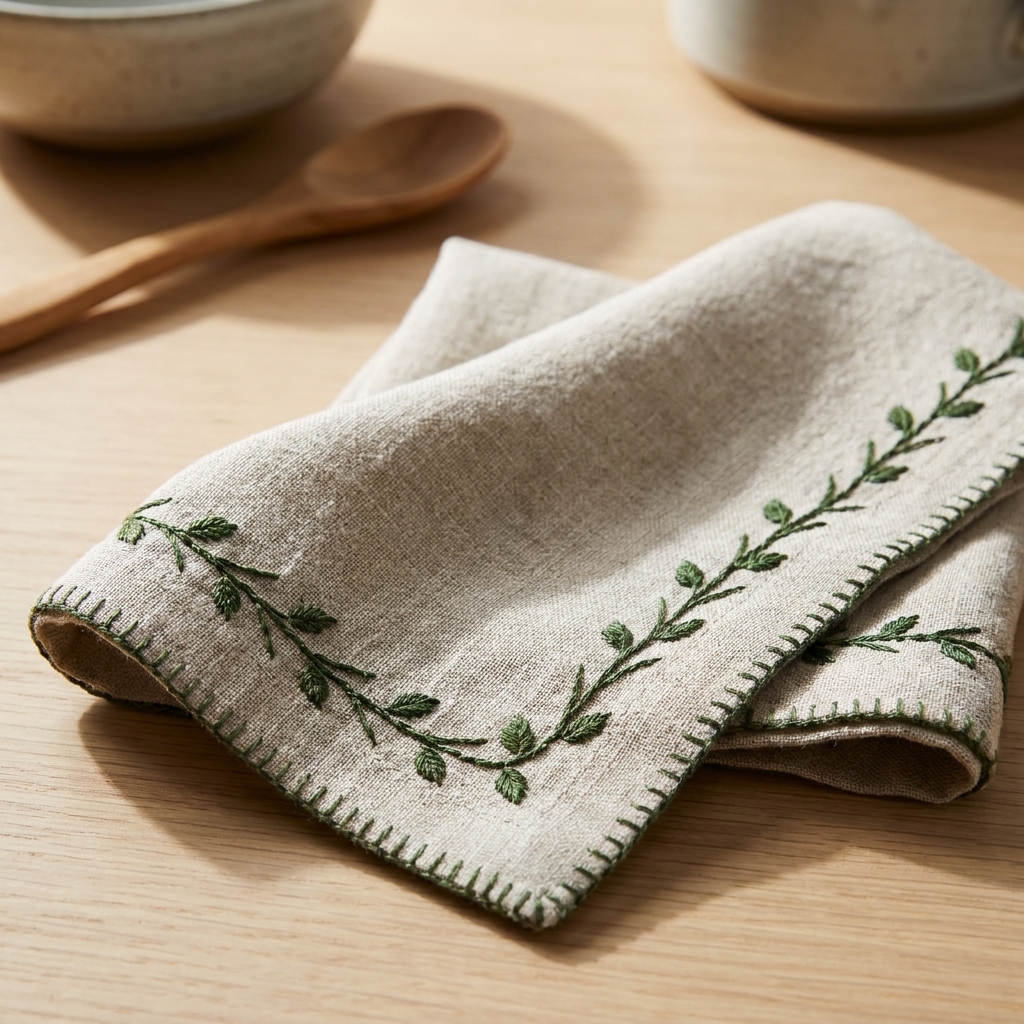
If you want a low-pressure way to practice, this little border is my go-to warmup. It is quick, useful, and very forgiving.
What you will stitch
A feather stitch vine with fly stitch leaves every inch or so, perfect for edging a napkin corner, a hoop sampler, or a fabric gift tag.
Steps
- Draw a light pencil line about 5 to 6 inches long.
- Stitch feather stitch along the line using 2 strands.
- Every third or fourth feather arm, add a small fly stitch leaf angled outward.
- At the end, add one slightly larger fly stitch as a “leafy flourish.”
- Rinse or erase your guideline if needed, then press from the back under a cloth.
FAQ
Is fly stitch the same as feather stitch?
They are related in the sense that both rely on catching a loop, but they create different shapes. Feather stitch is a continuous line stitch. Fly stitch is a single V shape (with an anchor) that you can repeat or scatter.
Can I use these stitches in counted cross stitch?
Yes. On evenweave or Aida, you can place the points of feather and fly stitches on the holes like anchors. Many cross stitchers use them as specialty stitches for vines, borders, and decorative bands. Use a tapestry needle if you are working strictly through holes.
One thing to know: on Aida, feather stitch will usually look a bit more geometric because of the grid. If you want a smoother curve, work the stitch over multiple fabric threads so the steps are less noticeable.
How many strands should I use?
For delicate vines, start with 2 strands. If you are stitching on heavier fabric or want bolder foliage, use 3 strands. If your stitches look crowded or puffy, drop down to 1 to 2 strands and see if the whole design relaxes.
My stitches look uneven. Do I need to start over?
Only if it truly bothers you. Slight variation is part of the charm, especially for plants. If you do want to improve consistency, draw two faint parallel guidelines for feather stitch width, and keep your stitch points within that lane.
Before you stitch a garden
Feather stitch and fly stitch are the kind of stitches that feel awkward for the first few minutes, then suddenly click. Give yourself a small sampler strip, use a thread color you love, and let it be a little imperfect. The goal is not museum-level symmetry. The goal is that lovely, calming rhythm of needle in, needle out, and a vine slowly appearing under your hands.