If you have ever tried to clip a single stray thread on the back of a hoop with chunky household scissors, you already know the truth: embroidery scissors are not a “nice to have.” They are the tiny tool that makes your work look cleaner, your finishes feel calmer, and your stitching time way less fussy.
I also have to confess something very on brand: I own more embroidery scissors than any reasonable person needs. Some are purely for the vibes (hello, storks), and some are my serious, no-nonsense thread trimmers. The good news is you do not need a whole flock. You just need the right pair for how you stitch.
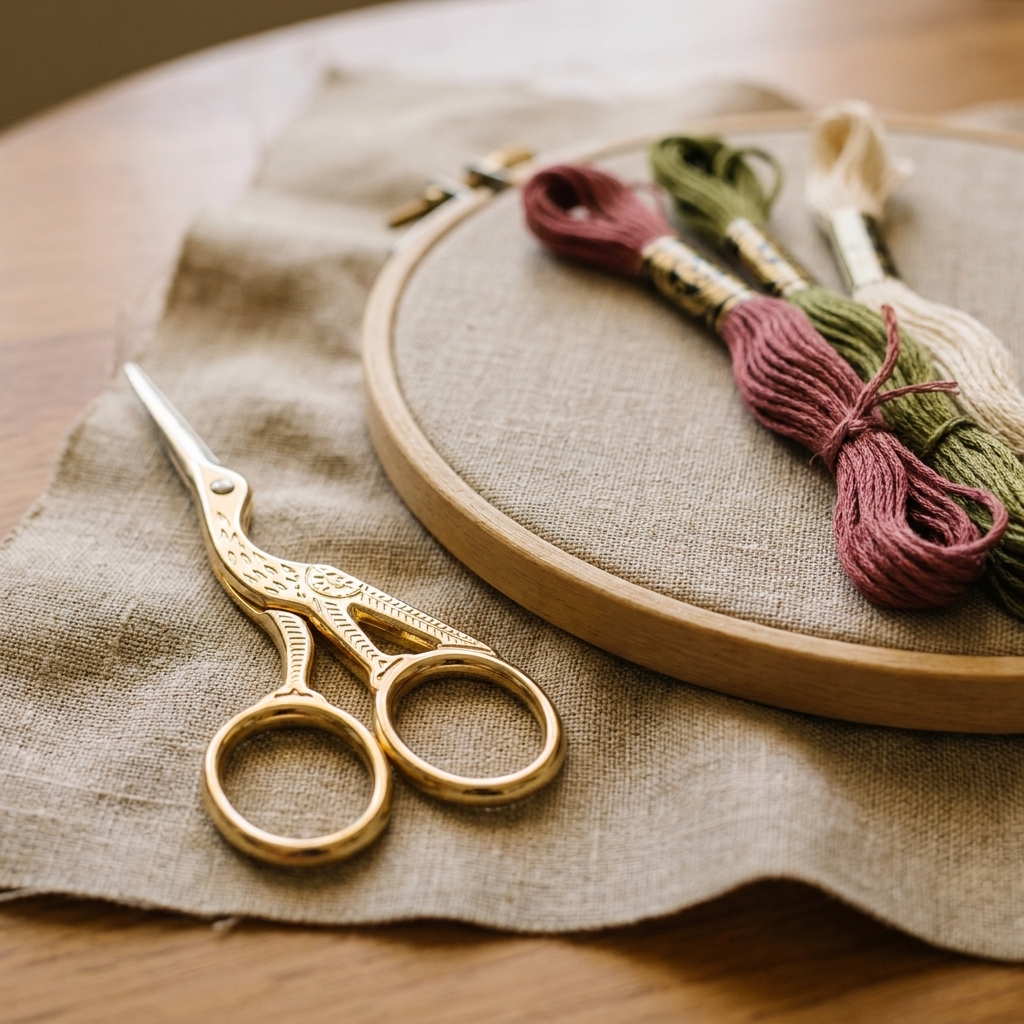
What makes them different
Embroidery and cross stitch ask for very specific cuts: cleanly snipping 6-strand floss without fraying, trimming jump threads close to the fabric, and cutting in tight corners without accidentally biting your stitches. That is why the best embroidery scissors share a few traits.
- Sharp, well-aligned blades that meet cleanly at the tips (no “chewing” the floss).
- Fine points for precision trimming on the back of work and around dense stitching.
- Comfortable control so your hand does not cramp during long sessions.
- Right-sized handles for your grip, not just for aesthetics (your finger loops should not pinch at the base of your thumb).
A little reality check: even beautiful scissors can be dull out of the box, and even pricey scissors can get wrecked if they are used on paper or plastic packaging. “Best” is mostly about matching the scissors to the job and treating them like the tiny divas they are.
Snips vs storks vs shears
Here is how the most common embroidery scissor styles compare, plus who I think each type serves best.
Thread snips
Thread snips are the springy, squeeze-to-cut style that often look like small clippers. They are fast, especially when you are doing lots of color changes in cross stitch or production-style embroidery.
- Best for: frequent trimming, quick cuts, stitchers who like speed.
- Pros: very efficient, easy to use one-handed, great for repetitive snipping.
- Cons: tips are not always as fine as dedicated embroidery scissors, and some models can feel clunky for precision work.
My take: If you do big cross stitch projects with constant starts and stops, snips can be your best friend. I still like a second, finer pair nearby for the truly fussy trimming.
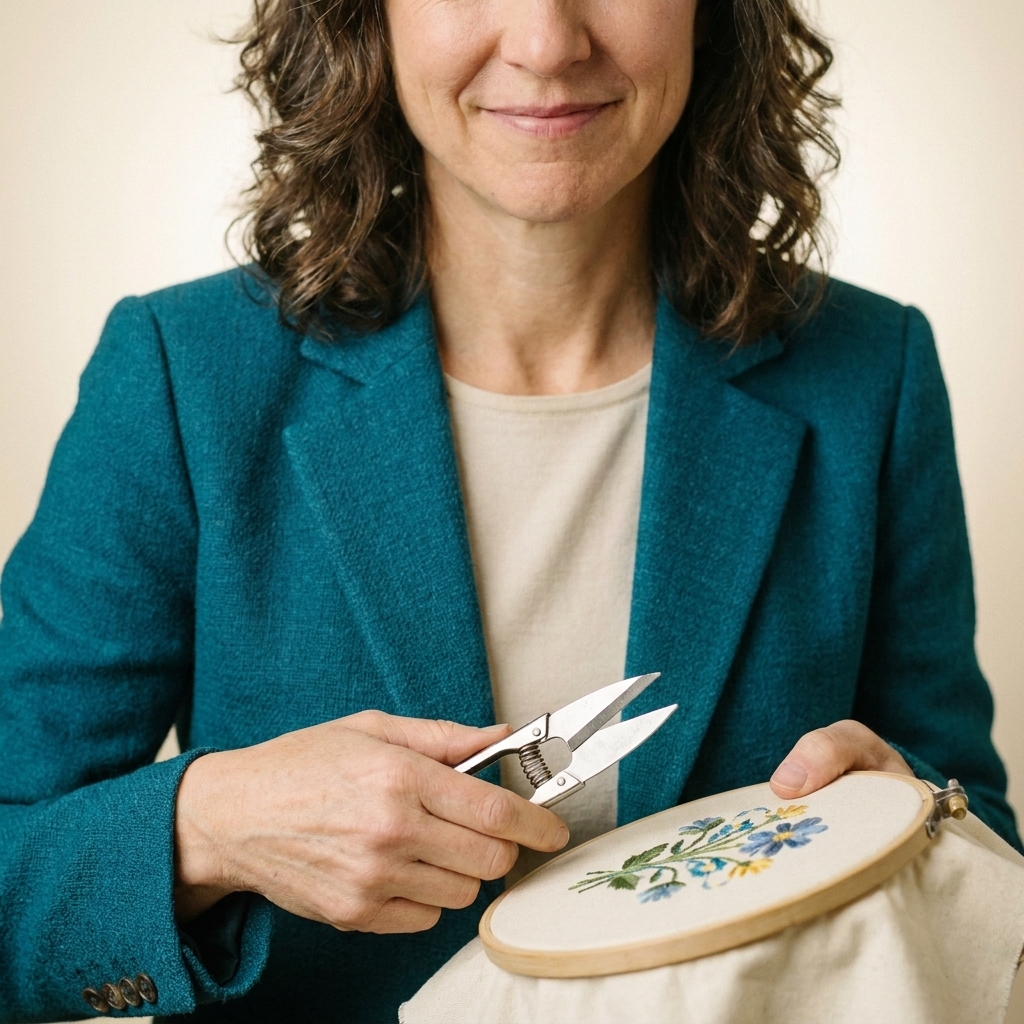
Stork scissors
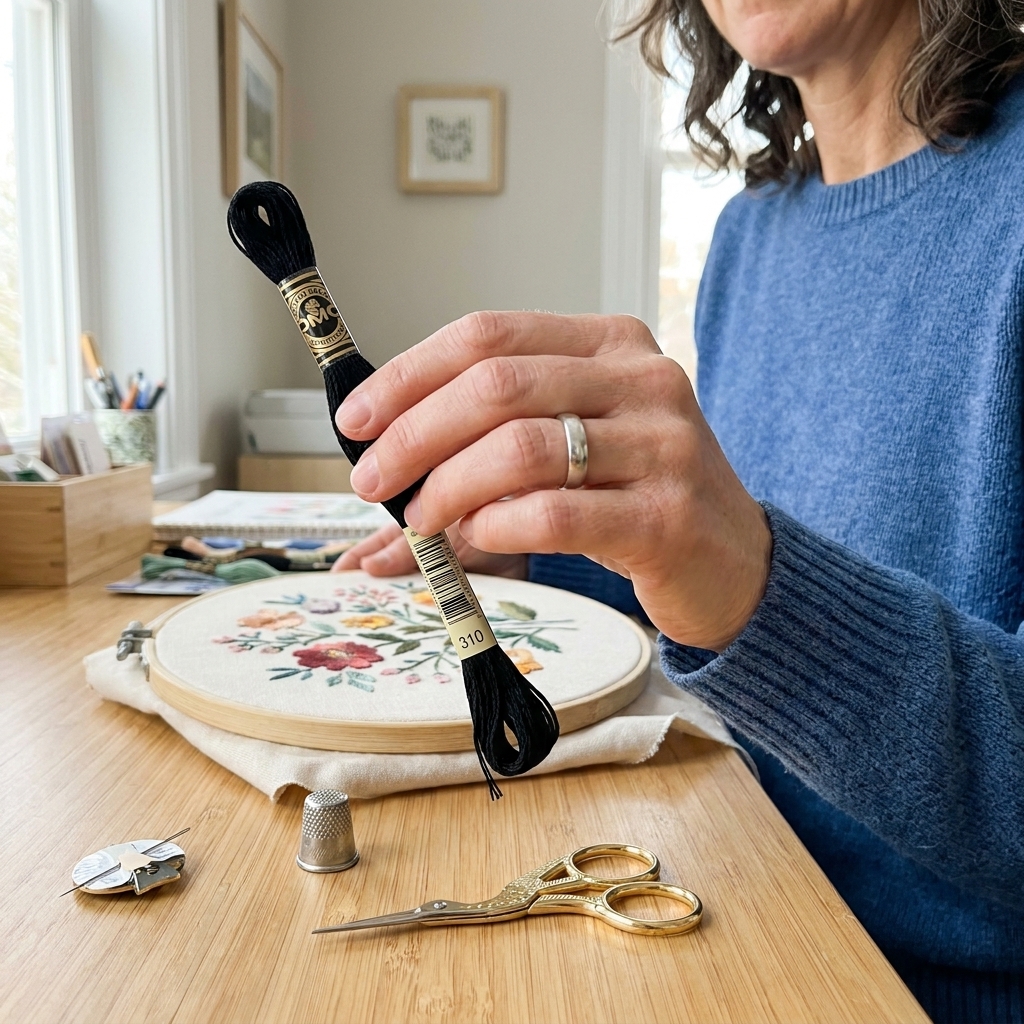
Stork scissors are the classic, vintage-inspired embroidery scissors with a long, narrow beak. They are a joy to look at, and a joy to use when they are made well.
- Best for: careful trimming, finishing work, stitchers who like a traditional feel.
- Pros: fine tips, great control, easy to tuck into a project bag.
- Cons: quality varies wildly, and ornate handles can be uncomfortable if you have larger hands or joint pain.
My take: Storks are wonderful for embroidery and back-of-the-hoop tidying. Just do not buy based on cuteness alone. You want blades that meet cleanly right at the tip.
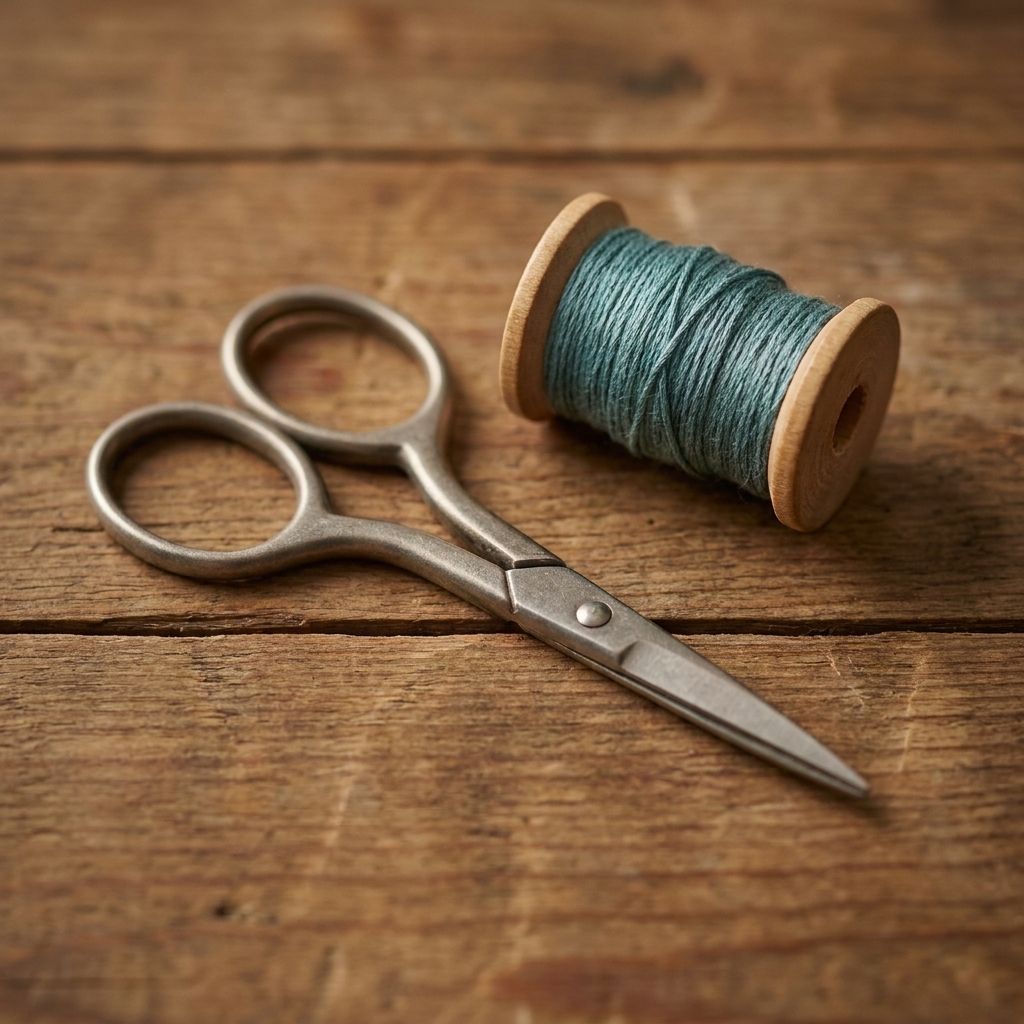
Precision shears
Precision shears are the sleek, modern workhorse option. They usually have very sharp blades, narrow tips, and ergonomic handle shapes. Think of them as the dependable scissors you reach for without thinking.
- Best for: detailed embroidery, trimming close to stitches, anyone who wants one do-it-all pair.
- Pros: excellent cutting accuracy, sturdy feel, often the best long-term value.
- Cons: less charming to display, and very sharp tips can poke project bags if uncapped.
My take: If you only buy one pair, this is usually my recommendation. A sharp, fine-tipped pair of precision embroidery scissors makes everything easier.
How to choose
1) Tip shape
The tip is where embroidery scissors earn their keep. You want points that are narrow enough to slip under a single jump thread, and aligned enough to cut cleanly at the very end of the blades.
- For trimming the back: look for very fine points.
- For general cutting and travel: consider slightly blunter tips if you are worried about pokes, but still keep them narrow.
2) Blade length
Many embroidery scissors fall in the 3 to 5 inch range, with plenty of popular options hovering around 3.5 to 4.5 inches. Shorter blades give you more control and reduce the chance of accidentally snipping a stitch you meant to keep. Longer blades can feel nice for cutting lengths of floss, but they are not essential.
3) Handle comfort
Pretty scissors are fun, but comfort keeps you stitching. If your fingers feel cramped, look for slightly larger loops, smoother edges, or ergonomic shapes.
- If you have hand fatigue: try lightweight precision shears or snips with an easy spring action.
- If you have small hands: classic small scissors often feel great and precise.
4) Steel and sharpness
When scissors are truly sharp, they slice floss instead of bending it. In a shop, I mentally run this checklist:
- Do the blades close smoothly without grinding?
- Do the tips meet cleanly?
- Does the pivot feel solid (not wobbly)?
At home, test on a single strand of floss. A good pair should cut it cleanly with very little pressure.
5) Your project style
Both crafts benefit from sharp, fine tips, but your trimming habits may differ.
- Cross stitch: if you do lots of confetti and constant thread changes, snips or a very comfortable pair of shears shine.
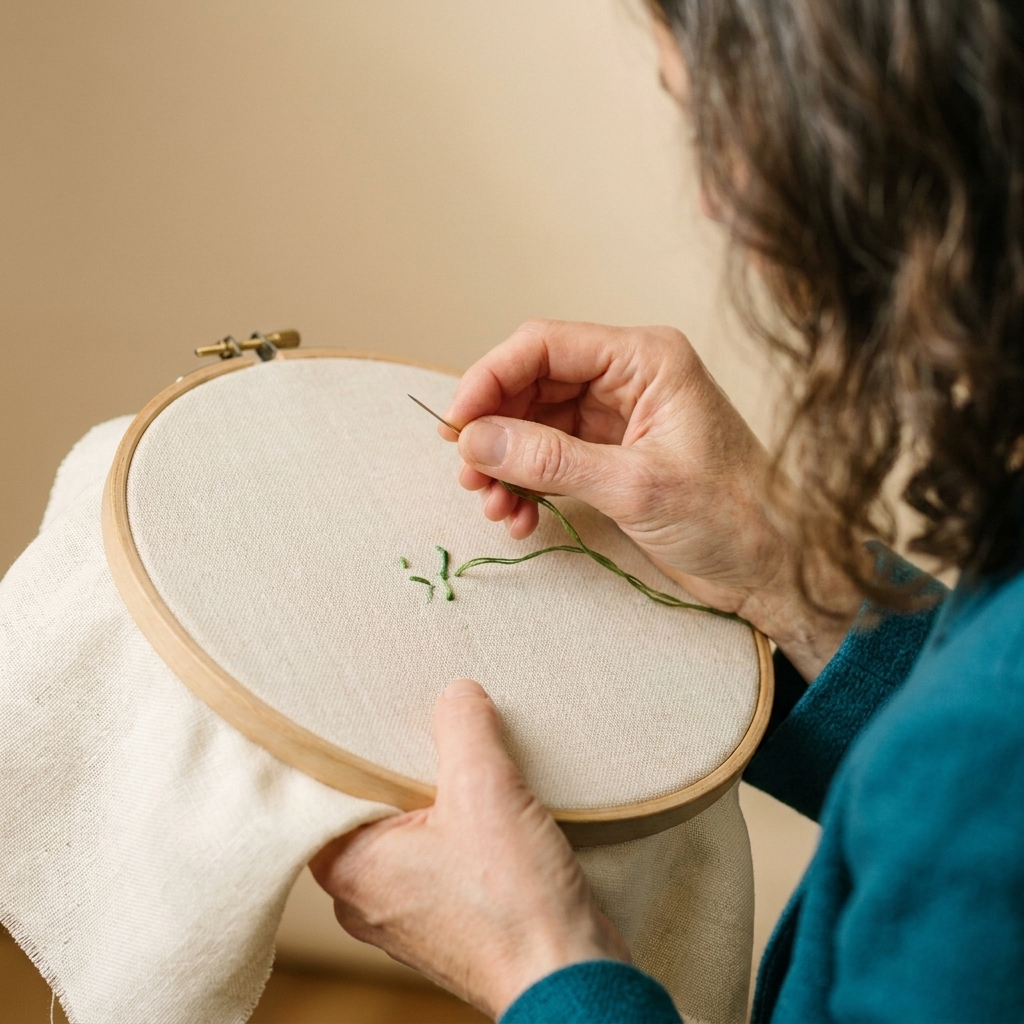
- Hand embroidery: if you do lots of satin stitch, shading, and delicate outlines, the finest tip you can comfortably control is the sweet spot.
6) Left-handed note
If you are left-handed and scissors always feel like they are fighting you, you are not imagining it. True left-handed scissors have reversed blades so you can actually see the cut line and get the same clean slice. Some embroidery scissors are fairly ambidextrous, but if cutting feels like it is sliding or folding the floss, try a true left-handed pair.
Budget expectations
You do not have to spend a fortune to get a clean cut, but the experience does tend to improve as you go up in quality.
- Under $10: perfectly usable for beginners, but quality control varies. Check tip alignment right away, and do not be surprised if they dull faster.
- $10 to $25: often the sweet spot for a dependable daily pair with better steel and smoother action.
- $25 and up: nicer finishes, consistently sharp blades, and a smoother pivot. If you stitch a lot, this is where scissors start feeling like a genuine upgrade.
My recommendations
One pair for almost everything
Choose fine-tipped precision shears in the 4 to 5 inch range. Prioritize tip alignment and comfort over decorative details.
Cross stitch, lots of color changes
Keep thread snips at your dominant hand for speed, plus a second, very fine pair for close trimming during finishing.
Classic look and careful finishing
Pick a well-made pair of stork scissors or other traditional embroidery scissors with long, narrow blades. They are especially satisfying for trimming tails close without tugging.
Travel and project bags
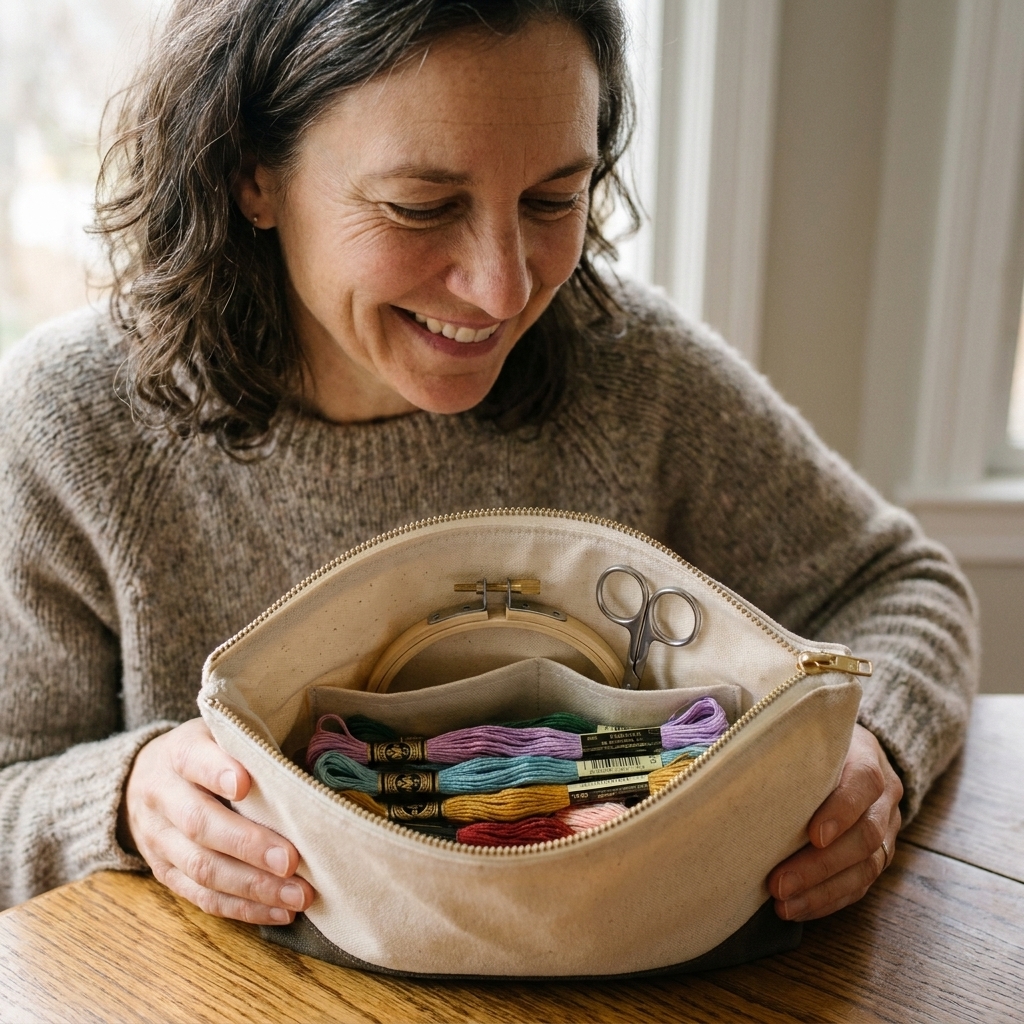
Consider a compact pair with a protective cover, or keep scissors in a sturdy sheath. Fine tips are wonderful, but they are also excellent at stabbing the inside of project pouches. Also, a quick heads up: magnetic needle minders are great for needles, but not ideal for storing scissors in a bag. A dedicated sheath is more reliable.
Quick comparison
| Type | Best for | Strengths | Watch outs |
|---|---|---|---|
| Thread snips | Fast trimming and frequent color changes | Speed, easy repeated cuts | Tips may be less precise, can feel bulky |
| Stork scissors | Traditional embroidery and neat finishing | Fine tips, great control, compact | Quality varies, ornate handles can be uncomfortable |
| Precision shears | Detailed work and all-around use | Accuracy, sharpness, durability | Very sharp tips need protection in bags |
Keeping them sharp
The easiest way to make even the best scissors feel bad is to use them on the wrong materials. I say this lovingly, as someone who once cut a paper pattern with my favorite pair and regretted it immediately.
- Cut thread only: floss, sewing thread, and fabric tails. Avoid paper, plastic, and anything sticky.
- Store them safely: a sheath, case, or closed pocket in your project bag helps protect the tips.
- Wipe the blades: if you stitch with hand cream or work with specialty threads, a quick wipe keeps residue off the metal.
- Mind the pivot: if the action starts feeling stiff or squeaky, a tiny drop of sewing machine oil at the pivot can help. Wipe off any excess so it does not migrate to fabric.
- Do not force a cut: if you feel resistance, stop. Forcing bends tips and can misalign blades.
If a beloved pair gets dull, professional sharpening can be an option, especially for higher-quality scissors. Availability and cost vary, and some sharpeners do not love working on tiny blades, so it is worth calling ahead. That is also why I like having one nice pair and one solid backup.
FAQ
Do I really need embroidery scissors for cross stitch?
Not strictly, but it makes everything cleaner and easier. Fine tips help you trim tails close without disturbing stitches, especially on the back. If you finish pieces for framing, that neatness matters.
What size is best?
For most stitchers, 4 to 5 inches is a comfortable sweet spot. Smaller can feel extra precise, larger can feel steadier in bigger hands. If you are unsure, start around 4.5 inches.
Are stork scissors just decorative?
They can be genuinely excellent. The trick is choosing a pair with good blade alignment and a comfortable handle. A cute pair that pinches your fingers will not get used, no matter how charming it looks next to your needle minder collection.
Why are my scissors fraying floss instead of cutting it?
Usually one of three things: dull blades, misaligned tips, or residue on the blades. Try wiping them, then test on a single strand. If it still chews, it is time for a sharper pair.
Can I take embroidery scissors on a plane?
Rules vary by country and airline, and security can be unpredictable. In the United States, TSA guidance generally allows small scissors in carry-on bags if the blades are under 4 inches (measured from the pivot), but final decisions are up to the officer. Many stitchers travel with a small pair and accept the risk, while others pack scissors in checked luggage or use an alternative thread cutter. When in doubt, bring something you can afford to lose.
My bottom line
If you are building a small, sensible tool kit, start with a sharp pair of fine-tipped precision shears. Then, if you fall in love with the ritual of stitching (and you probably will), add snips for speed or storks for that classic, cozy satisfaction.
And if you ever find tiny thread snippets on your couch weeks later, welcome. You are one of us.